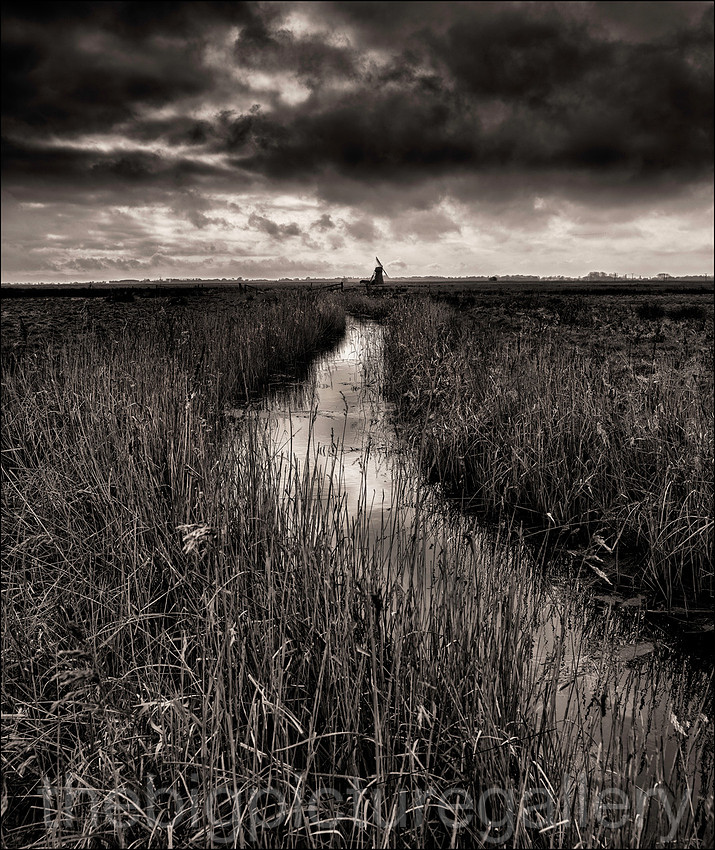
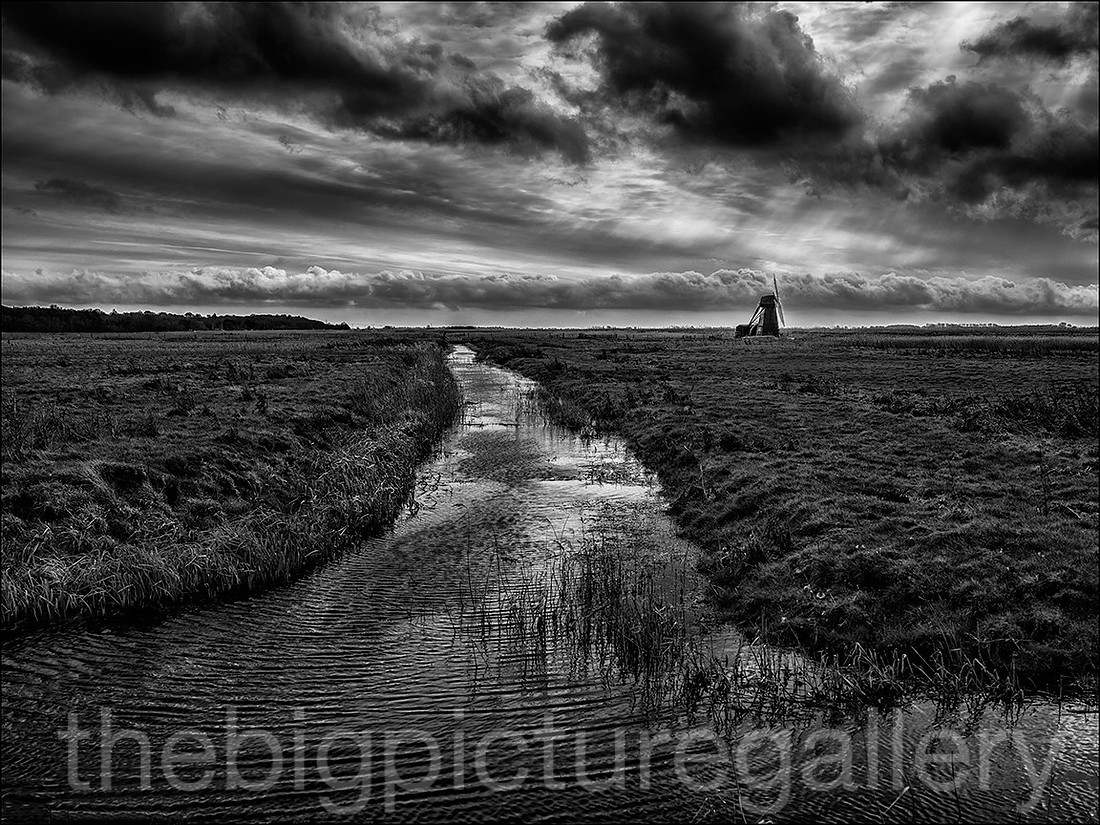
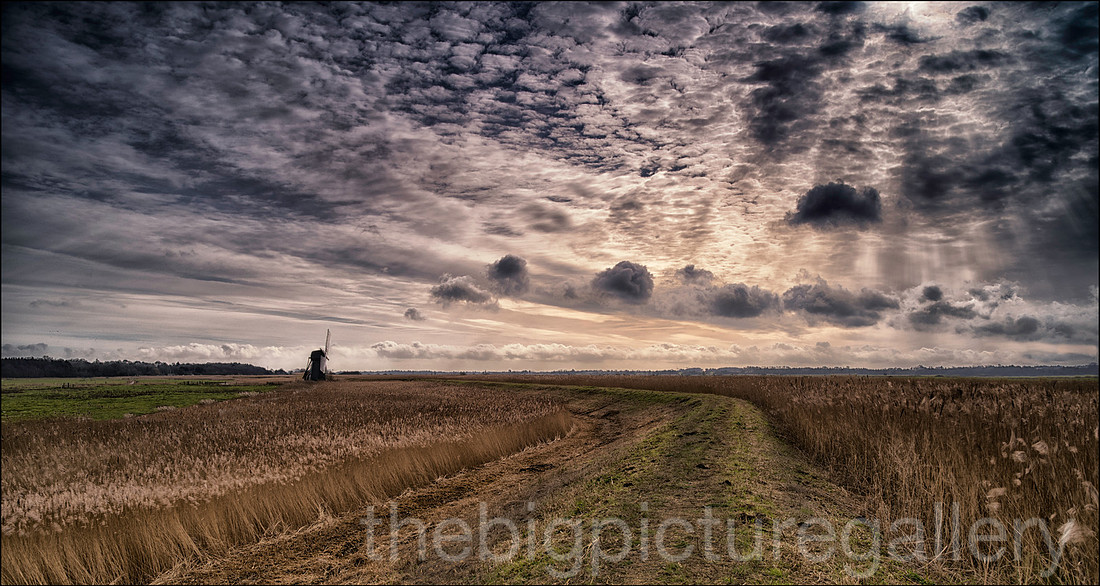
Bearing in mind the photographic attraction to the Mill, I started looking for compositions which showed the Mill as part of the Suffolk landscape, rather than of the mill itself, I found several views that suited both the composition and light. It's a shame that a couple of the sails were missing, these had in fact broken off, still the place is in a fantastic location, and is well worth a visit. All the images were taken using the Pentax 645z with a mix of lenses.
]]>
As photographers whatever the scene before us, whatever has caught our eye, be it a particular composition, a Sunrise or Sunset, one thing to bear in mind is the given dynamic range of the sensor you'e trying to capture the image with. If the sensor does not have a large dynamic range, you will not be able to capture the shadow detail whilst preserving the highlights. Larger sensor cameras, DSLR and Medium Format systems have a larger dynamic range. The problem with the exposure rerading that the camera makes, is that it tends to be biased toward the brighter part of the scene, usually the sky. The downside to this bias is that it will leave your foreground underexposed. Most modern sensors can cope with some changes to alter the dynamic range during post processing, but at a sacrifice of leaving some shadow noise to deal with.
So how can you maximize the dynamic range (the ability to capture shadow detail as well as highlights) without losing one or the other. The following images will give you some idea of the steps you can take to get an image that will give you the optimum exposure detail to able to undertake your image enhancement.
My usual way of capturing a wide dynamic range scene IE a bright sky with cloud detail, is to use a graduated ND filter. By using a filter like this, it allows you to preserve the Sky details, whilst keeping the rest of the scene correctly metered. Here are some examples of this.
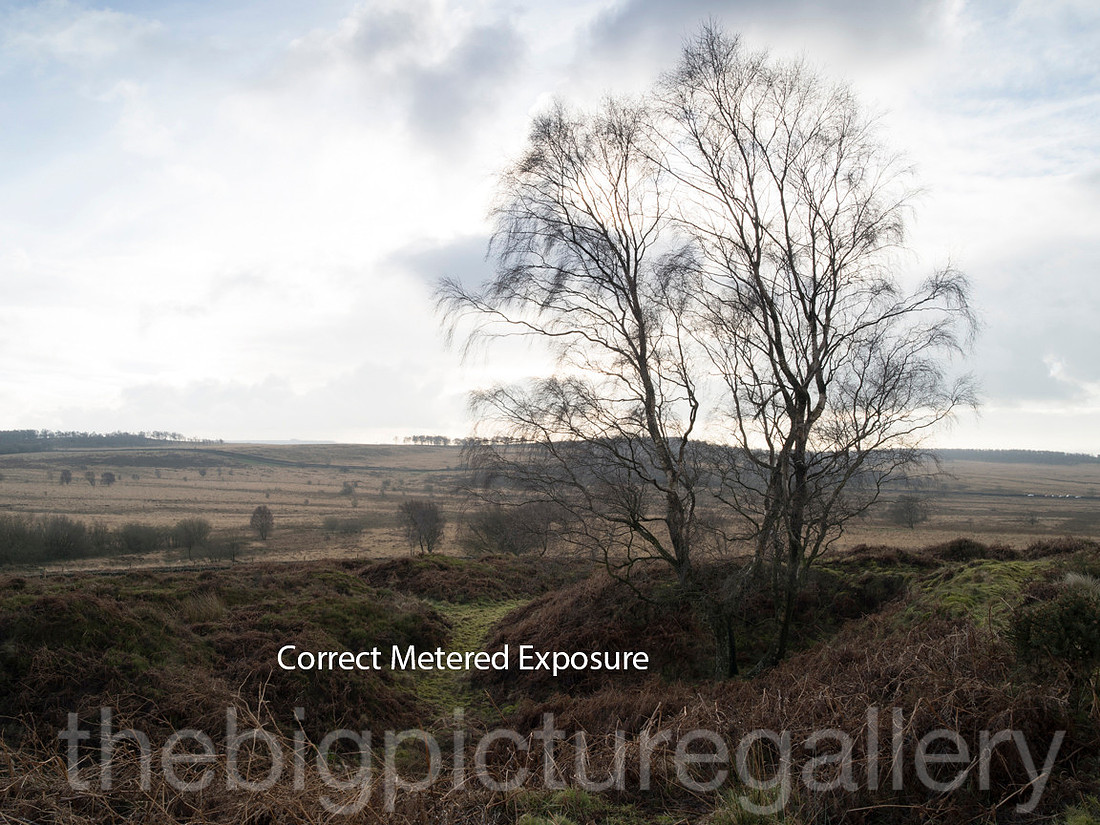
So in the shot above, I established my composition, using the suggested meter reading I captured the shot, while my Pentax made a good fist of the exposure, it left the sky overexposed thus losing some detail in a quite glorious sky. I already knew that this would happen, and I would have to do the following, either use an ND grad filter, or by creating a series of images of differing exposures then create a blended image. What would be the reasons for choosing the latter?
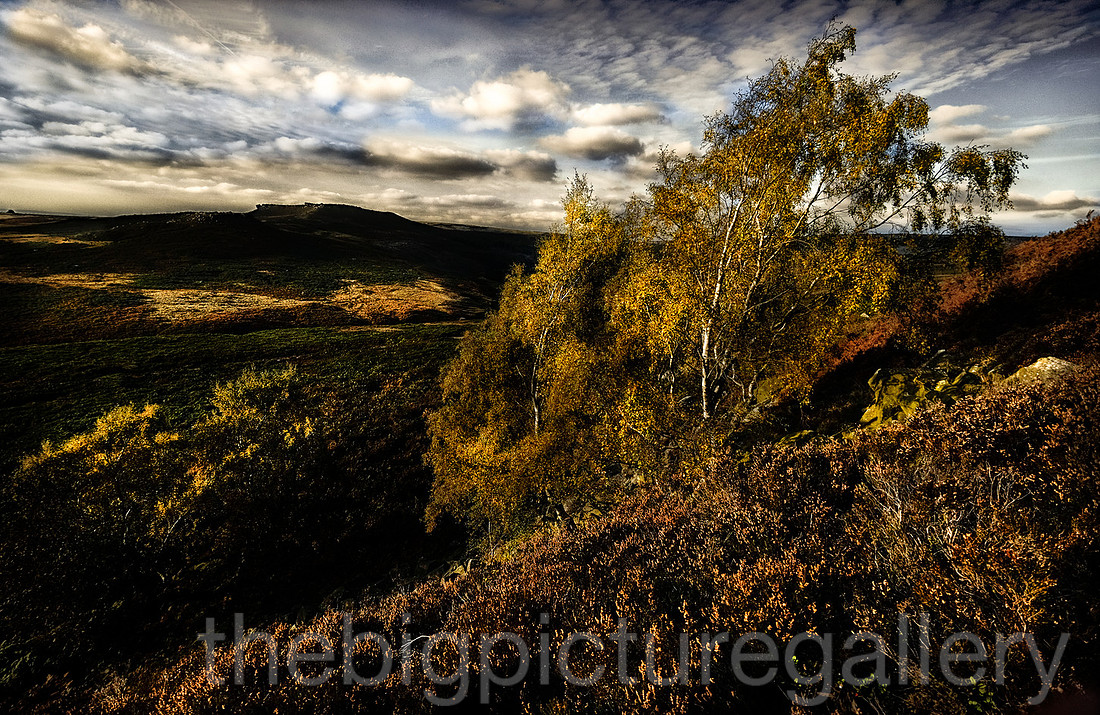
One thing about an ND grad is that it will lower the exposure for everything that is within the graduation, my filter are 150mm and the gradient goes from the top down to halfway, so the remaining 50 percent of the filter is clear. This is all fine and dandy if you are shooting a scene like a seascape where you have a nice perfect horizon, but using it anywhere else can cause exposure issues if anything other than the sky sits within the gradient, such as this lovely Silver Birch tree.
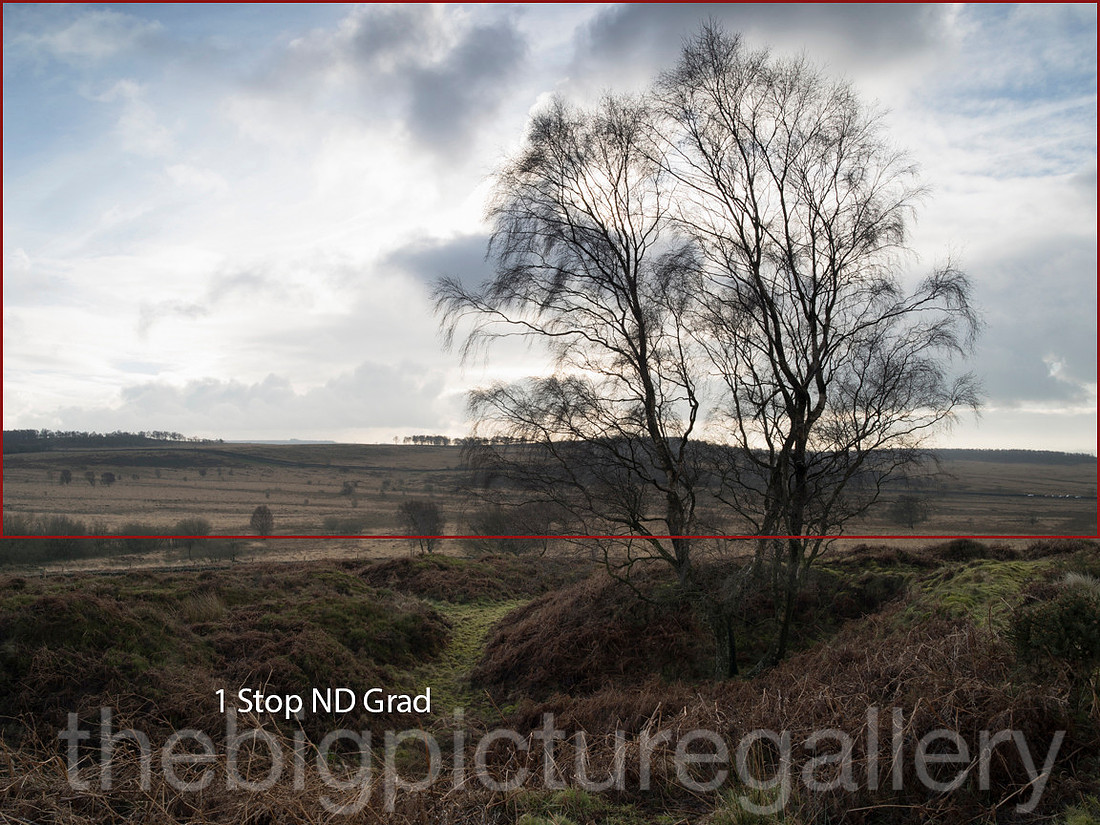
The above image had a 1 stop ND grad filter applied, you can clearly see that the shadow detail in the vegetation is preserved, whilst the filter starts to preserve the sky. The red outline is where the grad was used
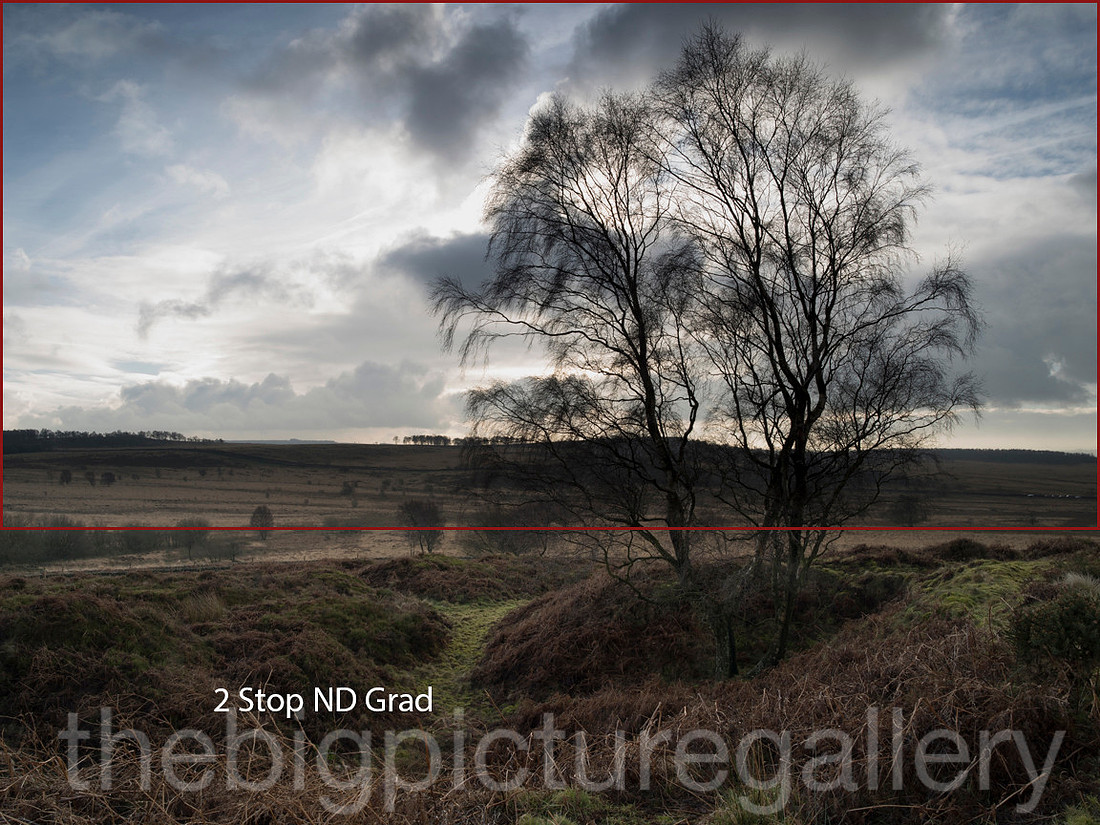
Using the 2 stop ND has shown the sky details but its starting to block the detail in the tree from being shown.
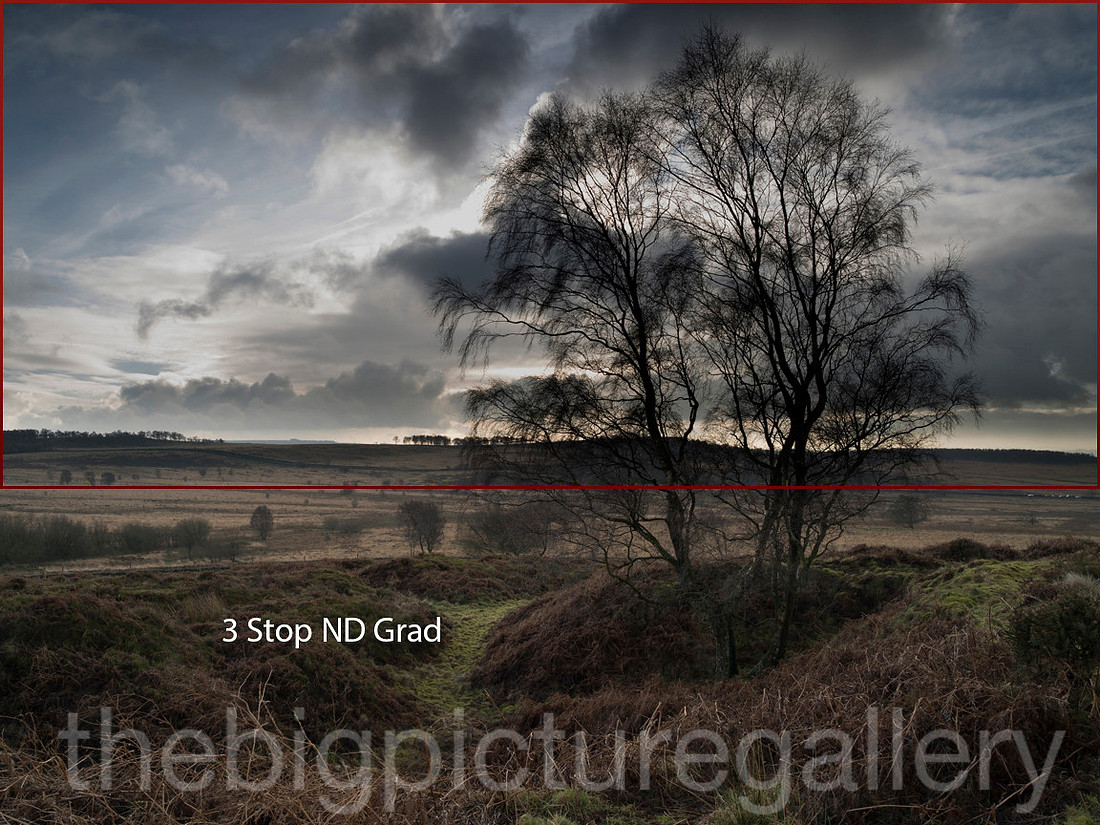
So finally a 3 stop filter ND filter is applied, The Sky has become darker, however the level of detail in the highlights is very much improved. The drawback is how the hill behind the tree has almost no detail, and has turned quite dark along with the tree.
The alternative method of getting a nice balance exposure on an image, is to bracket the exposure, most cameras have this ability, and will be within the menu system of the camera. I shoot in manual so the easiest way for me to do this is to choose the correct aperture for the depth of field required, and the correct shutter speed to preserve the details in the image, if it were a windy day for instance, and I was using a slow shutter speed then some elements of the image may blur. So the way I shoot in manual is to shoot a normal exposure one where the camera indicates it's correct. Then shoot one image over exposed, and one or two images underexposed. I usually don't bother going anything above plus one, you can do, but my preference is just the one shot over.
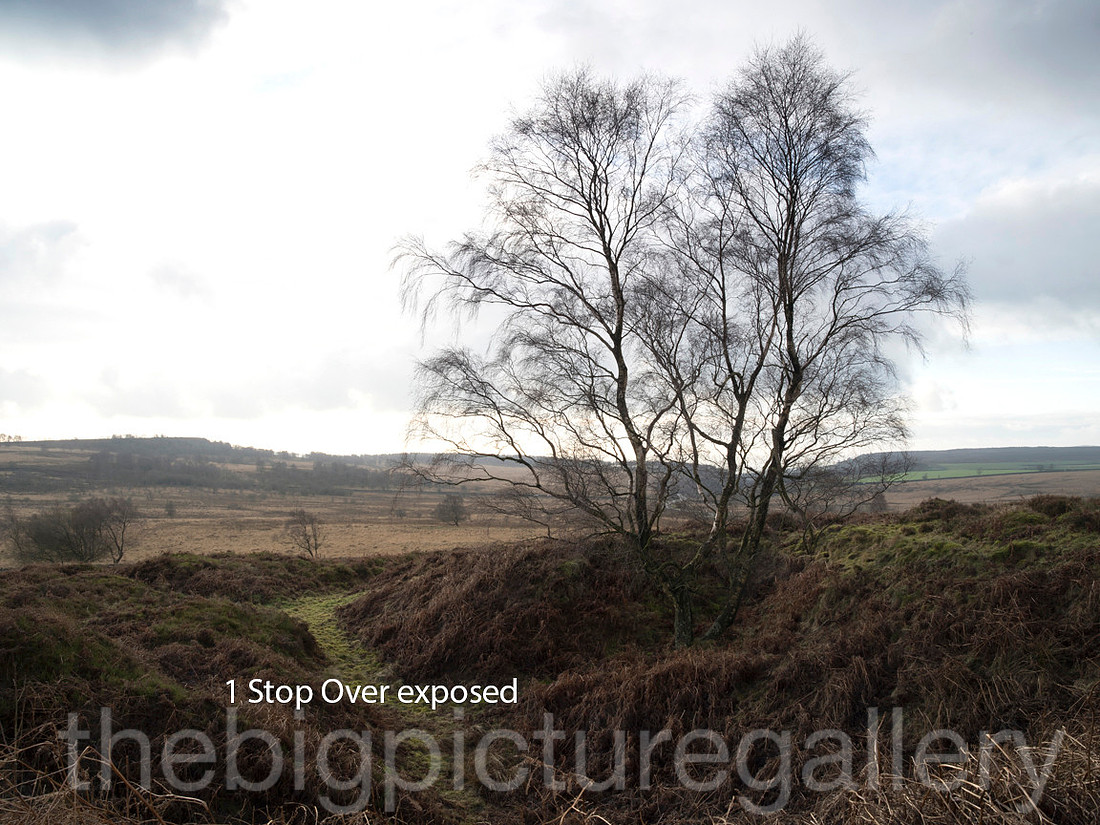
You can clearly see in this image that the highlights are blown, but the shadow area beneath the tree contains much more detail.
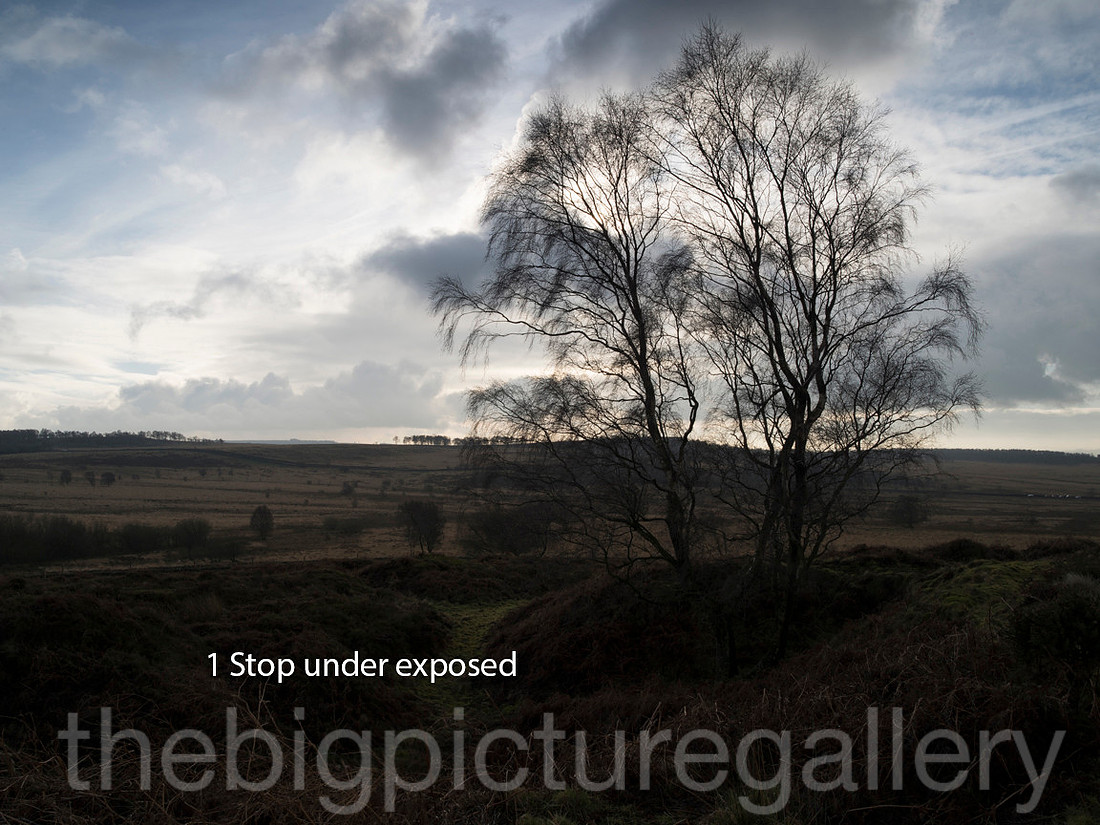
In this shot, the sky detail is being preserved but the shadow detail is being sacrificed.
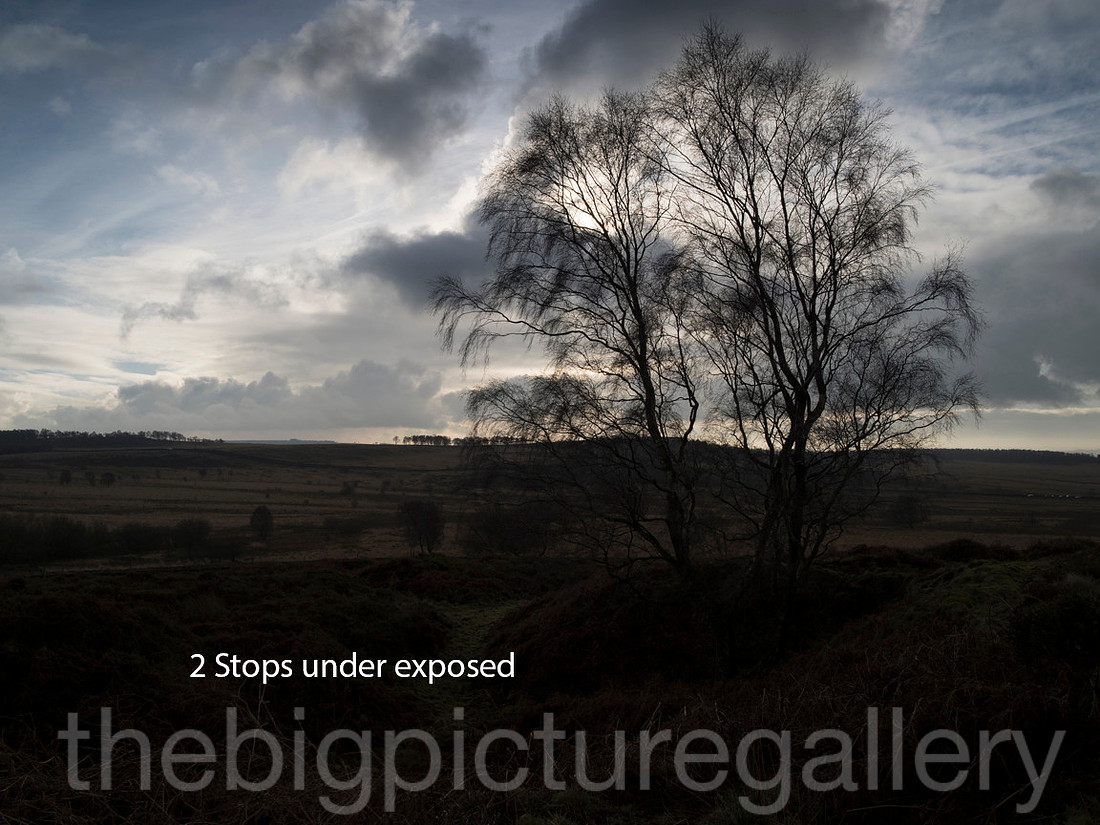
Perfect sky, but no shadow detail retained in the foreground.
So with these 3 exposures chosen I can then blend these in Lightroom using the create HDR option, HIgh Dynamic Range. There can be negatives associated with using this technique, which I will cover at the end.
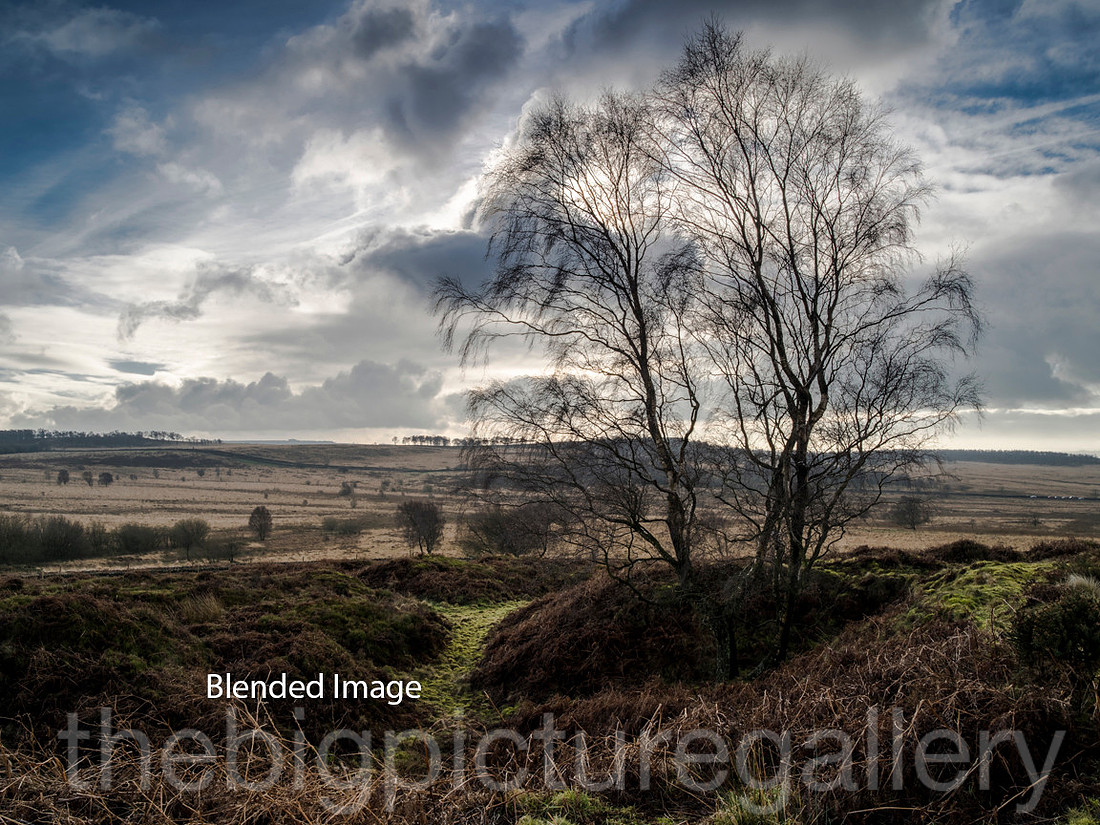
Here are the blended 3 images. An image that retains both highlight and shadow detail. Which is much easier to work on with fine-tuning and sorting out the various aspects of the image that you want to highlight, or bring out.
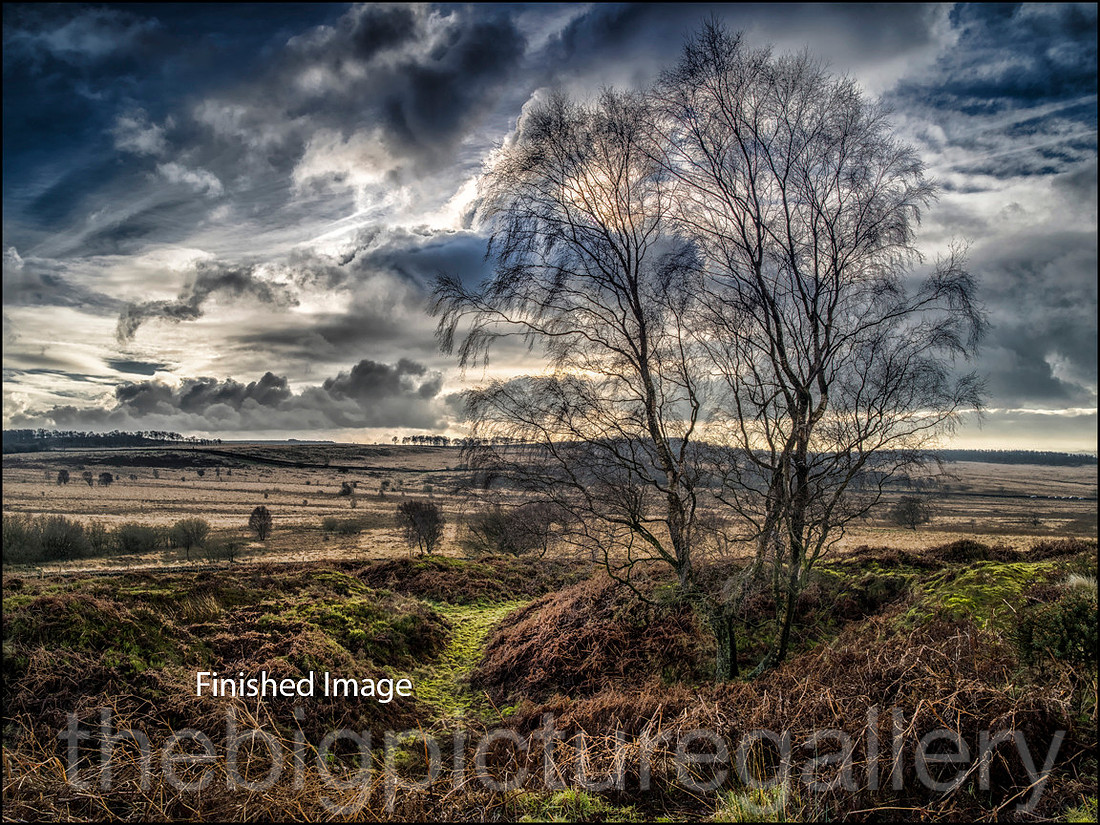
Please bere in mind when shooting your exposures for HDR, that if you are shooting during a windy day, then each frame you take may have some cloud movement during the exposures that have to be dealt with by the HDR algorithym, and may produce some image ghosting. Each method has poitives and negatives, it's whatever you prefer to do in your image workflow.
If you start your editing and enhancement process without a correctly exposed image which should have a broad dynamic range, then any adjustments you make can have in some cases a detrimental effect on other parts of your image. Having a good balanced image, is not only good practice, but by doing so you give yourself the best opportunity to enhance the image as you want. This especially applies to large prints, as any defects will be magnified.
]]>
The view out into the sea was just mental, waves crashing into the promenade as high as fifty feet, our weather can be very spectacular. The light was not on my side sadly. I was hoping for some slanting winter sun to highlight the surf, but although we had a fleeting glimpse it stayed pretty much overcast. I got caught out a few times and ended up at one point in 2 foot of salt water, annoyed that I had left my gloves behind, my hands after a couple of hours were pretty cold.
Still it made for an eventful outing, and to witness the power of the ocean and the force of nature, was a real delight. All the images were shot with a Pentax 645Z, using the 35mm 45-85mm and the 80-160mm, all the shots were handheld, to breezy for the tripod. Hope you enjoy the images.
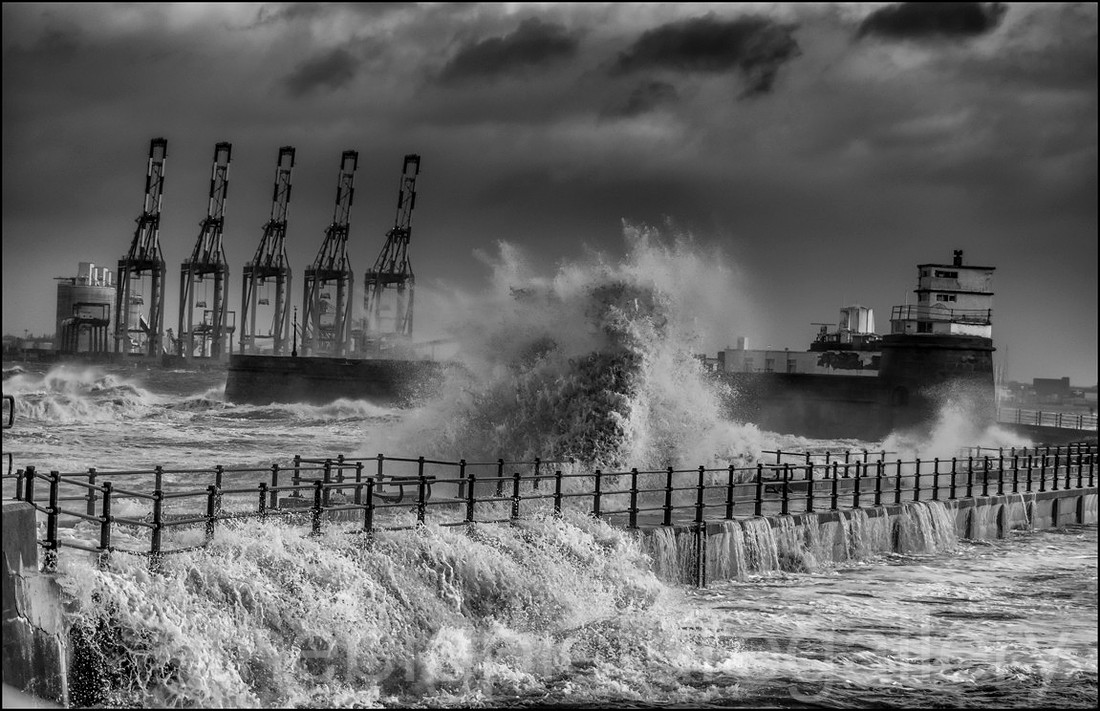 Storm Eleanor at new BrightonWinds and high tide at New Brighton
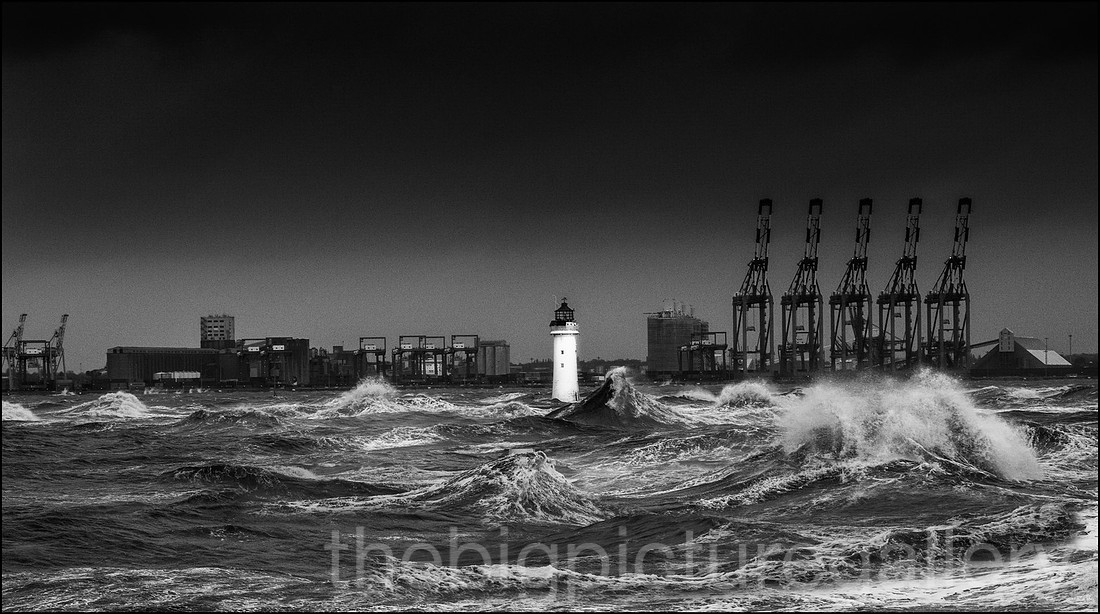 Perch Rock Lighthouse New BrightonStorm Eleanor
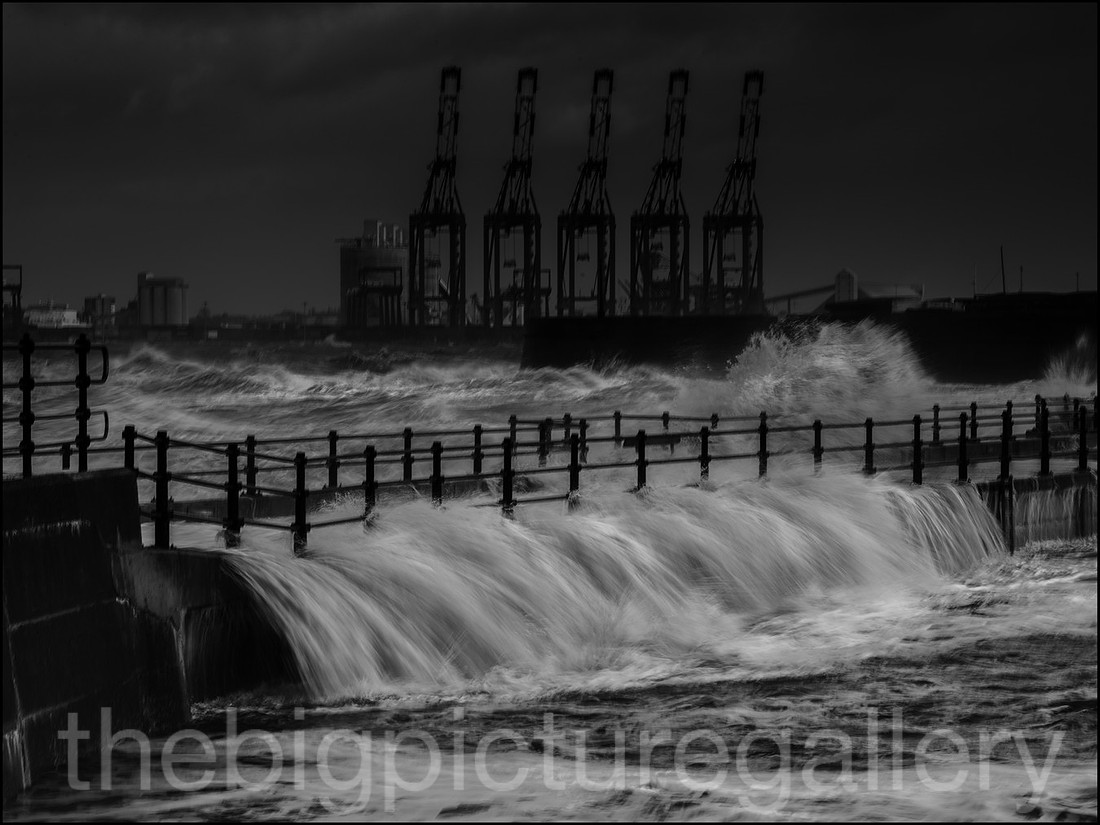 Flooded Promenade New BrightonStorm Eleanor
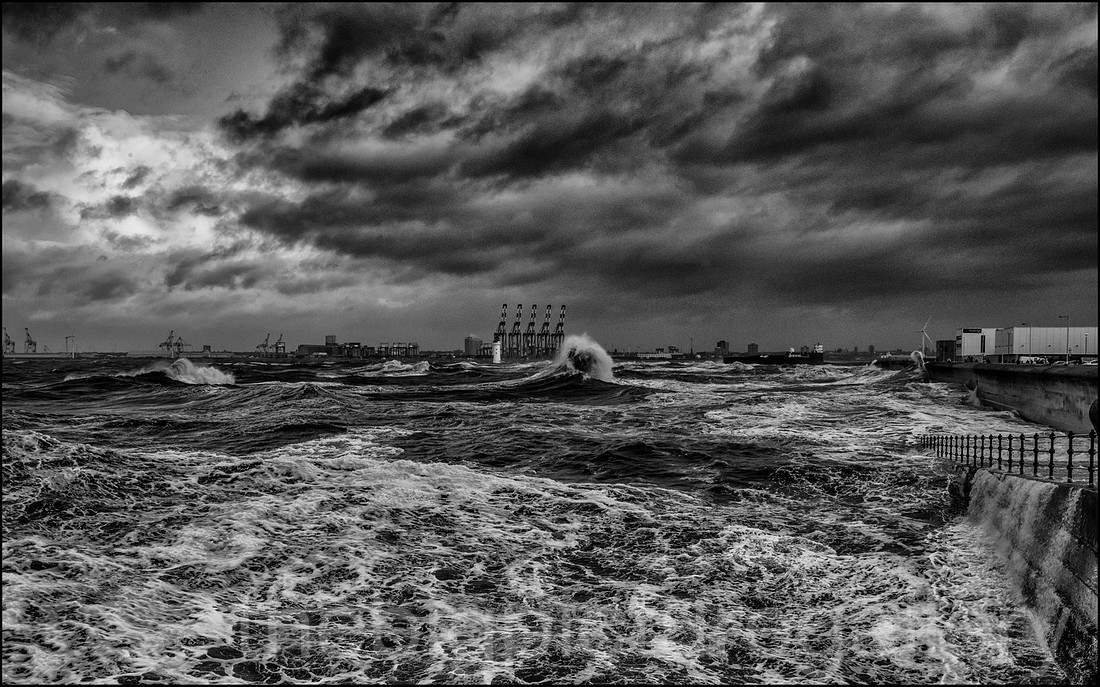 An Angry Sea New BrightonStorm Eleanor
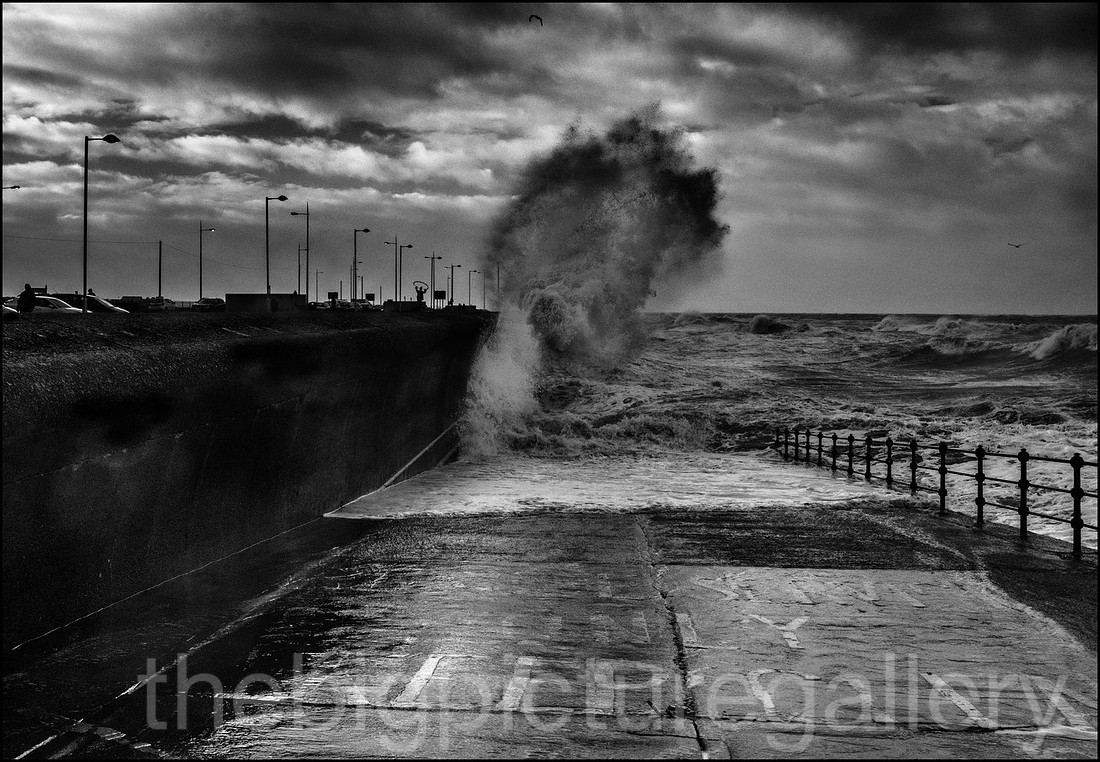 Big Wave New BrightonStorm Eleanor
I was met by Jacqui at Mount Pleasant Airport some 40 miles away from Stanley. Jacqui was preparing for her daughters wedding and was buying mountains of food, for the day. The wedding was taking place at Fox Bay on West Falkland, we would be driving over via the ferry MV Concordia, which runs from New Haven on East Falkland to Port Howard on West Falkland.
The following day found Allan and I driving out to New Haven, we had a small detour via Darwin, I wanted to stop and visit the memorial that lies on top of Darwin Hill, and overlooks Goose Green. I wanted pay my respects to those that died, during the Battle of Darwin and Goose Green. As I walked up the small rise to the monument I was struck with uncontrollable sadness, and spent the next half an hour pouring out my heart. It had been 35 years since I was on the islands, and those 35 years came tumbling out as my eyes filled with tears as I remembered events from that time.
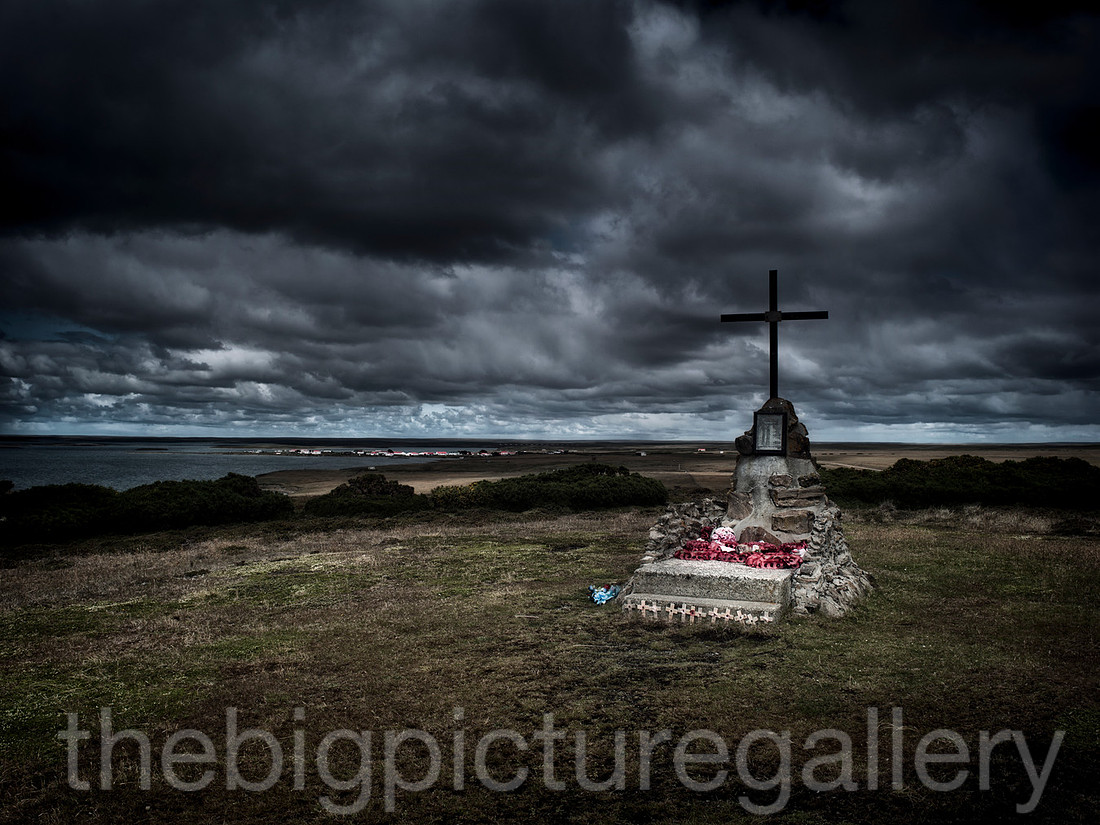 2 Para memorial on Darwin HillOveooking Goose Green, East Falkland
I had carried this sadness around with me for all this time and I guess this was my chance to unburden myself of those memories, When we were on the ferry to Port Howard I had the time to reflect upon those events in 1982, when as part of the 2nd Parachute battalion (2 Para) we landed on the Falklands. This was my chance to see the Islands in a different, and more thoughtful way, and I was so glad that I had made the trip. As a photographer I wanted to capture images of the landscape, which makes this place so special. Reflecting back to 1982 I didn't like the Falklands at all, barely knew where it was. It was wet, windy and pretty cold. A vast barren windswept land which held no allure for a young Paratrooper. I think we all wanted to get the job done, and get back home as quick as possible.
Travelling over West Falkland to Fox Bay the scenery was just epic, The gravel road went on for mile upon mile carving through the vast bleak moorland, finally arriving at the small hamlet of Fox bay which would be home for a couple of days. I was shooting the wedding of Nadia and Justin out at Leicester farm, and I couldn't wait to meet them, and their friends and family on their wedding day.
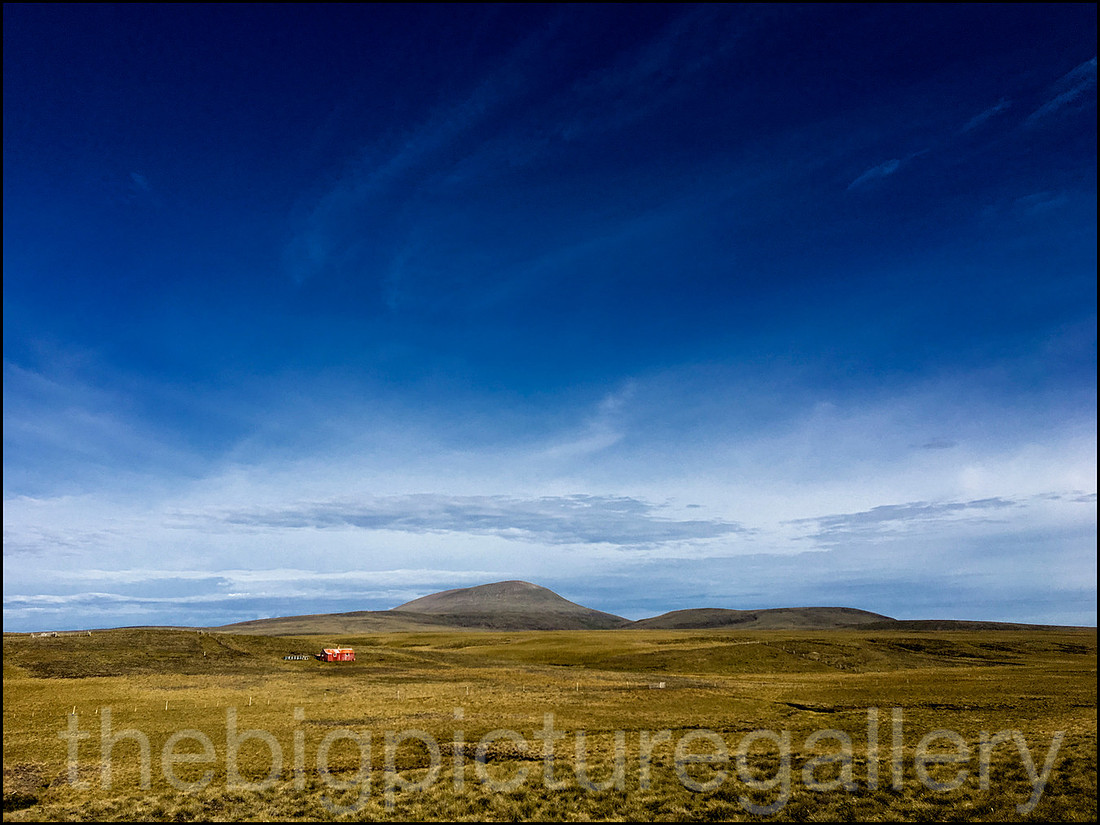 West Falkland Vista (The big country)
It's quite amusing even now as I sit here in Derbyshire typing this, having shot hundreds of weddings in the UK at Castles, and Hotels, and other venues. Never have I shot a wedding in the middle of a 55.000 acre farm. The wedding would be held by a little brook over a very rickety bridge, it was quite simply amazing. Watching people turn up carrying plastic chairs in their finery, a walk of several hundered yards for most folk. The view of seeing 50 odd 4x4s perched on the hill overlooking the wedding place, reminded me of film Zulu. It was a simple ceremoney filled with little touches from their friends, and certainly is one wedding that I will think of for the rest of my life. A wedding on New Years eve, boy do these people know how to party, they work hard, and play hard.
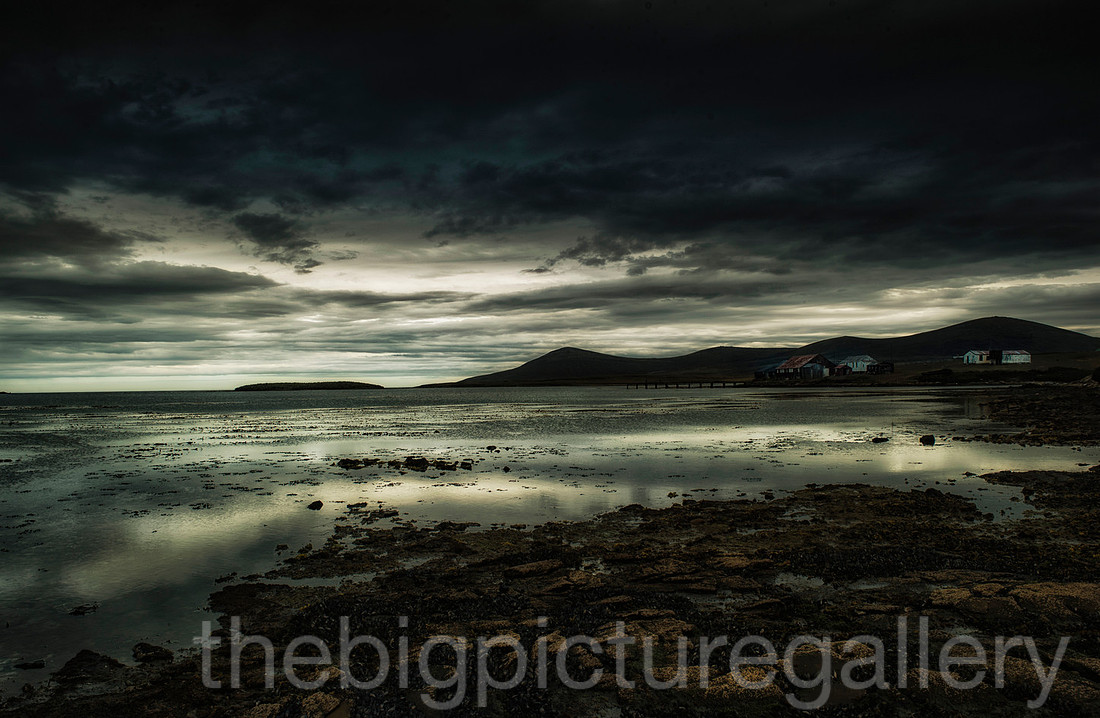 Evening soltitude Fox Bay, West Falkland
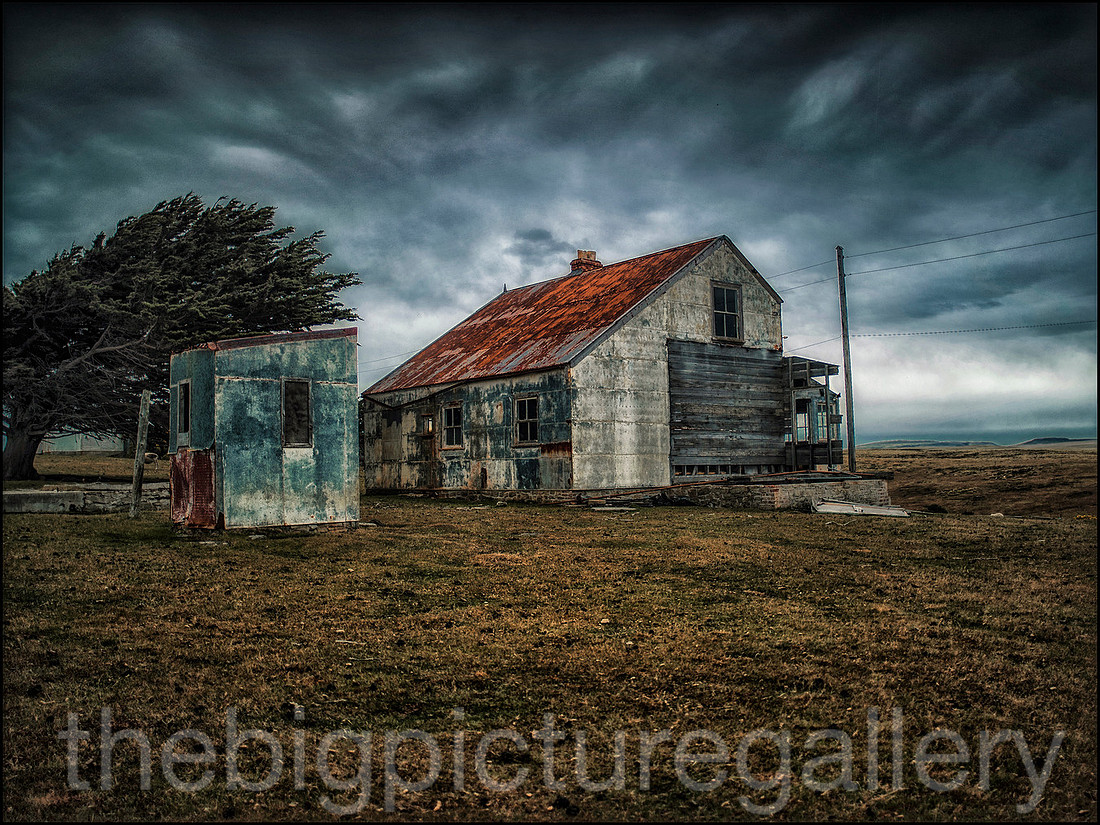 Abandoned House Fox bay West Falkland
New Years day turned out to be the warmest day of my whole visit, it was brilliant sunshine with a gorgeous blue sky, Allan, Jacqui and I went on a 4 wheel drive adventure and ended up at a Penguins Rookery high up on a hill a few miles from Fox bay, although the sun was out it was quite breezy (it is rarely calm on the Falklands) we were out a few hours and I actually got quite well sunburned, the lack of ozone and pollution helps. We found beautiful untouched white sand beaches, at times you would think we were in the Bahamas. The Falkland Islands are certainly full of suprises. On the drive back to Stanley, Allan and I went for a drive over to Bodie Bridge, the only suspension bridge in the Falklands, it must have cost a small fortune to build. We crossed over it rather delicately as it is quite a sorry state, and it won't be much longer before some of it will fall into the sea.
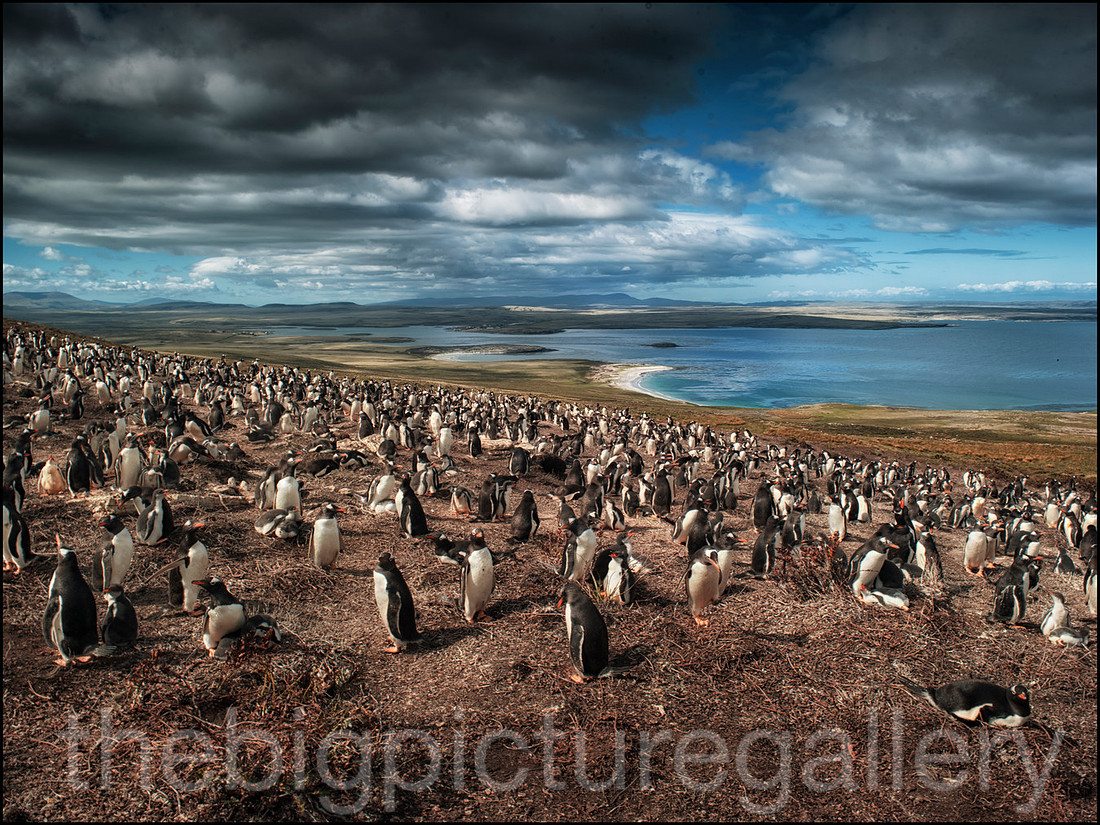
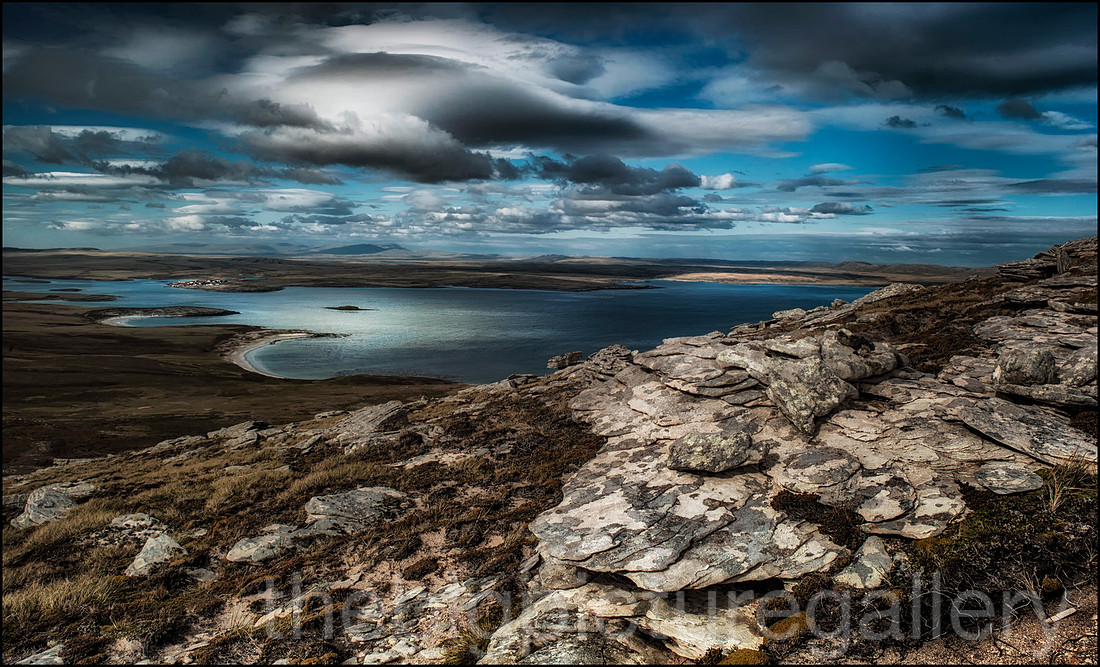 Fox Bay and beaches West Falkland
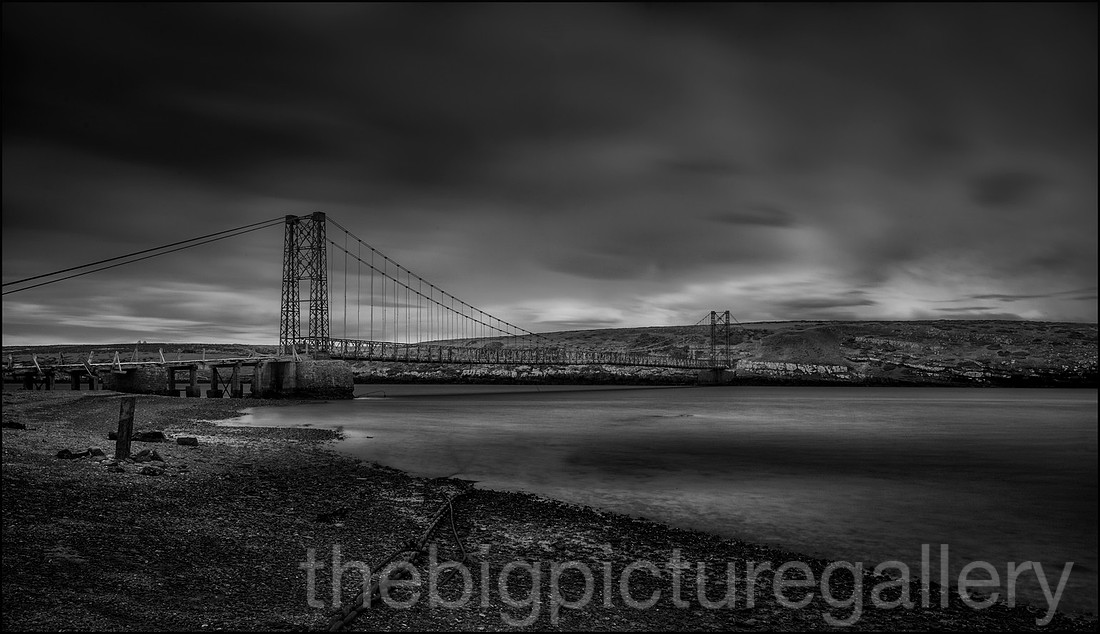 Bodie Bridge Near Goose green
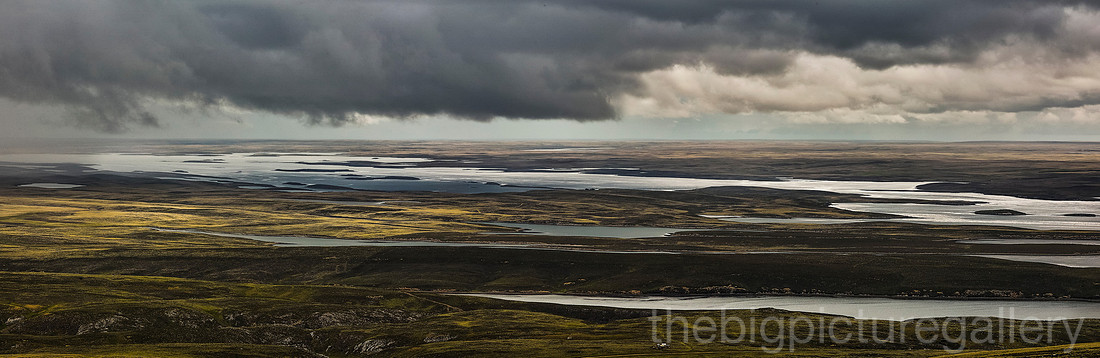
So it was back to Stanley for a few days, before Allan departed back to West Point Island, this sounded like a fantastic place to live, and I would join Allan and Jacqui at the end of my visit. Meanwhile I went on a battlefield tour with a wonderful guy from Stanley called Tony Smith. We picked a rather moody day to go, which suited my photography, sunlight danced around the hills and we had the occasional shower to contend with. A great experience and Tony, who is a real affable, and we spent the best part of the day touring around Longdon and Wireless ridge. His Landrover coped admirably with the terrain. Some great images captured, I did make my way back up to Wireless ridge later in the week and spent a few hours up there as dusk fell and witnessed the most spectacular sunset. As the light began to fade and the wind picked up, it felt quite eerie being there, I paid my respects and left them in peace.
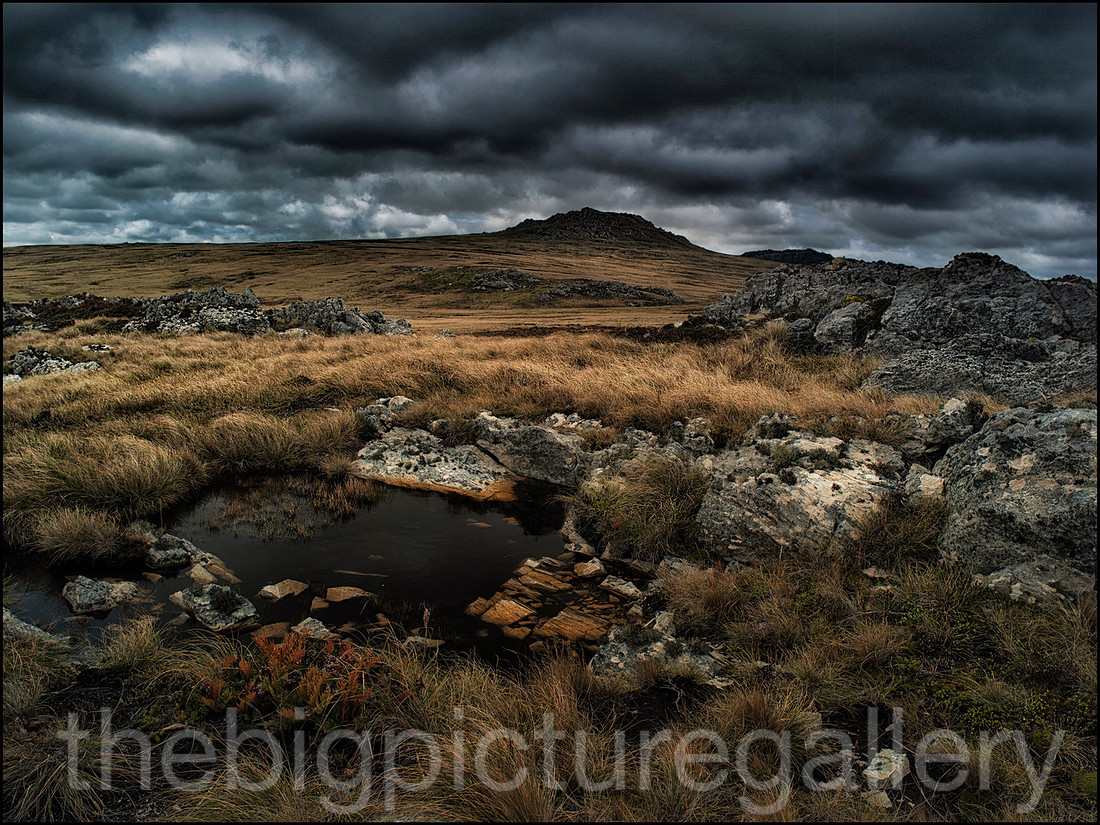
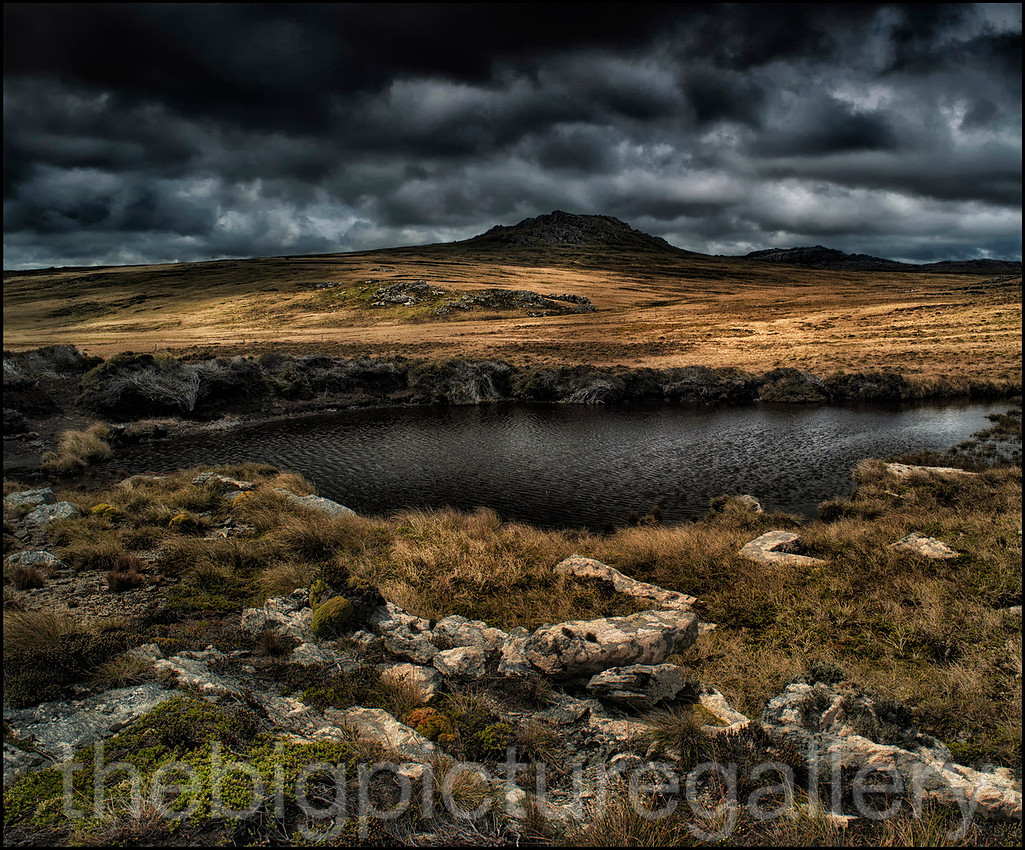 Light breaking over Mount Longdon, East Falkland
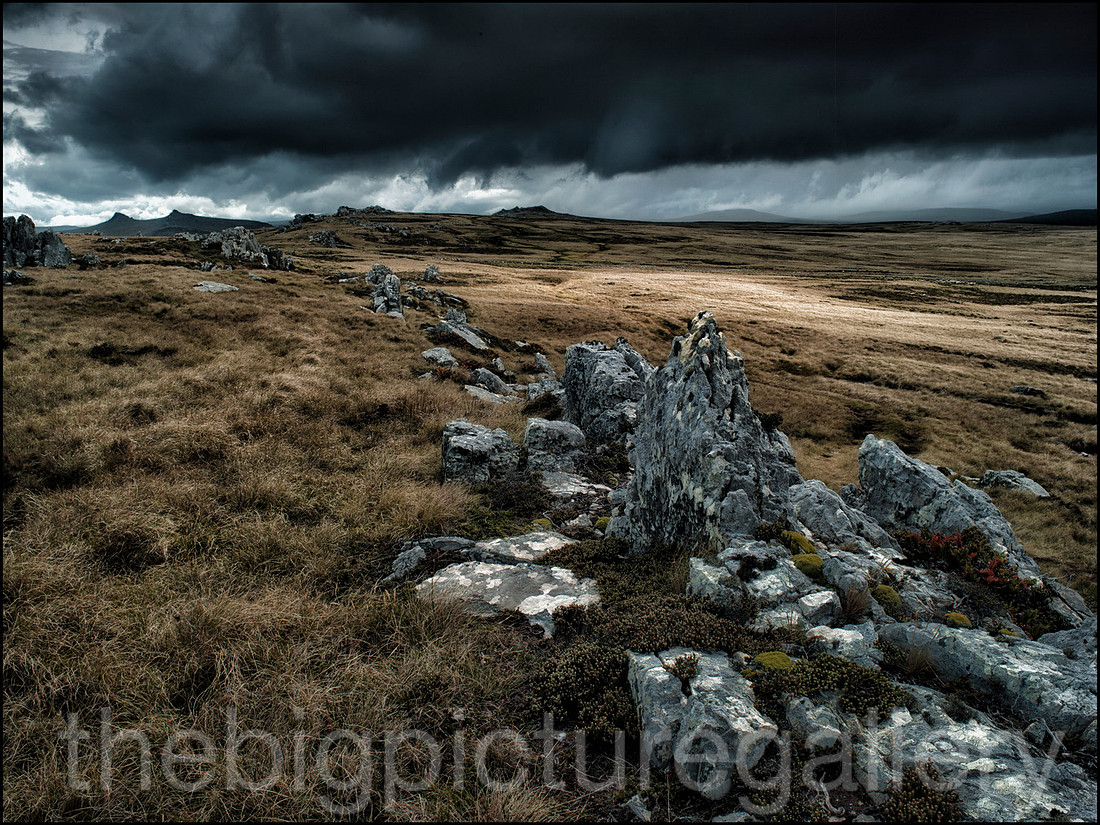 A moody Wireless Ridge east falkland
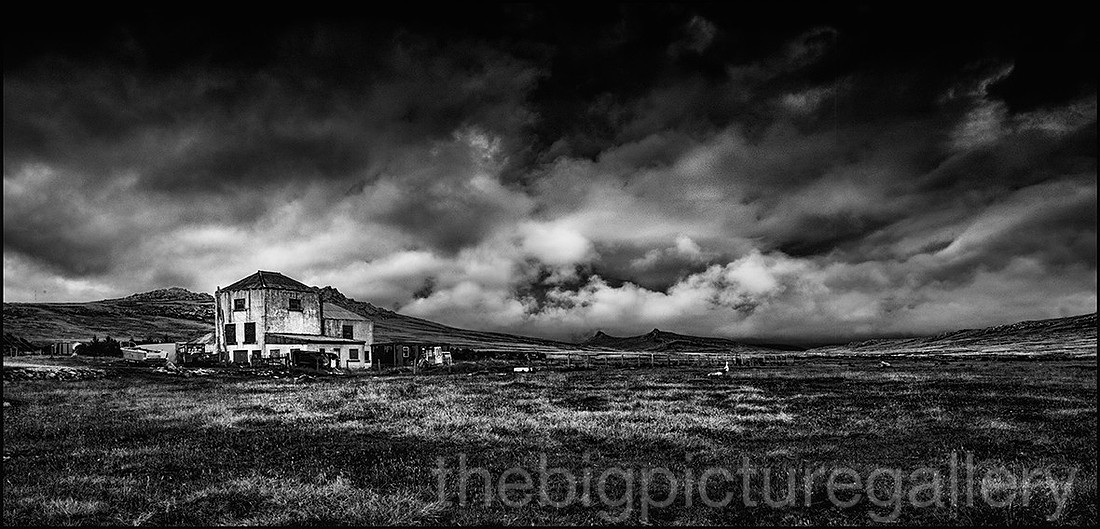 Moody Brooke East FalklandTwin sisters in the far distance
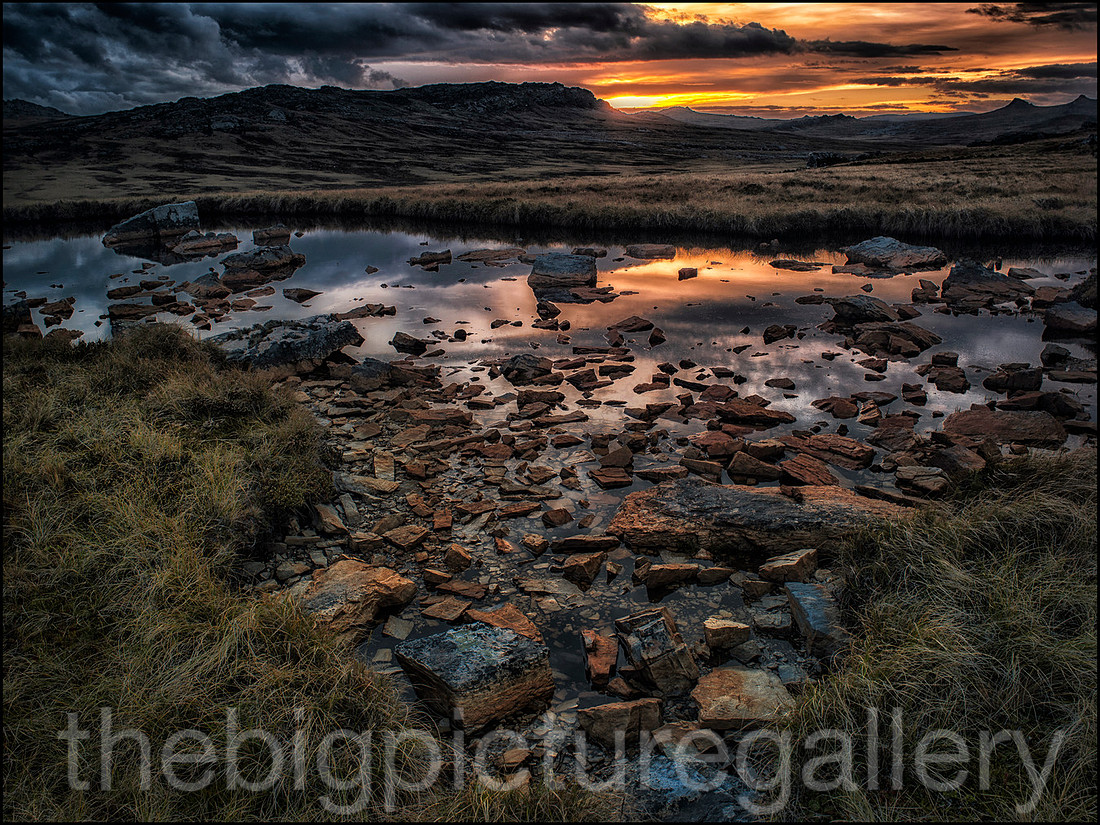 Wireless Ridge and Mount Tumbledown sunset
Toward the end of my first week, I made my way over to San Carlos where I spent the night at Matthew McMullan's farm, after spending an hour or to on the top of Sussex Mountain. I visited Bllue Beach and the UK Armed Forces Cemetary. Paid my respects to Colonel H and the rest of the lads, the cemetary is in a lovely quite spot overlooking Blue Beach, with nothing to disturb, other than the cry of an Oystercatcher. Following morning I was away back to Darwin and Goose Green, once agian loitered at the top of Sussex mountain, remembering that bloody tab up from San Carlos, loaded up with ammunition and kit, easily carrying over a 100lbs on our backs, a tab I'm never likely to forget.
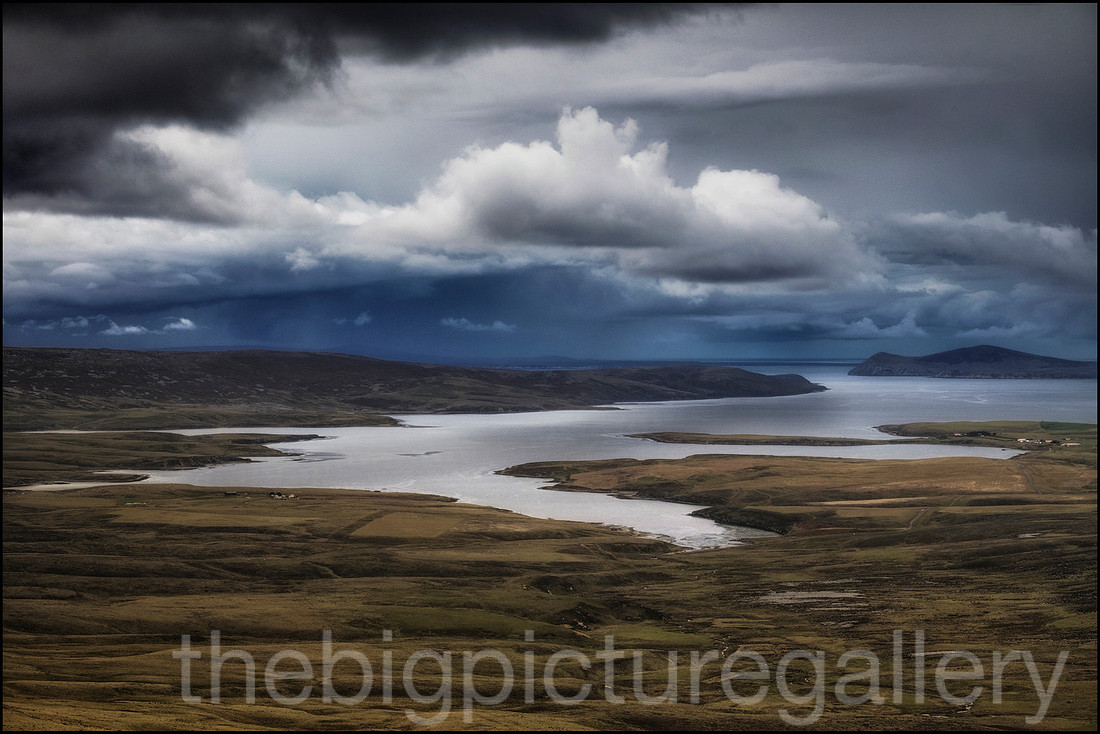 San Carlos from Sussex Mountain
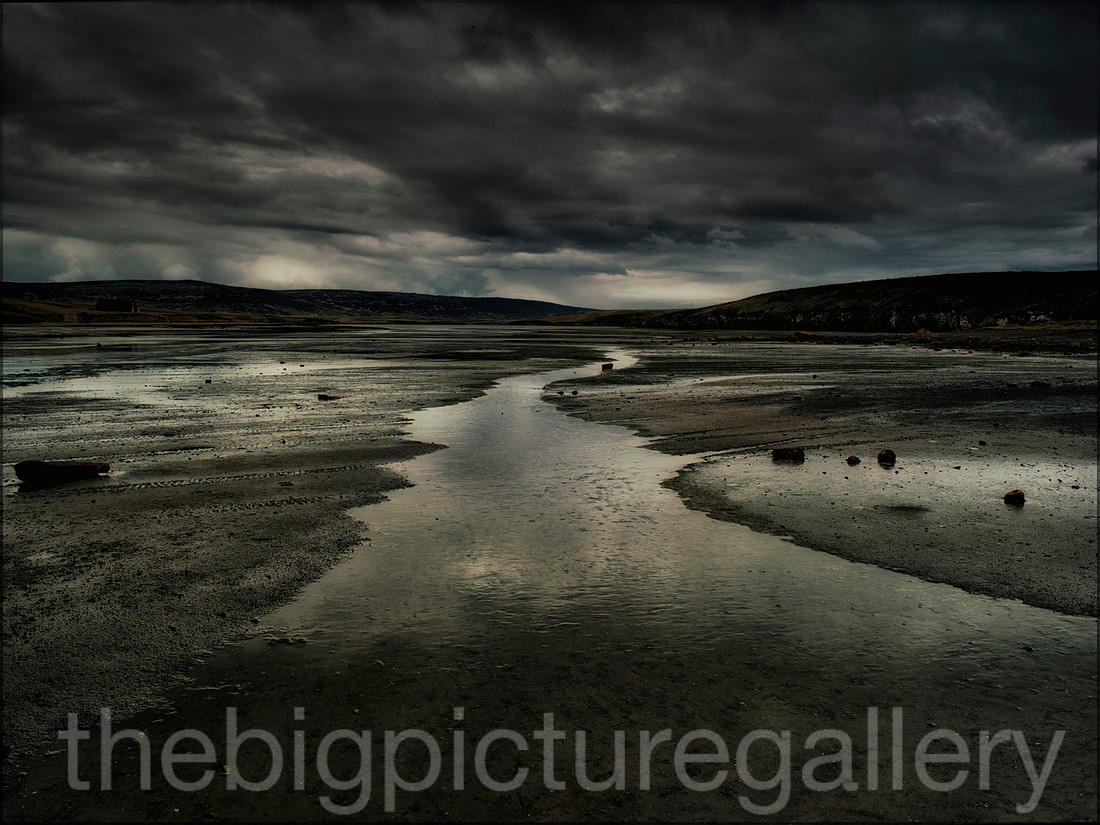 As darkness falls, San carlos East Falkland
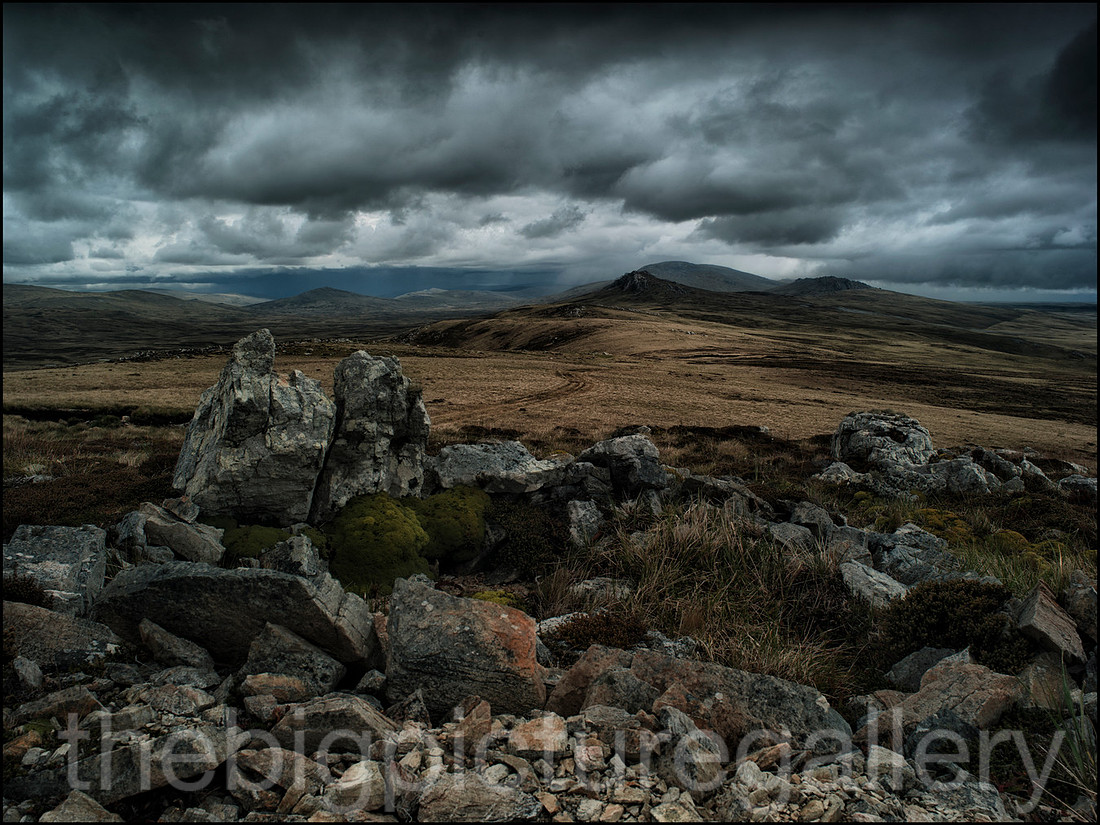 Old 2 Para postion on Sussex Mountain
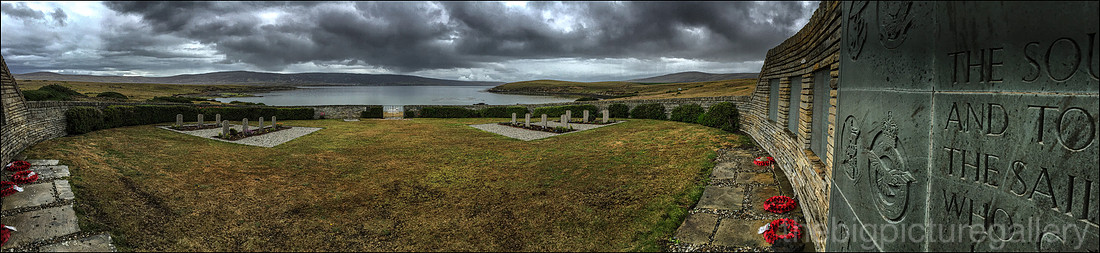 UK Forces cemetary at San Carlos East Falkland
Having a full day over at Darwin and Goose Green, the light was simply stunning and I was in Landscape heaven, this rather benign landscape I was taking pictures of on this lovely January day,was such a different place 35 years ago. A place where friends and comrades died, where fine and selfless acts of heroism took place amongst the sound and sights of battle. Once again I was brought to a halt by salty tears, not this time ones of sadness, but by a feeling of immense pride in our battalions, and it's endevours during those hours of combat. Over the next few days I really did begin to see how the Falklands had grown and prospered, and what we achieved back in 1982 was so worthwhile.
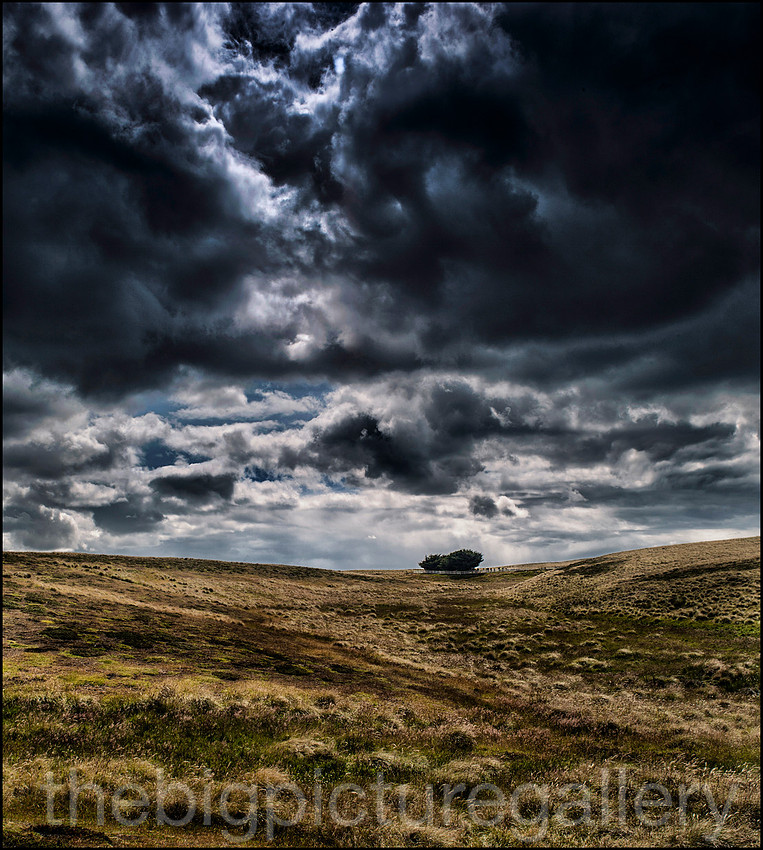 Cemetary at darwinA little wooded copse under a rather magnificent sky
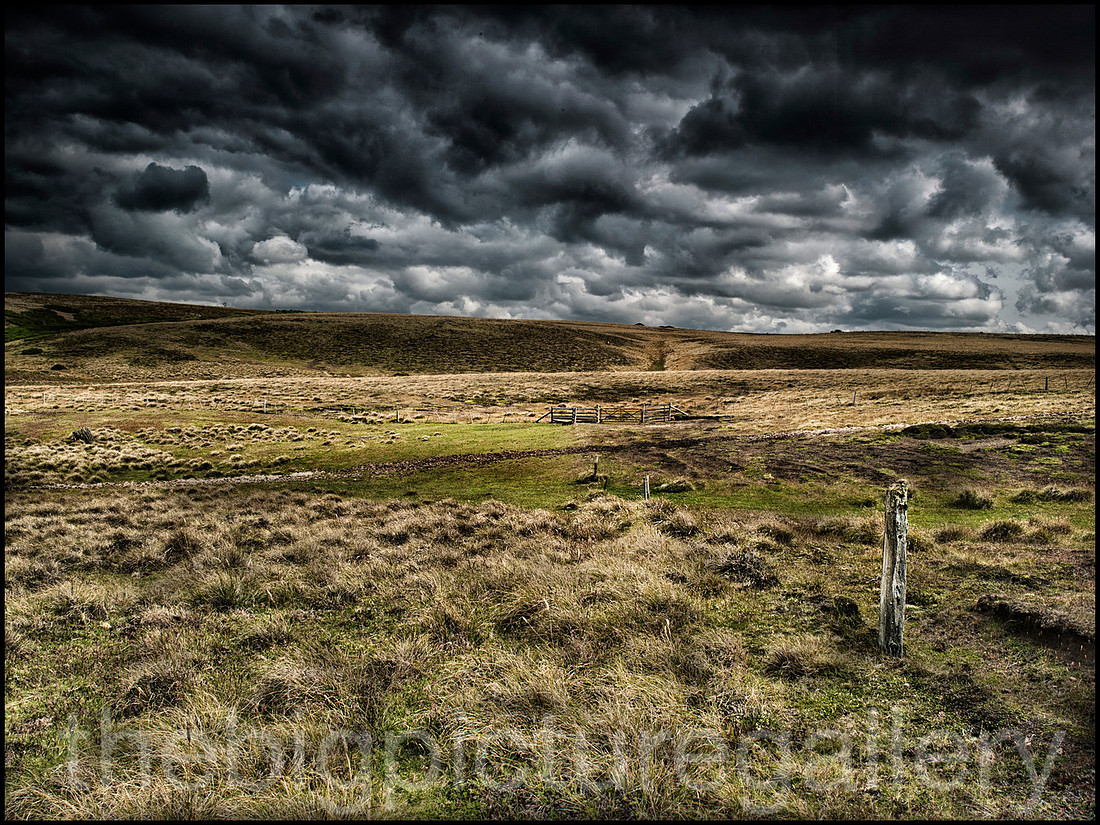
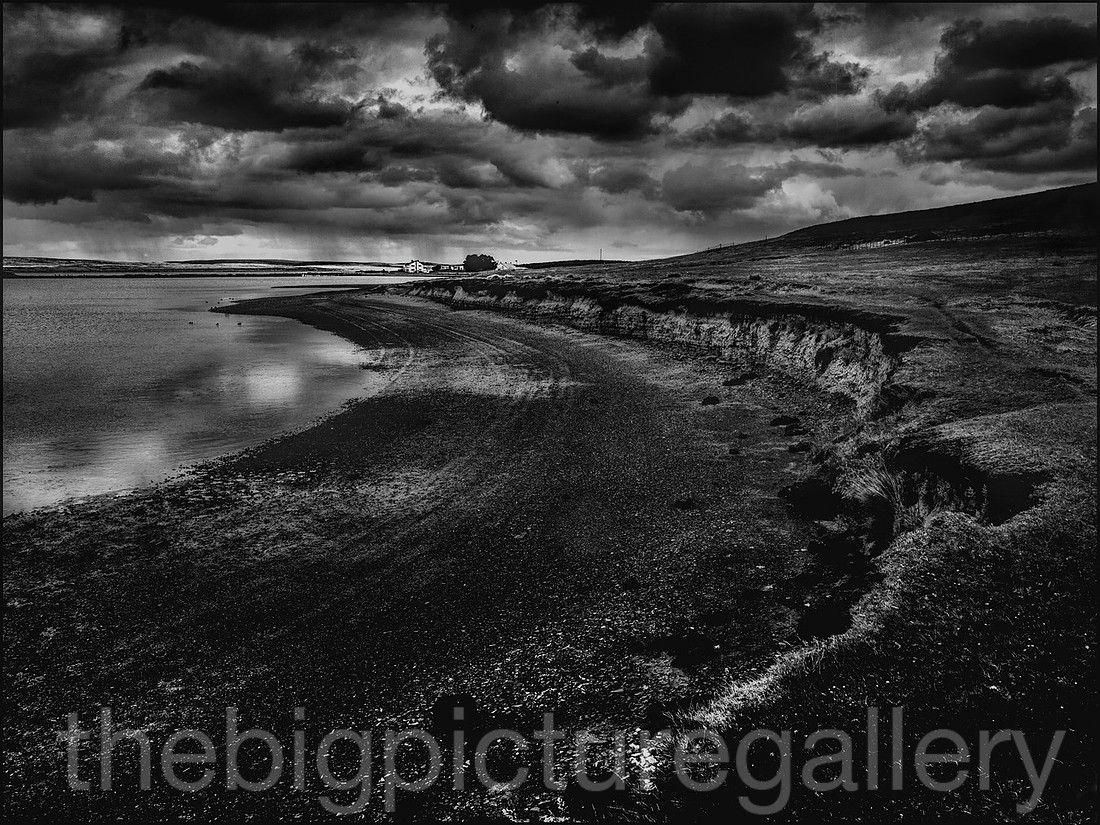 Small Cove at darwinGoose Green in the distance
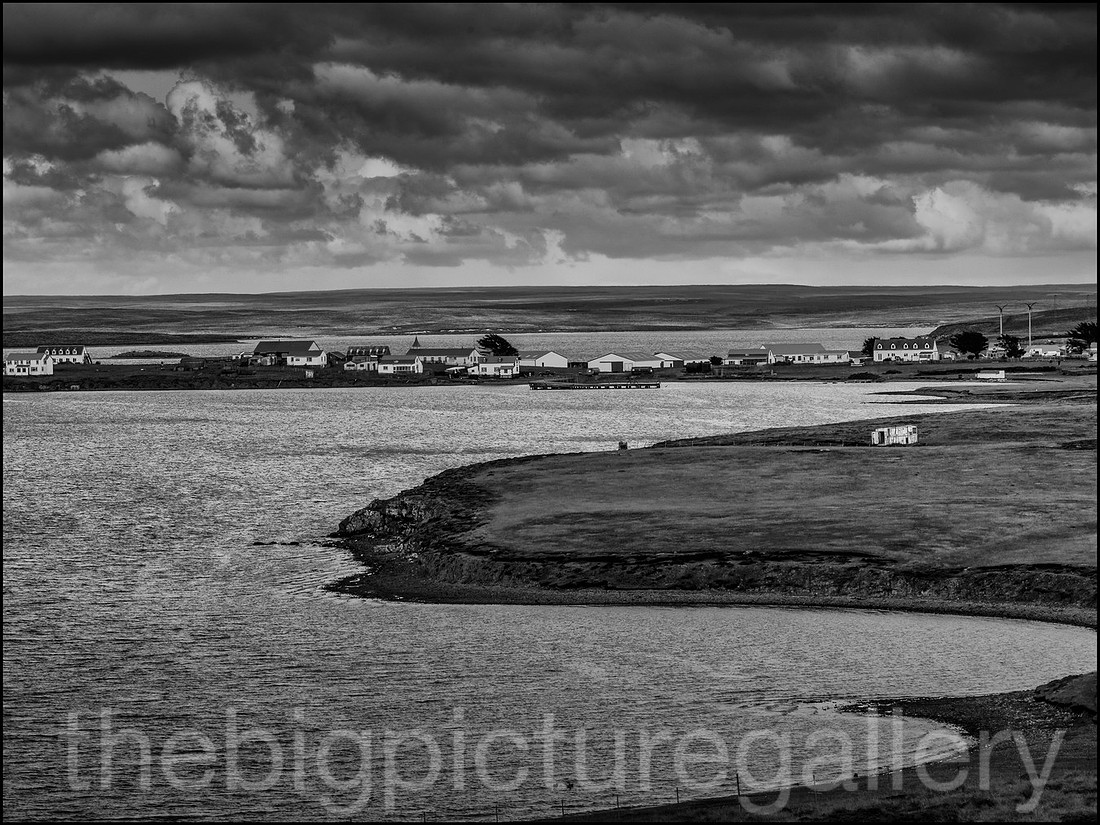
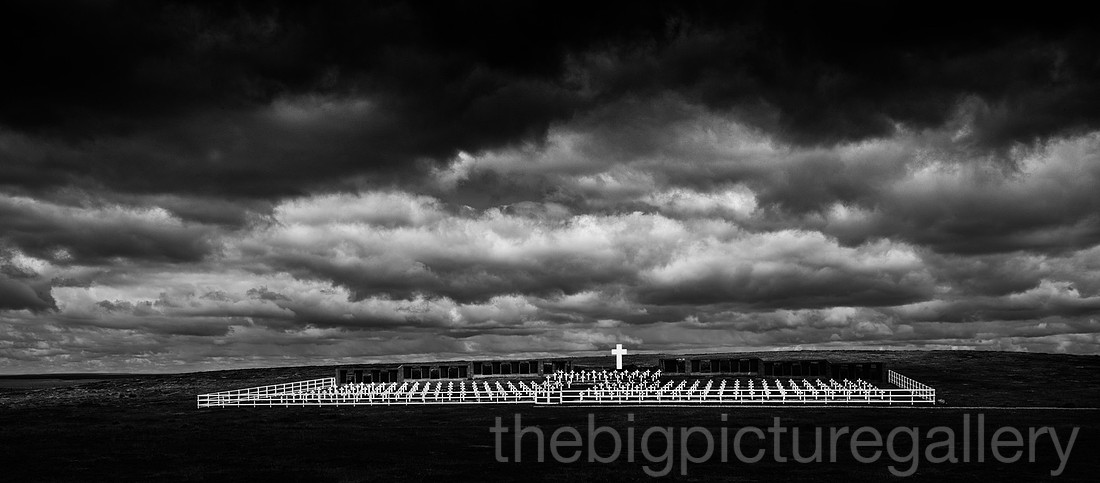
Finally my visit was coming to an end, but for the last couple of days I would fly out to West Point Island, and join up with Allan and Jacqui. West Point is a truly specatacular place to live, and not for the faint hearted. A certain amount of resiliance is required, and the kelpers have it in abundance. Especially when you think of the cosseted life many of us enjoy in the UK. So it was with a heavy heart that I said my goodbyes to these 2 wonderful people. The flight back to Stanley was rather impressive, Sat in the crew seat with Andrew Azalia the FIGAS pilot, he asked me where i wanted to go, we had a memorable trip back flying over San Carlos and Ajax Bay, Goose Green, Fitzroy, Swan Inlet, finishing with a flypast of the 2 Sisters, Mount Tumbledown and the final views of Mount Longdon and Wireless ridge, before touching down at Stanley Airport, a truly amazing visit, amongst equally amazing friendly people.
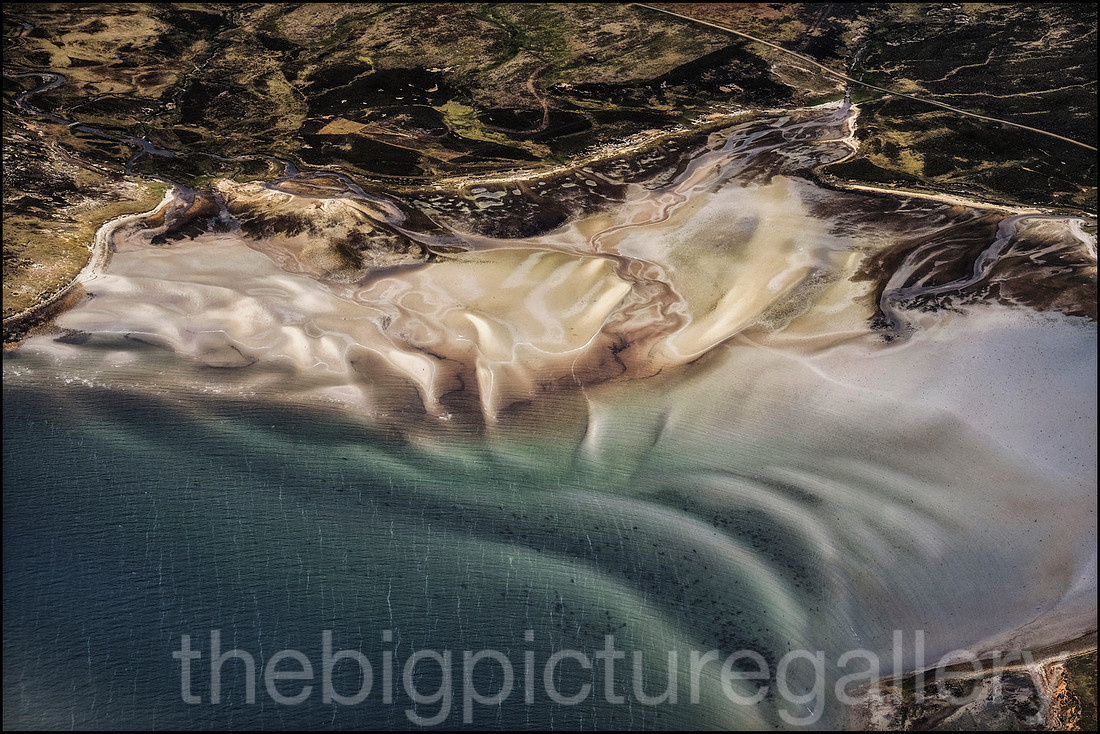 Port SussexAerial view taken from the FIGAS Islander
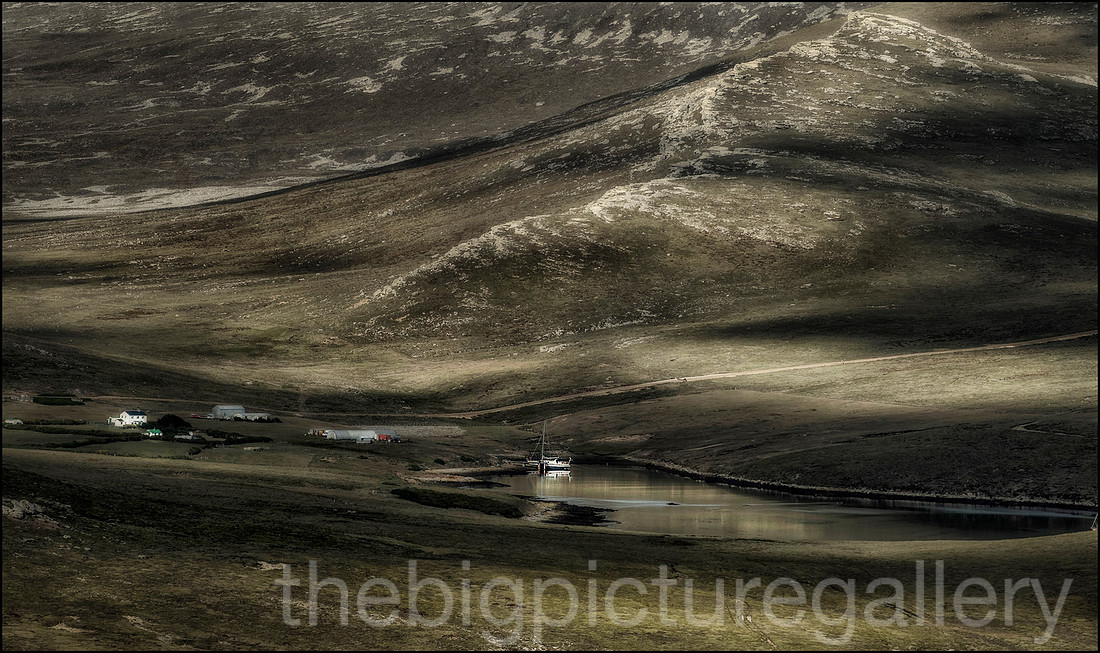 Sunlight on a small inlet, West Falkland
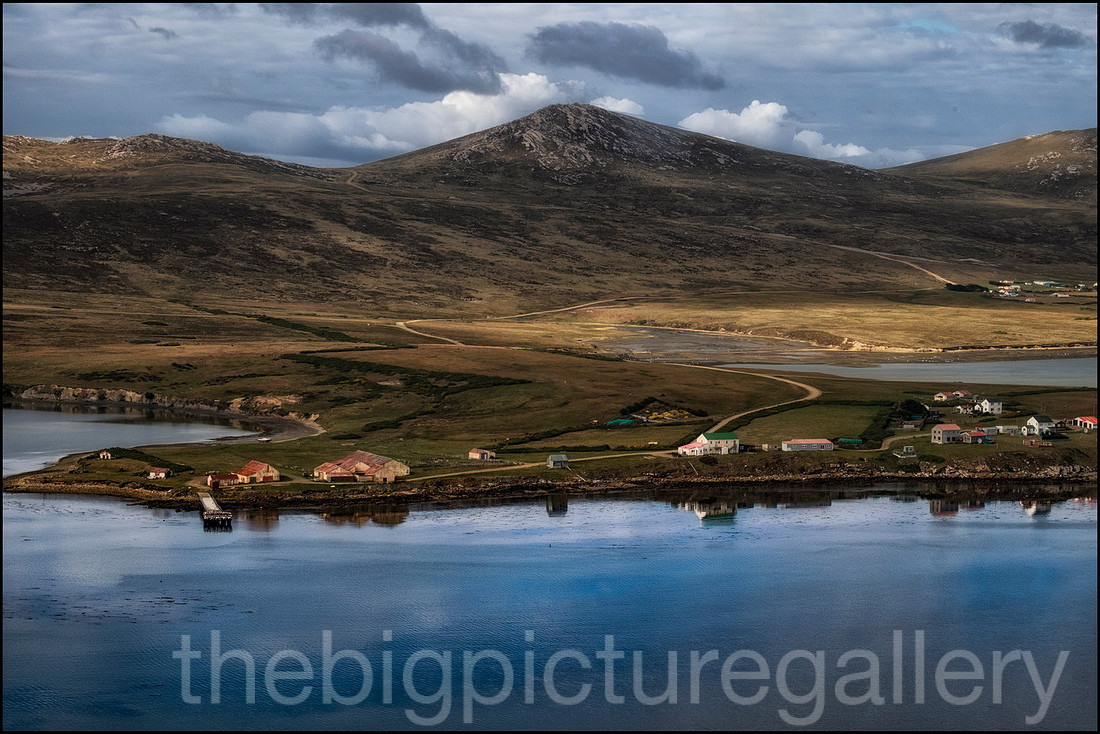
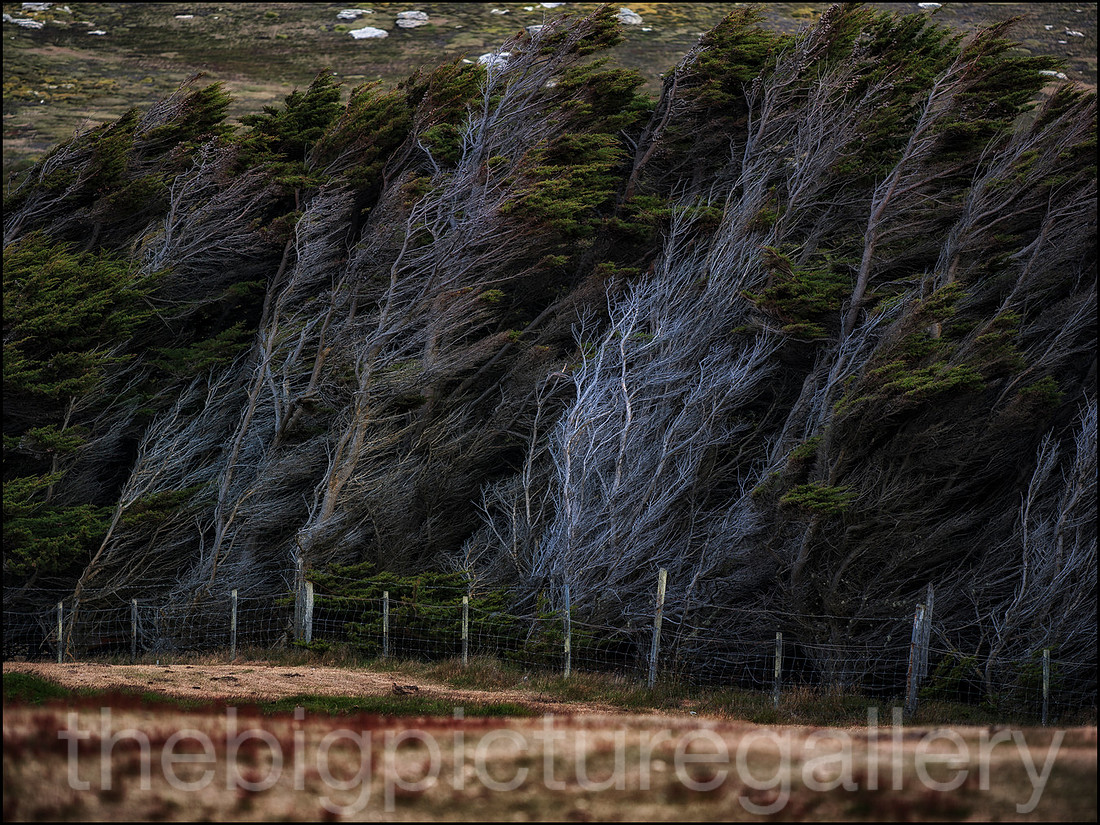 Wind scorched trees, West Point Island
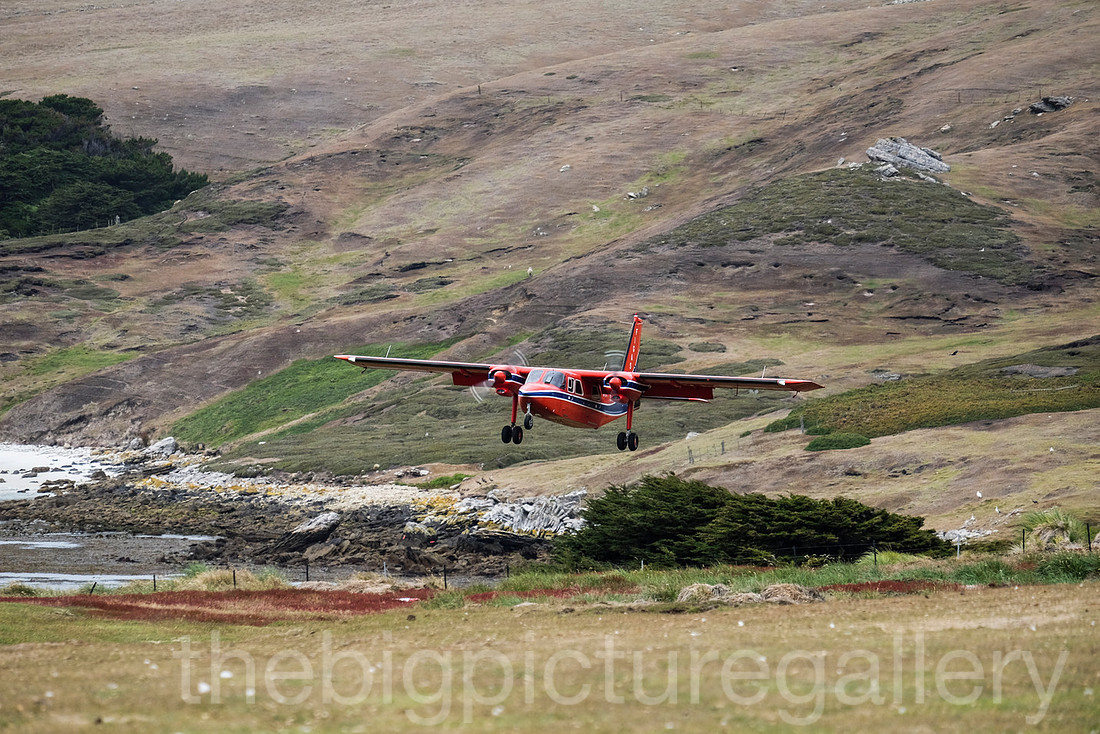 FIGAS Islander landing on West Point Island
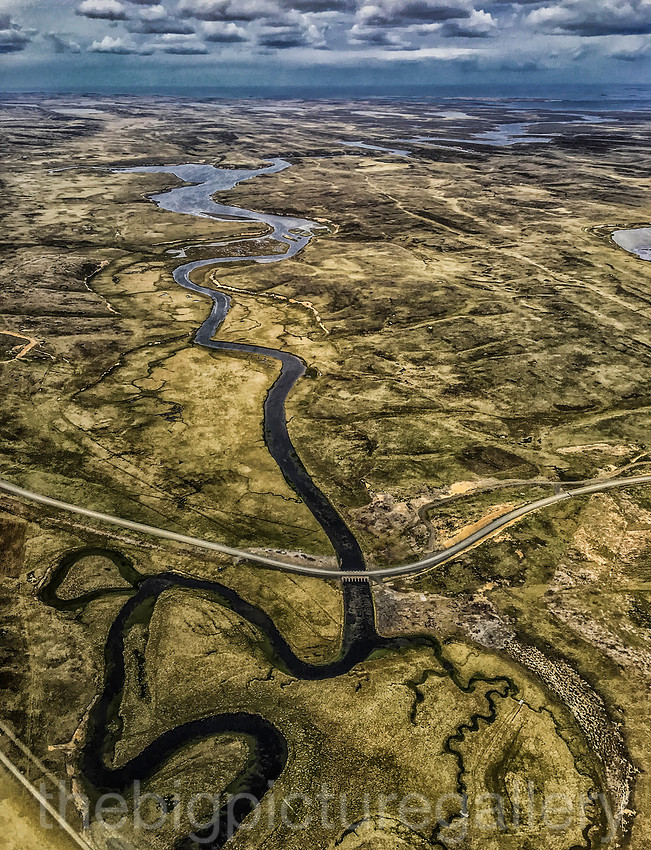 Swan Inlet and the road to Stanley
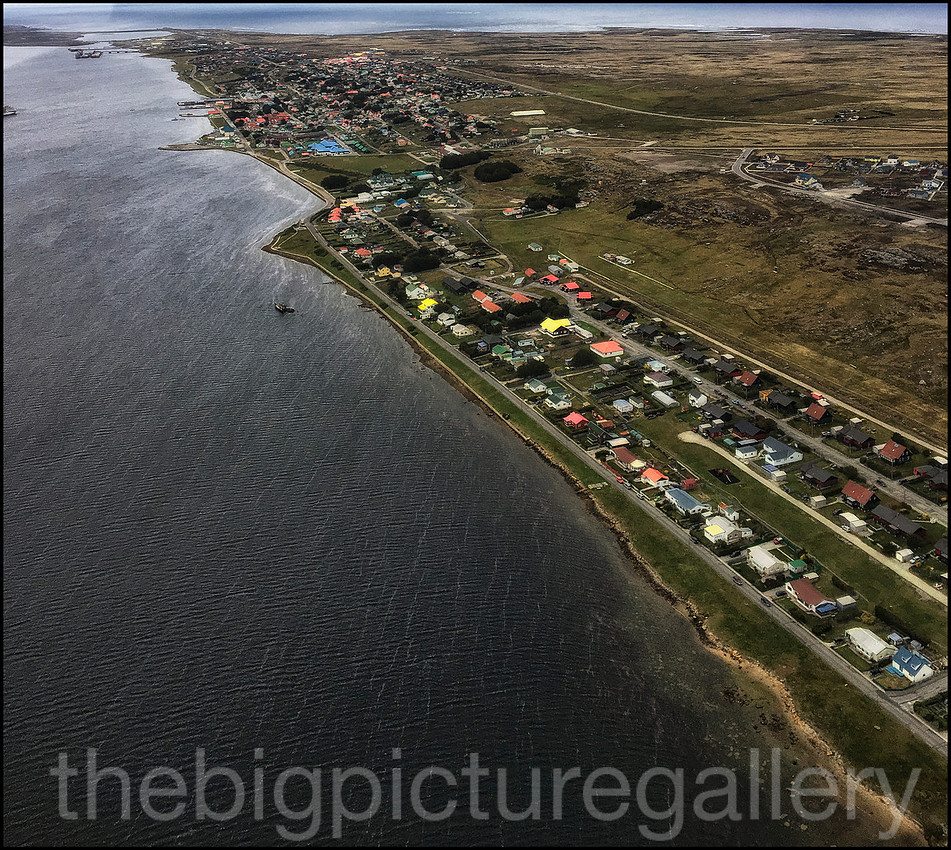 Port Stanley
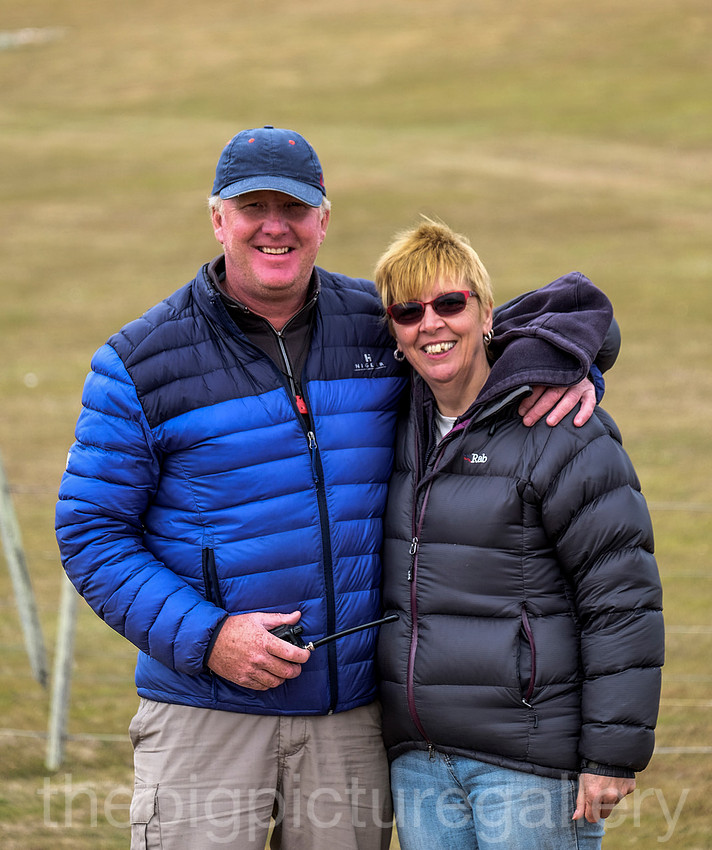 Allan and Jacqui West Point IslandWithout these two splendid people my trip would not have happened. I cannot thank you enough.
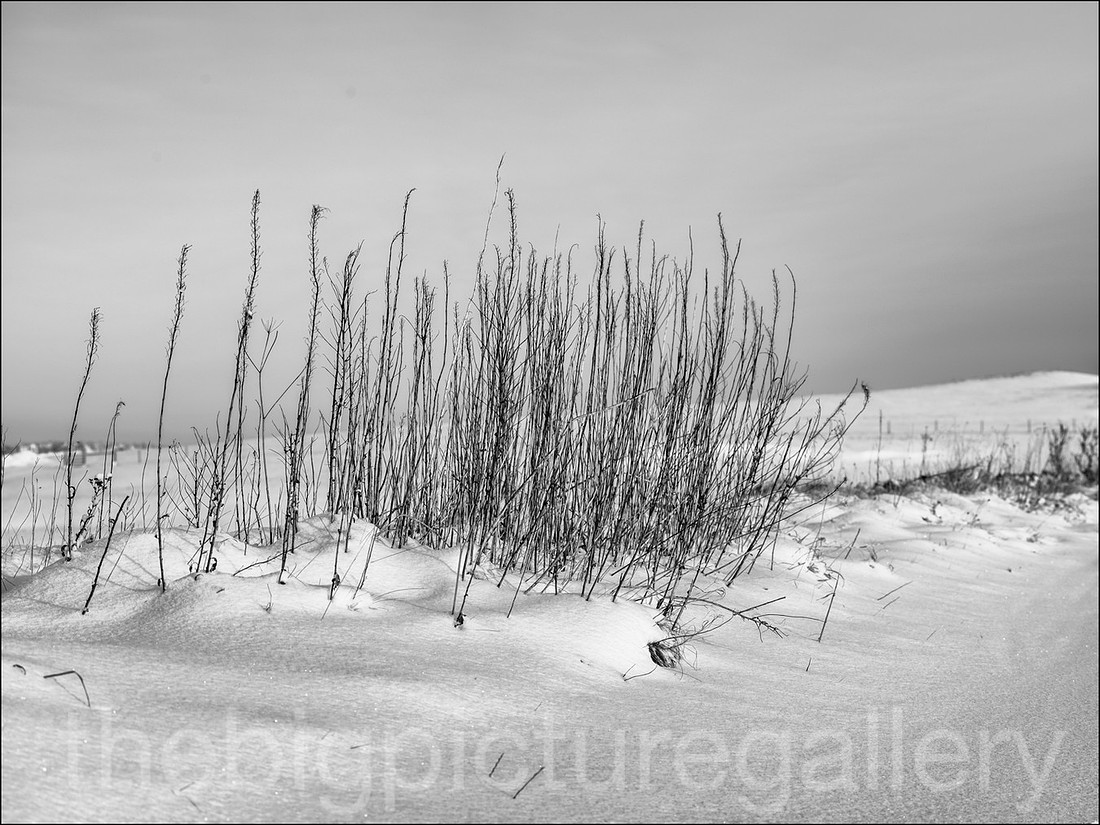
The day it snowed, we went out for a walk around the local lanes, the light was poor as it was quite late in the afternoon, I just hoped that the following day would be clear, and that I could get to capture a winter landscape in some decent light.
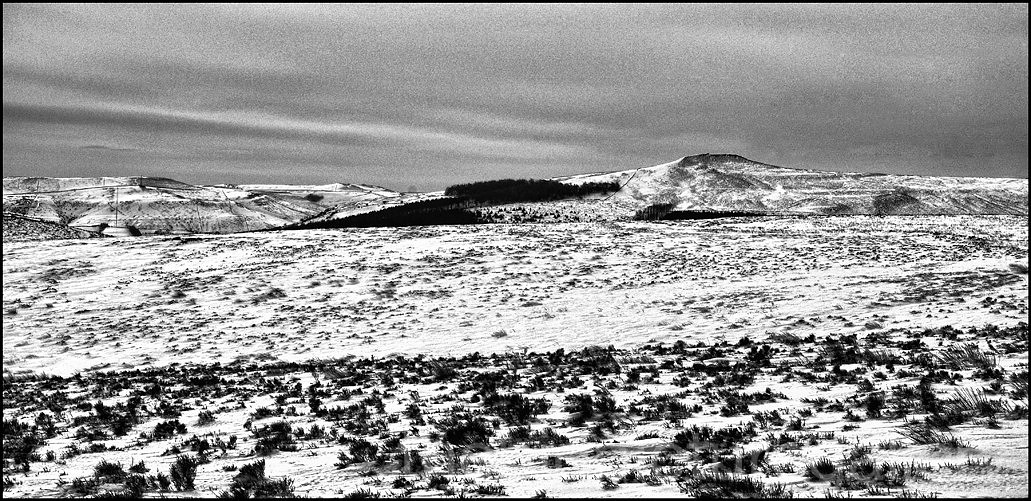
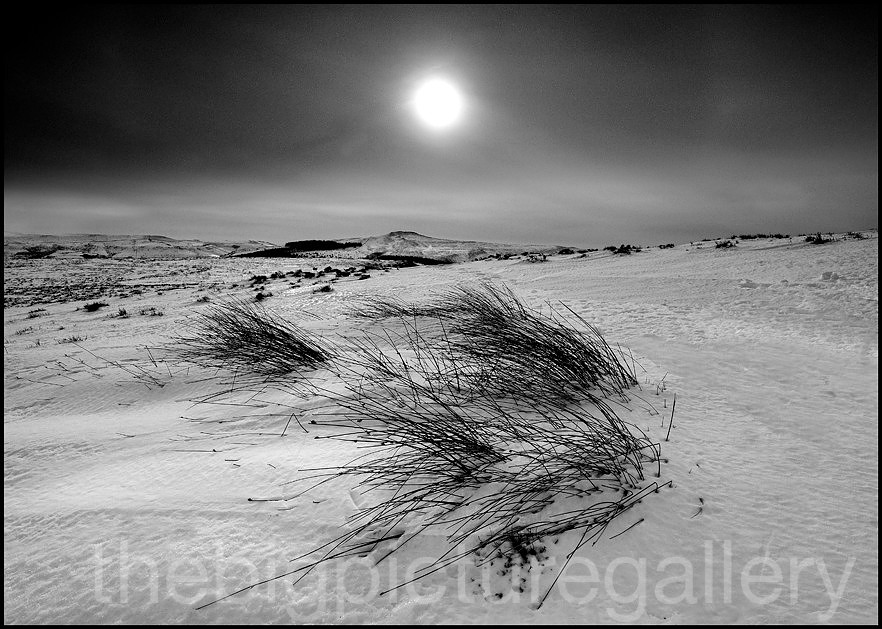
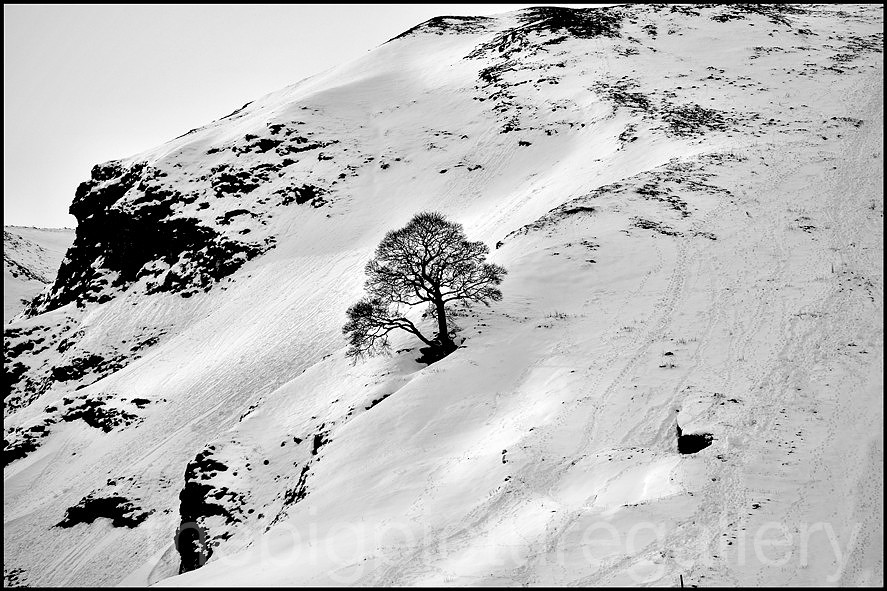
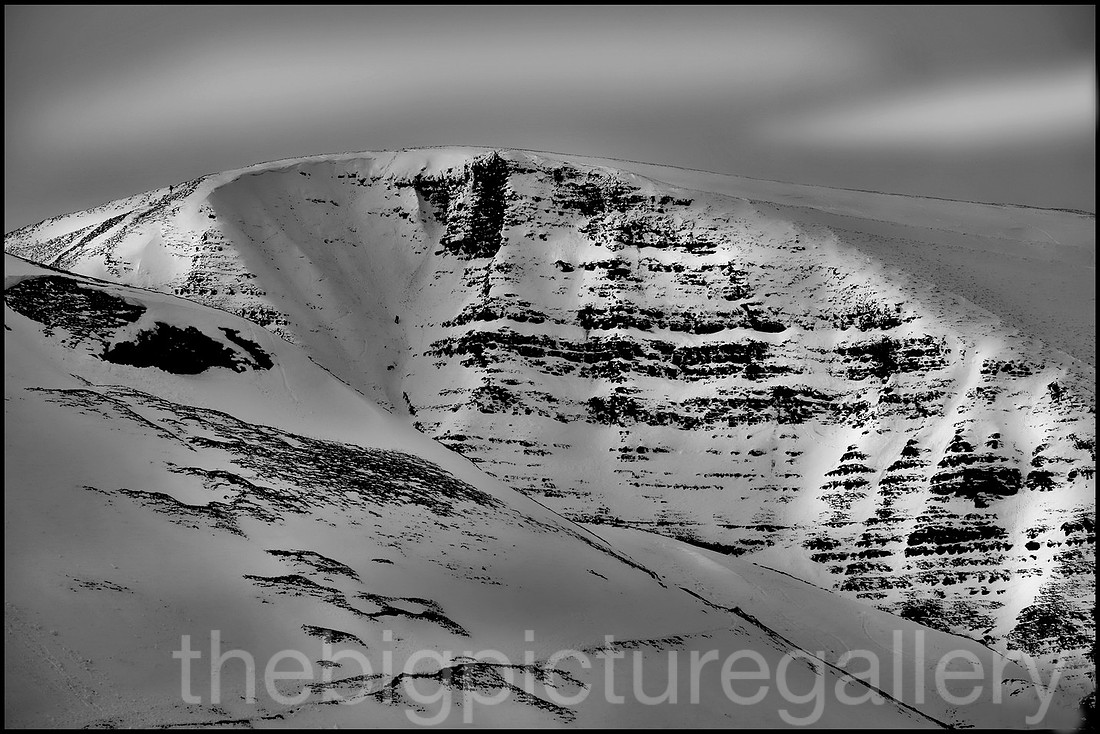
The following day was nothing short of epic, the light was spectacular and had a real alpine feel to it, I headed off to Minninglow Hill resplendent in its white coat. No one had been out before me, and the heavy covering of snow, untouched by human feet. Up on the hilll itself drifts were several feet thick, and I was upto my knees in places. Amazing how the sheep manage to get below the icy layer to get at the grass.
It's kind of special to have an opportunity to shoot in such pristine conditions. I hope you enjoy my images
All the images were taken with a Pentax 645z the lenses used 35mm, 45-85mm, and the 80-160mm.
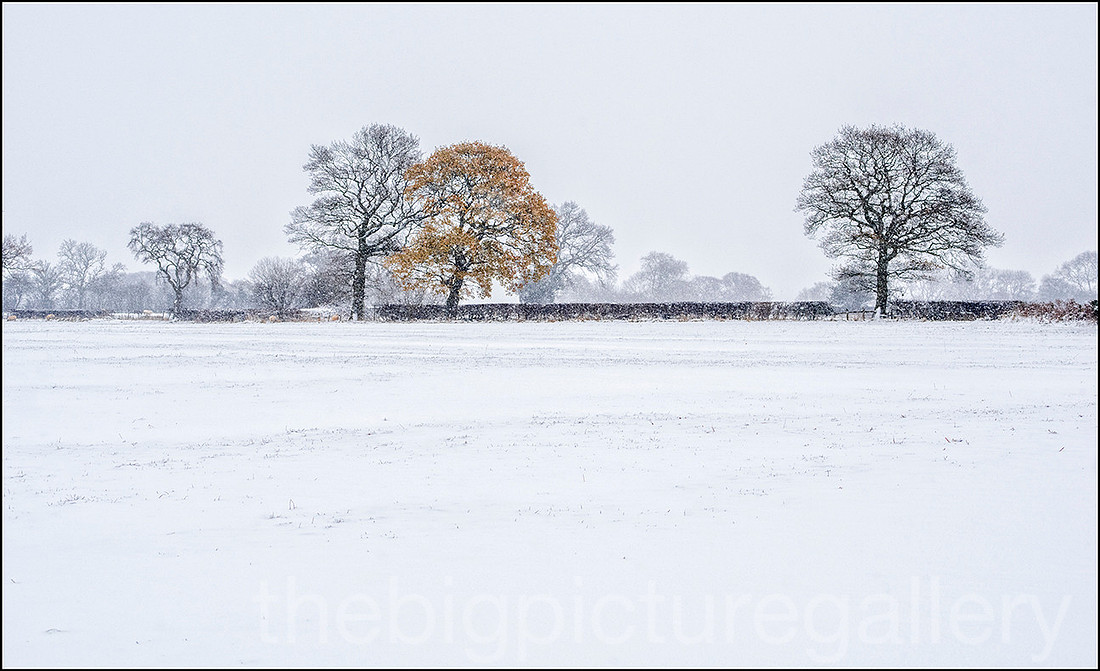 Snow Marston Montgomery
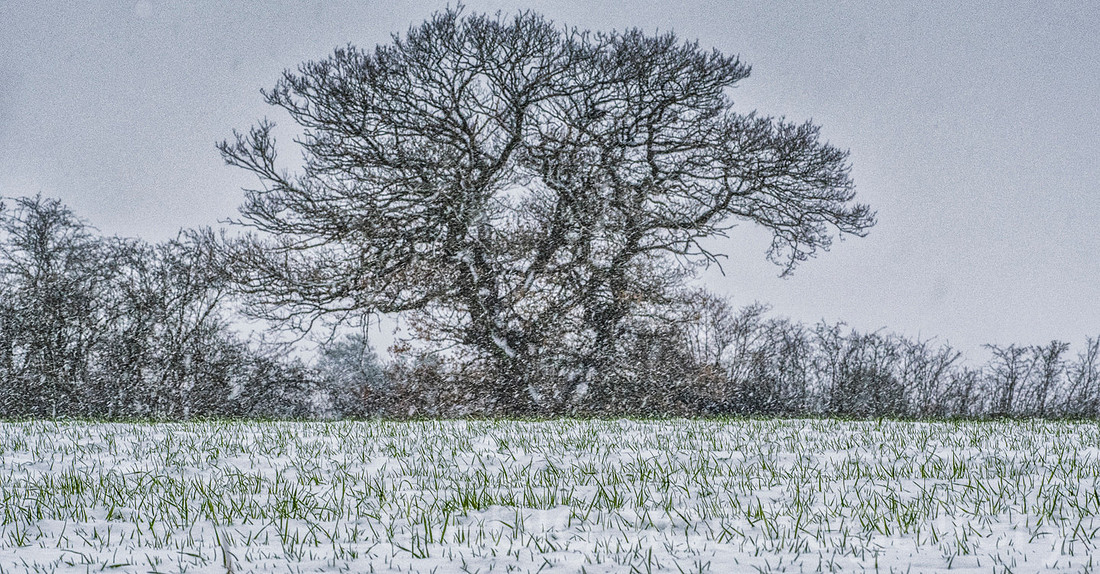 Snowfall Marston Montgomery
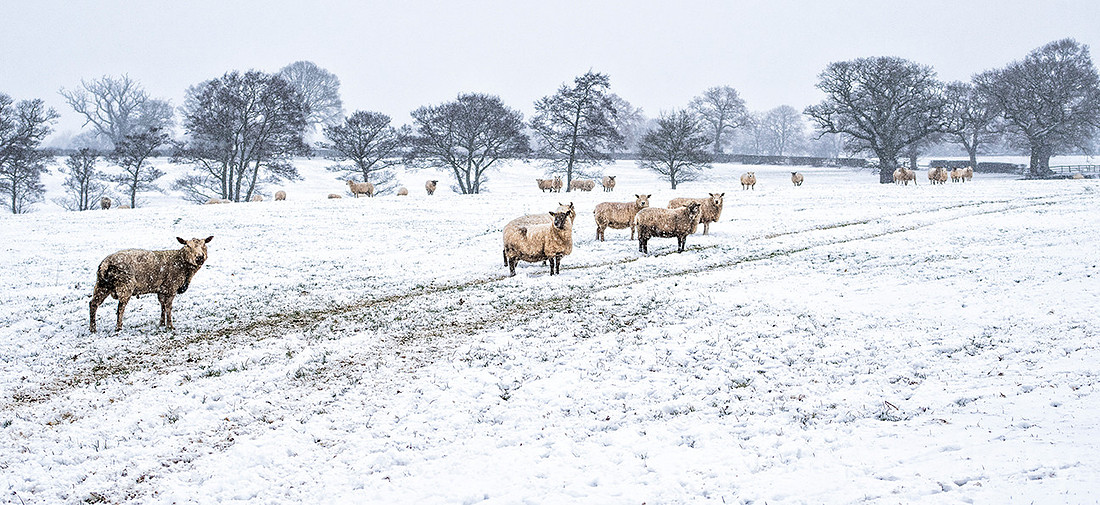 Curious Sheep
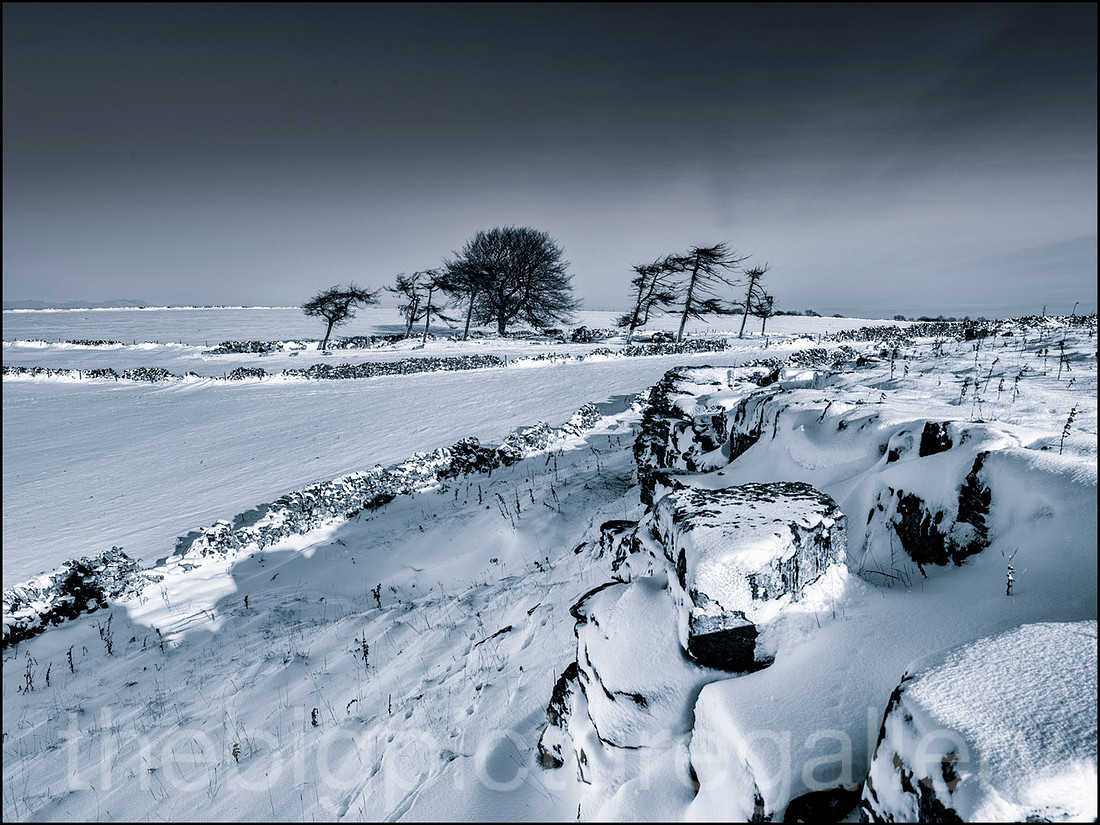 Windblown Trees Minninglow Hill
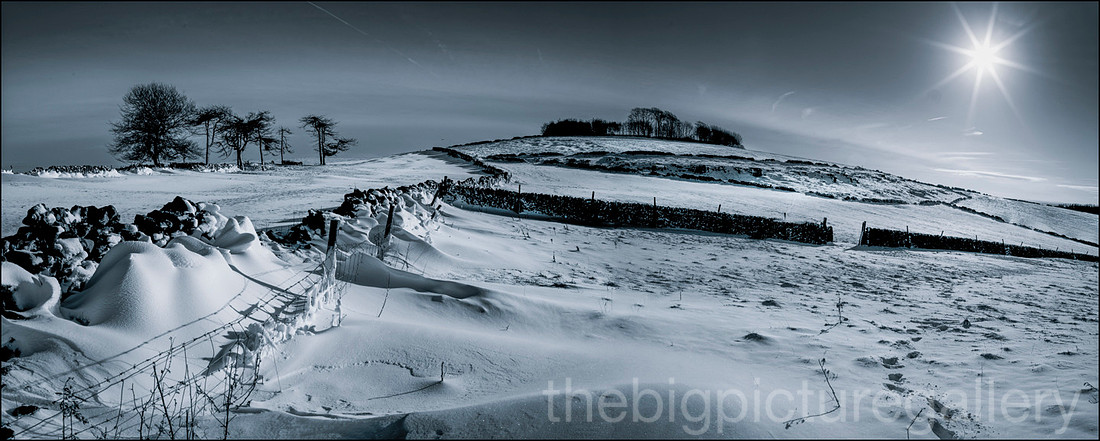 Minninglow Hill, Derbyshire3 image panorama
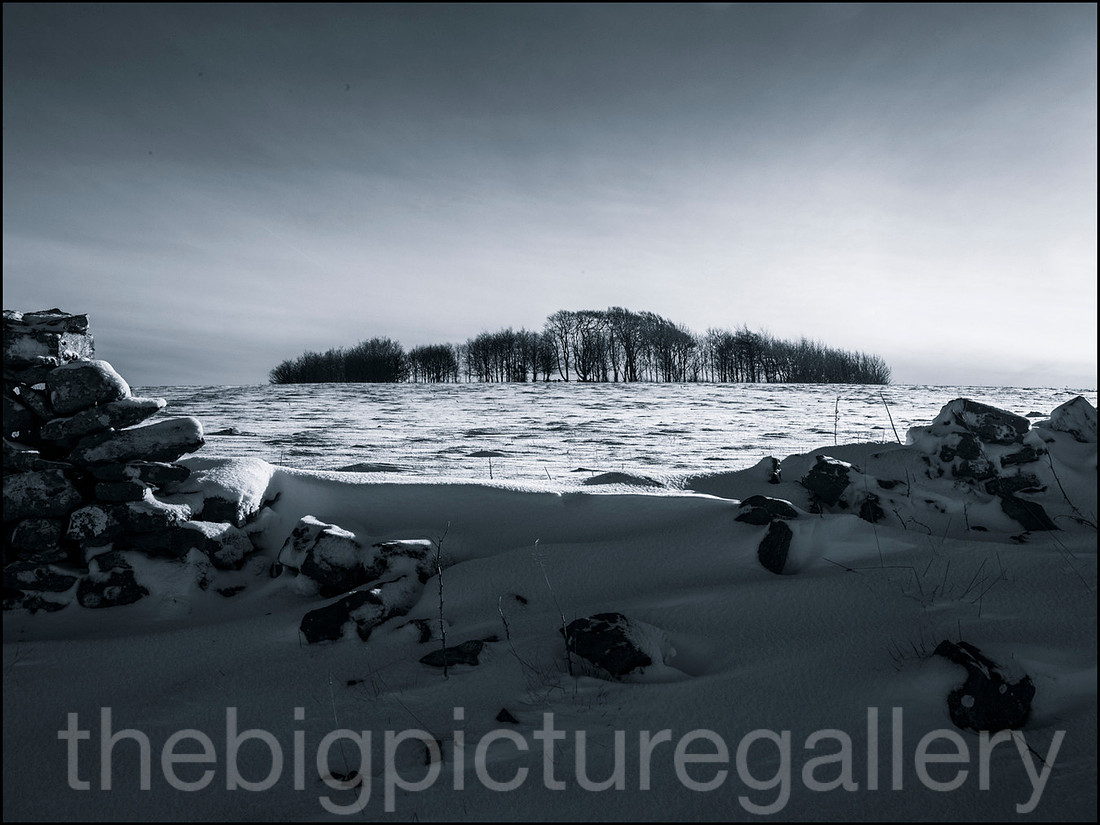 Beech Copse in Winter Minninglow
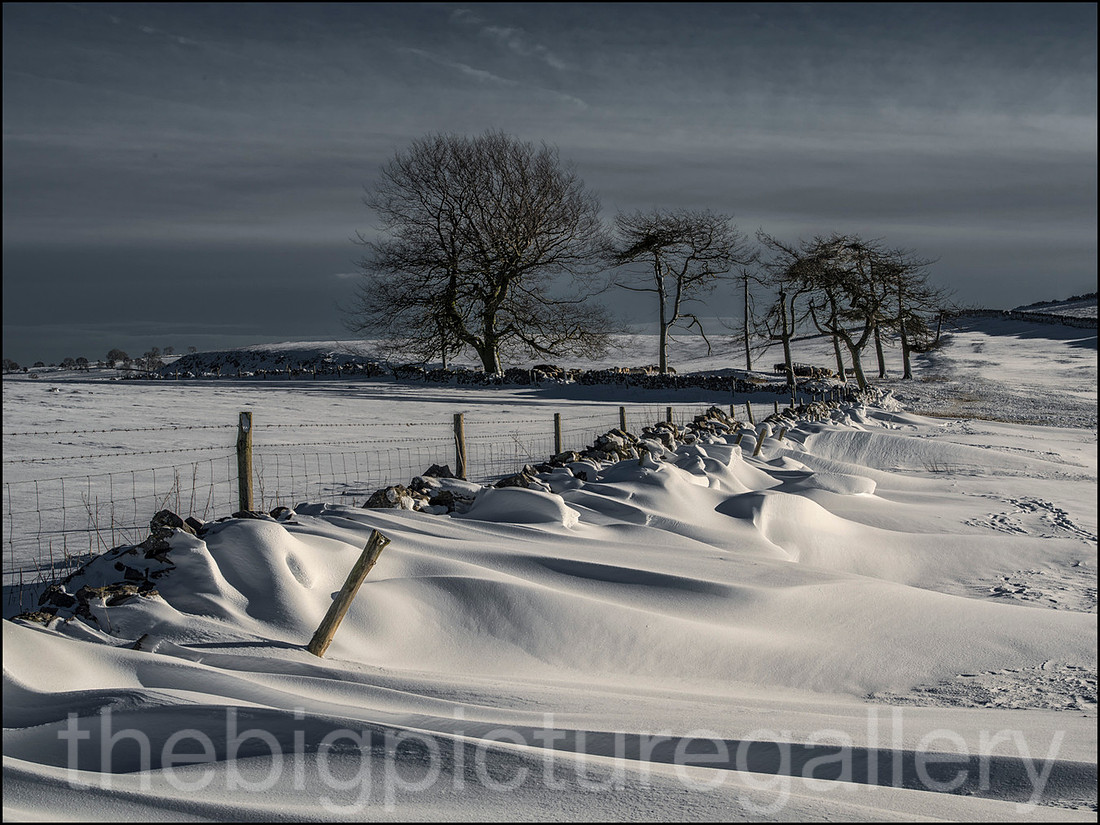 Snowdrifts Minninglow
 Textures of Winter
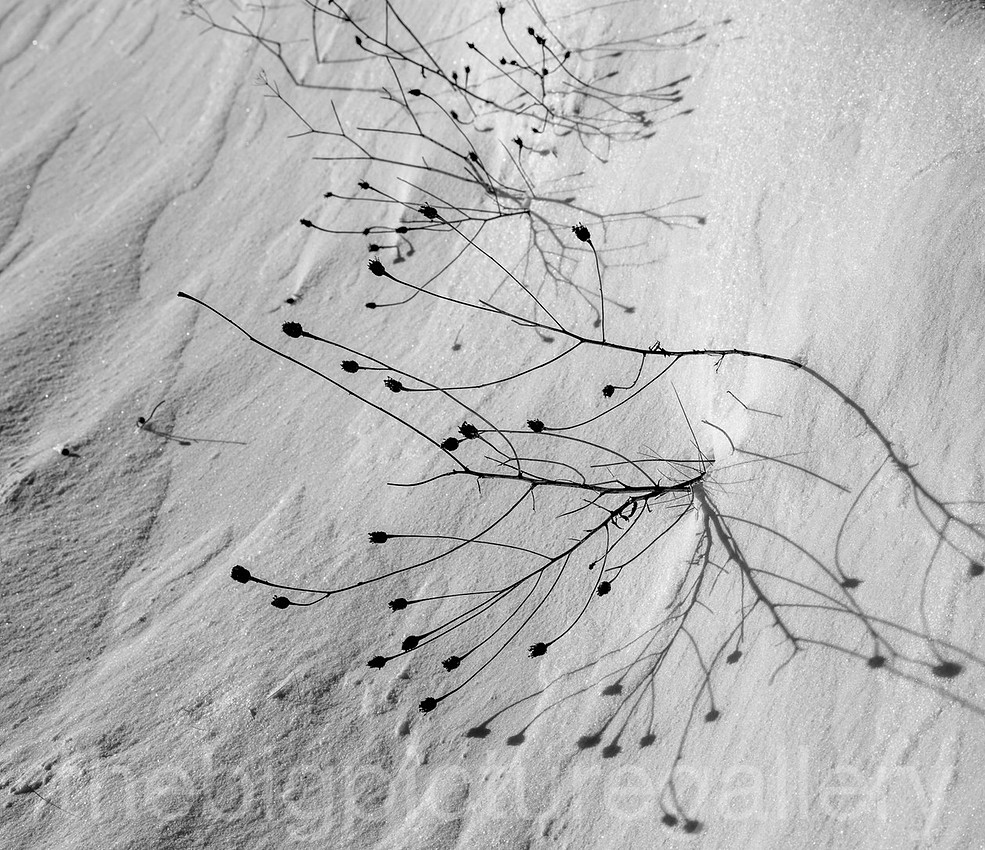 Shadow play
Capturing the colour of the season is all about timing, and of course the weather plays a huge role in this. Early winds can take the leaves off really quickly. A few days of a strong wind can leave you with nothing to admire. We've been quite lucky this year. The colour has remained for quite awhile, this combined with a few frosty mornings, has given me some great opportunities to capture the season at its best.
Some of the images in my blog, were captured after visiting the location on several occasions. Your always competing with the weather, and many times the light is just not there. It's never the case that you just turn up and the picture is just begging to be taken. All the images taken below were captured with the Pentax 645z with a variety of lenses; 35mm, 45-80, and the 80-160mm. Generally I will use an ND grad combined with a polarizer filter, this allows for a more balanced exposure, and deeper colour saturation.
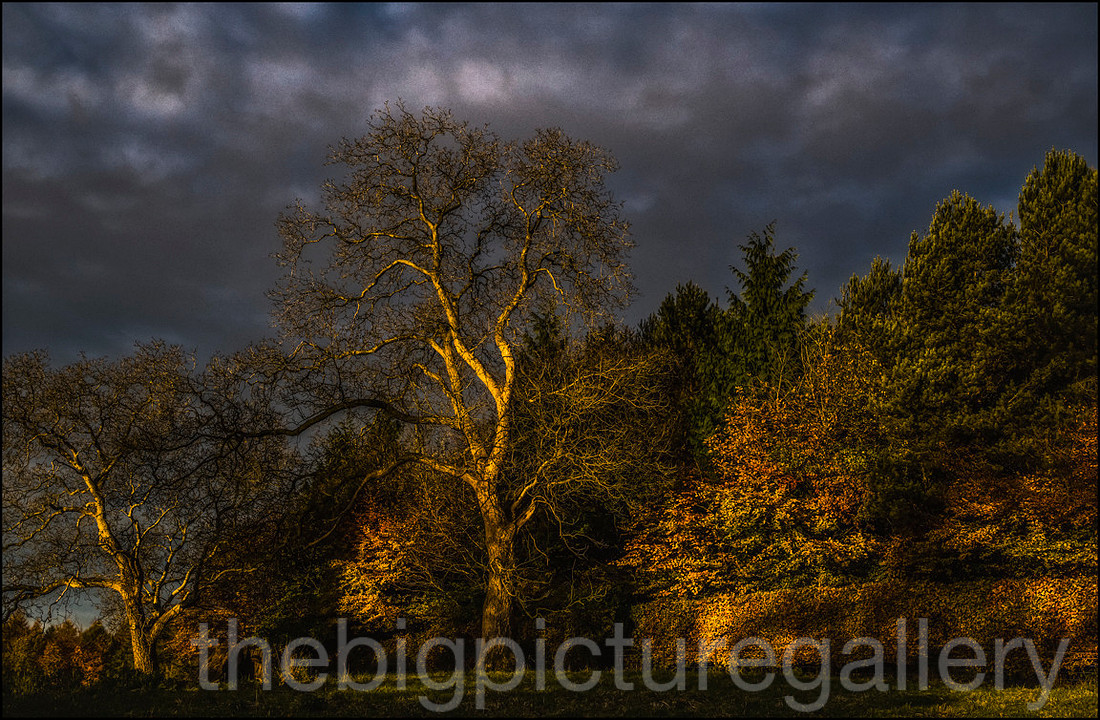
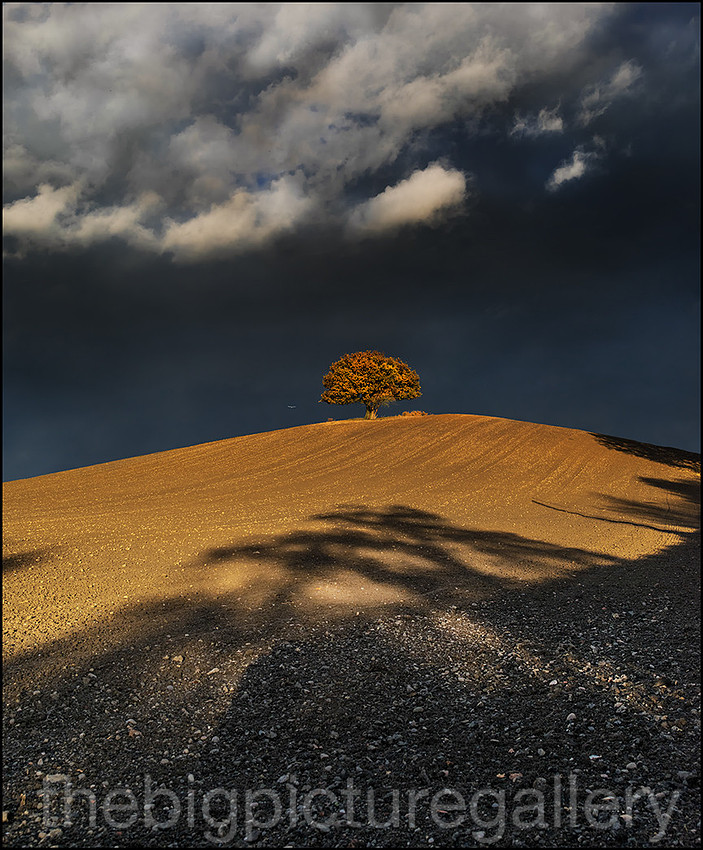 Lone tree and a stormy sky.Autumn colour in the Derbyshire dales
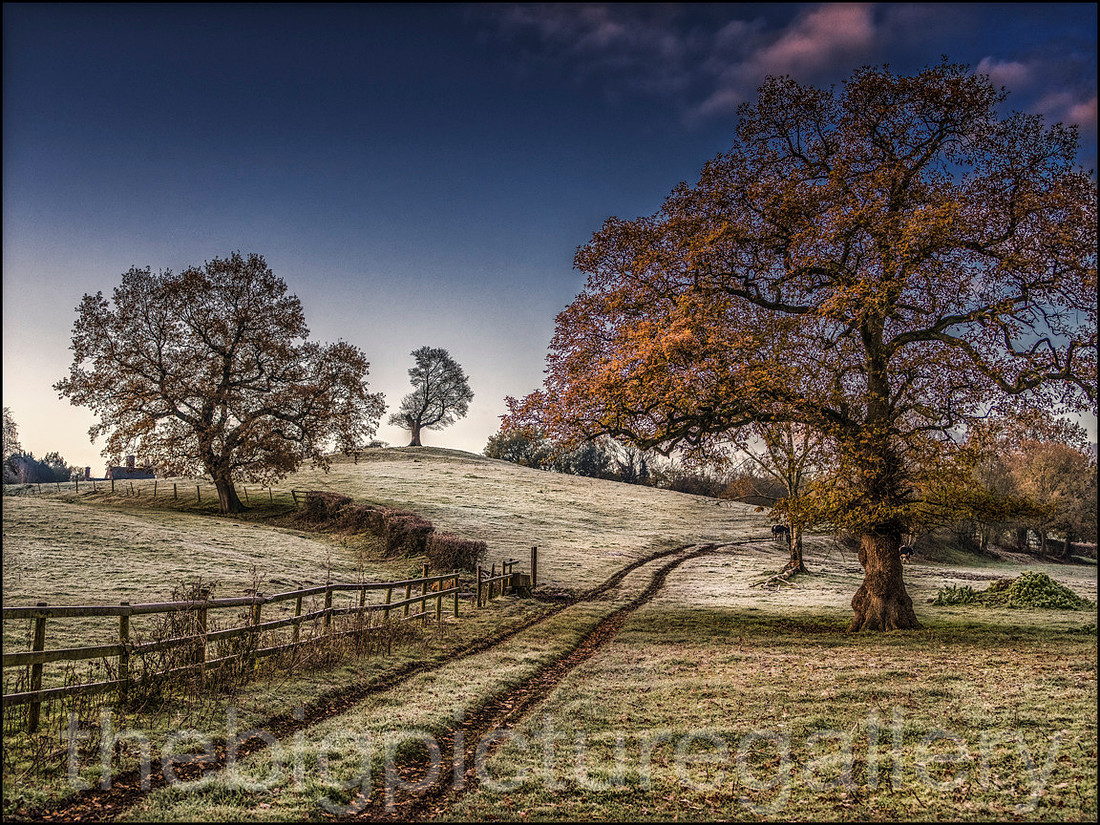
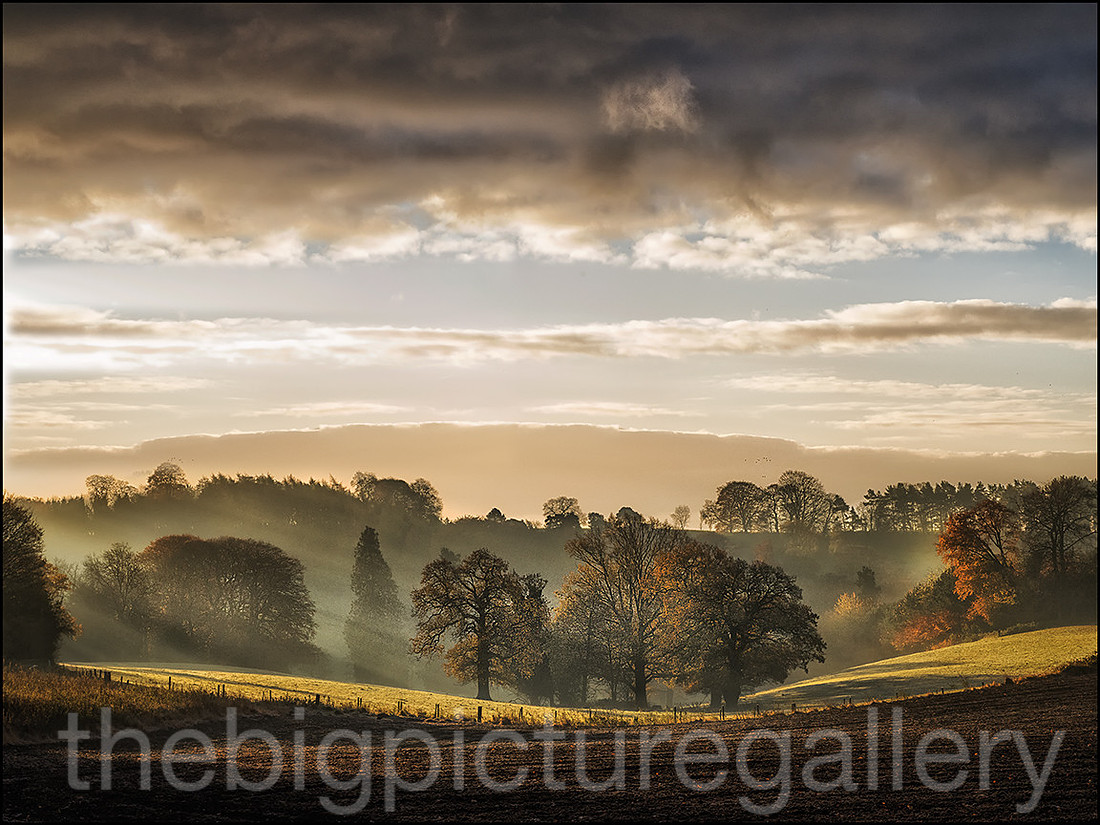 Frost and Autumn colourAutumn colour at Osmaston Derbyshire
 Early morning sunlight at Osmoston ParkOsmaston park near Ashbourne and autumn colour
 A frosty start to the dayA frosty morning in the Derbyshire dales
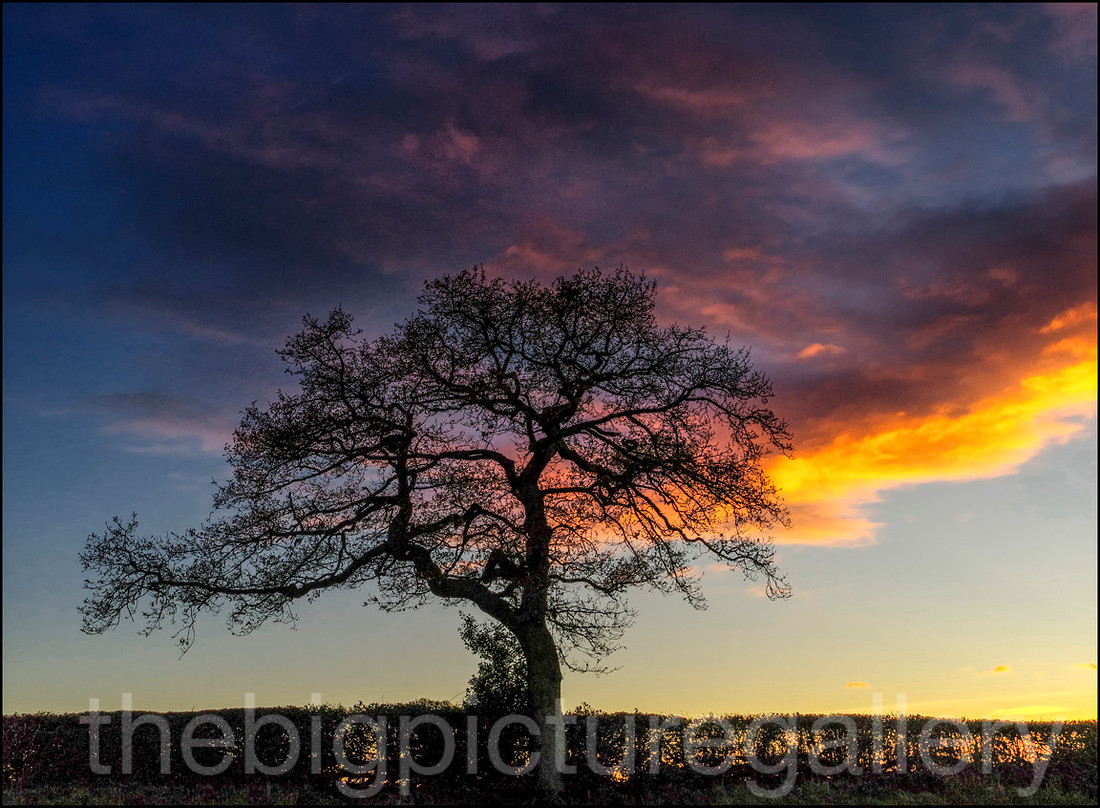 Autumn sunset Derbyshire dalesSpectacluar skies herald a cold night ahead
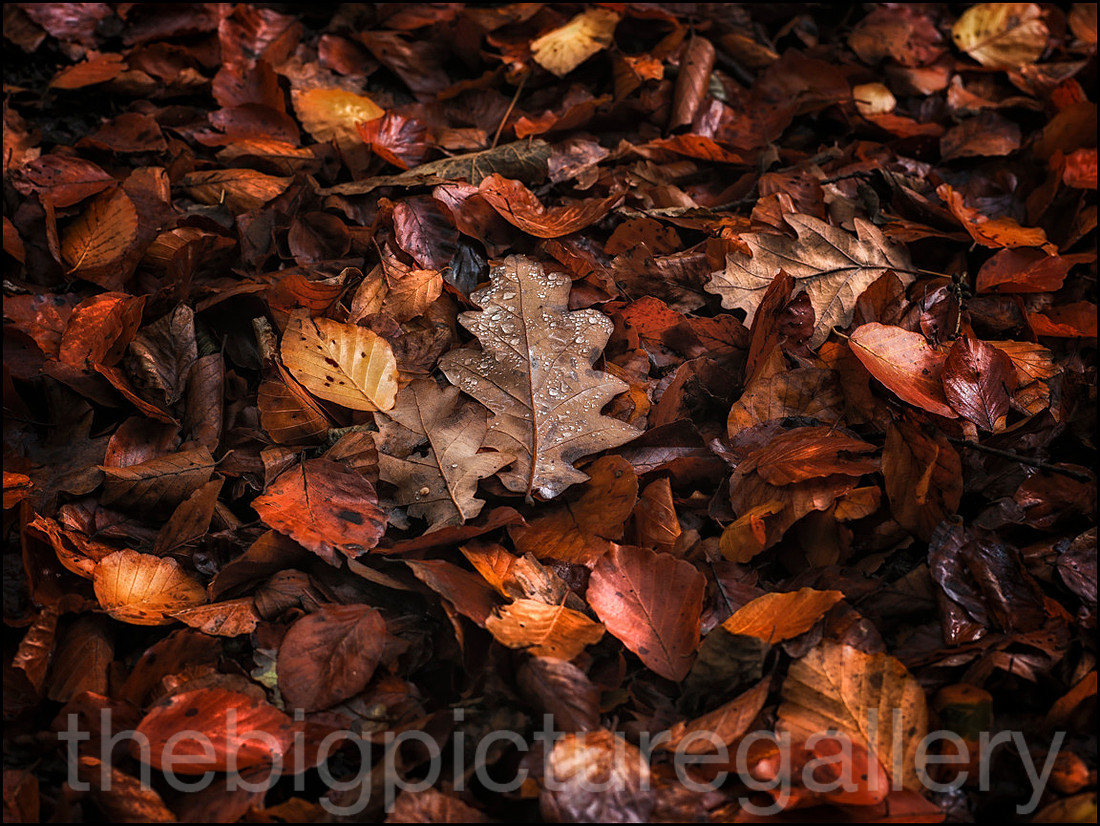 Autumn at Padley GorgeLeaf carpet
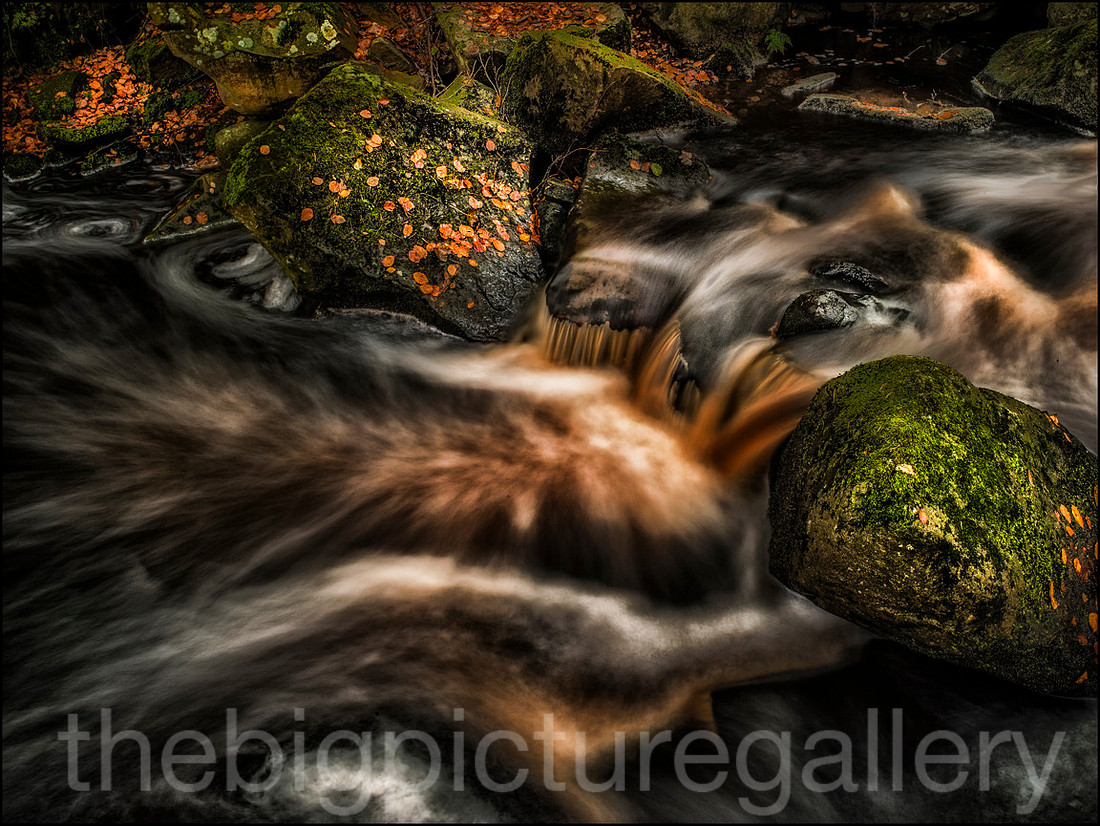 River of GoldPadley Groge
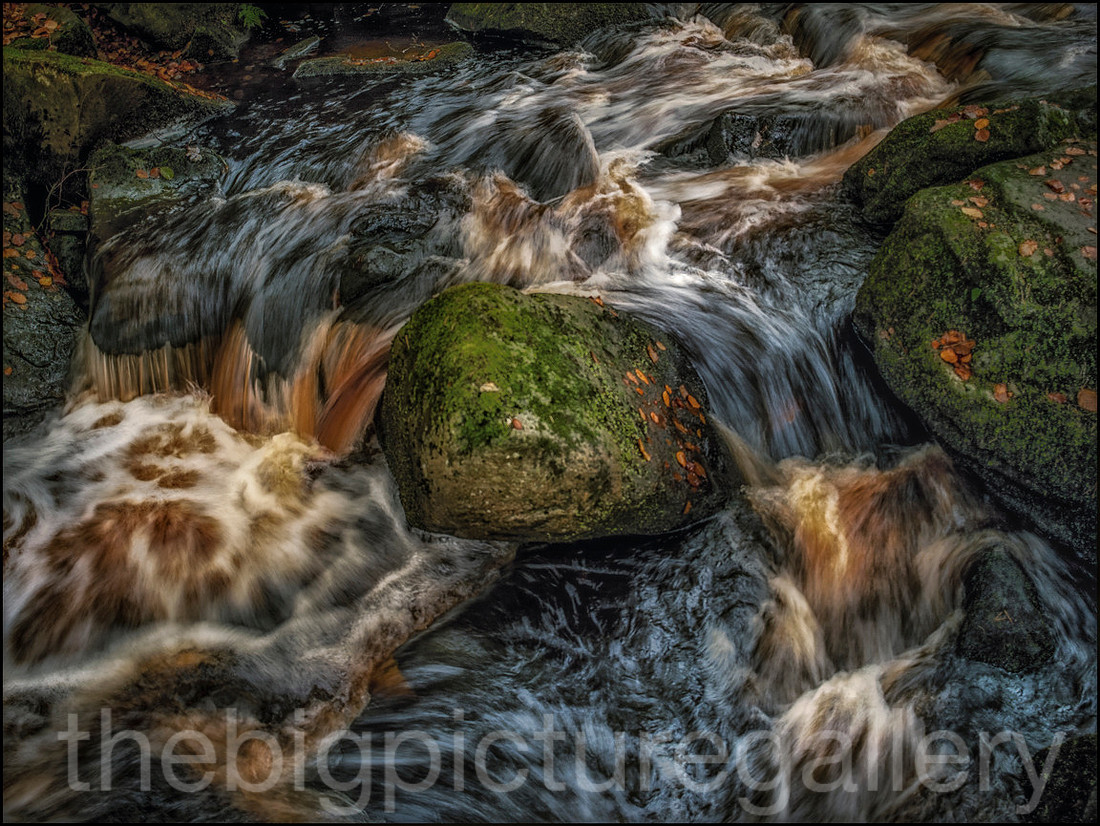 River BurbagePadley Gorge
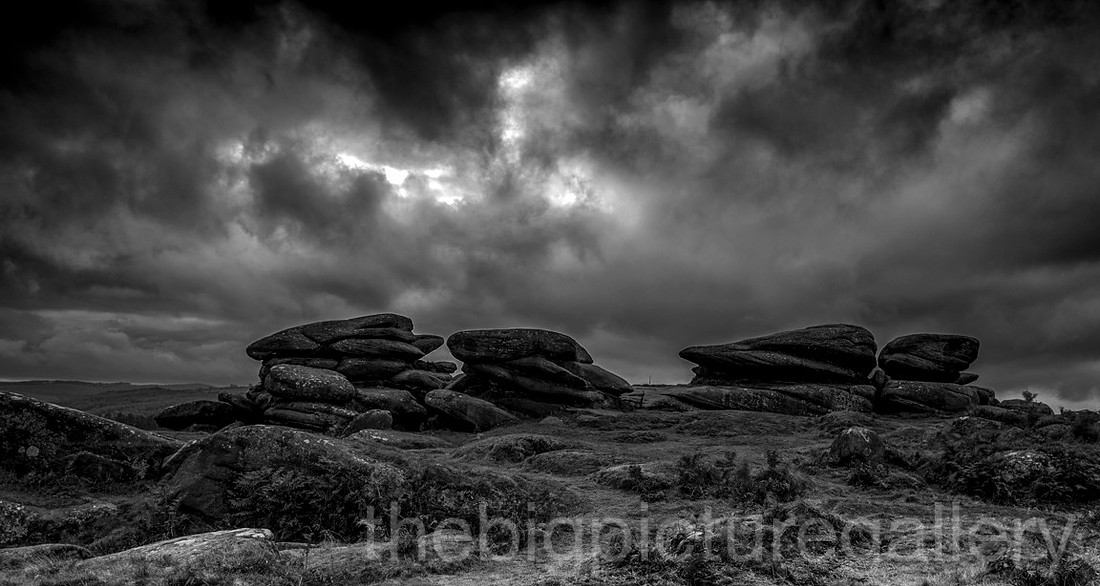 Owler TorA break in the weather
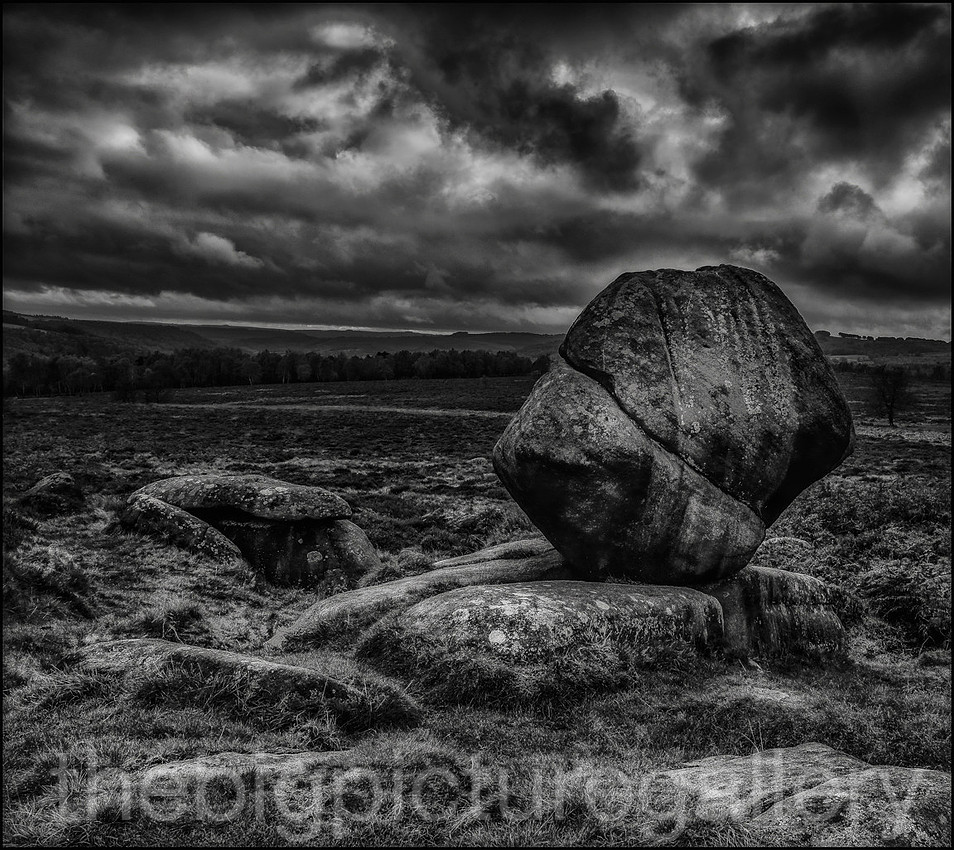 Natural balanceGritstone boulder finely balanced at Owler Tor
To judge this competition must be quite hard work, as some 250 thousand images are submitted, it's a nice feeling to know that one or two of your images has hit the right spot and caught the judges eye. When i submit a panel of images, I am very brutal in my choice, and spend quite a few hours looking at the merits of each image before sending my best.
I don't think there is a winning formula, but as long as you feel you've submitted your best work, no one can ask anymore of you. The rest lies with the judges. I personally think it's good to submit, as long as you don't get disappointed with the Dear John email you may get. Remember too that judging is purely what an individual feels about the subject matter, what makes the image standout among the thousands that they have looked at.
This is now the second time in 3 years that I have had an image commended, so I am pleased to think that my photography is going in the right direction, but I shoot for myself first and foremost, I don't shoot for the competition.
My 2 shortlisted entries were 2 very different images, one captured with the drone, and one with my phase one 645 back, 2 very different techniologies, the image of the tractor and the fields was very much a planned image, the other was a fluke. The image of the fields being mowed was the one that made it through to the final round. The fields had been mowed that morning I was lucky enough to drive past as they were doing it, so I figured the best way to try and capture it, would be when the sun was low enough in the sky to produce the shadows and texture. Fortunately for me the weather held and didn't cloud over, without the low sun the image would not have worked.
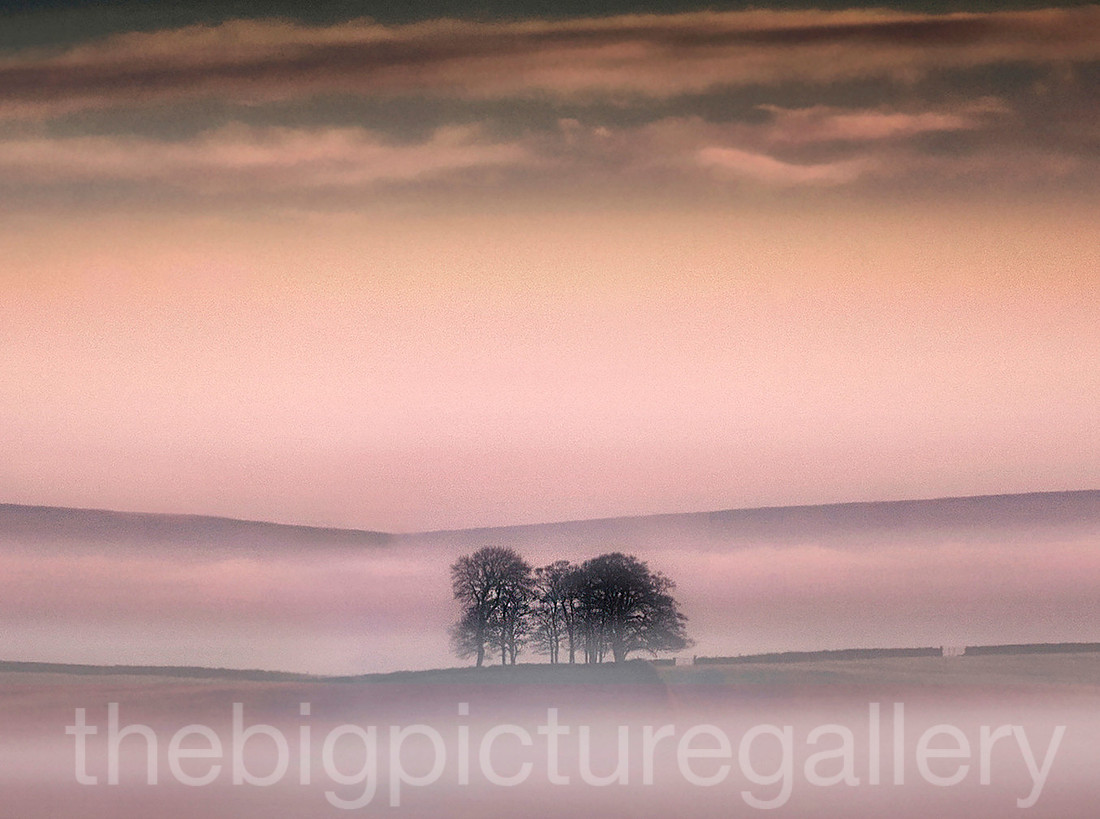
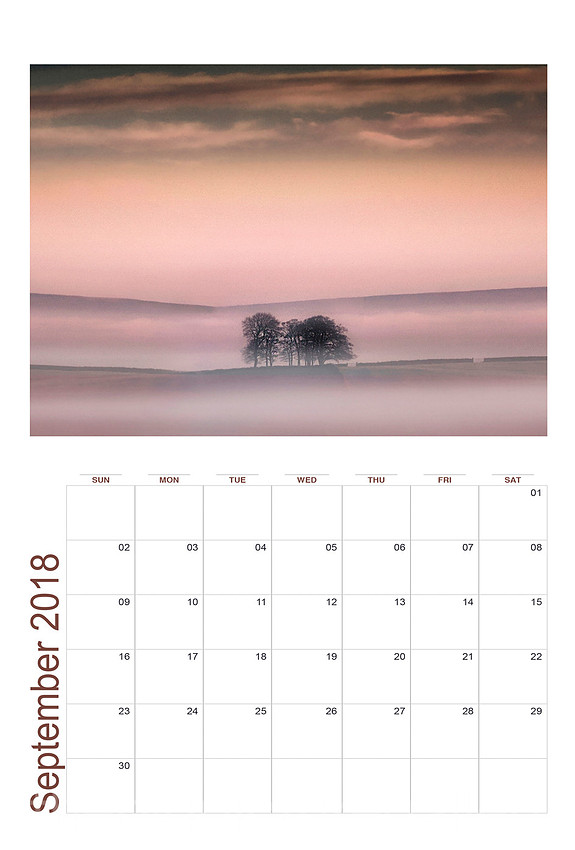
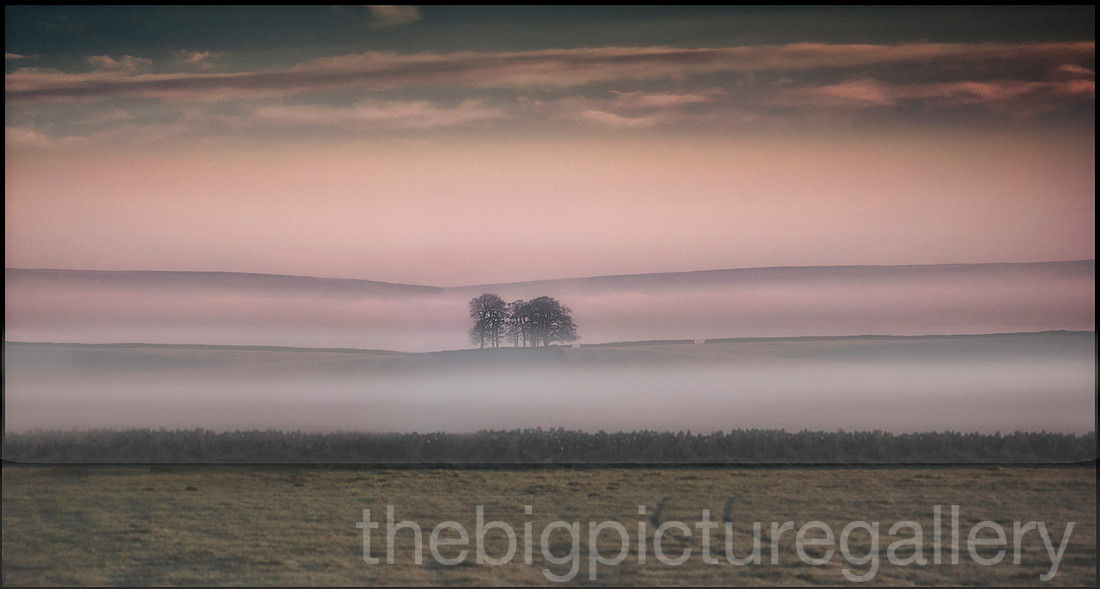
The second image was taken during a really cold morning with large amounts of mist surrounding our part of Derbyshire, it was one of those mornings when just driving around to various locations I had in my mind was the only thing to do. Lucky for me I caught this image by chance really. It remains on of my favourites, the soft light and the pastel pink rendition along with the mist isolated the small beech copse, combined with a telephoto lens to compress the foreground really made this image standout for me.
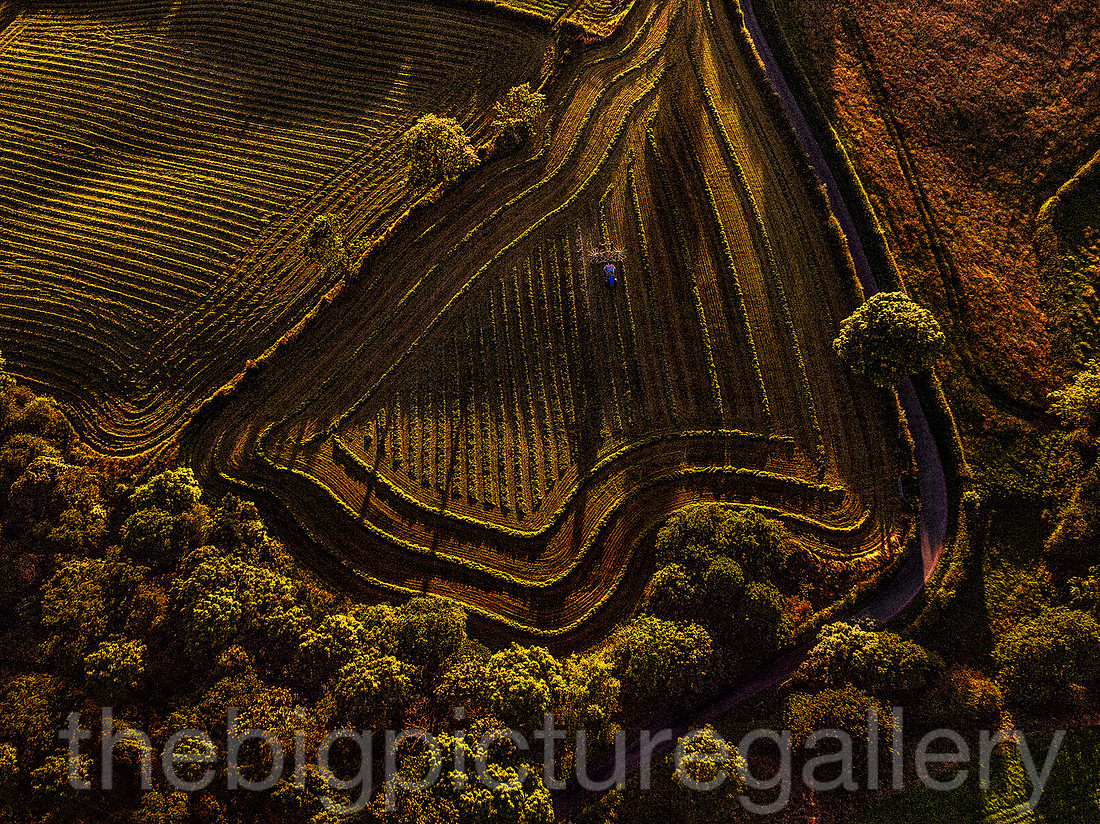 Evening Mowing Drone image captured with the Dji Inspire pro with zuiko 12mm
https://www.amazon.co.uk/dp/B075LY2W44
]]>
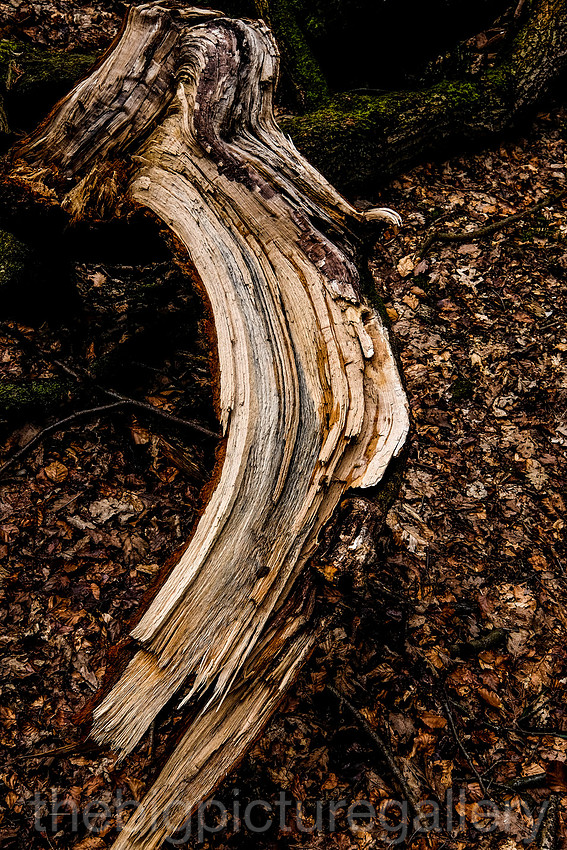
Photo abstracts take the viewer away from knowing or recognizing the subject. Instead they invite the viewer to almost ‘feel’ the textures, forms and other elements of the subject.
Often abstract photography makes the object unrecognisable as an object in its own right. Instead it directs attention to the look and feel – the essence of the object.
Very often my work includes an abstraction of a greater view, where the subject matter is not intstantly recogonised, it may include a hard shadow or high contrast scene, or the way a shadow falls, I see it in my eye as a pleasing pattern or shape, sometimes formed by the colour itself. It has to have some harmony for me.
Often as photographers we concentrate all our efforts into the Grand View, when something much more simplistic can be equally as rewarding. I find myself thinking about shooting things more in an abstract fashion. I find buildings Architecture make great abstracts, its easier to see a shape or pattern. With nature the task becomes more confused, trying to find the composition, and the harmony.
Sometimes it can hit you right away, more often than not though it takes some time to figure it out. Whatever the subject abstracts can be a great talking point, the term Marmite can be used often when viewing an Abstract image. I guess alot of viewers just won't get it, but that's not really the point, your not meant to, as it will mean different things to different people. I often just go out to shoot this type of image, it's a great way of spending a few hours with a single subject.
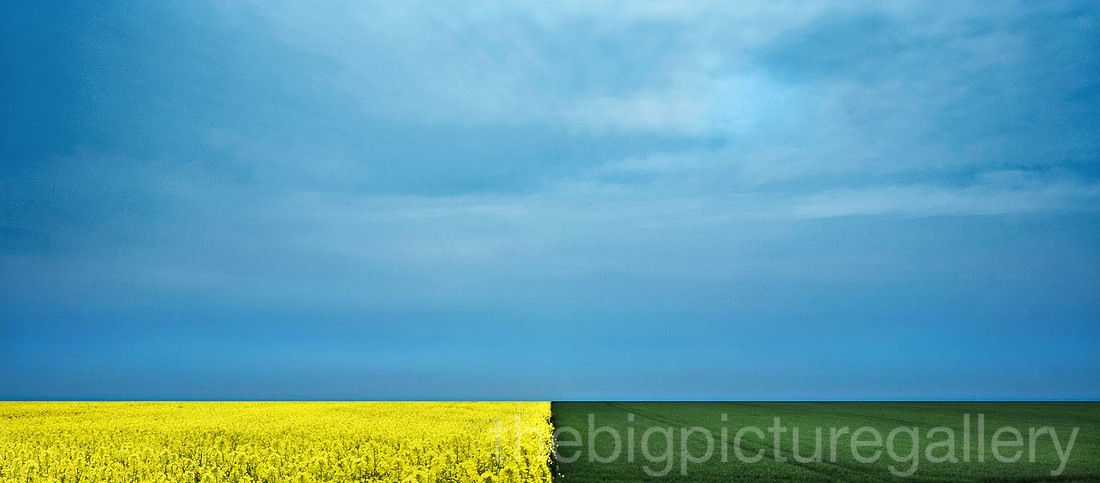
II sometimes find that creating an abstract is actually created due to an image reference that I carry around in my head, the above image is one that I have been wanting to find for many years, quite a few people have commented that I made this up in Photoshop, in truth it was shot as i saw it, the only photoshop element was creating the uber staright line of the horizon. The image was inspired by Mondrain blocks of colour.
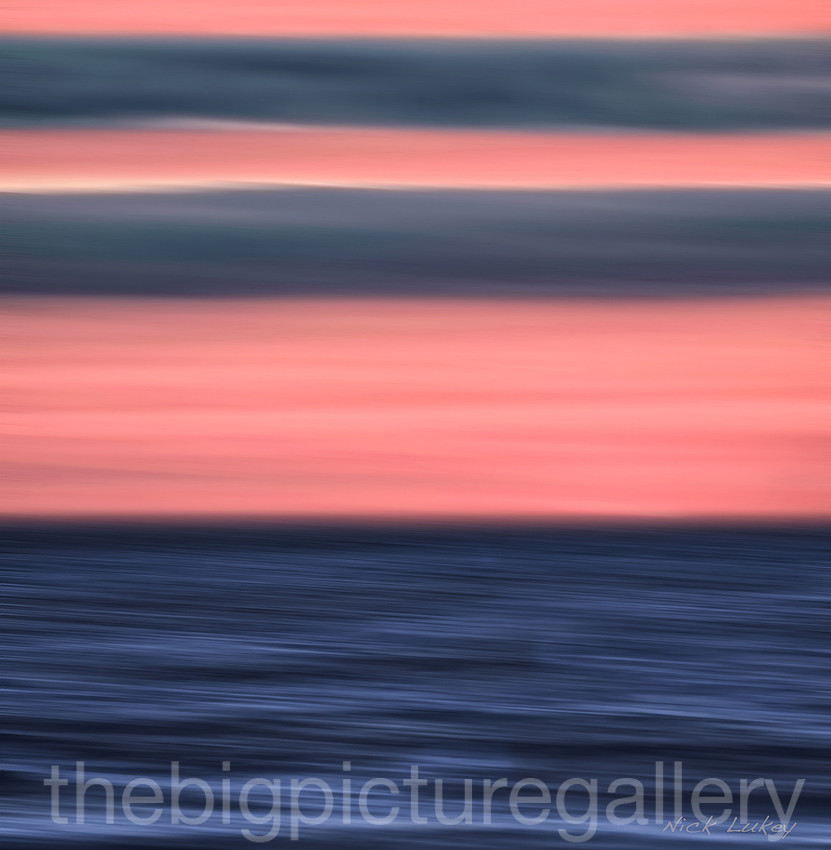
This long exsposure seascape with the bands of clouds was taken after a long day out in Wales, shot off the Conwy coast. I was reminded of the Rathko works.
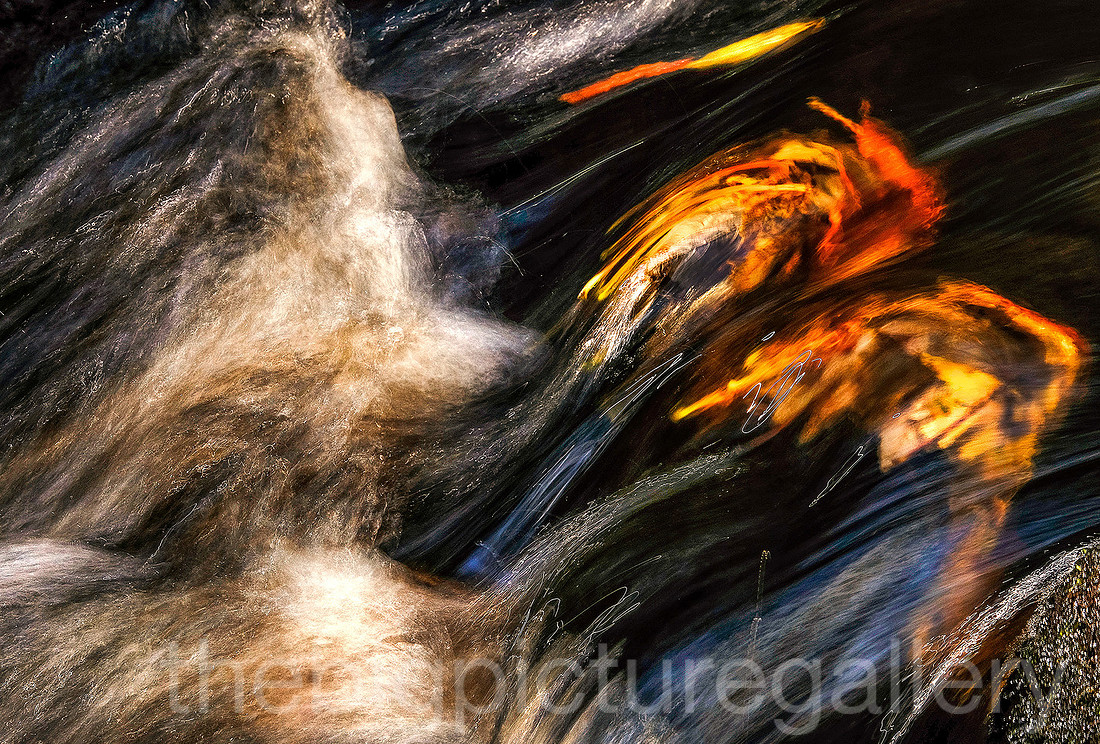 River Burbage a riot of colour
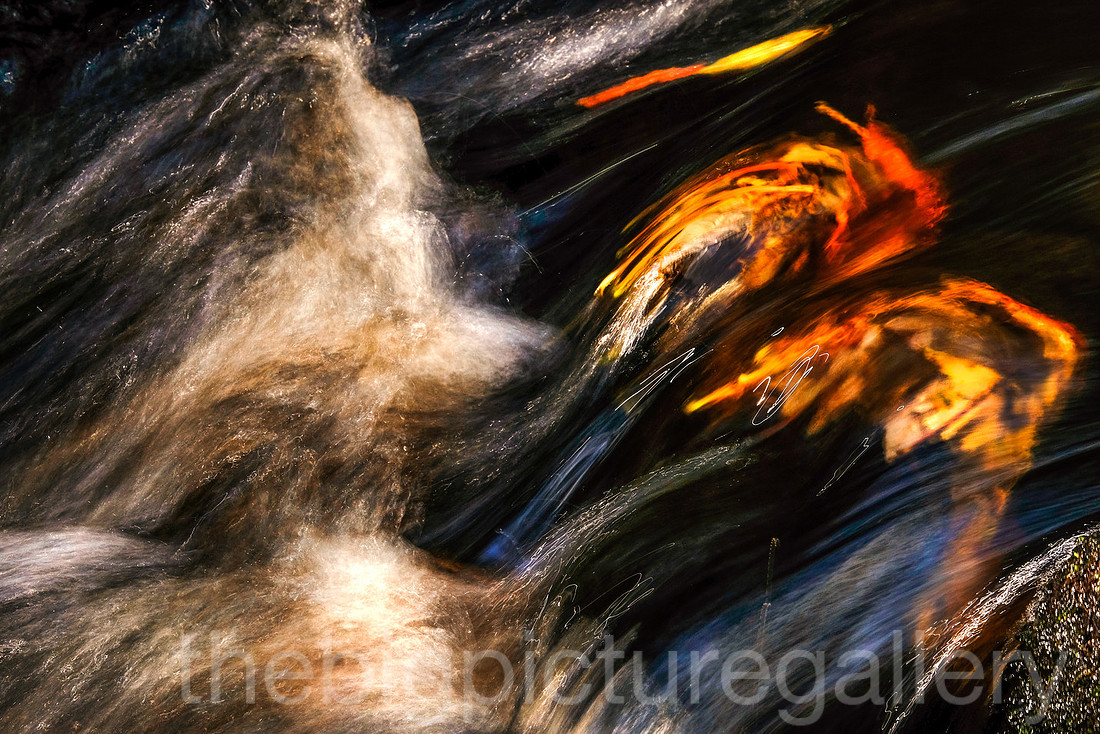
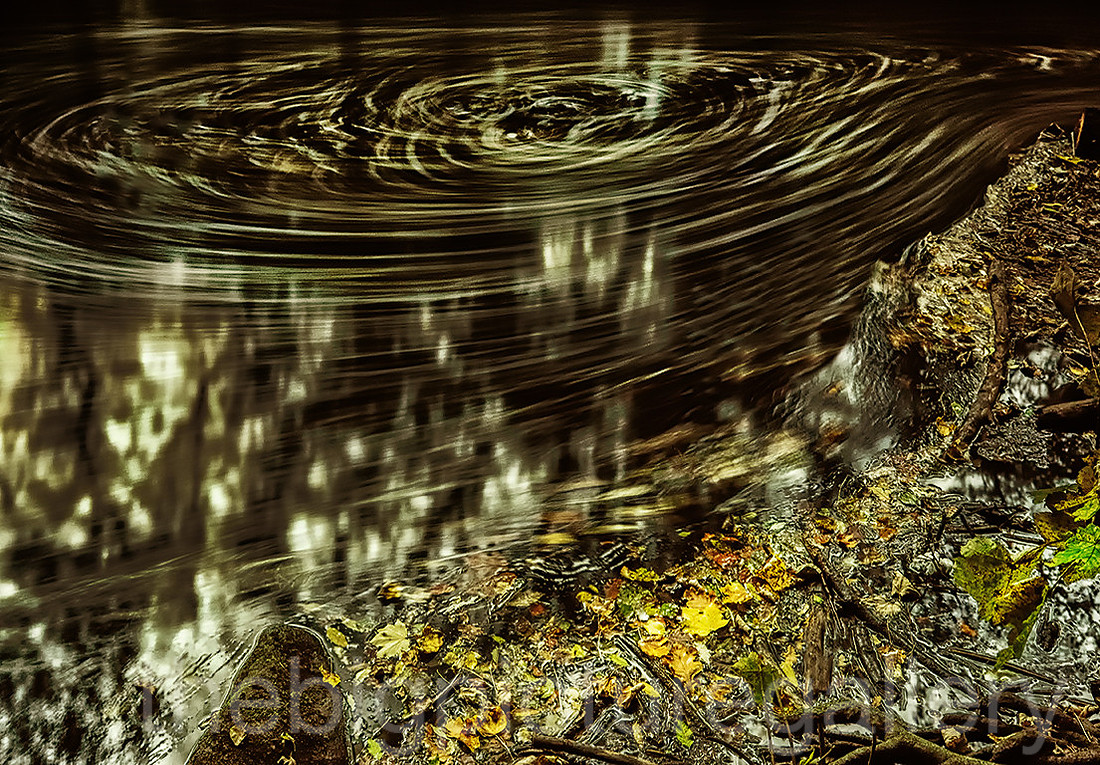
I found myself in Padley Gorge near Grindleford with some really bright light searing through the tree canopy, the River Burbage tumbles dow a steep ravine and is often the place to shoot long exposures. I wanted to shoot something different capturing the power of the river, the reds and oranges are leaves that were trapped underwater and looked like layers of jelly in a trifle. Make of it what you will.
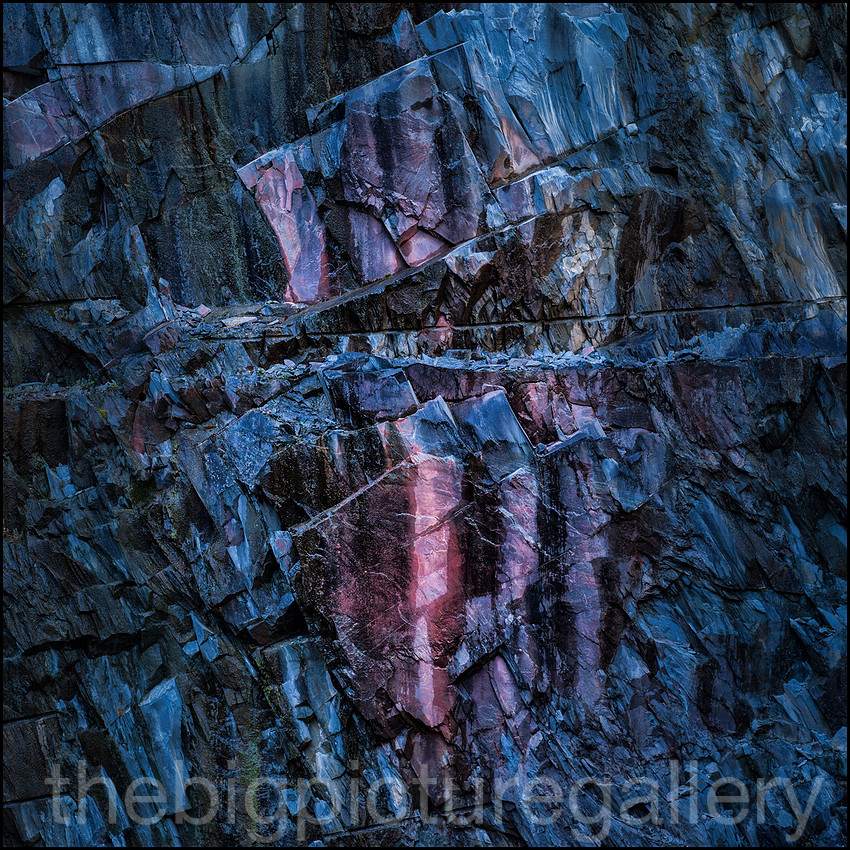
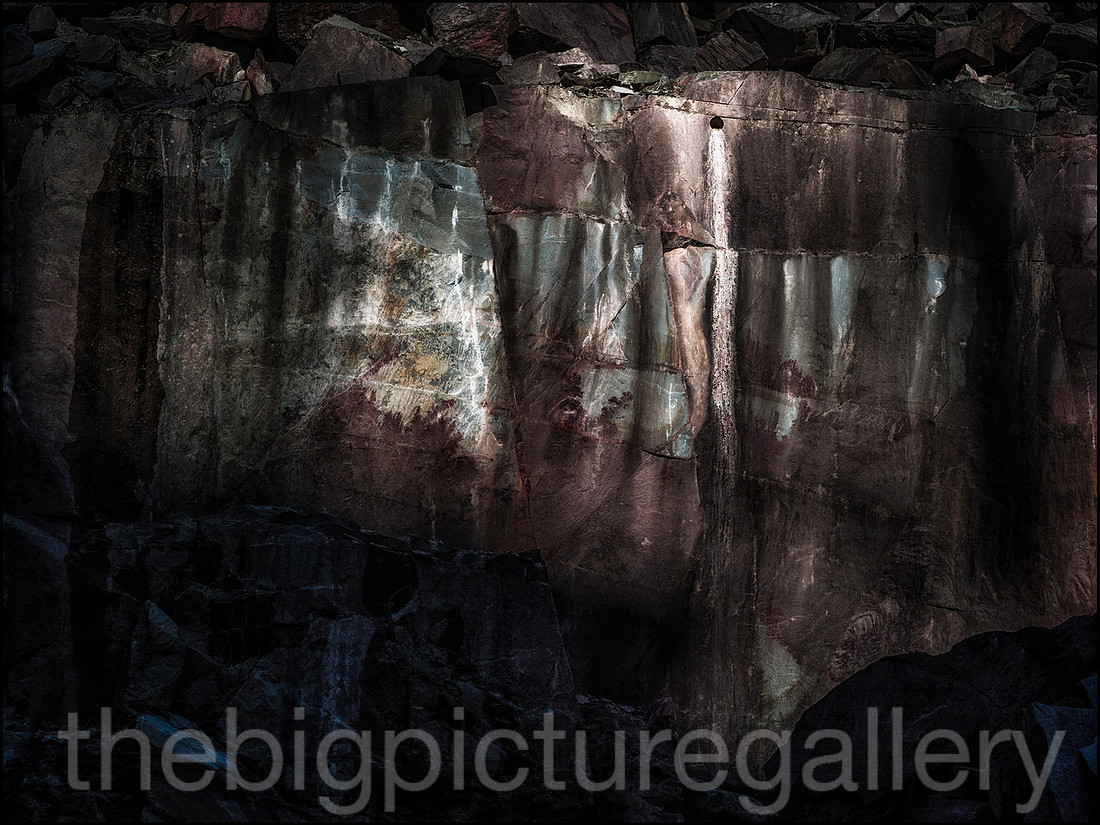
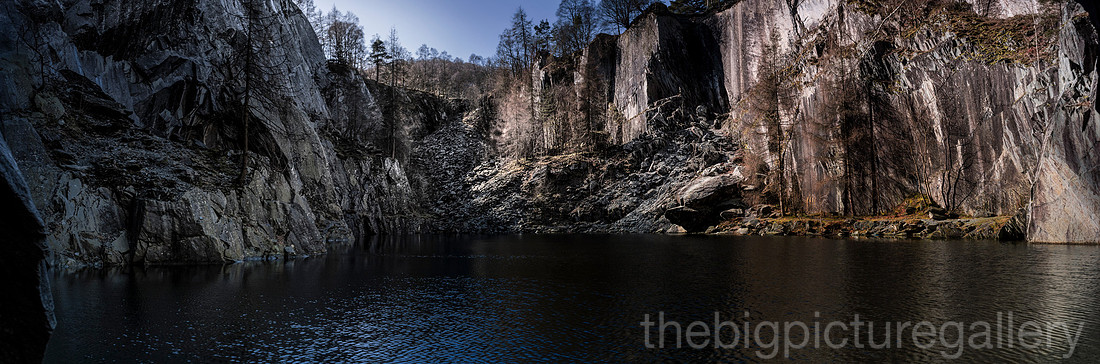
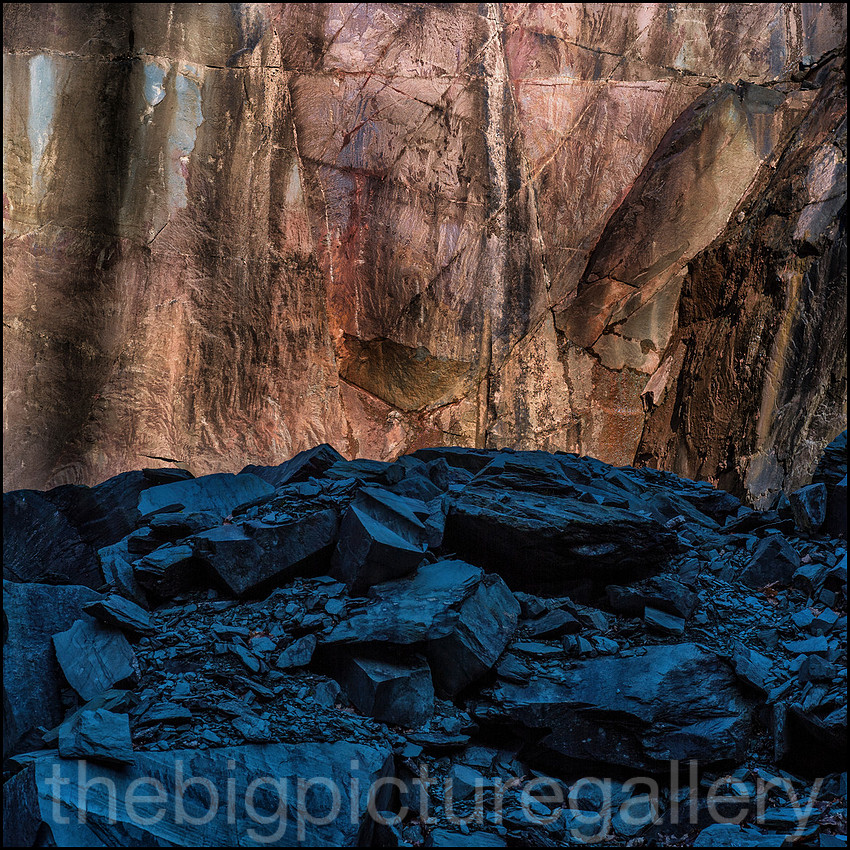
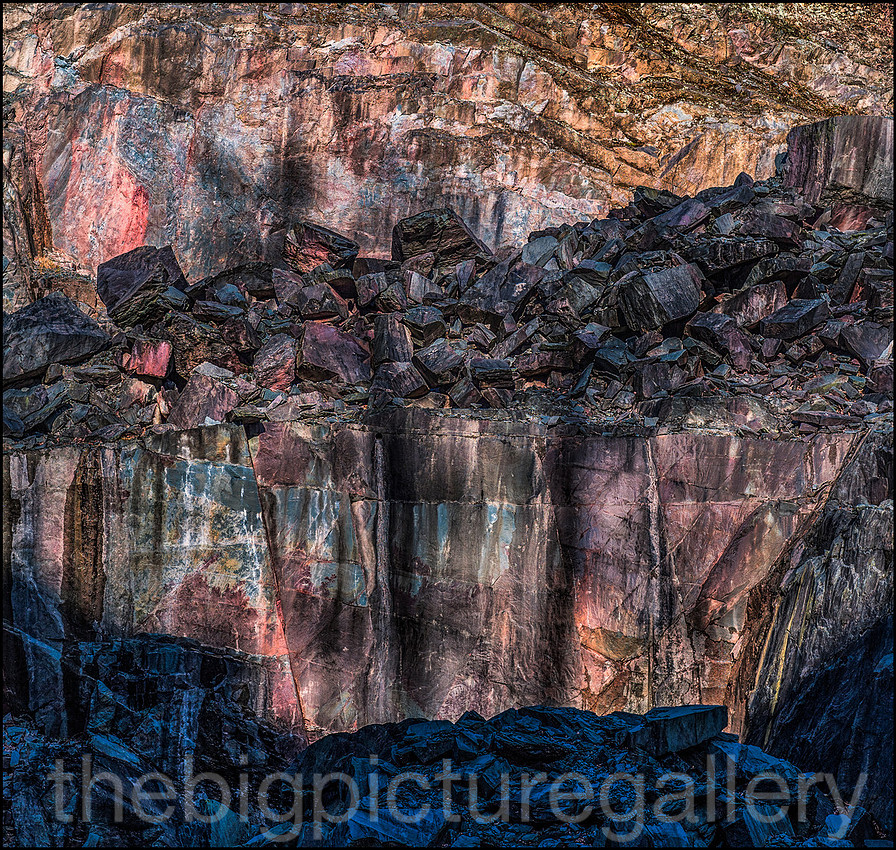
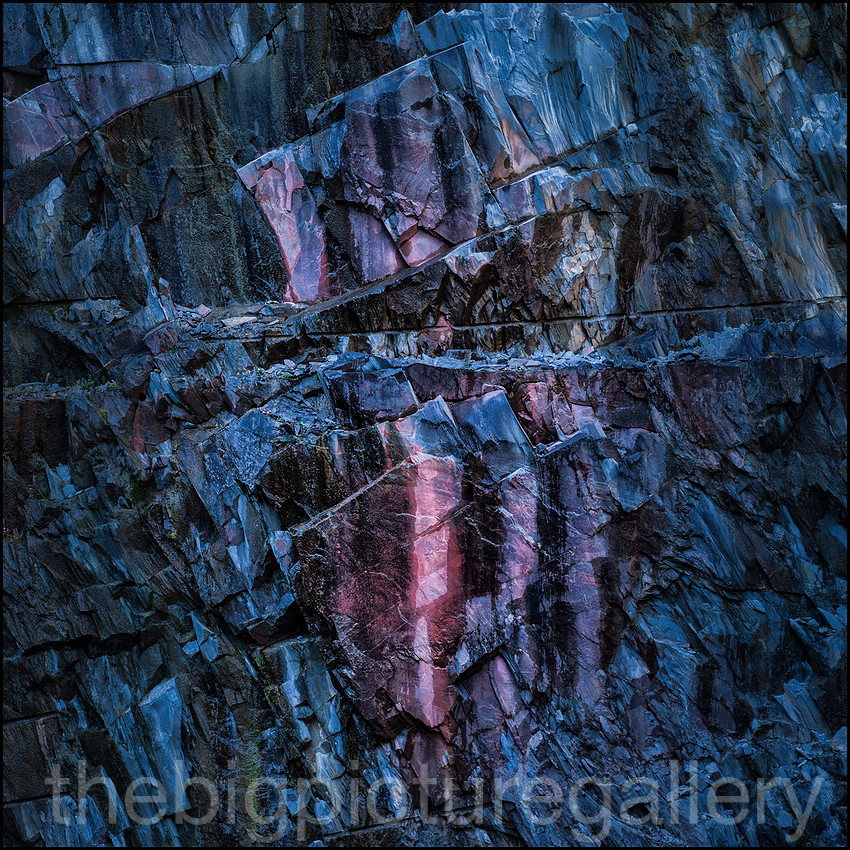
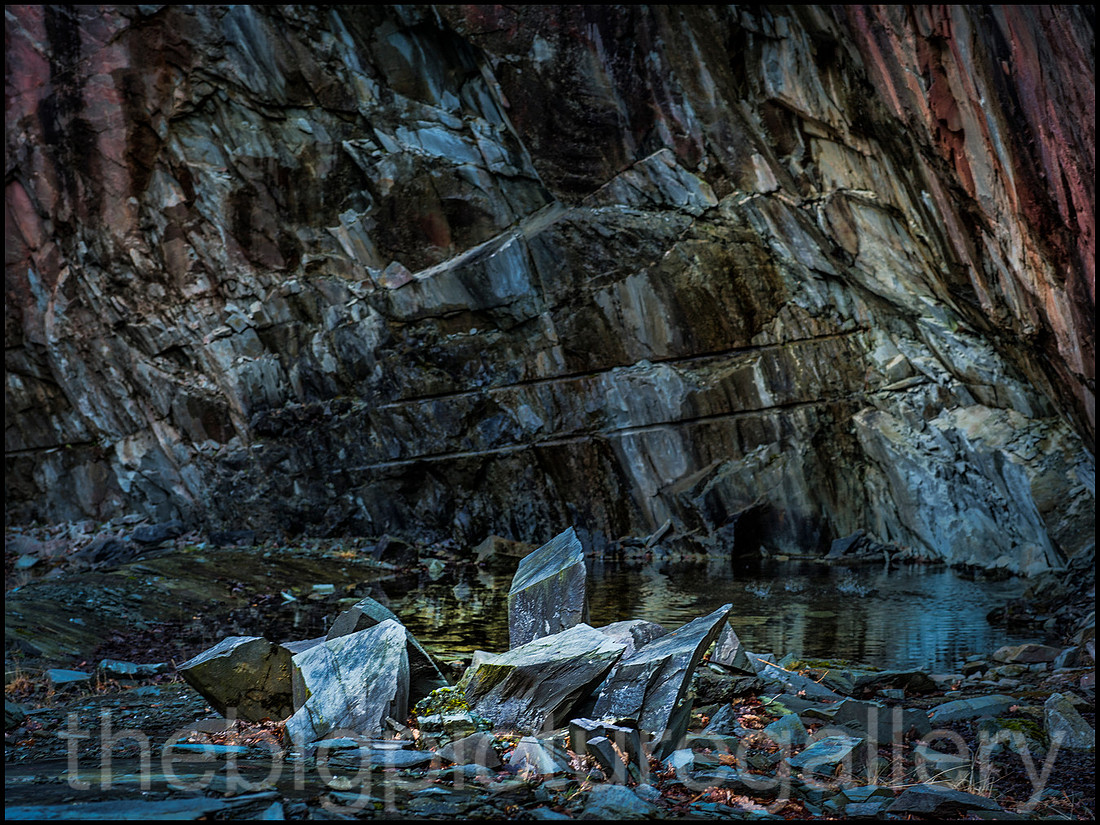
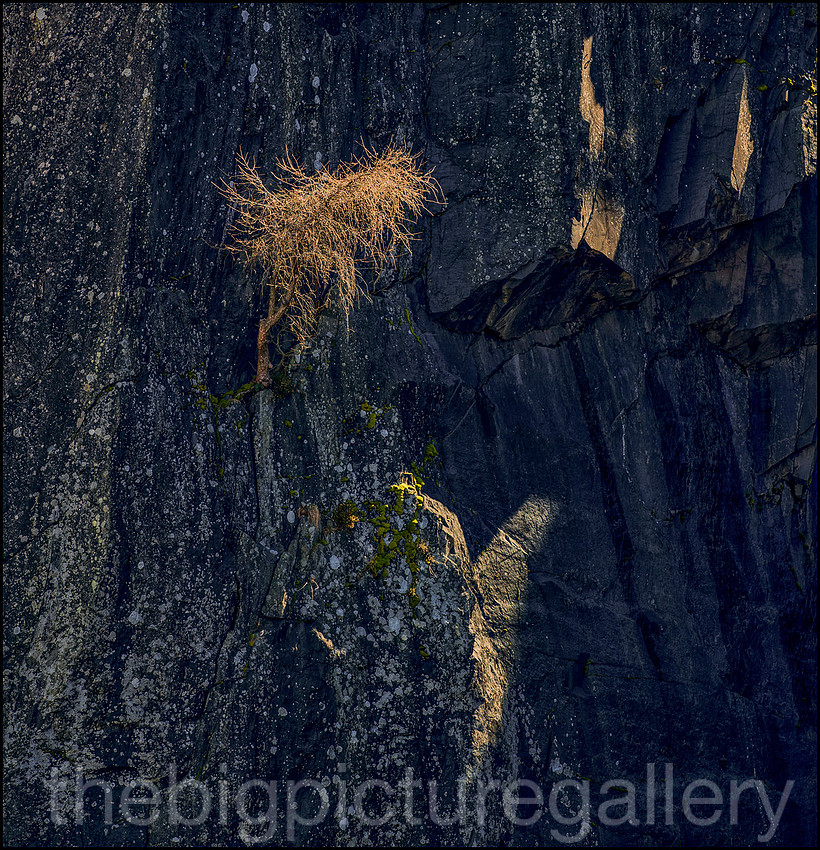
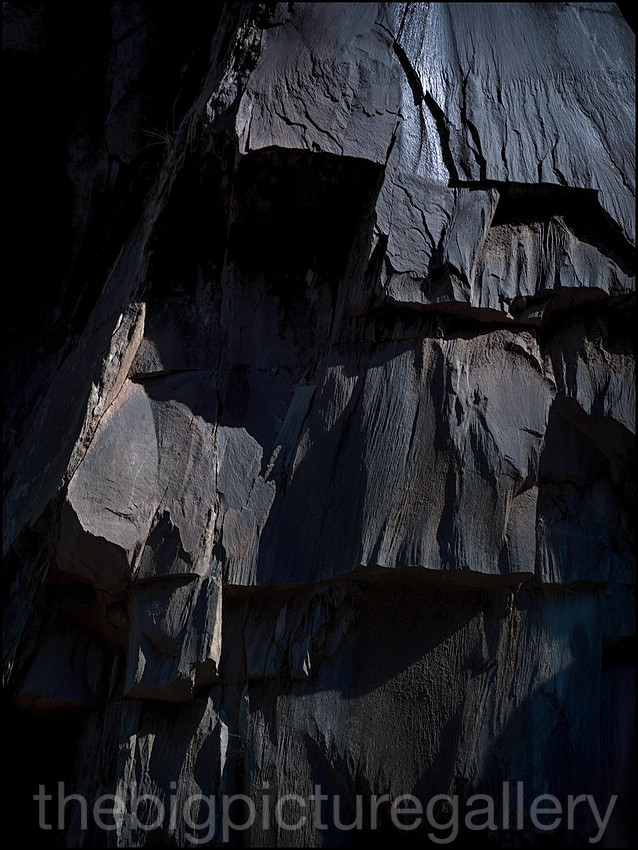
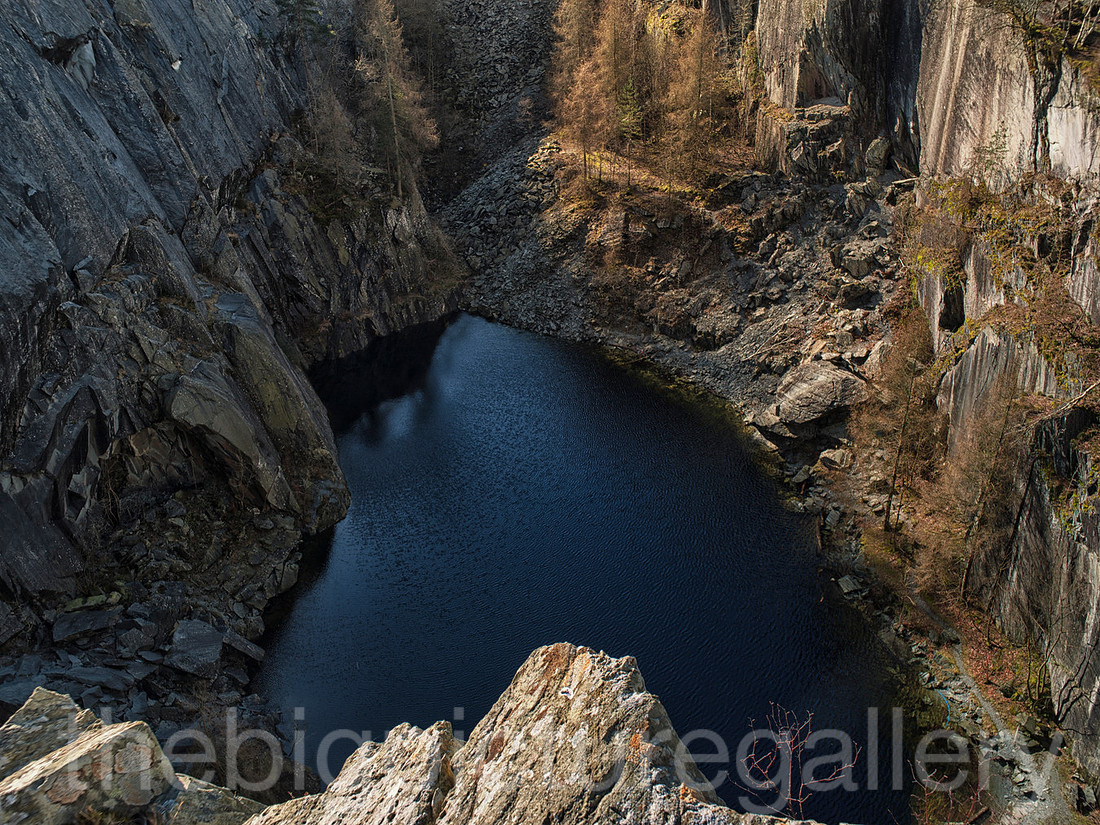
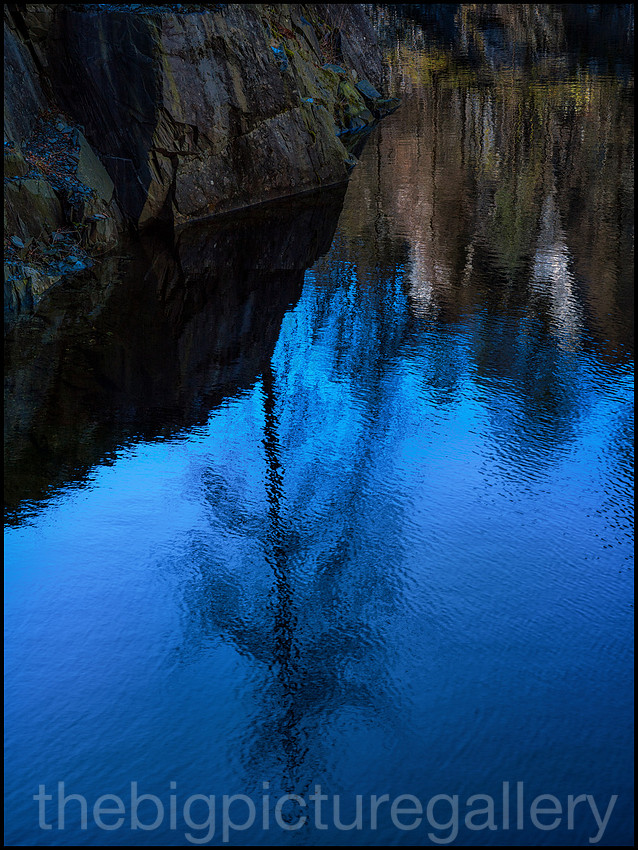
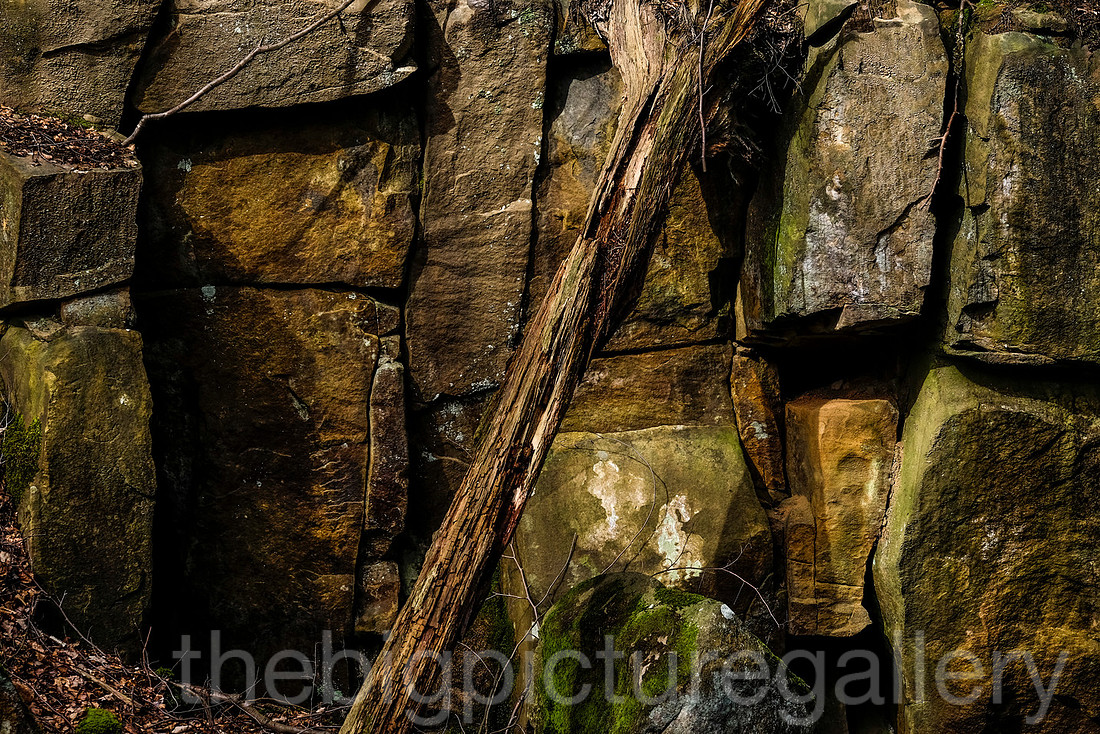
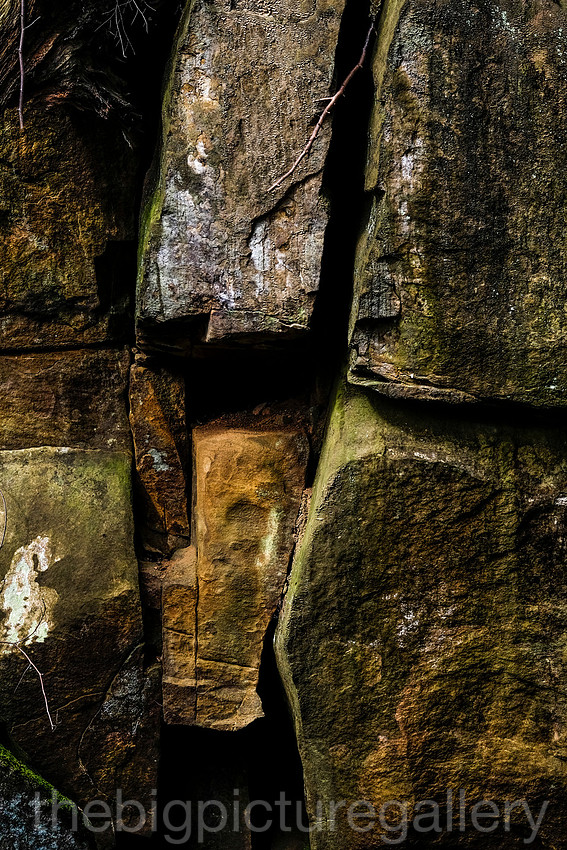
The above images were taking during a late March outing to a Slate quarry in the lake District. I could have spent the whole day there, it was wonderful, amazed by the patterns and colour in the rock. The chance to get some pictures out of this space was compelling. Hard work to find the right images amongst the quarried walls.
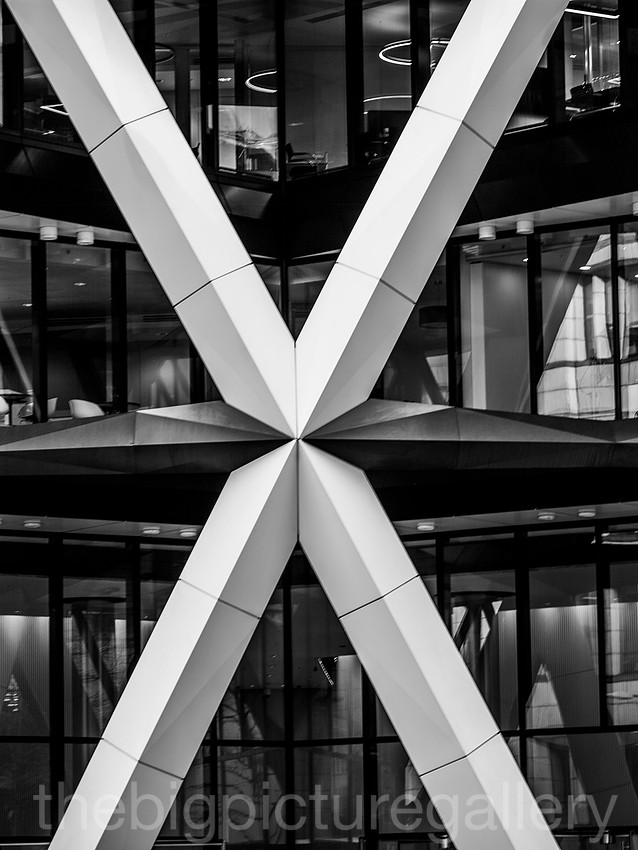
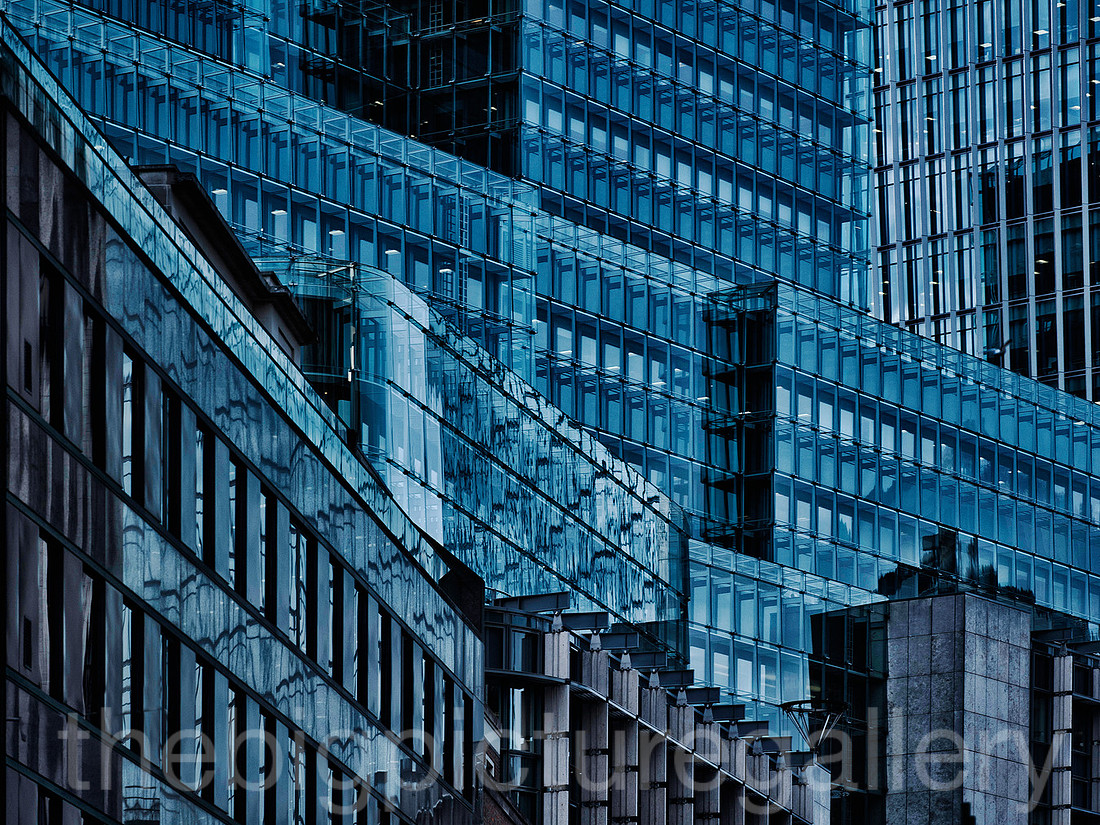
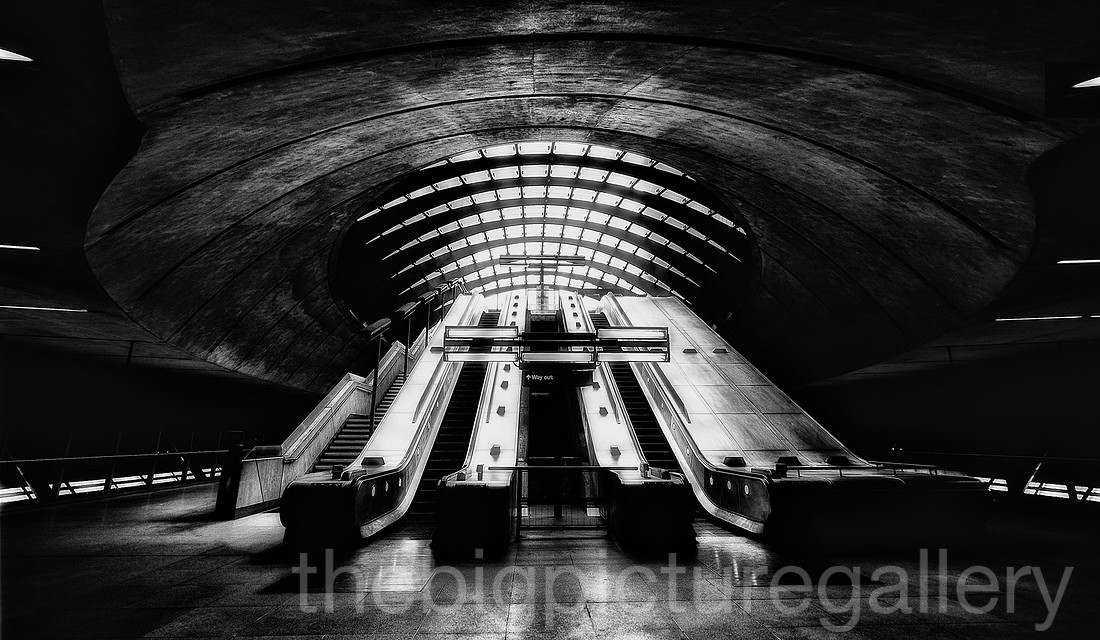
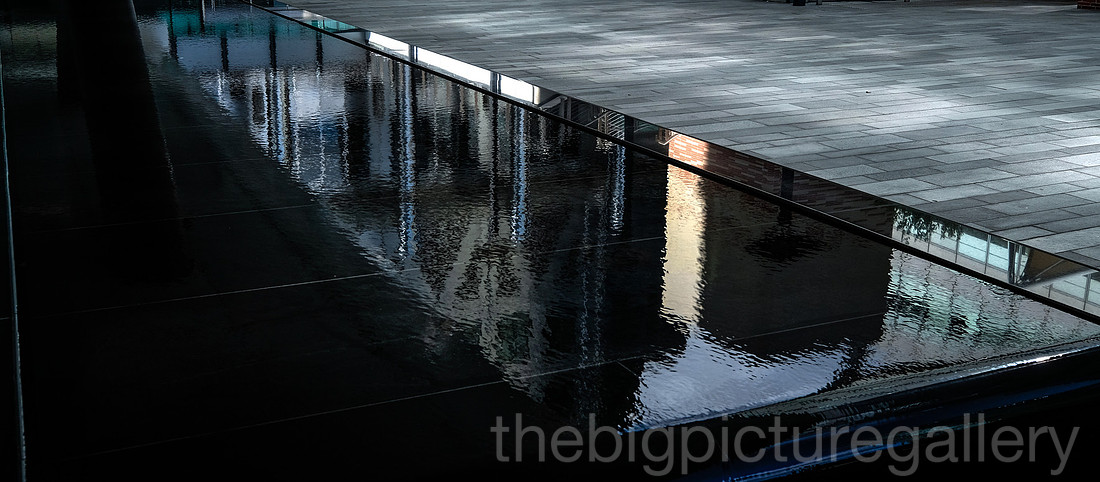
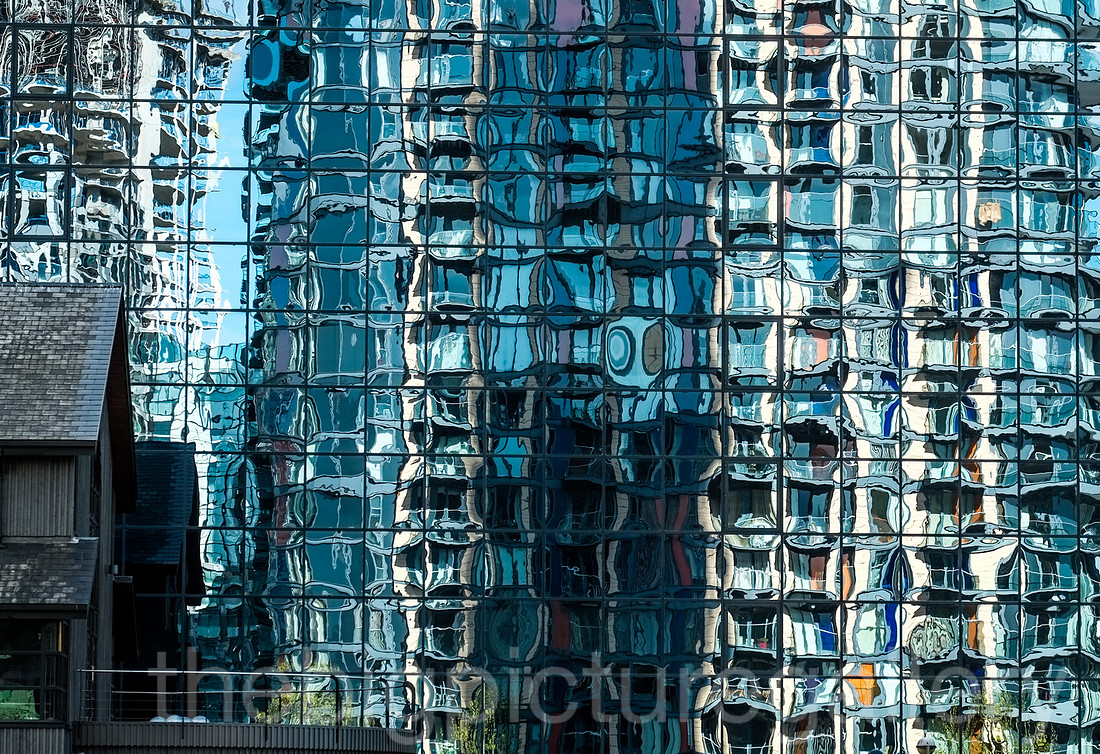
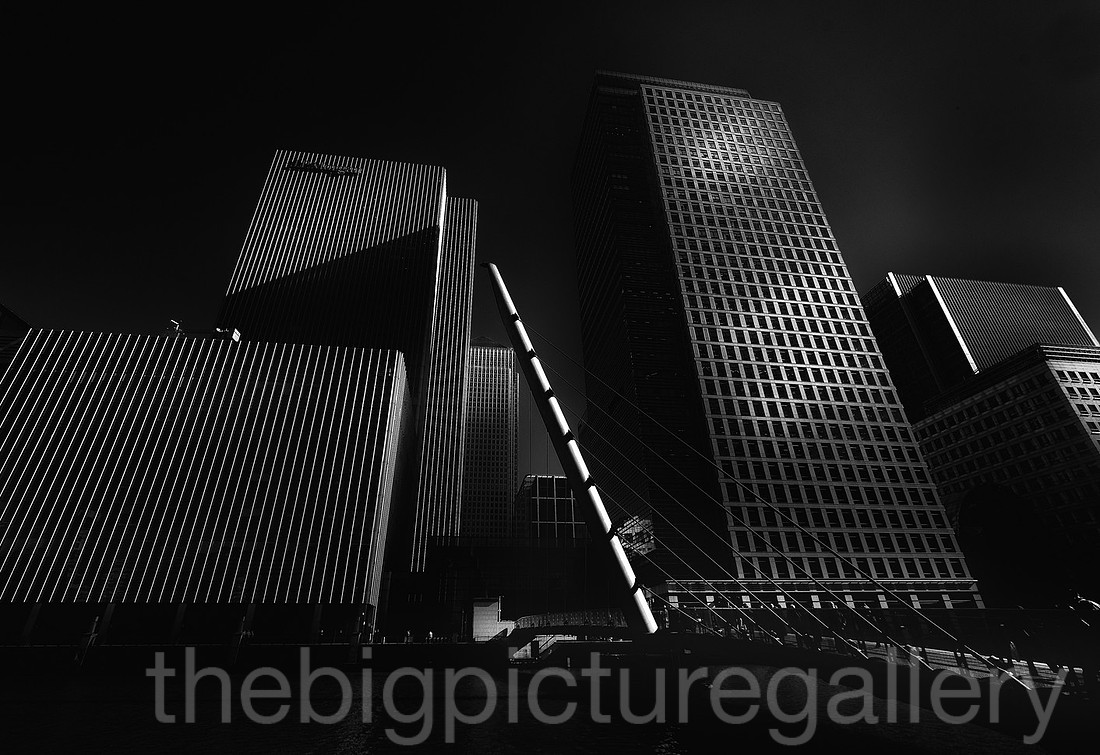
A london photographic workshop I took in the winter, let me concentrate on the abstract nature of architecture, the above images were taken with a telephoto lens, which gives you so many options in picking out subjects, the other aspect about using the telephoto is the compression effect of the lens on the subject.
Thanks for taking time to read my blog.
]]>
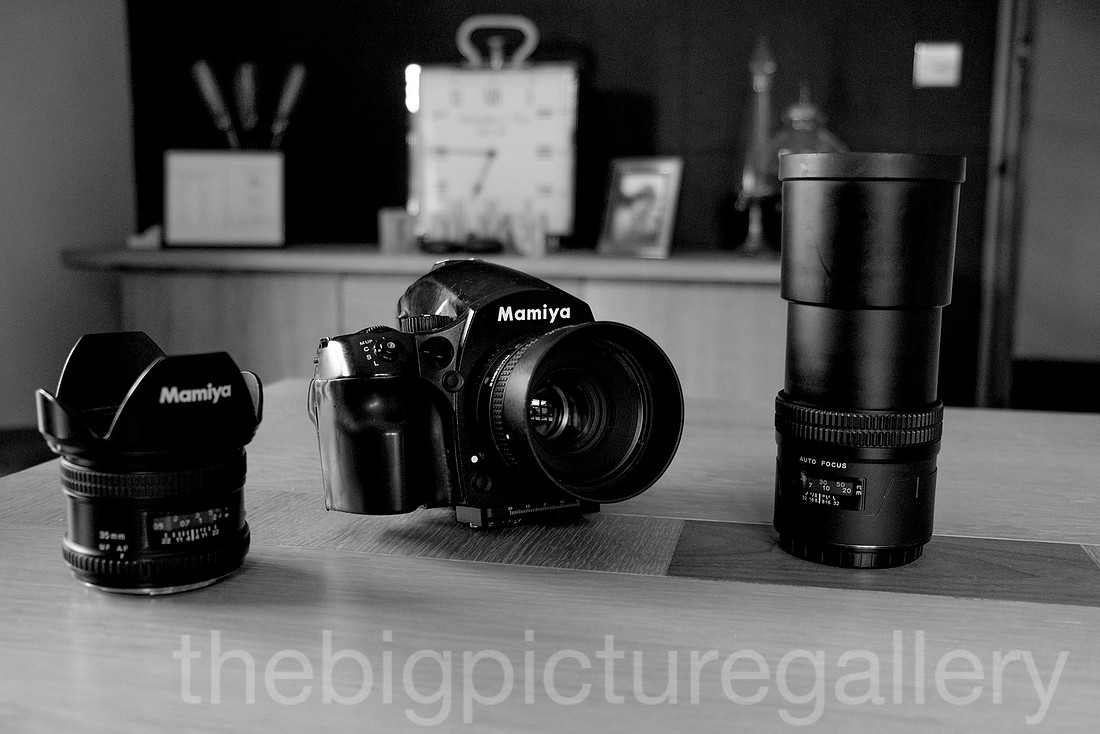 A few months ago I took an ebay punt on a Mamiya 645df with a Phase One P21+ back with assorted lenses 80mm and 45mm. I had been scratching an itch about moving to medium format for quite a while. The heavy case duly arrived, and within a few minutes I was out in the garden shooting some test pictures. I was like a kid with his first bike. I wasn't particularly blown away when I first viewed the raws (Captures raw files only) in Lightroom, all were underexposed by a stop or so. However after a few tweeks I had images in front of me that were wonderful. What do I mean by wonderful, compared to my Fuji files what? never!
Yes they were wonderful with richness in colour and a lovely tonal depth. Different in many ways to my Fuji system. So after only an hour I was absolutely chuffed as a chuffed thing, that my itch had yielded a gem of a camera.
A little backstory here, for several months I had been thinking of upgrading my Fuji XT1 don't get me wrong here I love the Fuji, and its lenses. I have wrote several blog posts waxing lyrical about the fantastic quality of both image and lenses. As an all round picture taking tool it is possibly the best systemm I have owned. However for me personally the whole issue of menu systems and the plethora of Af modes and other modes that are being engineered into idgital cameras seem to me to be taking away the actual craft of photography. I have noticed this for several years now, it's called dumbing down, where the machine takes over, thanks to a software developer, design engineer, seemingly wanting to make our lives easier.
So the search for something pure and simple became a quest. Should I go back to film? maybe that's was the answer. Then I thought that my audience are pretty much all internet based, what seems the point of shooting film gettting it developed and printed, then scanning and digitizing the images. It really didn't make sense to me. So the only option to find that purity of picture taking and simple operation, was to choose a film camera that can accept a digital back.
Once I had made up my mind I scoured the net (as you do) to research my camera. I found a good resource in the GetDpi site as well as the usual Luminous landscape site. I aslo discovered during my research a thread called Fat Pixels, I won't go into the detail here but it's an interesting theory and involves some subjectivity about what is considered to be "magic colour", but from my months of shooting with the Phase One P21+ I do agree that the colour files it produces are more akin to Chrome films we used to shoot back in the day. Sorry for the digression, but it was discovering these snippets that led me to pick a back with the magic 9 pixel count.
So what are the drawbacks, and how does it perform in the filed?
First and foremost It's heavy,, in fact compared to the Fuji X series, it's a beast. Compared to a Nikon D3 not so much. My F Stop pack with the camera and associated lenses, batteries and tripod weighs a fair bit, out in the field all day you will notice it.
You need a Tripod, yep it's a must have, along with an associated electronic release.
The back I purchased came with 4 batteries, on a long day out you will use most of them.
The Camera itself comes with a AA battery holder (6 needed) I binned that off for the LIPO battery, it lasts forever (unless you leave the camera turned on) as I did a few weeks ago, and forgot until I got to my shooting destination.
Focus on AF is adequate but its limited to the centre focus point, so I usually focus on my subject then flick the lens to MF then shoot.
You need to use mirror lockup on anything under 1/200th of a second, the massive mirror has some slap, even on a sturdy tripod so I use mirror lock up all the time.
Auto WB is pretty good, with on average a cool tone (blue) but easily remedied in LR or Pshop.
ISO I leave it on base ISO 100, it usuable upto 800 ISO, but is pushing the sensor tbh, and shooting Landsacapes on a tripod is not really difficult, so upping the ISO gains you nothing.
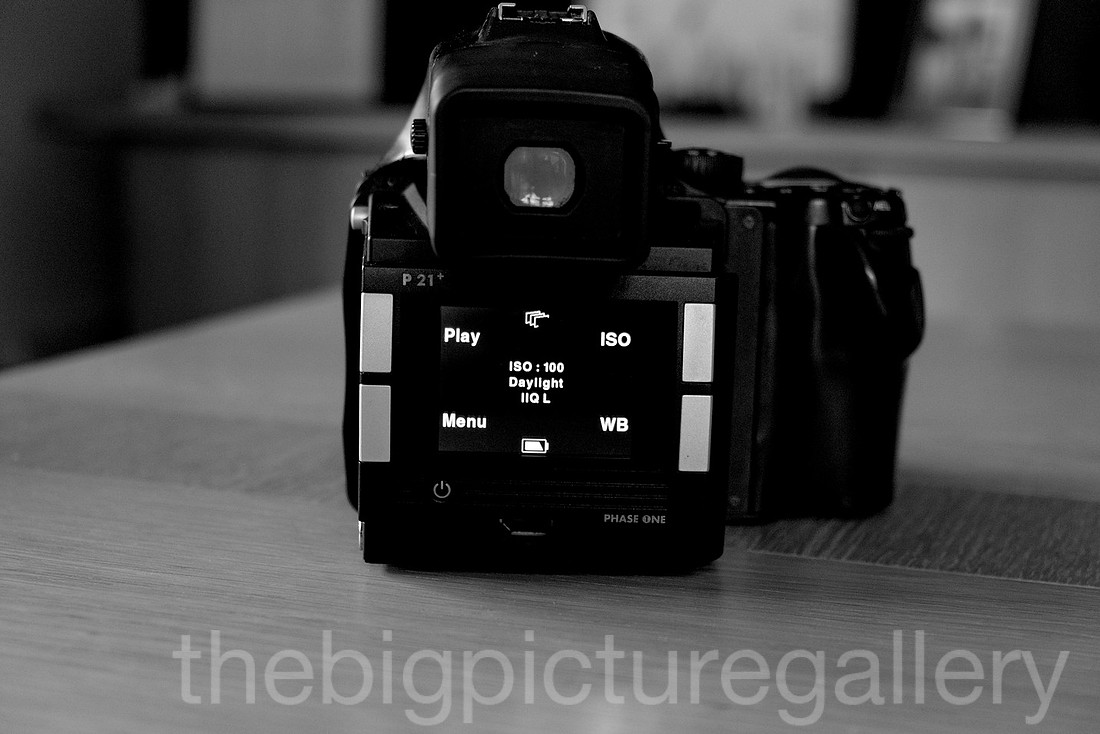
How does the Camera and back perform in the field?
Very easy to use, the back itself is rather uncomplicated as seen in the above image
The 4 chrome buttons are so simple
Button1 top left, access the play review and delets images
Button 2 bottom left, Menu to set time and date, format card, set camera shutter latency, Size of the raw file, WB and ISO a few other things like LCD brightness etc.
Button 3, top right sets the ISO on the fly, you can do this in the main menui but takes a few more presses to get to the ISO.
Button 4, bottom right, similar to the ISO button, just gives a faster route to set the WB quickly, you can alos choose to set a custom white balance very quickly.
If you compared this back and its features to the latest iterations from Fuji, the menu syetem is so simple a child could operate it. This was the main reason for purchase simplicity.
The Camera functions are simple to, yes there are some memory parameters that you can set, you can do this and apply them to either C!, C2 or C3 on the top dial, you get a cheat sheet with the camera which gives you the programming instructions, TBH I've never bothered with it.
I tend to shoot in manual mode most of the time.
The viewfinder is epic, bright with easy to read digital display, dioptre adjustment via a wheel. Point to note the rubber eyecup can easliy come off, and are as rare as hens teeth ergo quite expensive to replace, I lost mine within a few weeks, the new one is firmly in place with a drop of sugru.
Image review is not stellar, the viewing screen on the back is pretty small, and is a bugger to see in bright light, so I rarely chimp, I prefer to discover the results when I get back.
The meter is pretty accurate, I usually use spot mode, has a tendancy to be a slighly underexposed by about 1/2 a stop.
You can push the file over quite a bit, recovery in Lightroom is easy, but it will start to blow the highlights at a about 1.5 stops over. The dynamic range is pretty good even by todays standard, but it will punish you for sloppy technique. Which is a good thing in my view !!!
You can shoot film on it :) with the appropriate back.
You can upgrade the back, without buying a new camera :)
Thje P21+ will shoot exposures for an hour, some other backs do not.
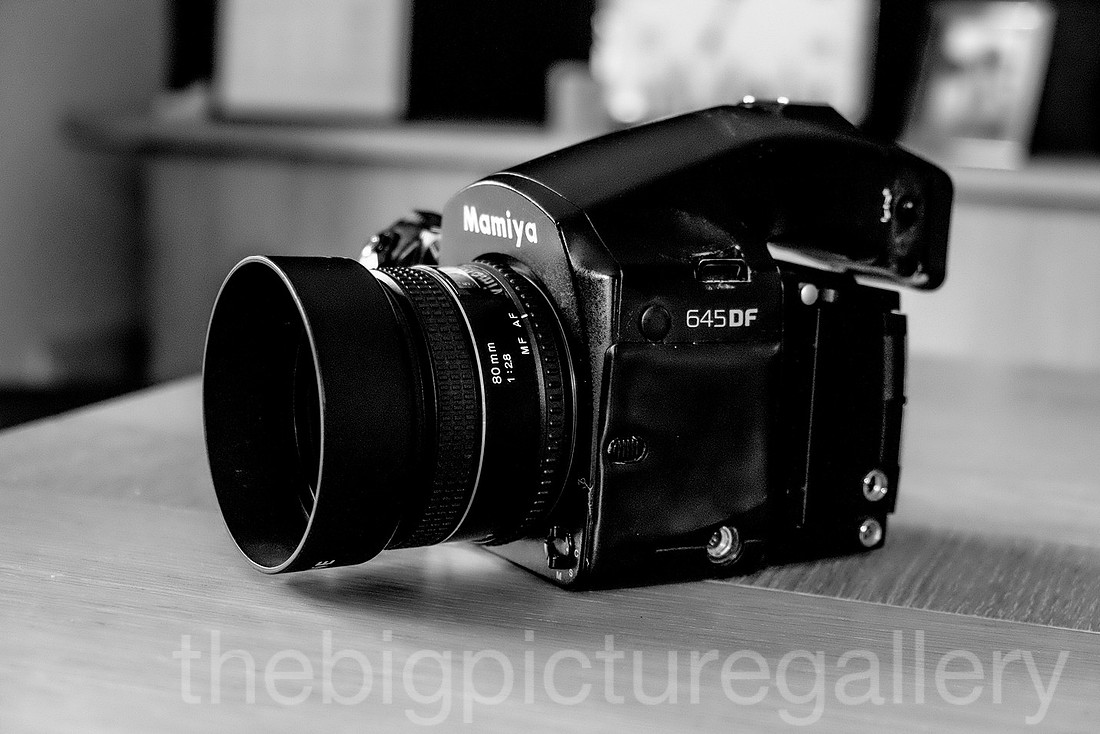
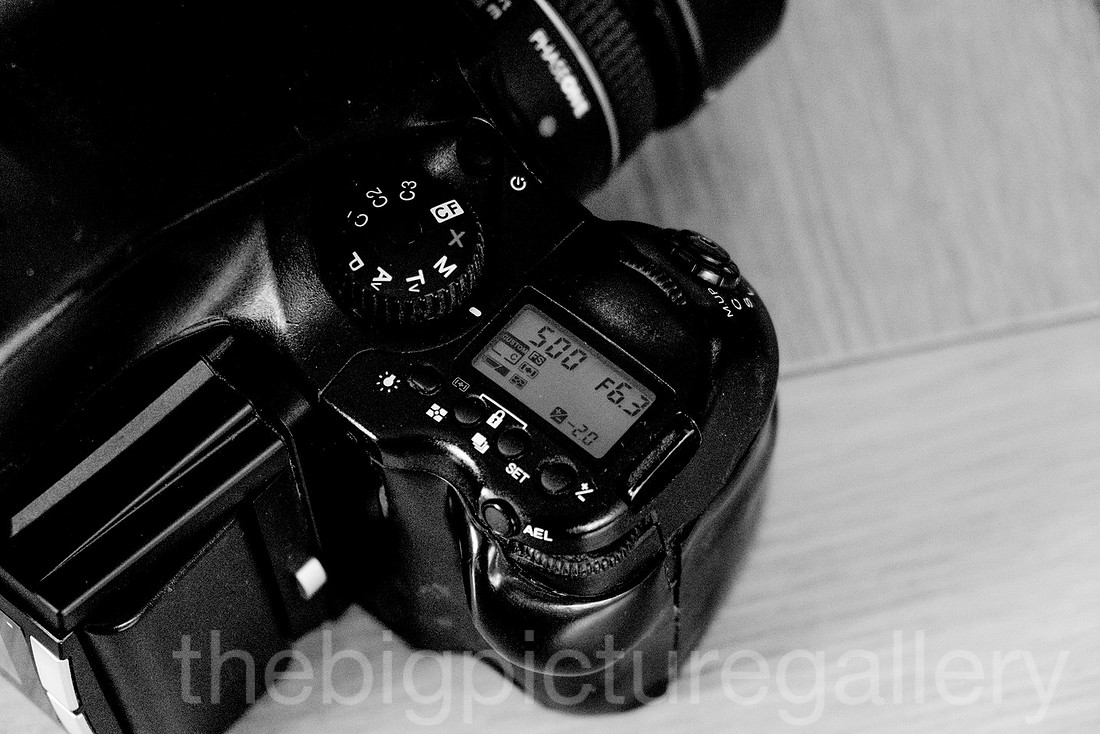
It does have the usual features found on todays cameras AFL and AEL lock, multispot metering etc, but for me, and I say this with all the caveats, thay this is my personal view, some may differ, which is fine by me, this review is purely subjective. This Camera and back set up, suit my work, I no longer have to worry about settings or firmware updates. This is an honest workhorse which takes great pictures if used and treated correctly, using it you must be familiar with the techniques of exposure, as it will punish you if you get it wrong, get it right and it delivers great files that print superbly well.
The lenses available are pretty damn good, and you can use the older film lenses on the 645, however you have to use stop down metering, the new Mamiya/Phase One lenses are seriously expensive :( I tend to use the 35mm AF, 210mm and the 80 mm this suits my landscape needs perfectly, although a lens with a longer throw would be most welcome. The Phase One P21+ (18mp) has a crop facotor of 1:3 so a 35mm lens has a 35mm full frame equivalent of a 26mm. (Crop factor divided into focal length). Ultra wides are not available.
The one great thing that using this Camera and back combination does, is that it forces you to slow down, makes you take time to look at your composition and lighting. When using my Fuji equipment I would rarely use a tripod unless it was for some slow exposure work. The Mamiya is totally different in this respect, using this certainly has made me think more about my photography.
My very first medium format image, Mamiya 645Df with Phase One P21+ back and 80mm lens.
]]>
One thing I have always done in my years as a photographer is to always check my kit before I go on a venture, so imagine my anger and dismay when I got the camera out of the bag with a flat battery, and no spare. The mamiya 645 takes a lithium battery good enough for several months use when fully charged. To say i was annoyed would be an understatement. As it was the cloud never shifted. Whilst at the location I chose several points to check my compass readings and started planning a sunrise shot for later in the week.
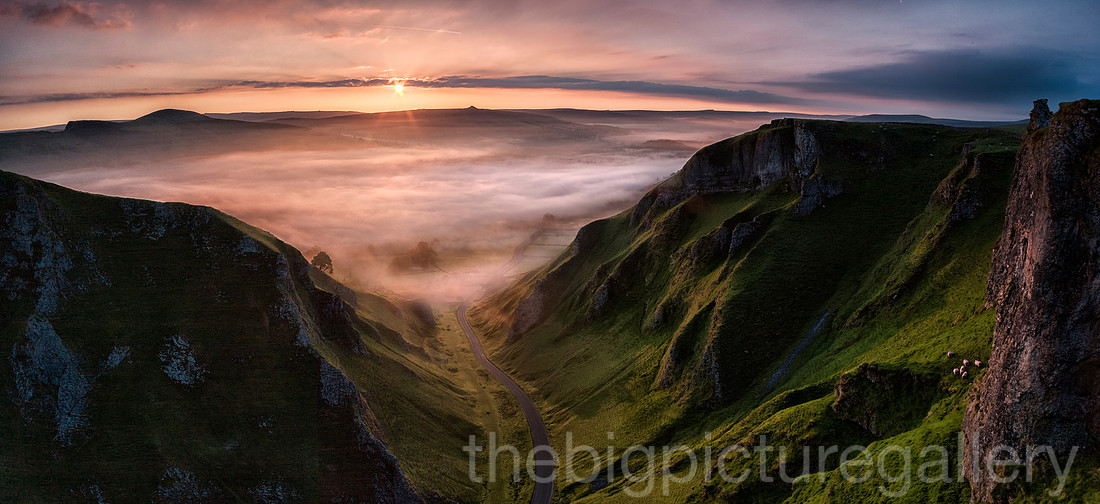
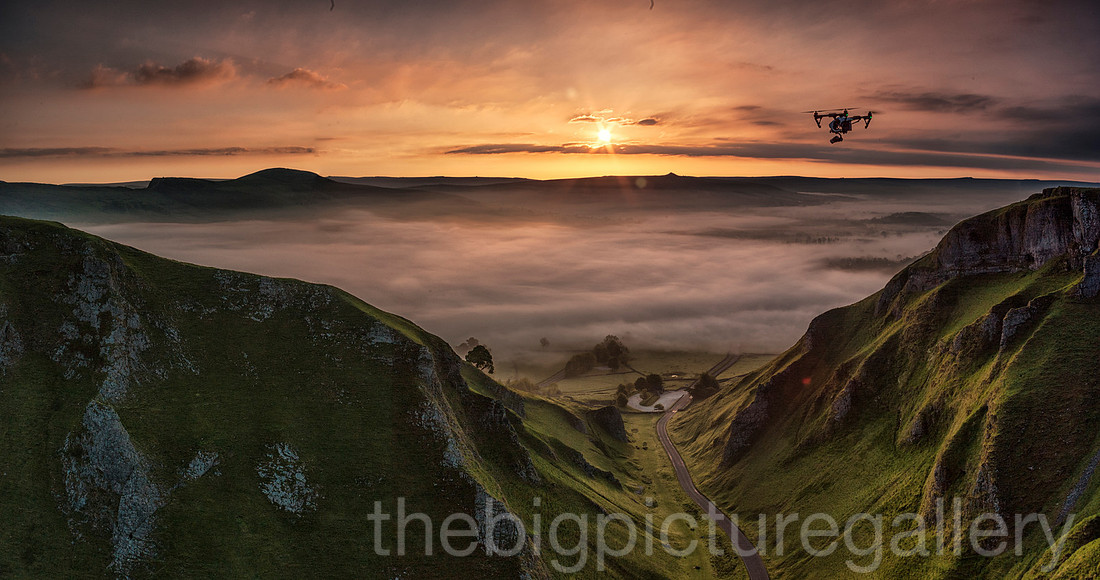
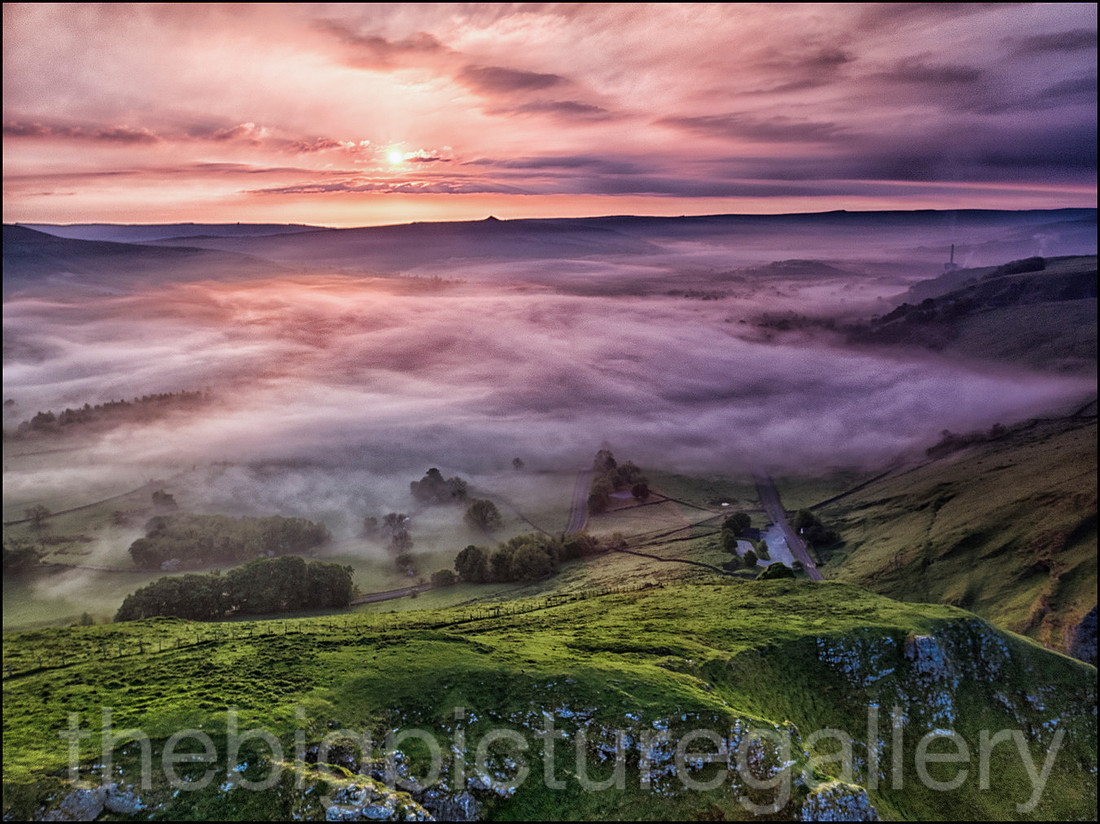
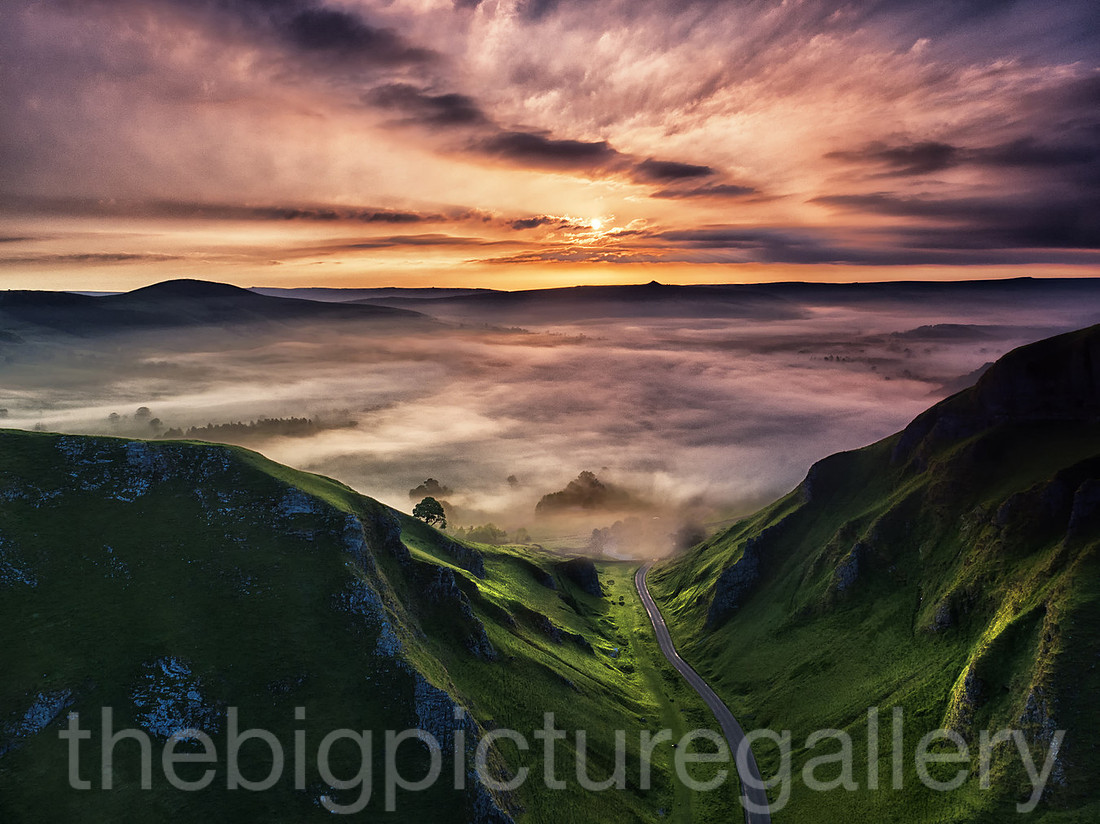
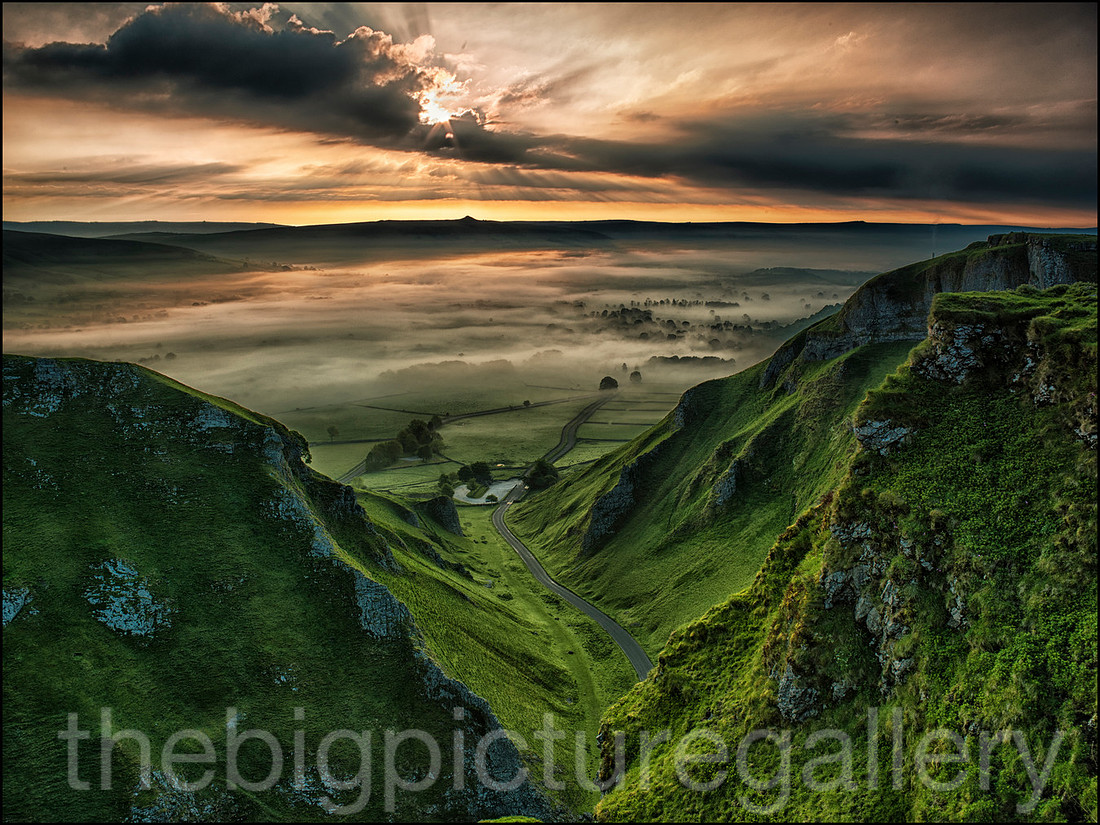
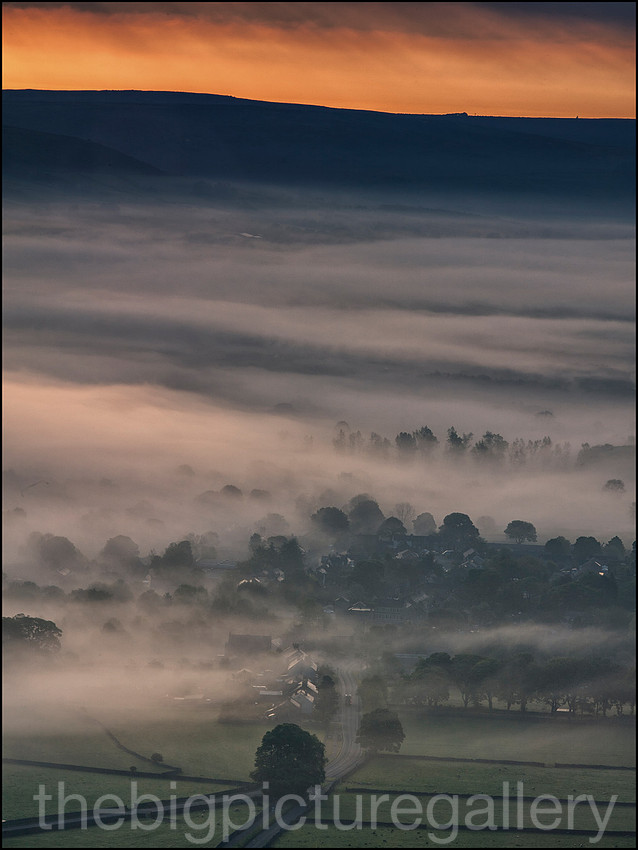
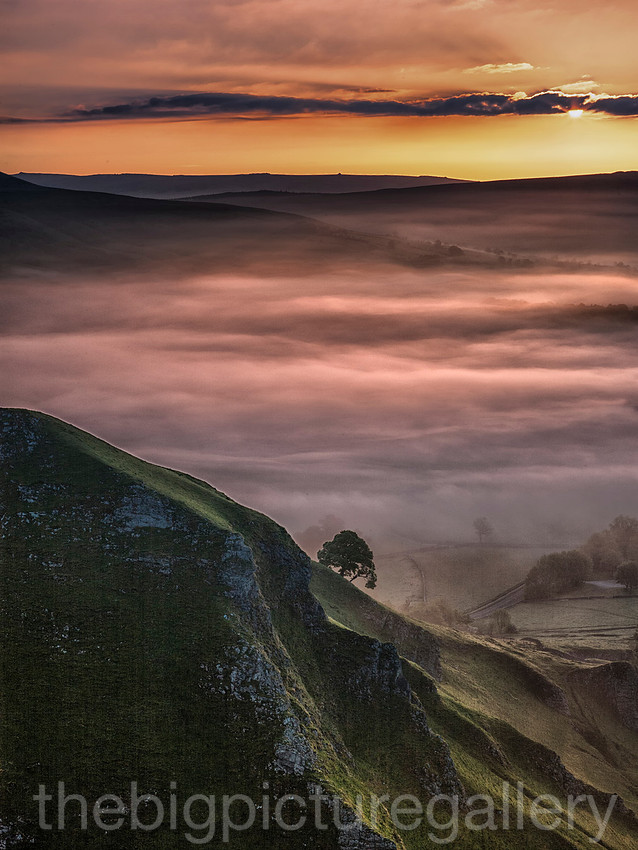
Two days later and I was up at 3:15 am, and out the house within fifteen minutes, batteries fully charged ready to roll, dawn was breaking and I knew it would be a good one, very little cloud on the eastern horizon. On the way I noticed several areas along the A515 were really misty, now that would be the icing on the cake to get an inversion as well. I was also going to give the drone an airing as I hadn't flown for awhile. Parking up at the spot, my excitement hit new levels, the weather was fantastic, and no other photographers were about. I just love shooting at dawn, watching the world come awake, for that first hour the light and atmosphere are just magical. As the sun rose the inversion grew, and within half an hour of first light the whole of the Hope valley was covered. The sight was quite ethereal. Images were taken using the Mamiya 645df with Phase 1 P21+ back, using 35mm and 210 mm lenses. Drone used was the DJI Inspire pro X5 with 12mm zuiko lens.
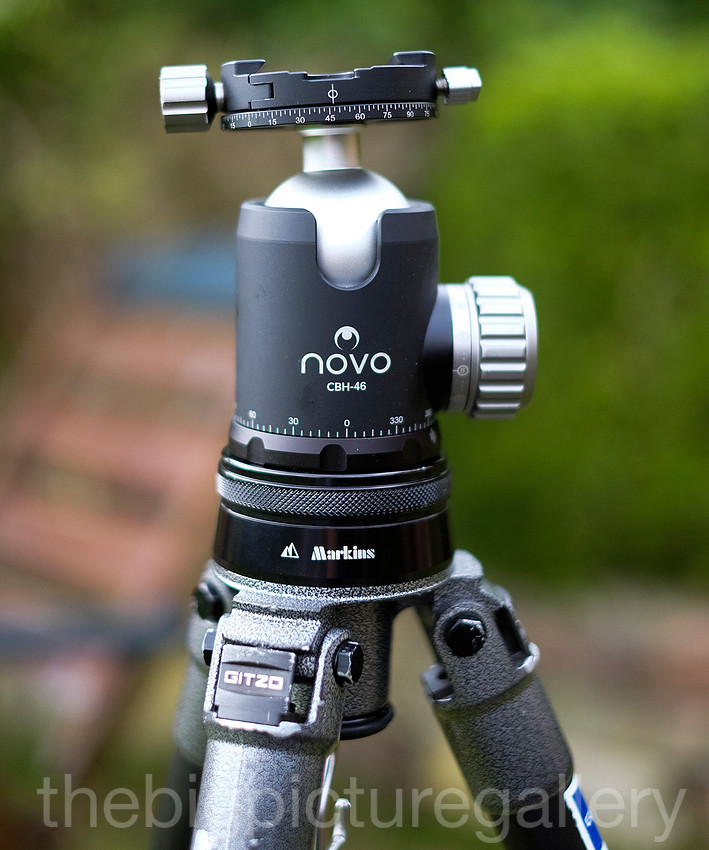
The head itself is extremley strong, and very well built in both fit and finish, it holds my mamiya 645df and Phase One back without any slippage. The arca swiss qr mount is easy to attach and locks into place without any fear of the camera flying off. Its very easy to use and has a level of adjustments that is really smooth, also features 2 panaoramic lock buttons and a easy to see spirit leve' Set up the tripod using the level, lock it off and attach the camera job done. All in all a really nice product and one that I am pleased to be using.
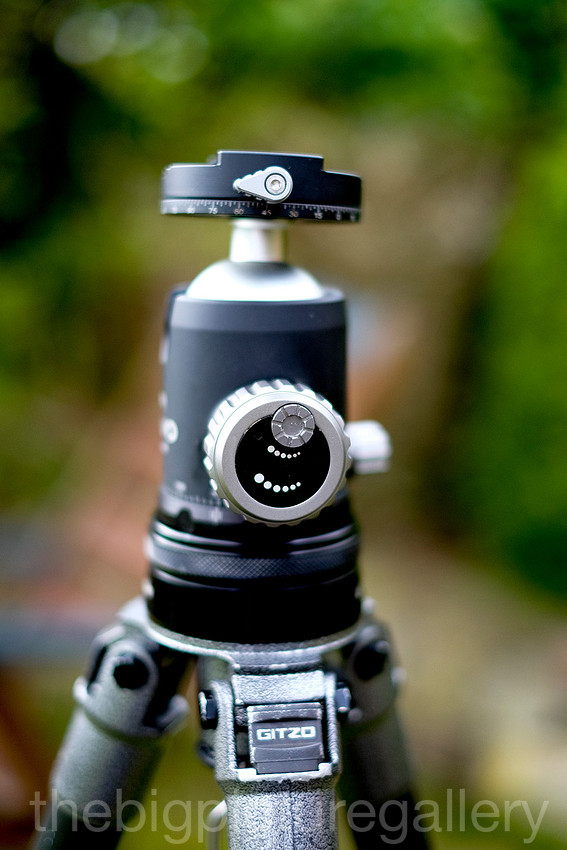
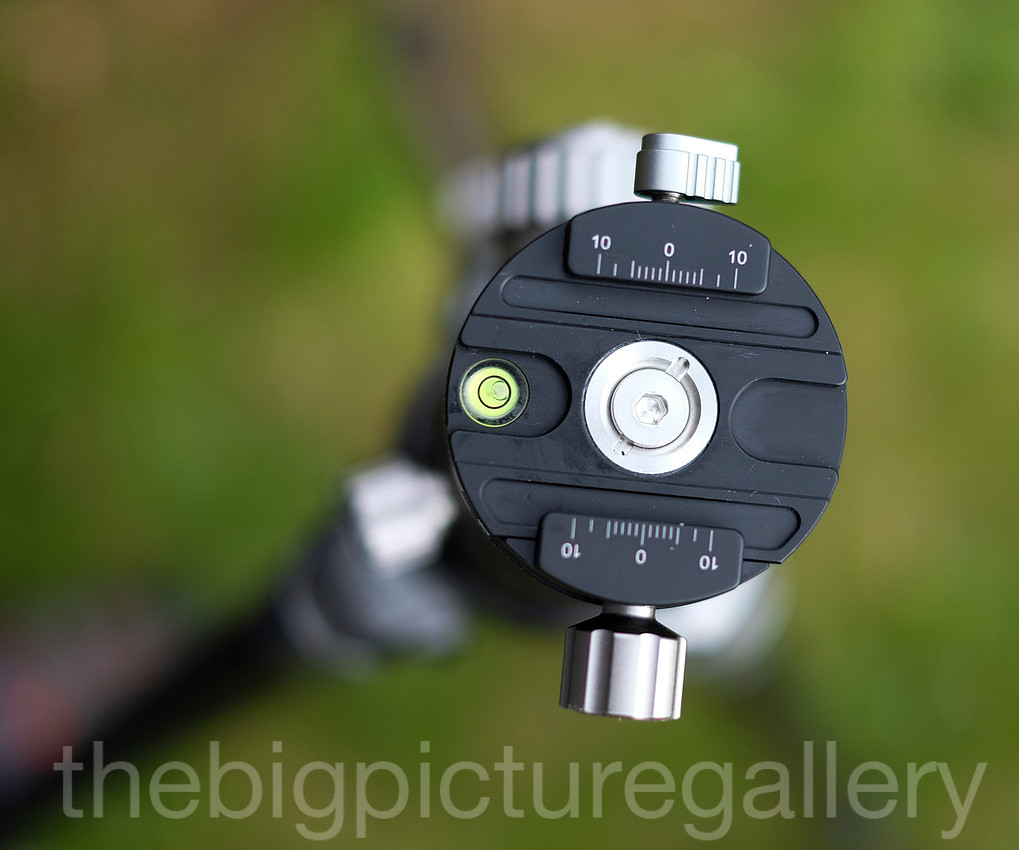
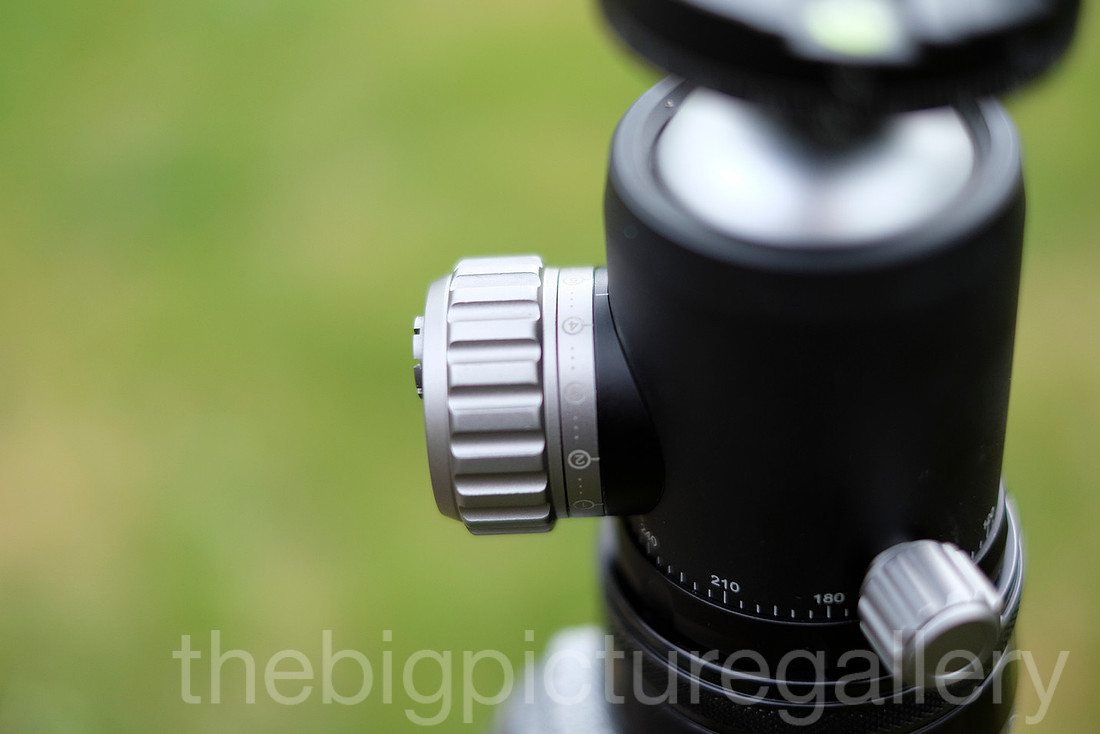
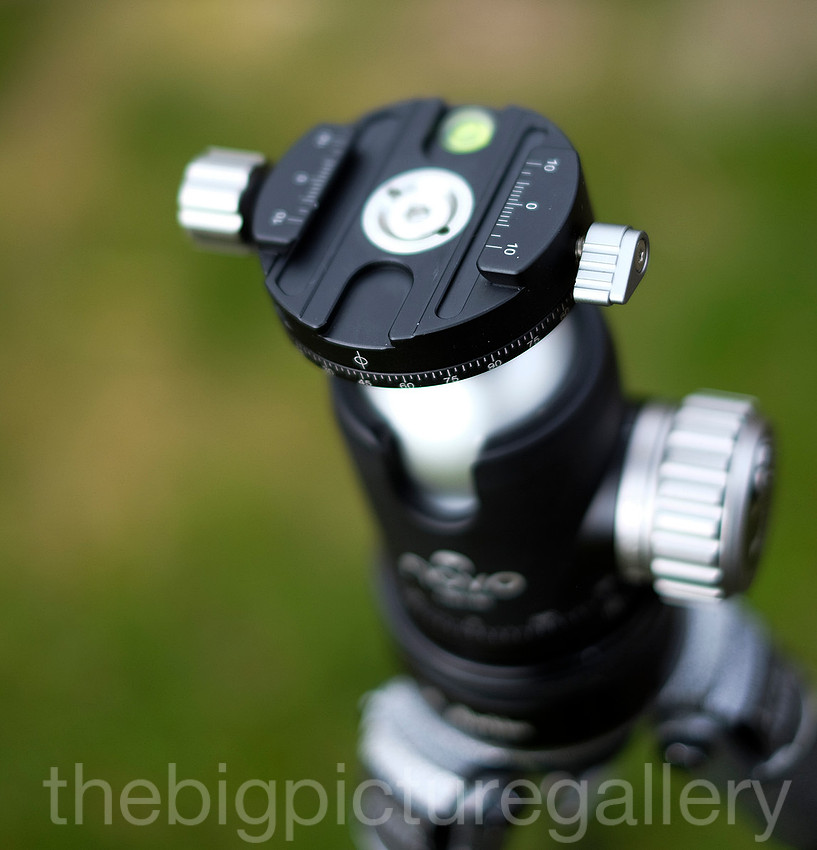
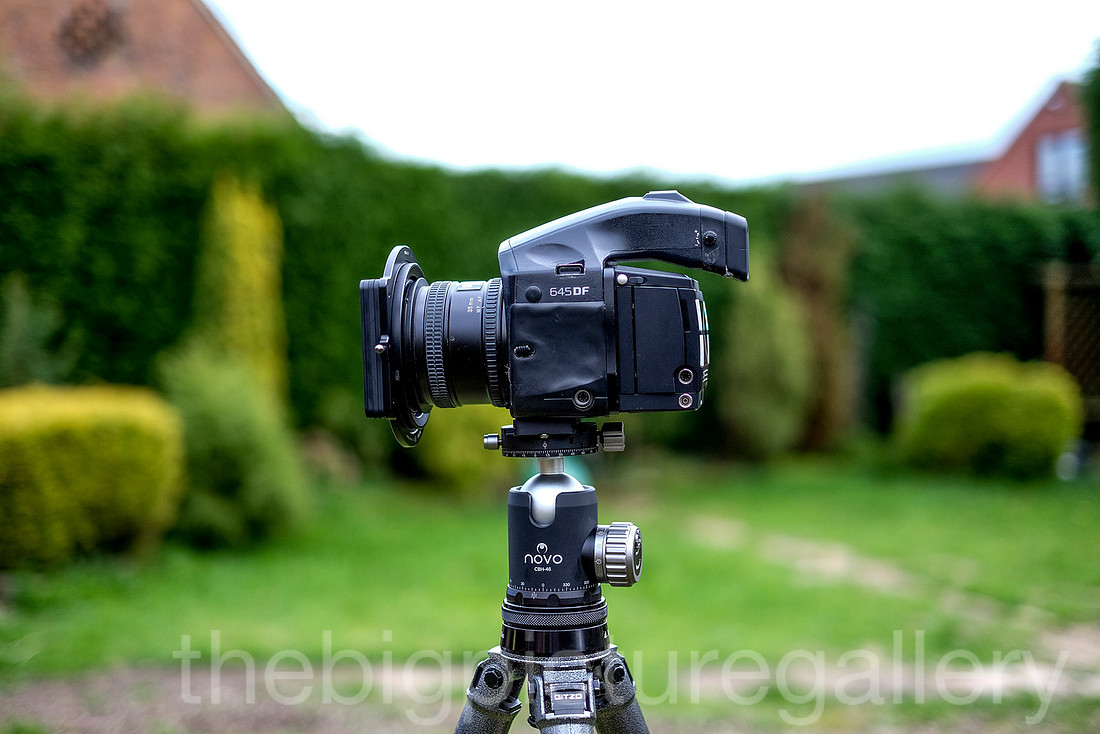
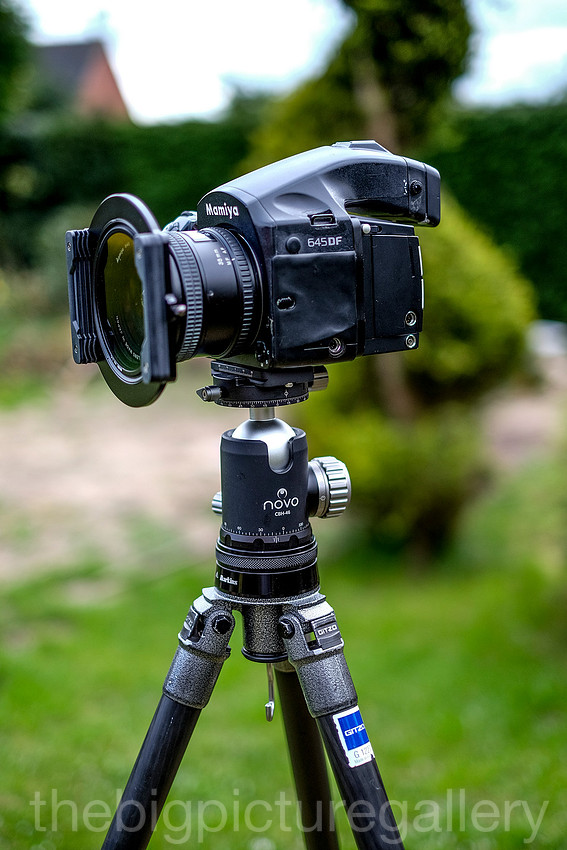
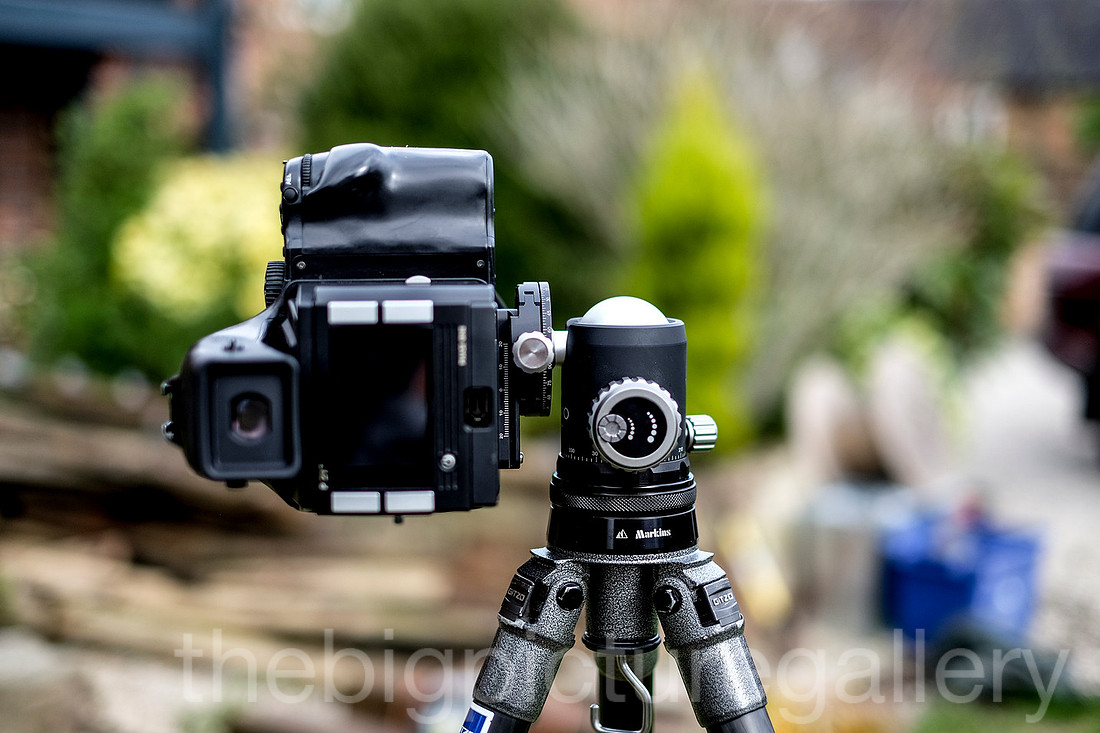
So the test in the field went well even though the wind was quite gusty the whole rig felt really well balanced, even did a couple of long exposures of 4 minutes to see if there was any movement. Nope locked solid this baby don't move.
The light over the Great Ridge and Mam Tor was contantly changing due to the high wind and clouds, it was nice to see the light moving over the hills as the clouds moved so quickly in the strong winds.
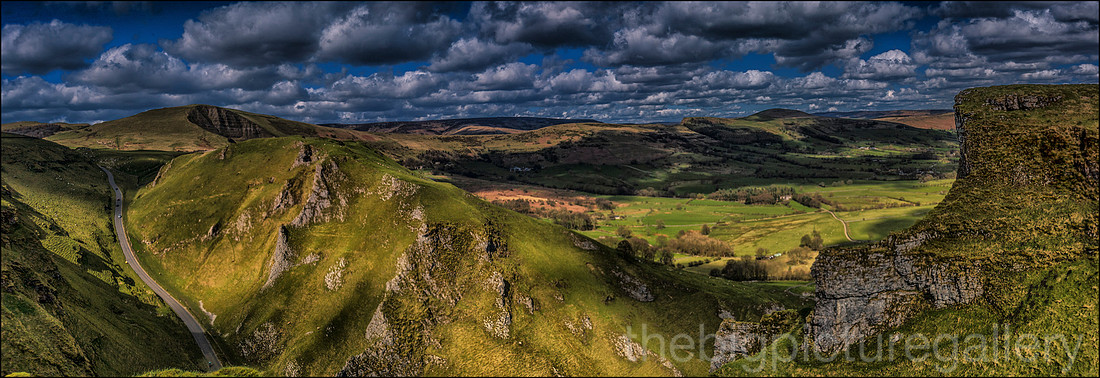
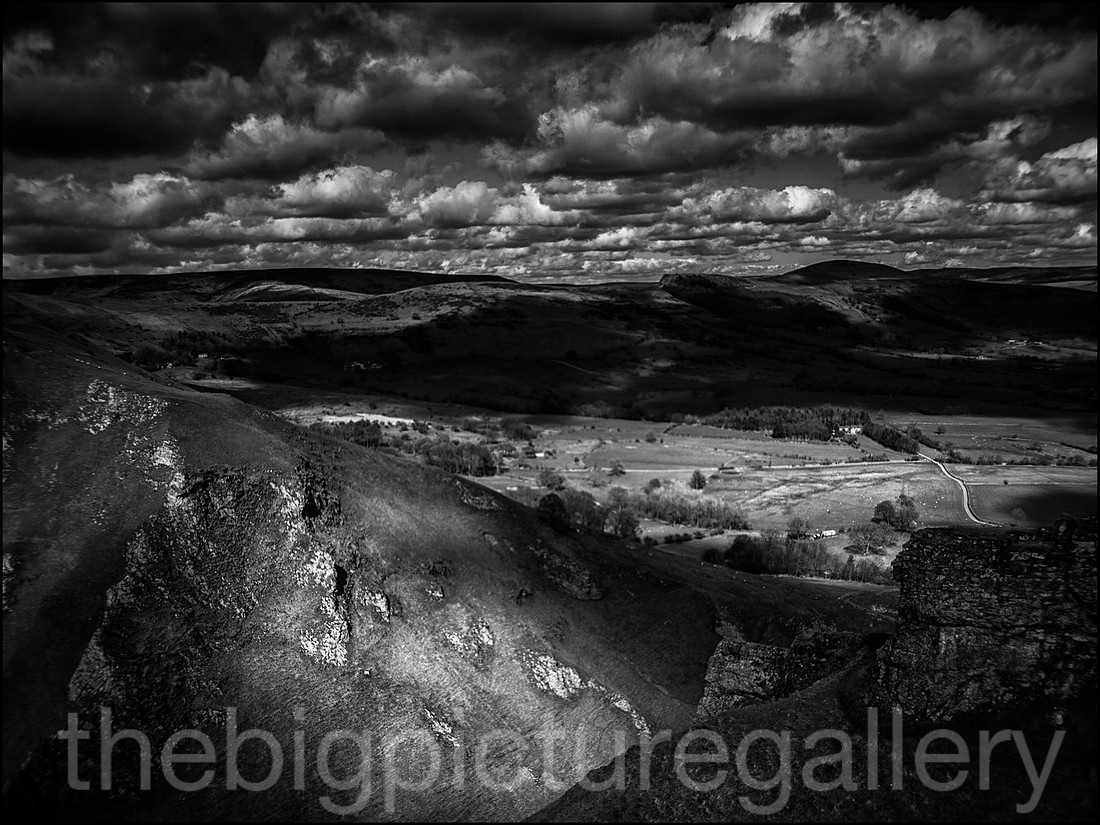
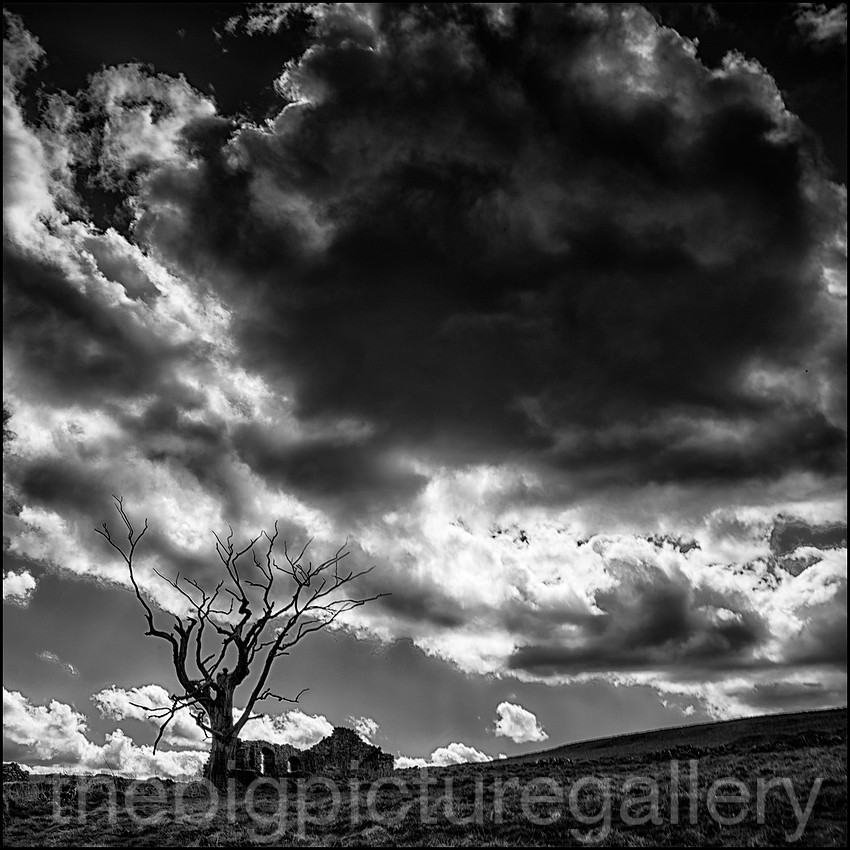
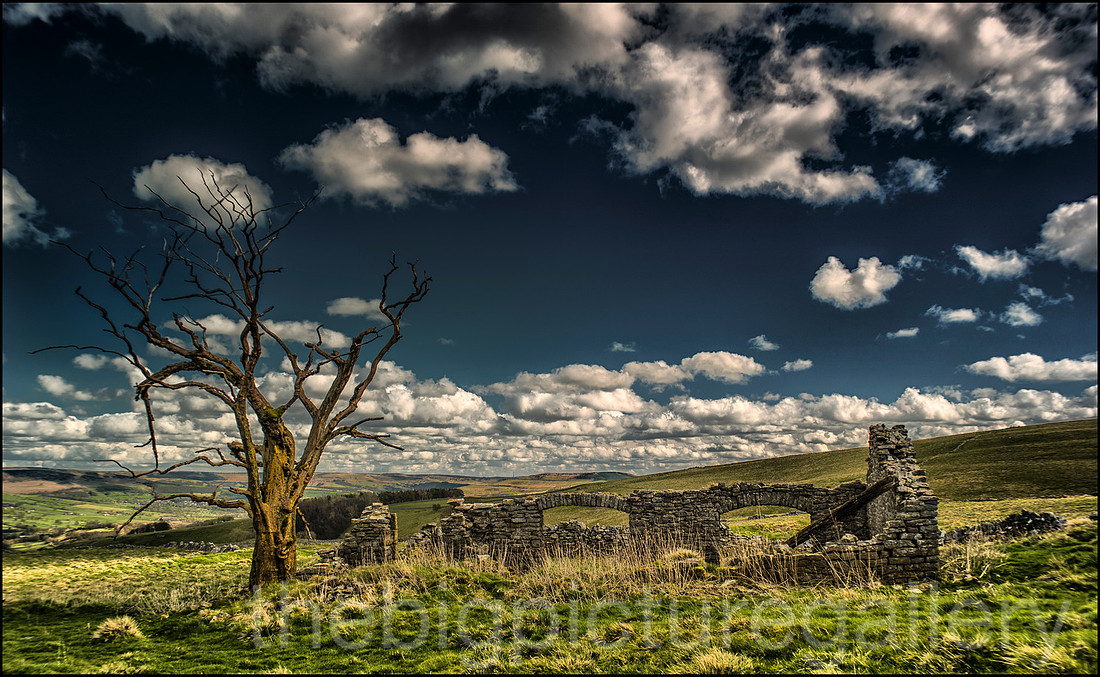
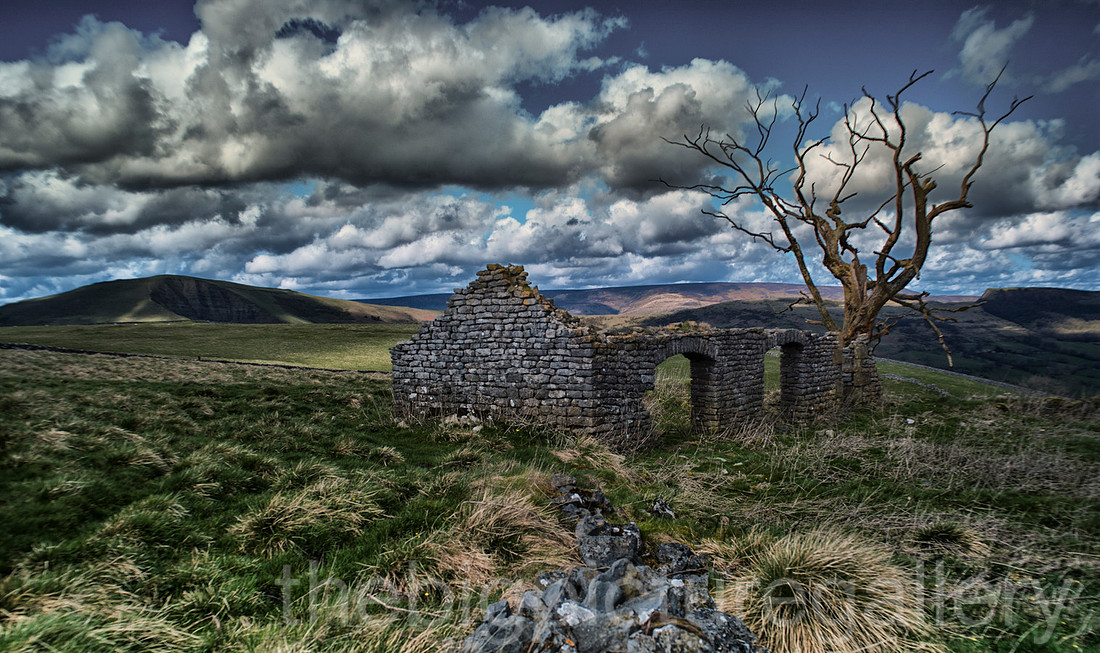
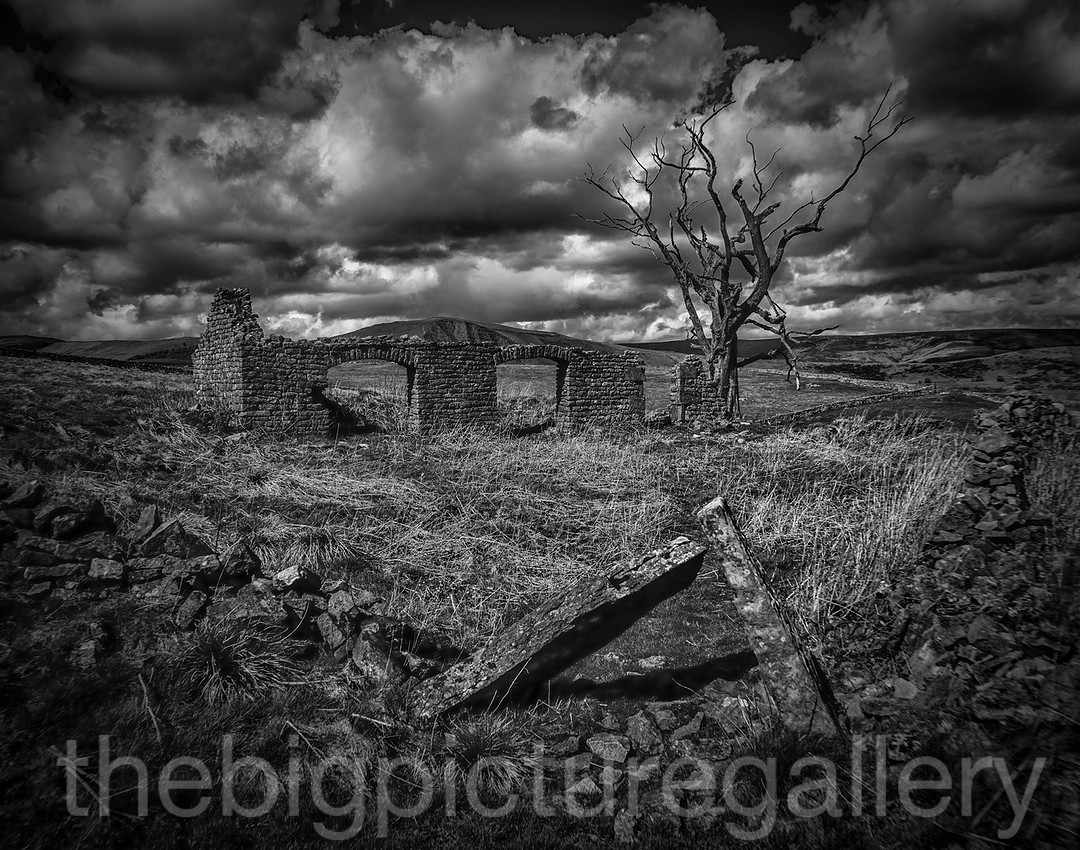
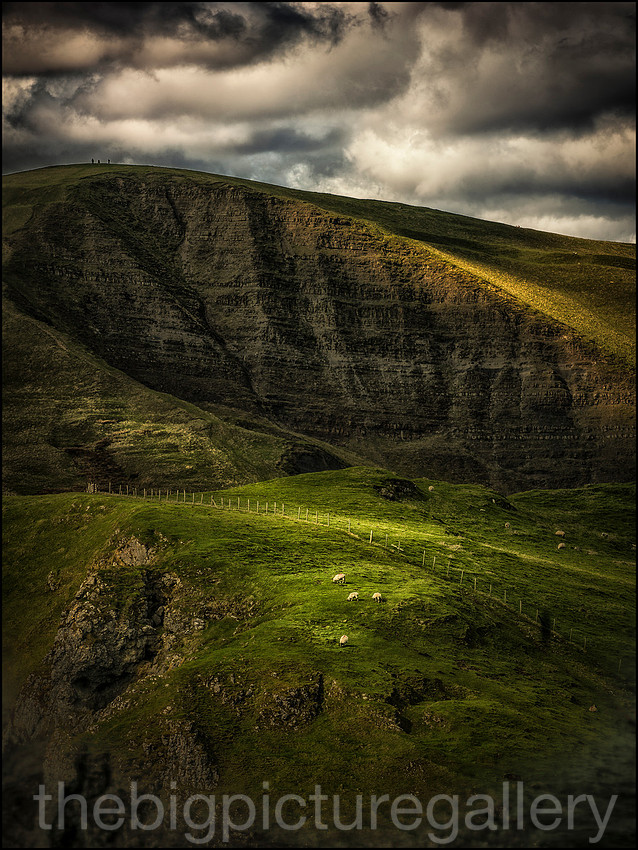
All the images from the Winnats Pass visit were made using the Mamiya 645df Phase One P21+ back, using 35,210mm lenses. ND Grad and Polariser.
]]>
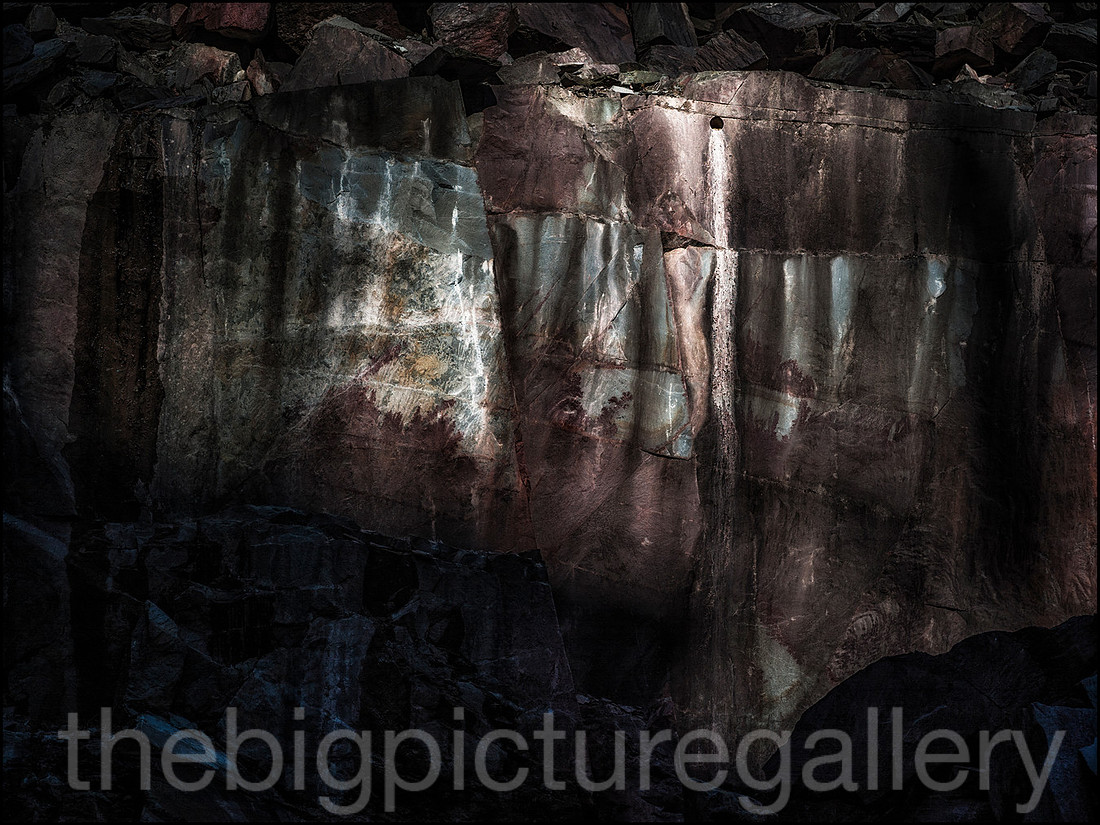
Having a good plan is always a good approach to getting the best out of the location your intending to visit. I am starting to venture further afield in my photography, as we have such a beautiful country to explore. I had been wanting to go to the Lakes since my last visit to Wastwater a couple of years ago. As usual things and weather get in the way, but this year I have made a promise to escape the confines of Derbyshire and get out to some of my planned locations.
So with a decent weather window I had pencilled in the Langdale Valley, and a disused slate Quarry as my preferred locations, it would suit the sunrise time and the view of the Langdale Pikes are perhaps the most iconic in the Lakes. A 3.30 alarm call got me up and out the door by 4am, and I made good time up the M6 feeling happy with my choice the weather was looking fantastic. An hour into my journey I saw the dreaded motorway closed sign, and proceeded to divert off the M6 due to a lorry fire. This cost me an hour in time, racing up thorugh Windermere and Ambleside I finally made the location well after sunrise, but hey ho what can you do.
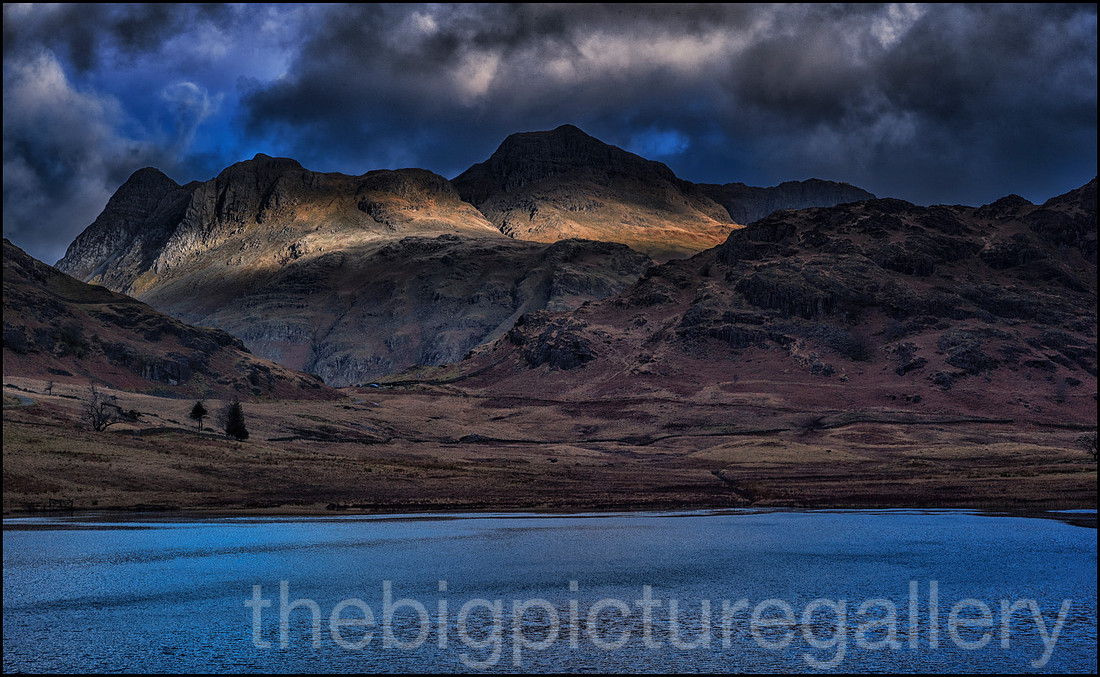
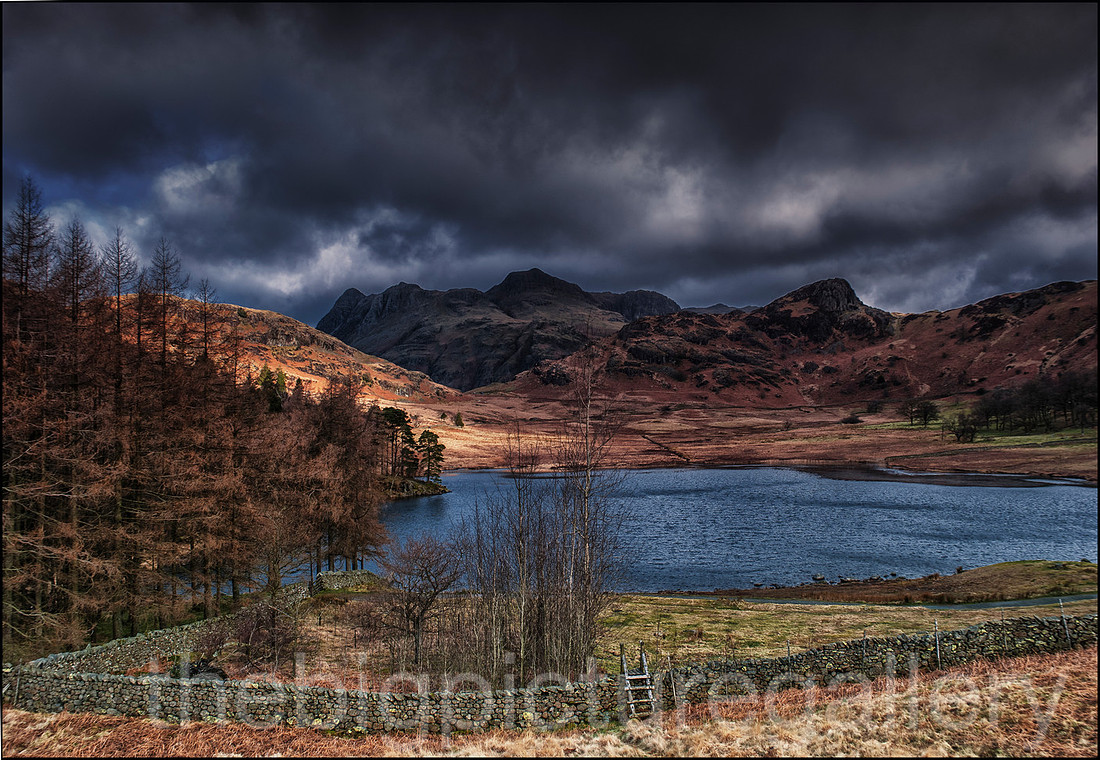
As it was the Pikes were under some brooding clouds, I set up shop at Blea Tarn and waited to get some light on the scene in fornt of me. I had opted to shoot some really long exposure frames, but the weather for that first hour was bloody horrible, with strong gusts of wind bringing in a few rain squalls, fortunately I had brought along a rather large brolly which kept the kit dry. The couple of long exposures I shot were trashed as over a preriod of a few minutes light drops of rain found the front of the filter. I was beginning to think that the journey up was going to be a washout. I was getting deeply frustrated, and also a slip on a rather wet bank left me with a soaking wet backside.
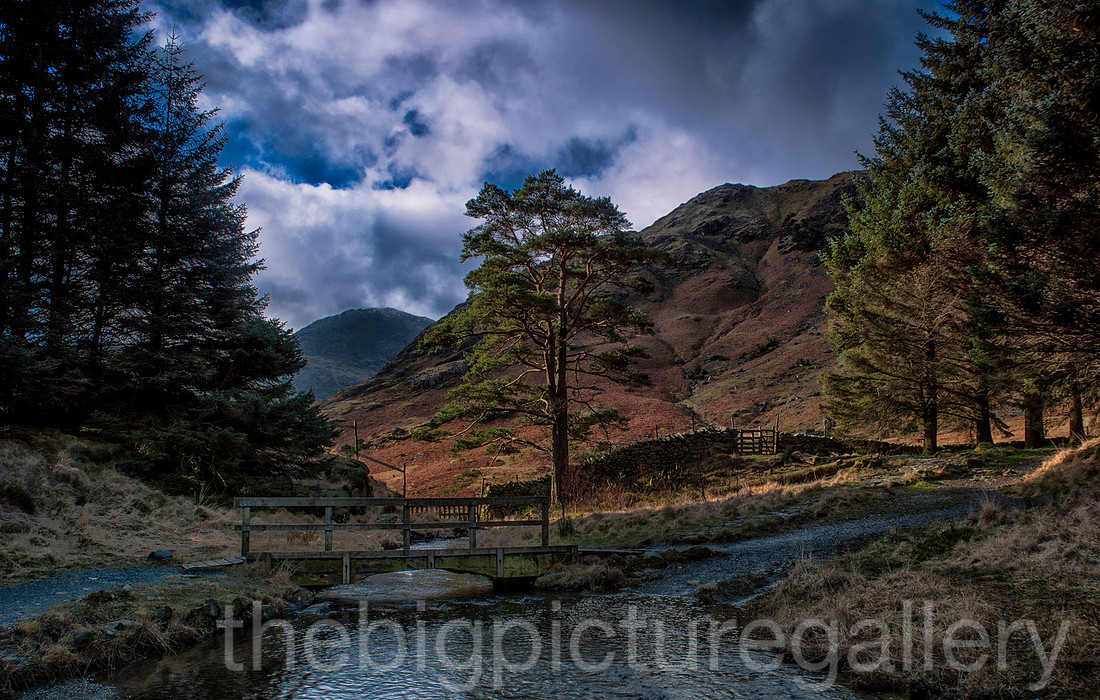
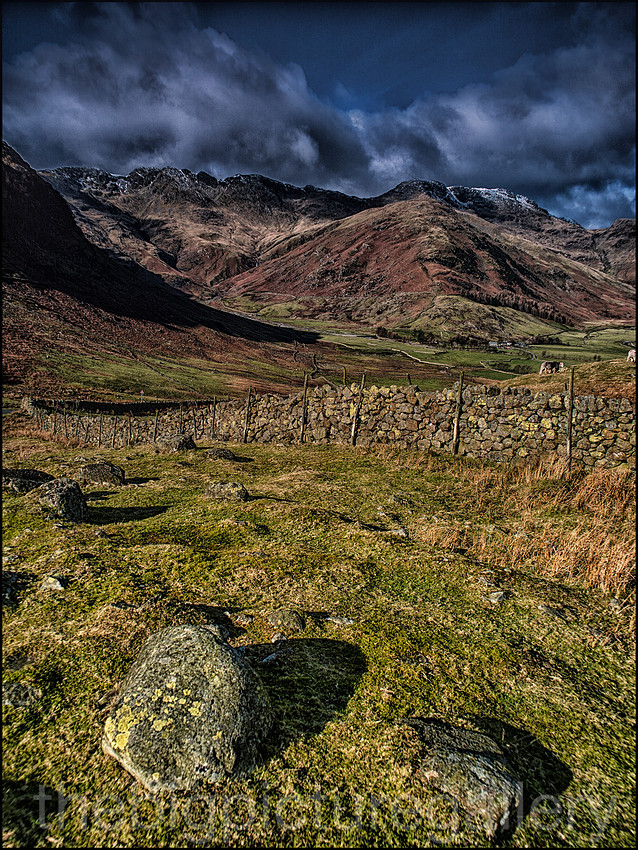
The sun then appeared round the back of Lingmoor Fell and the whole valley was lit with this gorgeous light, I was once again a happy camper. Taking advantage of this I moved around various viewpoints looking for good compositions. I was satisfied with what I had managed to capture. I went on to recce a couple more spots for a later visit. Then headed off to find the Quarry.
The Quarry was a fantastic place to visit, and concentrating on getting some abstract images I was not disappointed, the light was getting rather flat though and bt about midday I headed into Castleton to grab some lunch and a brew. The whole of the Lakes was bathed in glorious spring sunshine, and a fantastic blue sky, but for me the day had ended, I like my light a bit moodier. Making tracks back to the M6 i thought I would be home for around 4pm, except the southbound section was closed and the jam I was trapped in would take another 8 hours to clear. I finally got home at 10pm totally spent.
All the images taken, were shot using the Mamiya 645df, using the 35mm, 80mm, and 210mm lenses. The images are 16bit raw files processed in Adobe CC and Lightroom. I used the following filters nd grad .6/.9 and a colour polariser.
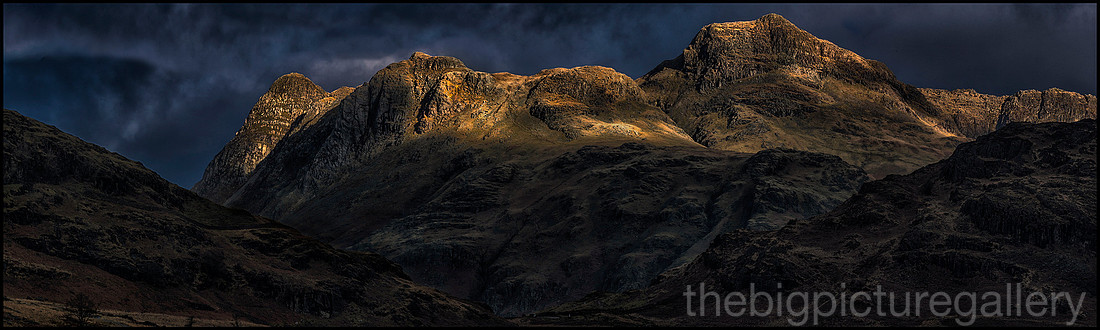 First light Langdale Pikes, Cumbria
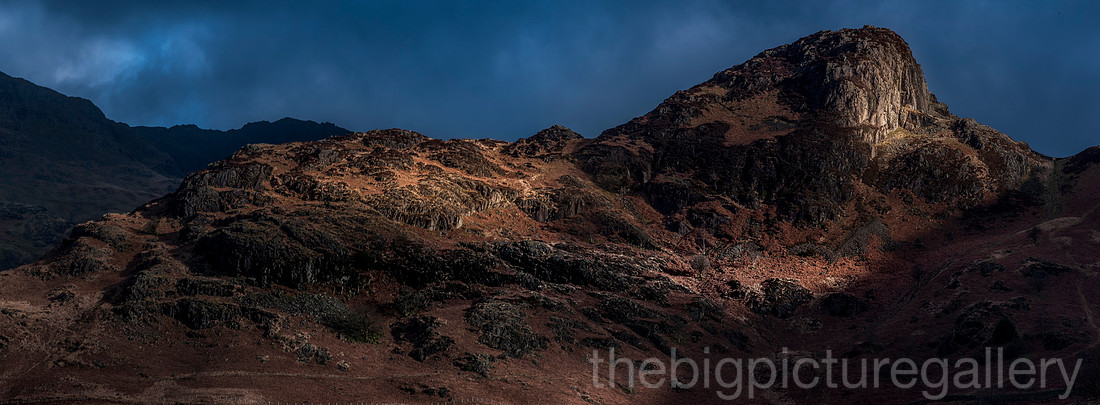
Snow was around, but the weather was poor, low visability, with little contrast. Some snow was still in the air, and it was bloody cold, so i decided to leave it for awhile.Parked up in a layby on the A515 with a nice hot coffee and waited. I gave it an hour and could see the sun trying to break through. Mad dash to get to a couple of spots I had recce'd earlier, I could not hang about too long as the snow was already thawing. A couple of hours later I was done, the snow had vanished in a blink of an eye. I was pretty happy though I had captured some nice winter snow scenes. Mind you the car was absolutely bogging. An hour of jetwashing when I got home.
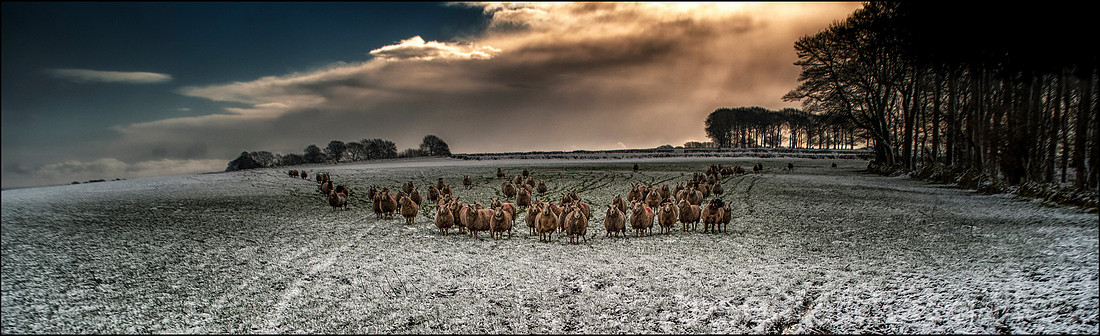 Sheep on the Rake near MonyashWaiting to be fed
Mamiya 645 df Phase One P21 with 35mm lens. The sheep thought I was bringing them some feed.
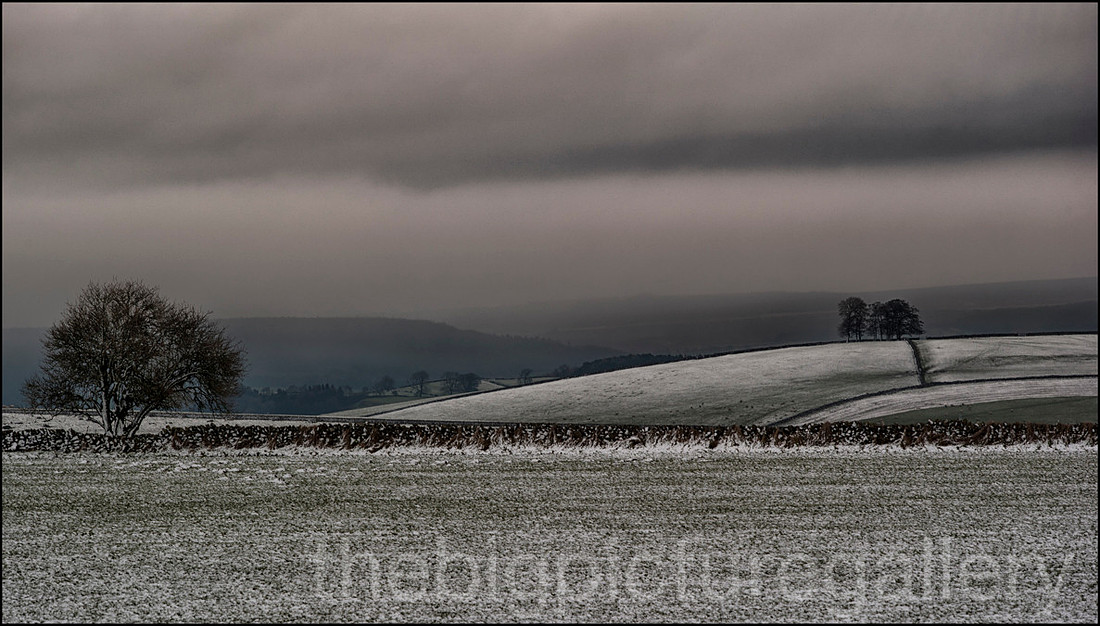 AutoWB: 2.94; 1.00; 1.03, Kelvin=5941, Tint=-0.0021
Mamiya 645df Phase One P21, 210mm . Rolling hilside near Pikehall
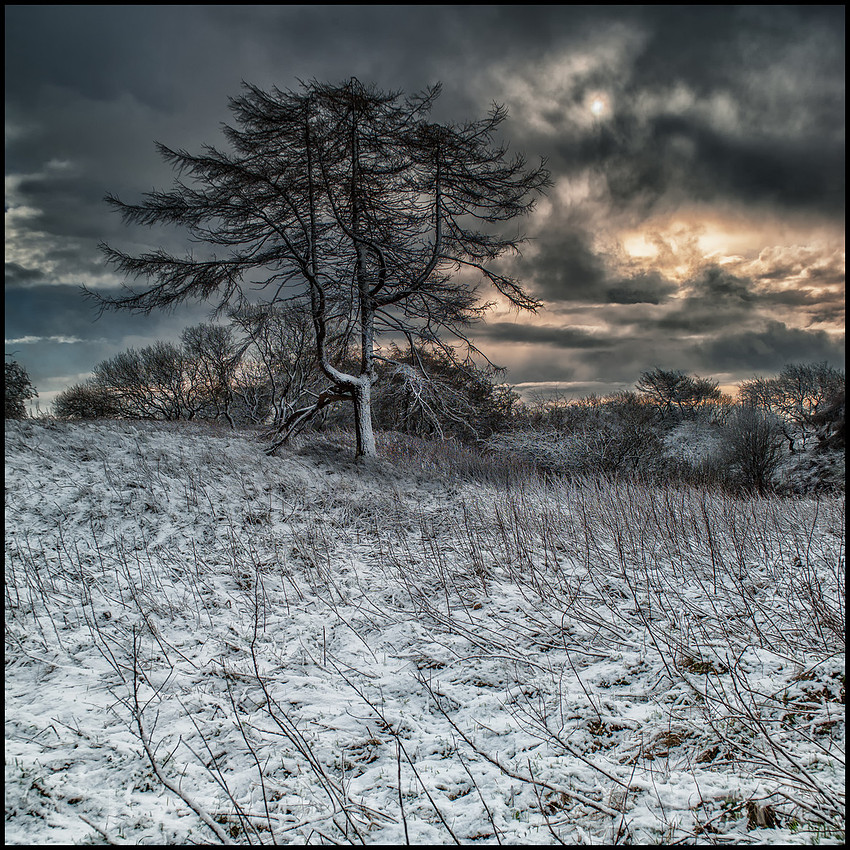 AutoWB: 2.98; 1.00; 1.10, Kelvin=5778, Tint=-0.0059
Mamiya 645df Phase One P21 with 35mm, I have always wanted to take this image with snow on the ground. Worth the wait I think.
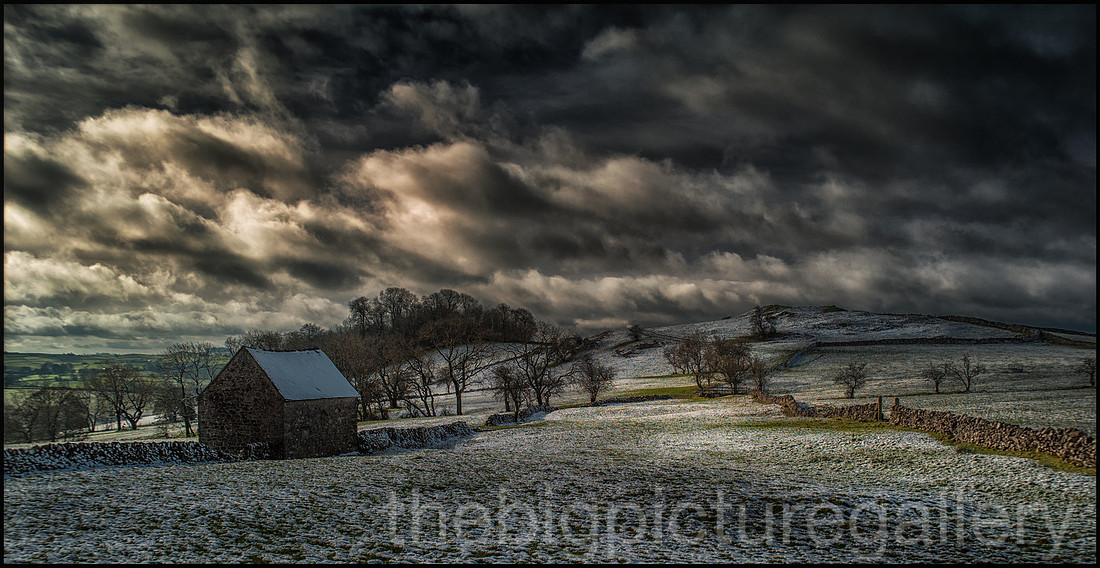 AutoWB: 2.99; 1.00; 1.13, Kelvin=5706, Tint=-0.0073
Mamiya 645df Phase One P21 with 35mm. Breaking light near Alstonfield.
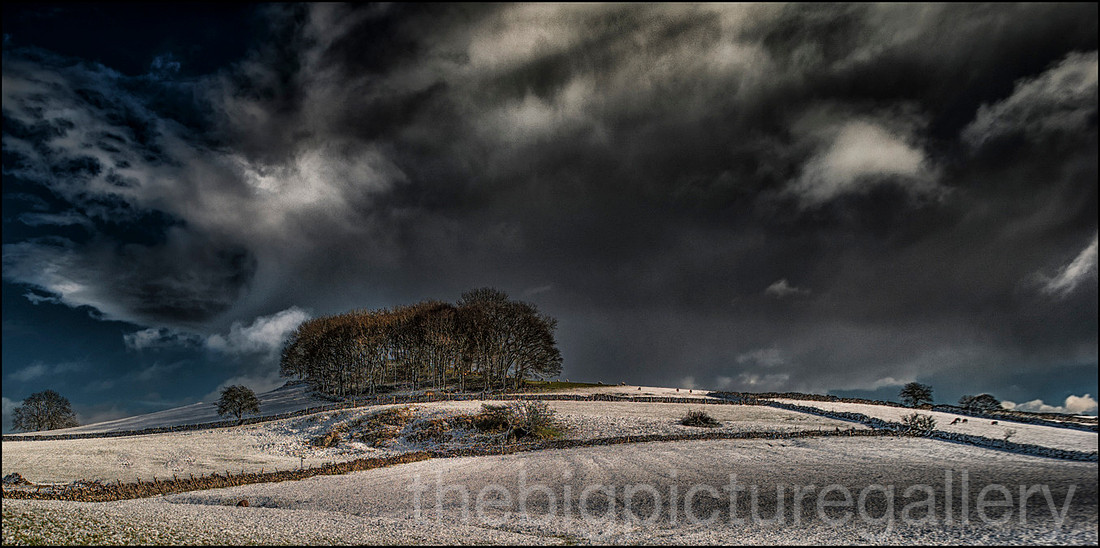 AutoWB: 3.08; 1.00; 1.07, Kelvin=6075, Tint=-0.0063
Mamiya 645df Phase One P21 with 35mm. A small hillside copse near Alstonfield
]]>Image taken with the Dji Inspire Pro with Zuiko 12mm
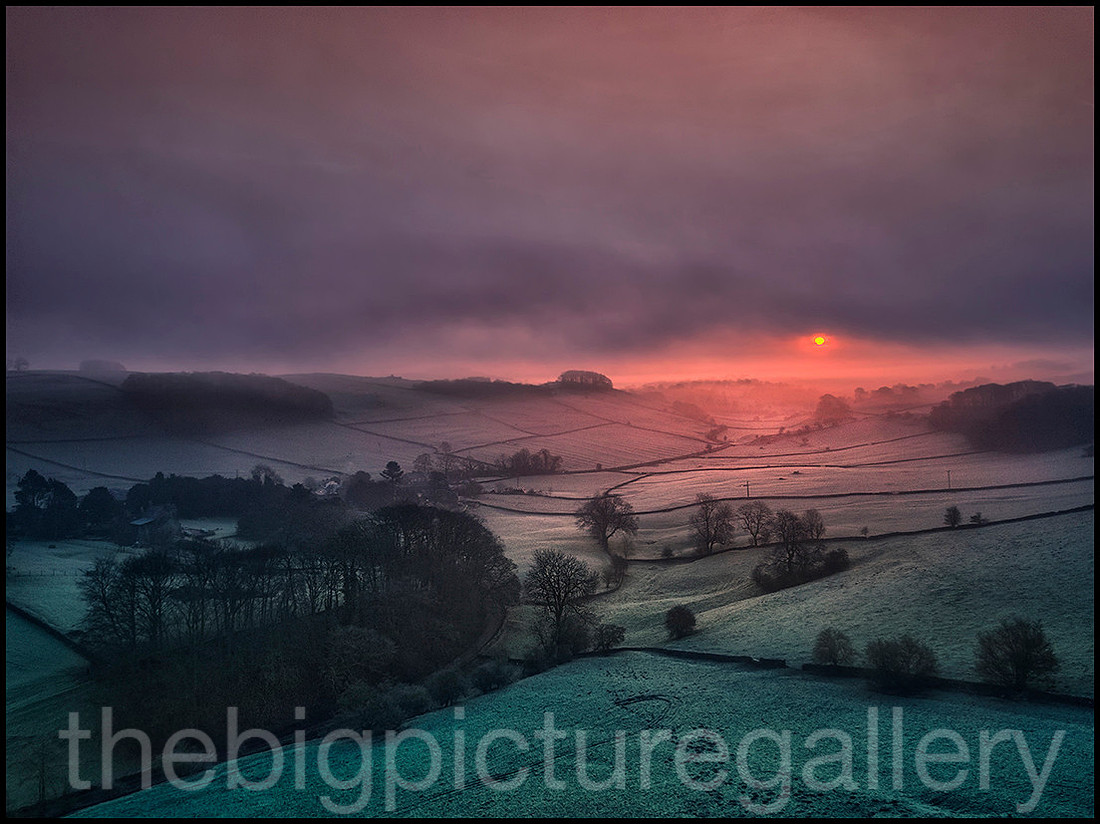 Alsop en le Dale DerbyshireSunrise though hill fog
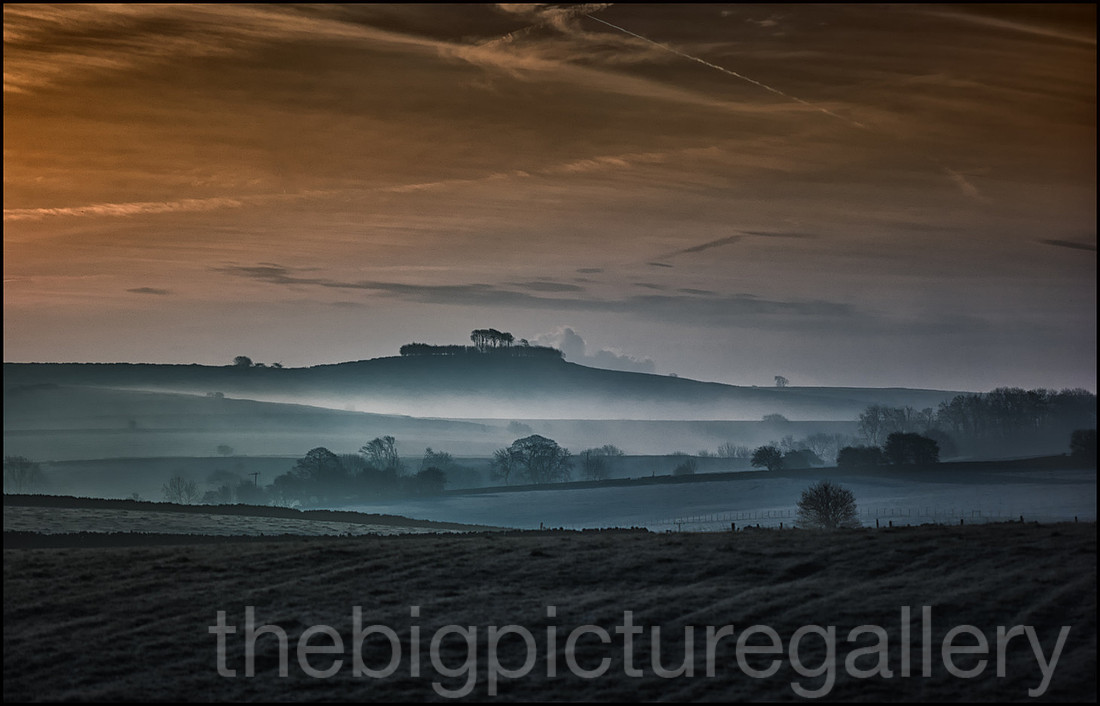
It took a further 12 miles or so before I found the edge of the fog, and was rewarded with some spectacular light. A quick stop and whipped out the Mamiya 645df with the 210mm, I was after some compression and minimum depth of field, the telephoto is one of my most used lenses when out in the field. The Mamiya 210mm is perhaps not quite long enough for me, but its a great lens for an oldie, very sharp. Not as contrasty as the new digital designed lenses, but has a nice quality to how it renders objects.
Image taken with Mamiya 645df with Phase One P21+ back. 210mm AF
 Beech Trees in the foglayers of fog near Pikehall
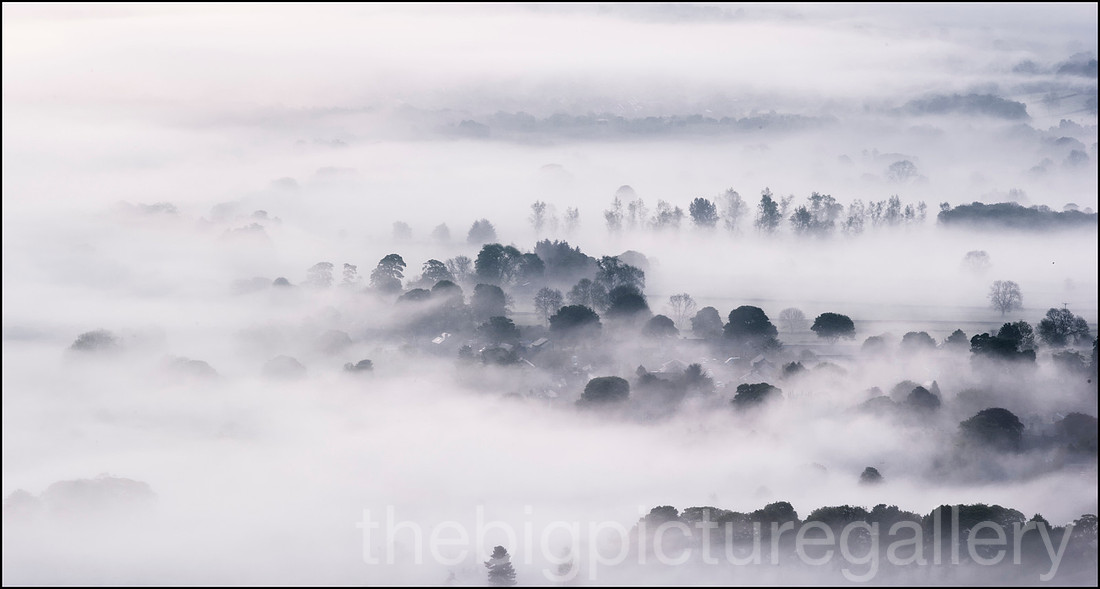
So the mad dash continued, thought Minninglow may be interesting. When you see rolling fog like this the light can change in seconds, a chink of sunlight last only a few moments before it's smothered by the grey blanket. It certainly is quite exciting chasing around like this.
Image taken with the Mamiya 210mm
 Minniglow Hilllayers of hill fog near Pikehal,l Derbyshire
My last image of the morning was perhaps the most excting, a little knoll and a tree appeared around a bend in the road, the sun was just trying to break through, quickly setting up with a 35mm having chucked the X trail into a partial ditch, I managed a few frames before the light went completly.
Mamiya 35mm MF with Lee ND Grad
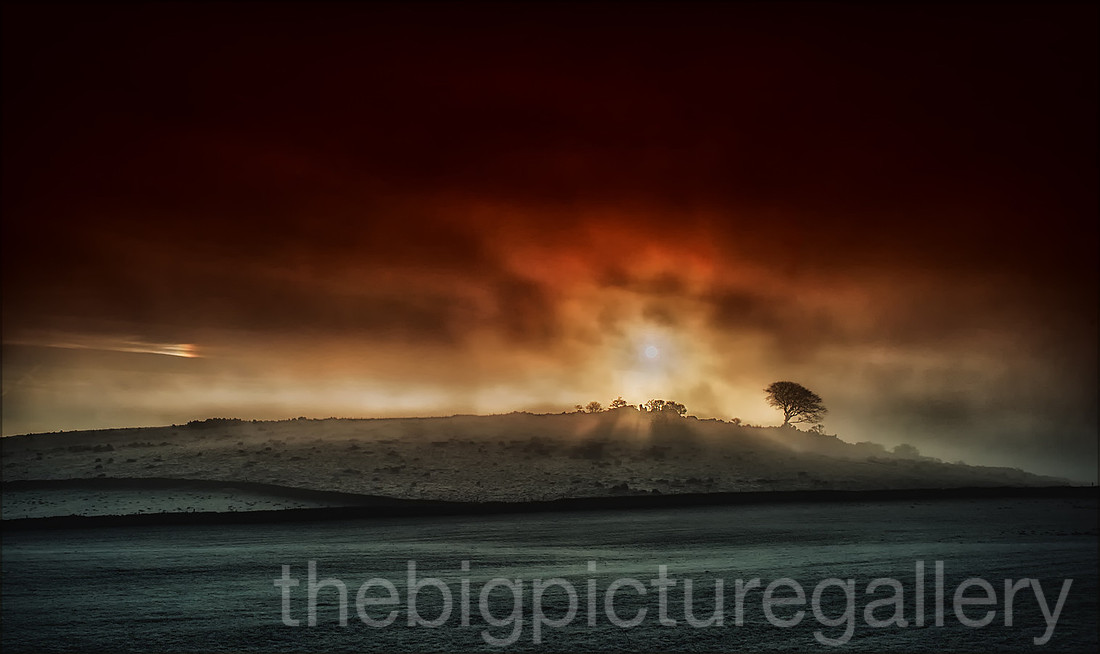 Sun breaks through the fogOn the road between Pikehall and Parwich Derbyshire
I tried to get a more detailed shot of this little Hawthorn tree but the light just got worse. I waited for awhile but I knew that by the time it cleared the sun would have moved out of the frame. A place to go back and explore further though.
Image taken with the Maiya 645df 35mm MF lens
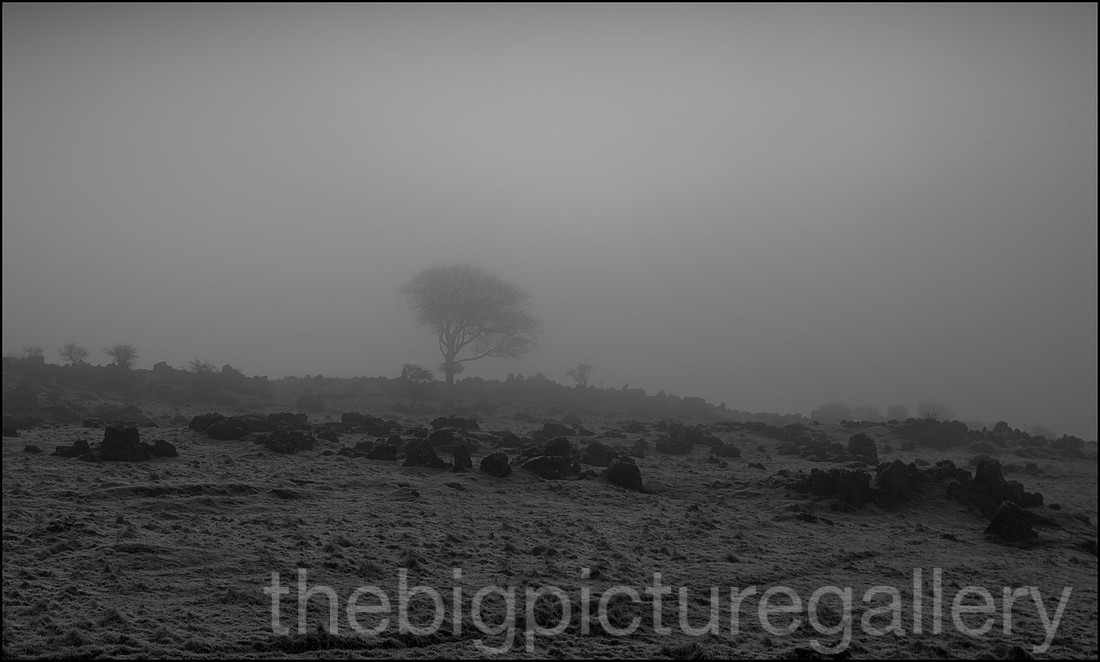 In the gloom of winter
The above image was shot just a few moments after the amazing burst of sunlight, thats how quickly the light can change. Always be prepared to move from your initial choice of photo location, as 9 times out of 10 the weather will do it's best to screw up your day.
My last frame of my morning outing was of a small copse. Quite like the contrast of the trees against the fog. Thanks for reading and your comments are always welcome.
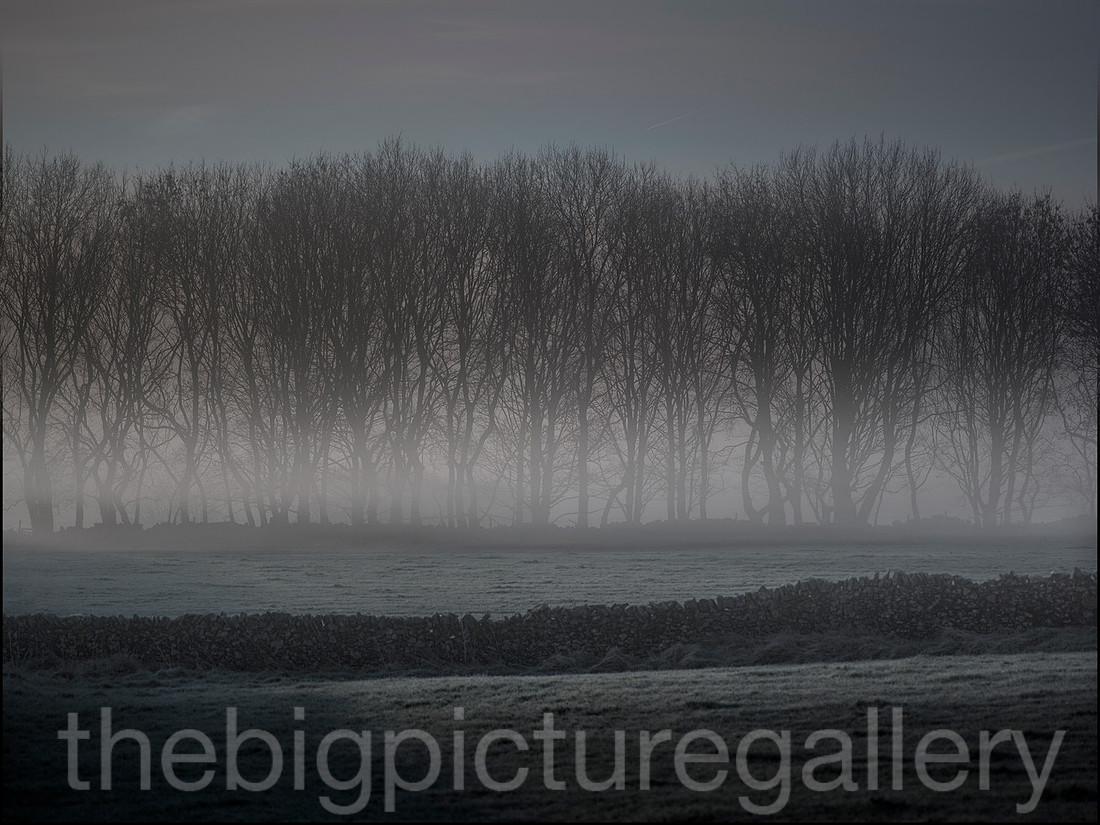 Small copse in the fogA freezing cold morning near Parwich Derbyshire
So whats new ?
I'm using medium format
Returned to The Falkland Islands after 35 years.
Had a wonderful Autumn
Flying a Drone
Got Married
This is no particular order by the way, and of course getting married was by far the best thing that happened to me (honest dear). So plenty to write about and catchup on.
The move to Medium format for me was a tough move, especially as I've waxed lyrical about how much the Fuji system is such a joy to use when out in the landscape. However I have had this thought in my head for sometime, that despite Fuji's attempt to bring the analogue style shooting concept back into fashion, they keep making the cameras seemingly more complex with loads of bells and whistles that I don't really need. When I look back at my first Fuji (X100) it was quitea simple camera to operate. Looking at the latest iteration the XT2 it has got so many features that for me it has become far removed from what I really want a camera to be.
I want a simple picture taking machine one where you set the aperture and shutter speed according to your requirements, set the focus point and press the shutter. Simple isn't it? thats all I require, for the majority of my work I don't need Live view, hundereds of focus points, programme modes and the like. I want a machine that gives me a good exposure, has good build quality and delivers nice image files. Bearing this in mind I began looking at medium format as the way to go. I settled with a Mamiya 645DF coupled with a Phase One back a P21+. The reason for choosing this back was simple it had a great reputation for delivering very good colour files, albeit at the expense of low ISO use only. Allowed me to take images upto 1 hour long, great build quality, and an ease of use in its menu system that a child could operate. One other factor was that although this is quite old tech, the back when it was new cost about as much as a decent car. Nowadays they are quite cheap and as an investment make so much sense. You can change the back without losing the camera, you can scale up the back to a higher MP rate at any time. Plenty of lenses to go at, both old Mamiya manual focus, as well as the newer tech from Phase One. You still get AF if you want it, you can get leaf shutter lenses which allow for higher flash synch.
The Mamiya 645 system has been around for ages, and has a good reputation, the 645Df is built like a tank, and yes it's a weighty beast, so hand held only in super light conditions. It's pretty much stapled to my tripod, its very rare I shoot handheld, although on a recent London workshop I took, I did shoot it hand held mainly with a 210mm and I was pretty pleased with the results. The one caveat I have is that mirror slap at low shutter speeds is an issue, so I usually shoot mirror up mode, tripod mounted, cable release. The Mammy is so easy to use, set it in manual and use the dial to set shutter or aperture. The exposures are pretty good. Although now I have the benefit of a super light meter, as an aid to exposure measurement, and comparative results show the camera is pretty much on the money exposure wise. It has been such a joy to use, simple no fuss photography. My favourite lens at the moment is the 35mm MF given the crop factor of the Phase One back this equates to around 23mm in 35mm terms. No super wide angle I know but the widest lens on offer is well over 2k and is outside my budget at the moment. Though the 28mm Phase One lens is very very nice. Some recent images shot using the Mamiya 645df and Phase One P21+
Images taken using the Mamiya 35mm MF
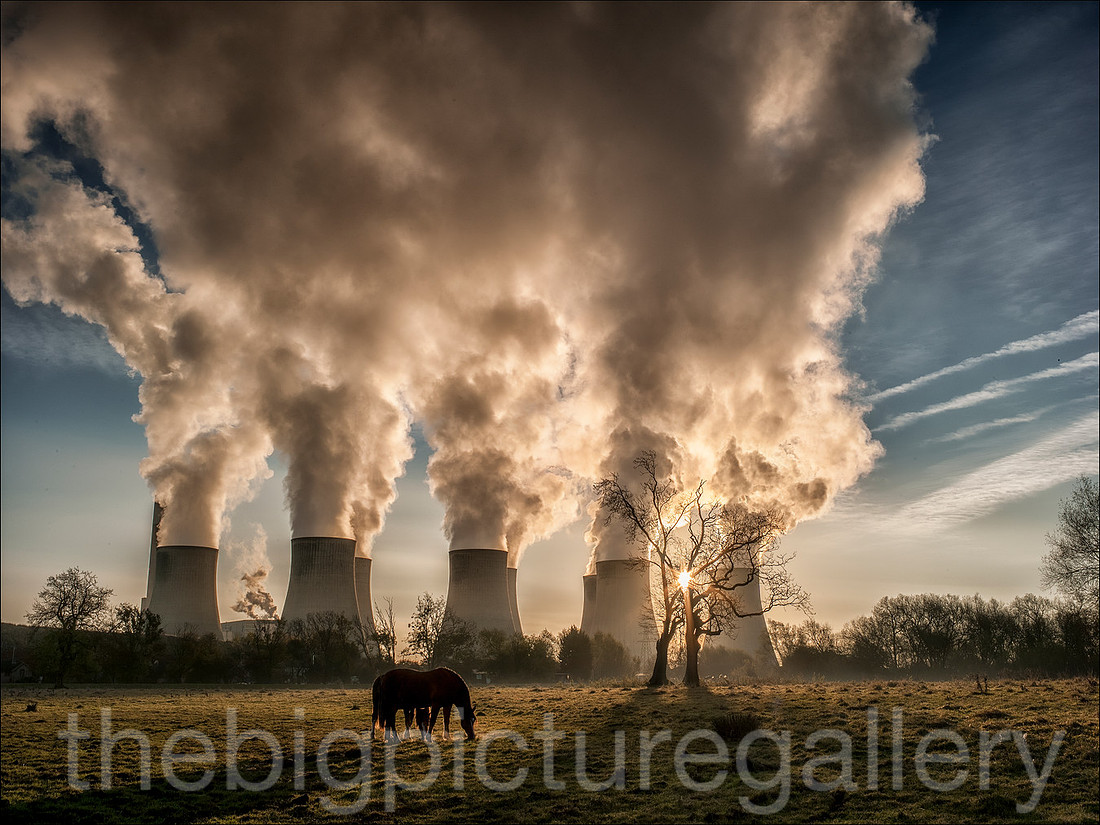 Sunrise Ratcliffe on Soar
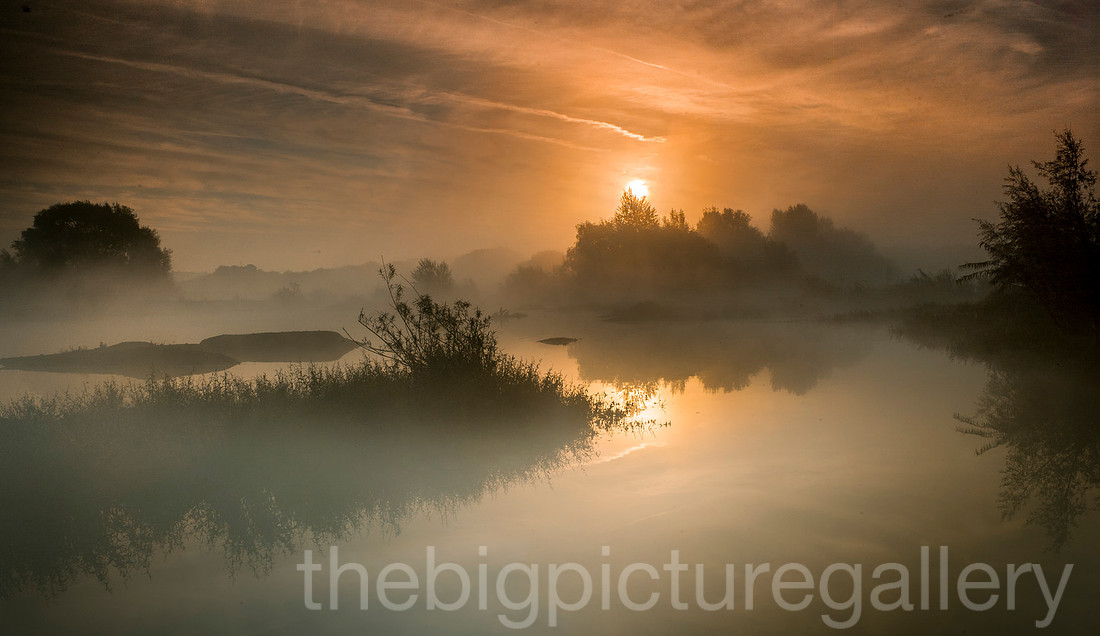 Dawn breaks River Tame Staffordshire
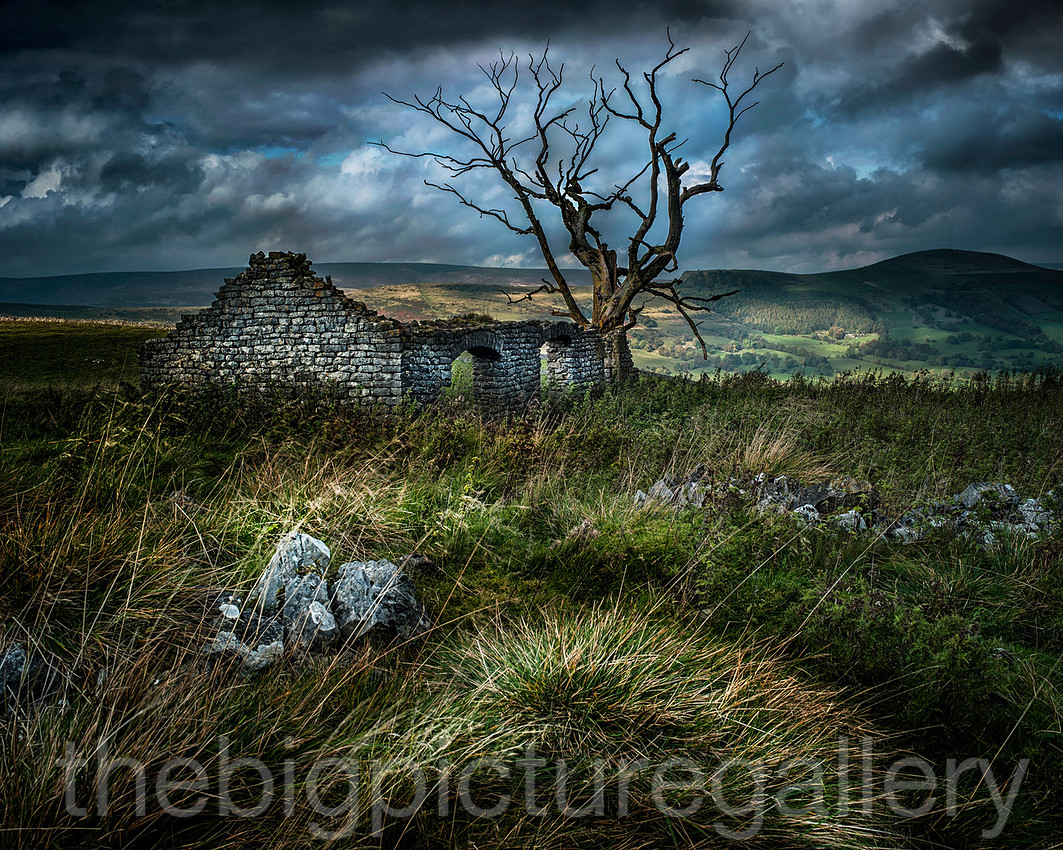 Old Barn Peak Dsitrict Derbyshire
Images taken using the 45mm AF
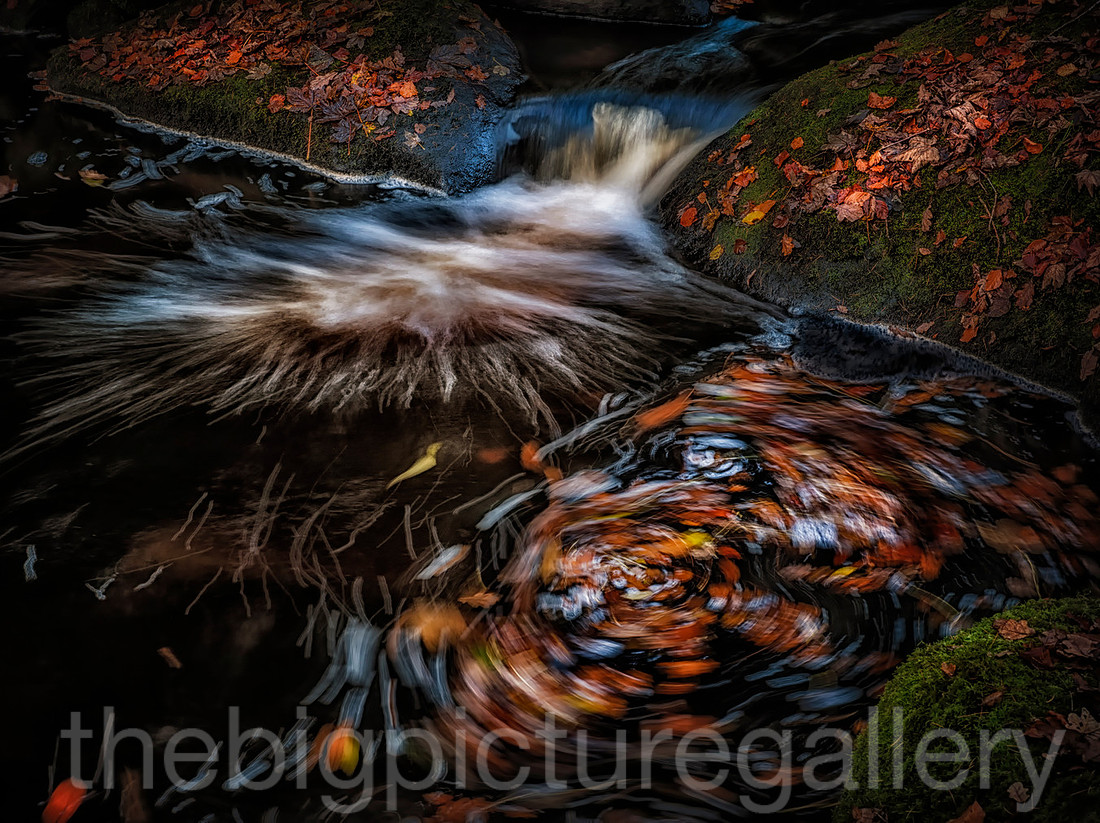 Autumn colour swirling leaves Padley Gorge Derbyshire
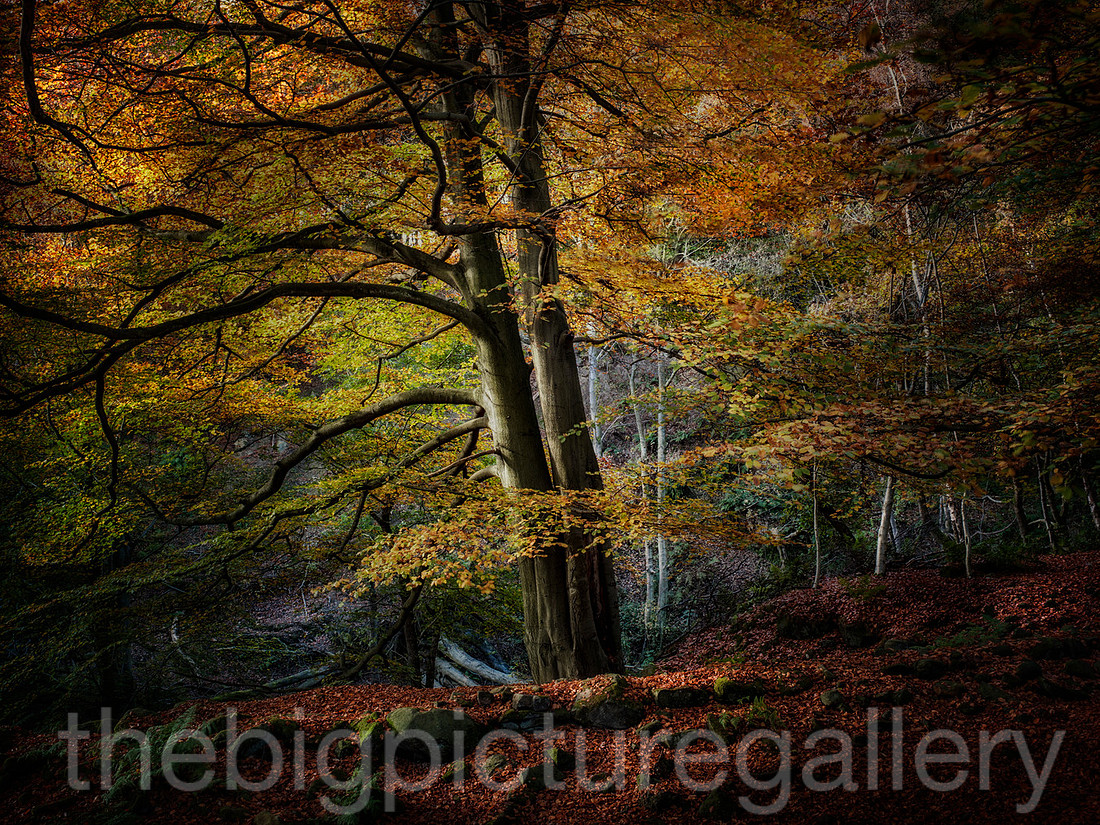 Autumn Padley Gorge Derbyshire
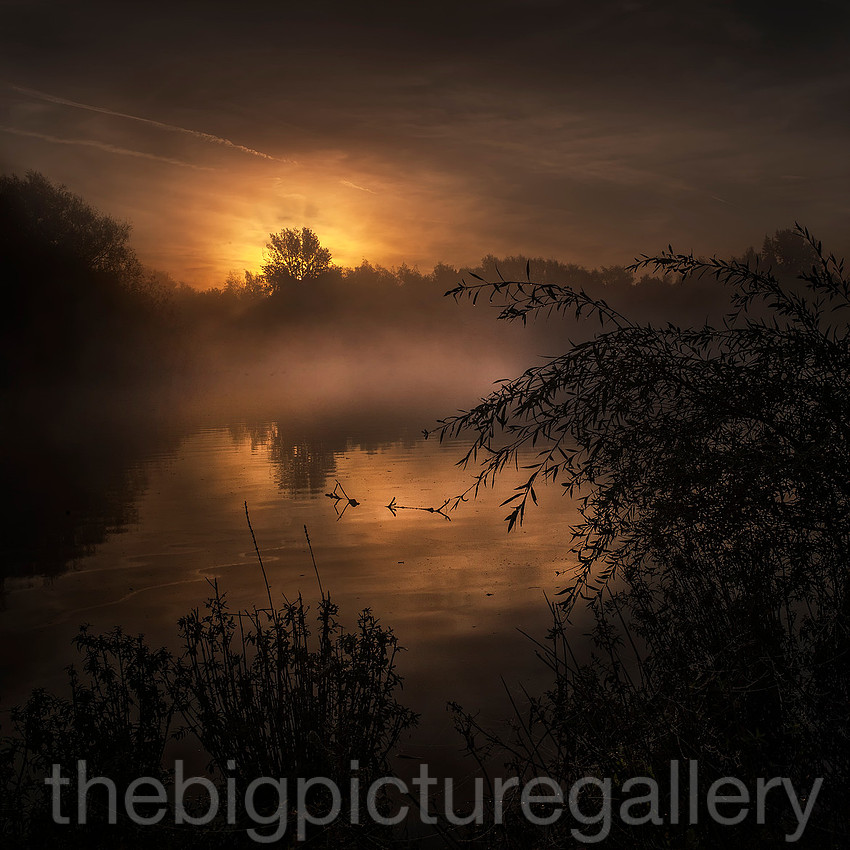 Dawn small meadow pond Satffordshire
Image using the 210mm AF
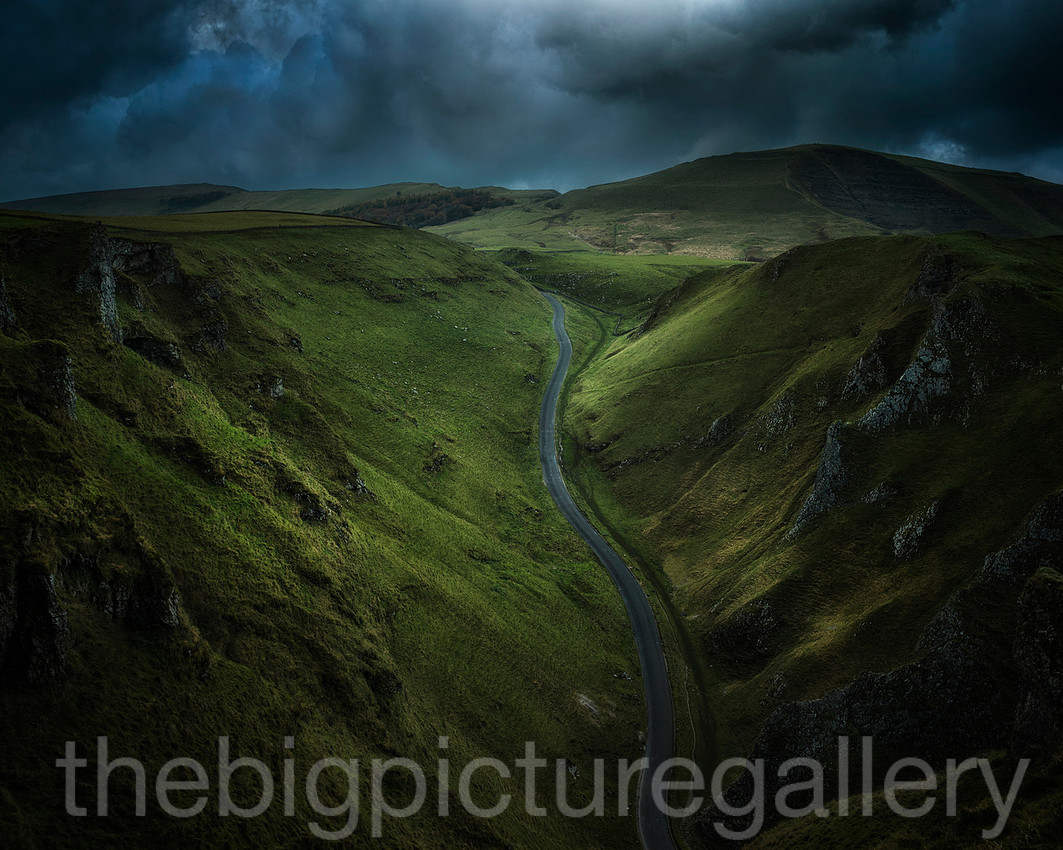 Storm over Winnats Pass Castleton Derbyshire
I am sure you will agree the colour rendition out of the Phase One is quite stunning, even for old tech I am using colours are the best I've seen. In fact I shoot very little monochrome with this combo. My Fuji kit is still with me and I won't ever give that up in a hurry, I still have weddings to shoot :) My next blog will be covering some City shooting in London. Thamks for reading, please post a comment, any questions just ask.
]]>

 The River Derwent is a beautiful and quite tranquil place to spend an hour or two exploring it's banks. Fuji Xt1 with 55-200 and 10-24 lenses.
Dungeness is a strange but quite wonderful place to visit, Ok I know it's got a Nuclear power station by it, but the landscape is just incredible. I would think on a raw winters day it would be quite foreboding. It's seems that the place over the years has attracted all types of flotsam and jetsom, the decaying hulks of old boats and fishermans sheds provides a wonderful photographic opportunity. You can easily understand why its been used as a location for film and TV.
The scattered remains of livelyhoods litter the shingle beach. All the images taken on the Fuji Xt1 using 10-24mm and 55-200mm lenses.
The weather looked menacing on on the way it absolutely stonked it down, perhaps this was not a good idea. Pressing on I stopped off at a small group of trees I have often wanted to shoot, they always remind me of poodles. The view from up the hill was cracking and I could see right to the end of the Dove Valley, and Ax edge moor beyond.
The hills of Parkhouse and Chrome centre of image. Fuji Xt1 55-200mm
The Poodle trees against a clearing sky, Fuji Xt10 10-24 mm with nd grad
I eventually found a space to park the car, expecting the place to be busy, I was amazed to find I had the entire river to myself. The day turned out to be warm with some fantastic sunshine which provided me with some enchanting light. I was amazed at how dark it became under the tree canopy, it was a lovely winding walk up the river eventually reaching Litton.
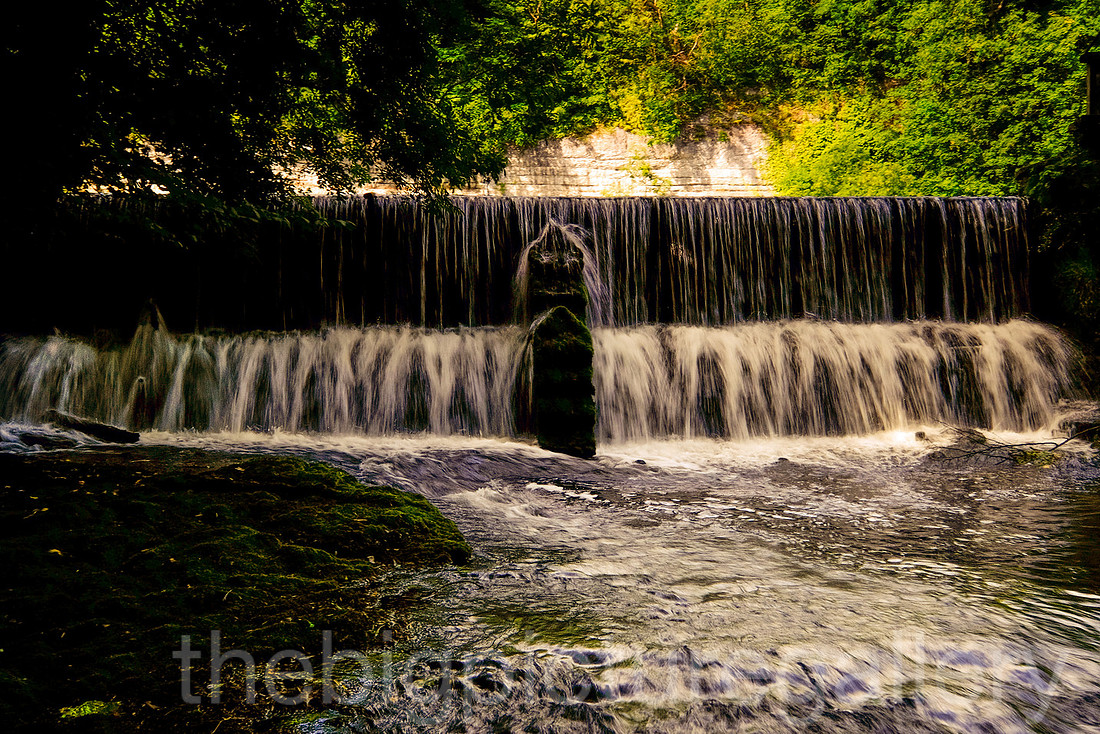
The weir at Cressbrook with the famous Rubicon wall in the background, Fuji Xt1 55-200mm
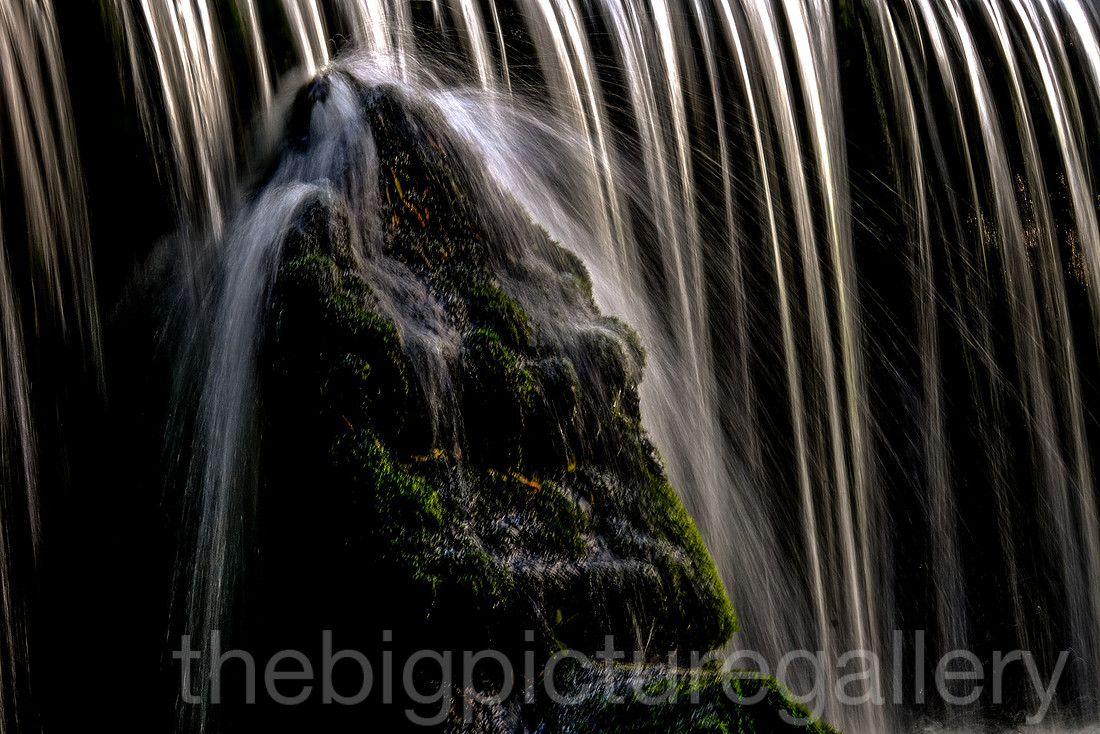
Weir closeup Fuji Xt1 55-200mm
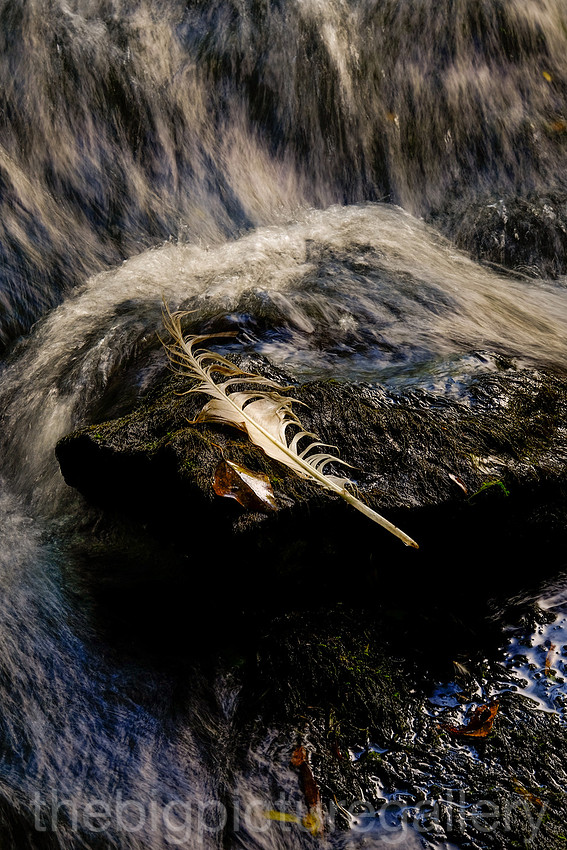
A Swans feather Fuji Xt1 55-200mm
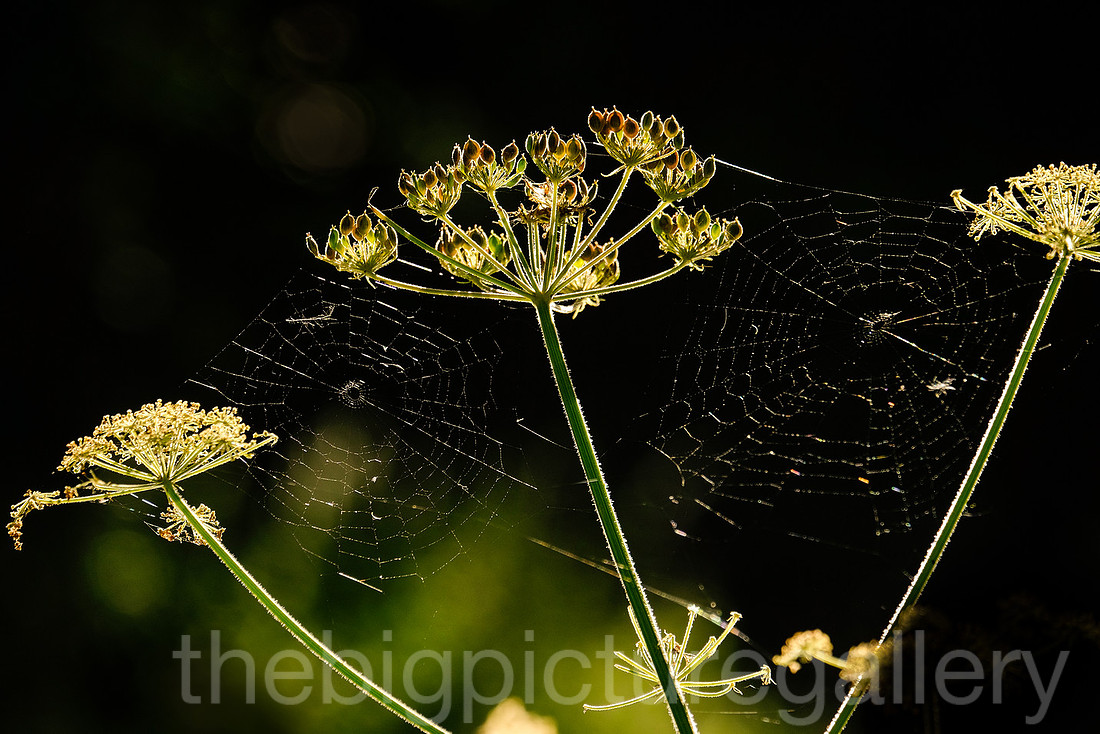
Contre jour lighting the webs amongst Wild Chervil, Fuji Xt1 55-200mm
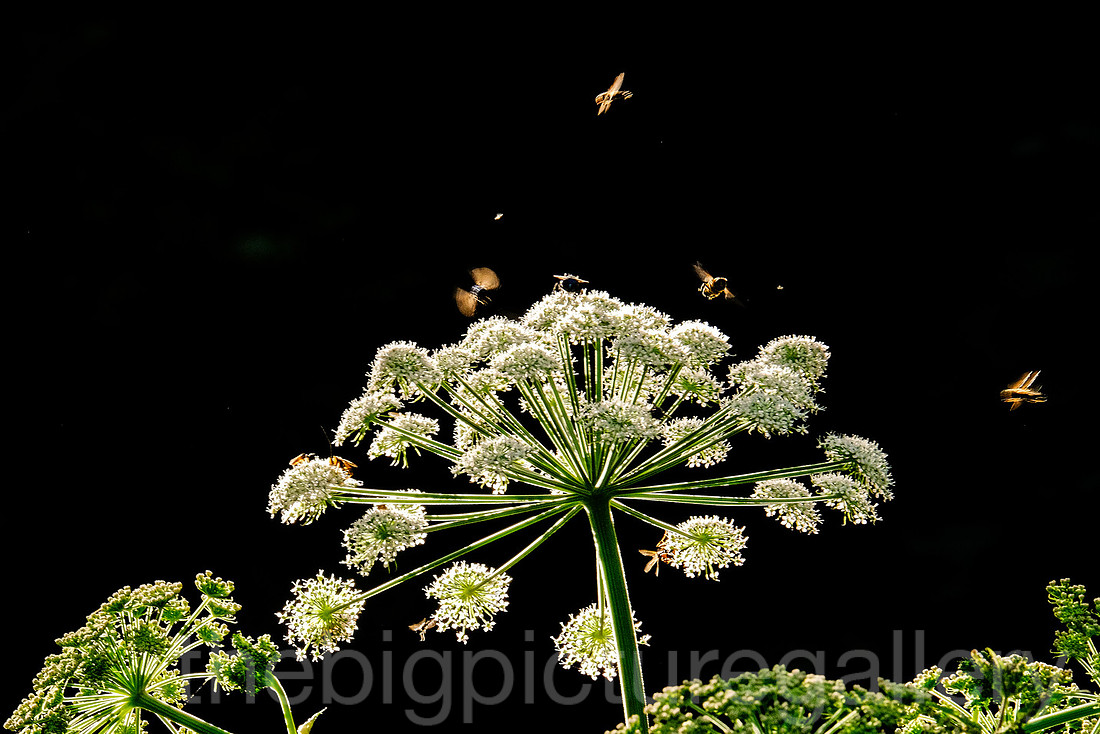
Worker Bees on Wild chervil, Fuji Xt1 55-200mm
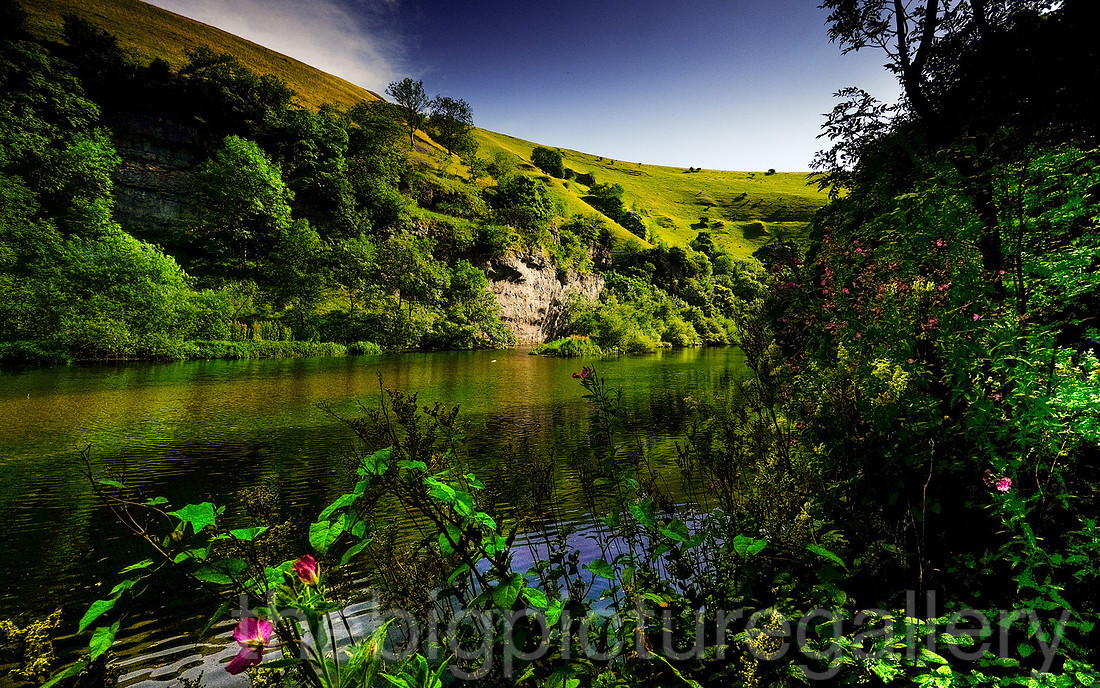 The River Wye at Cressbrook, Fuji Xt1 10-24mm (Velvia Setting)
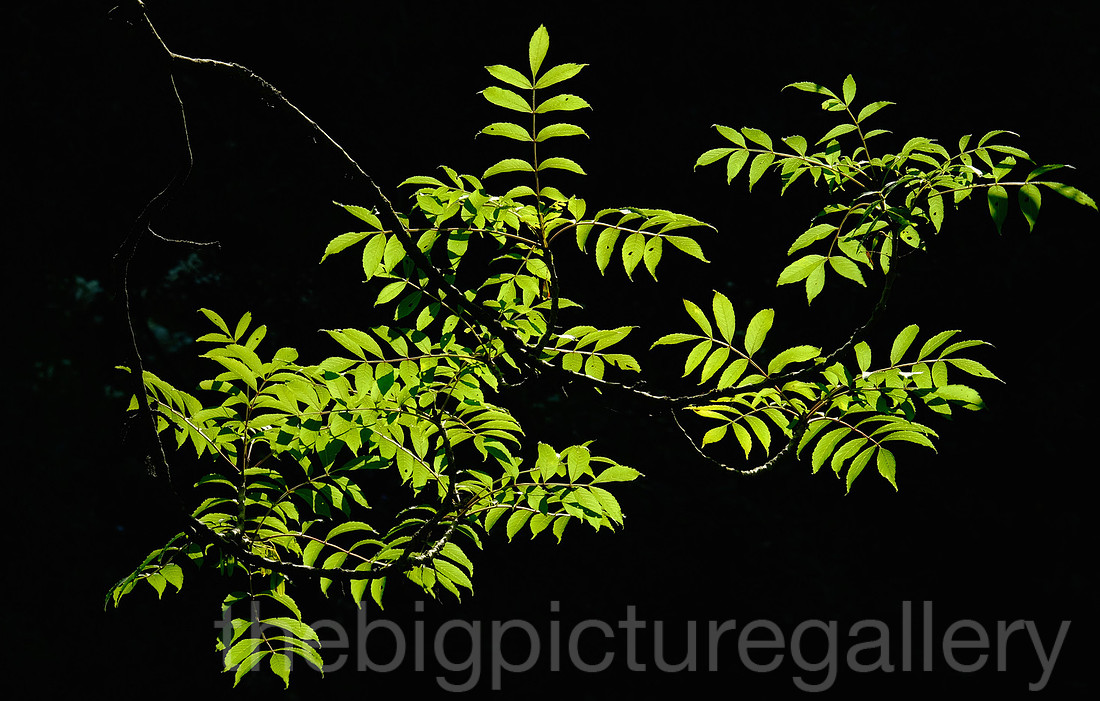 Contre jour lighting this leaf study, Fuji Xt1 55-200mm
A smaller
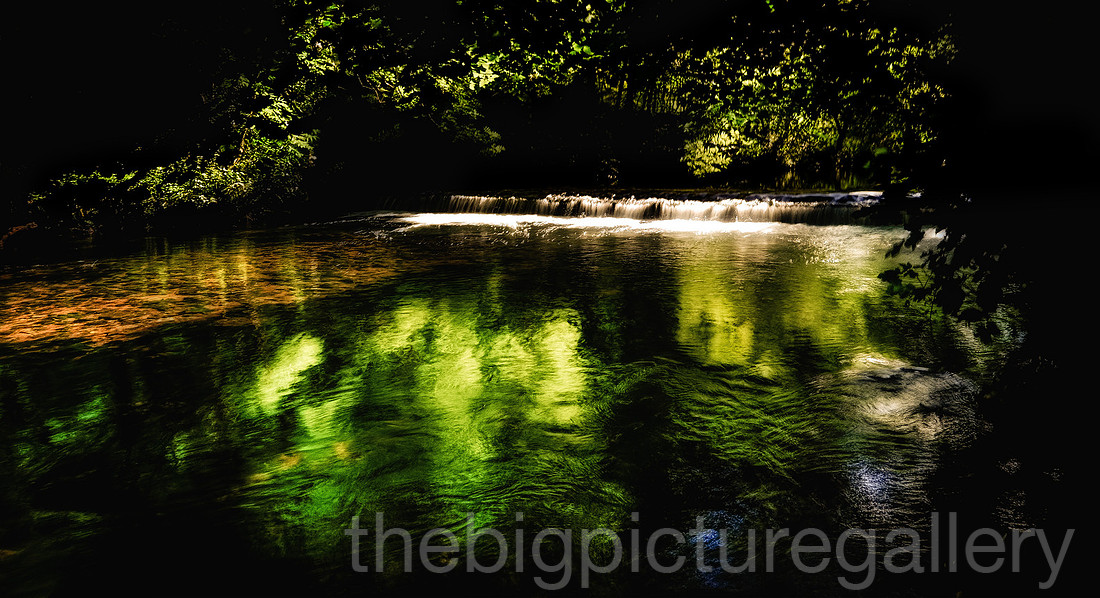 A smaller weir on the River Wye at Litton, Fuji Xt1 10-24mm I love the colours in this image.
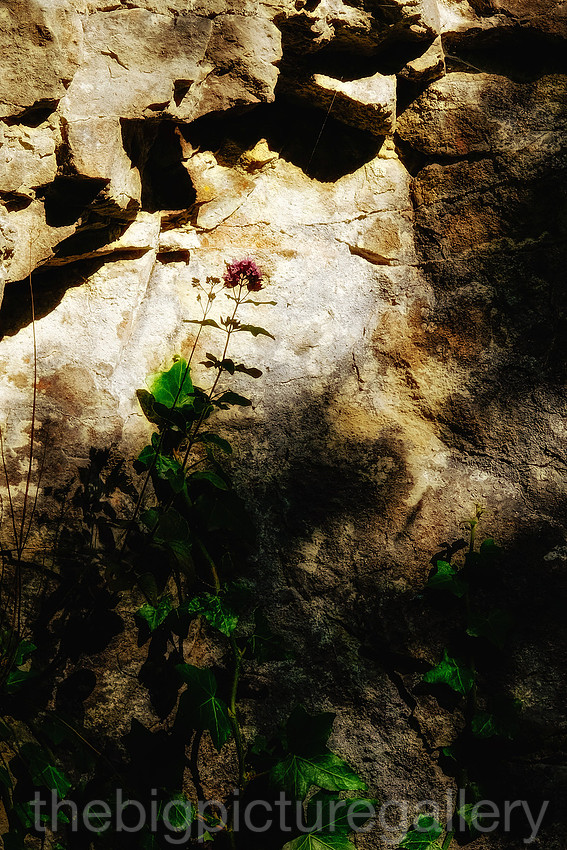
The limestone provides a nice canvas for this flower study Fuji Xt1 55-200mm
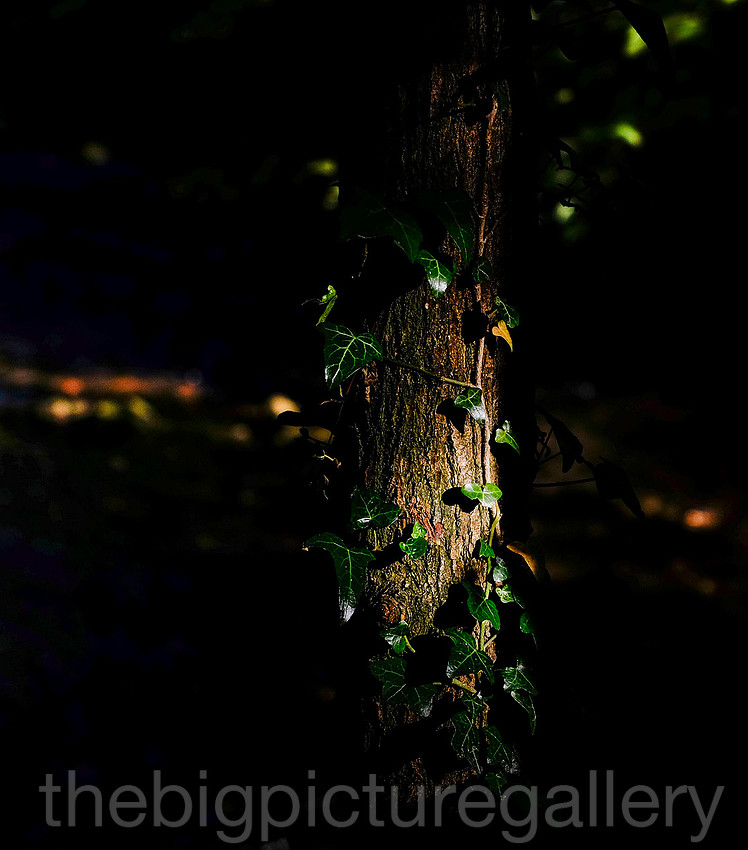
A small pool of light spotlights the vivid green of the Ivy, Fuji Xt1 35mm 1.4
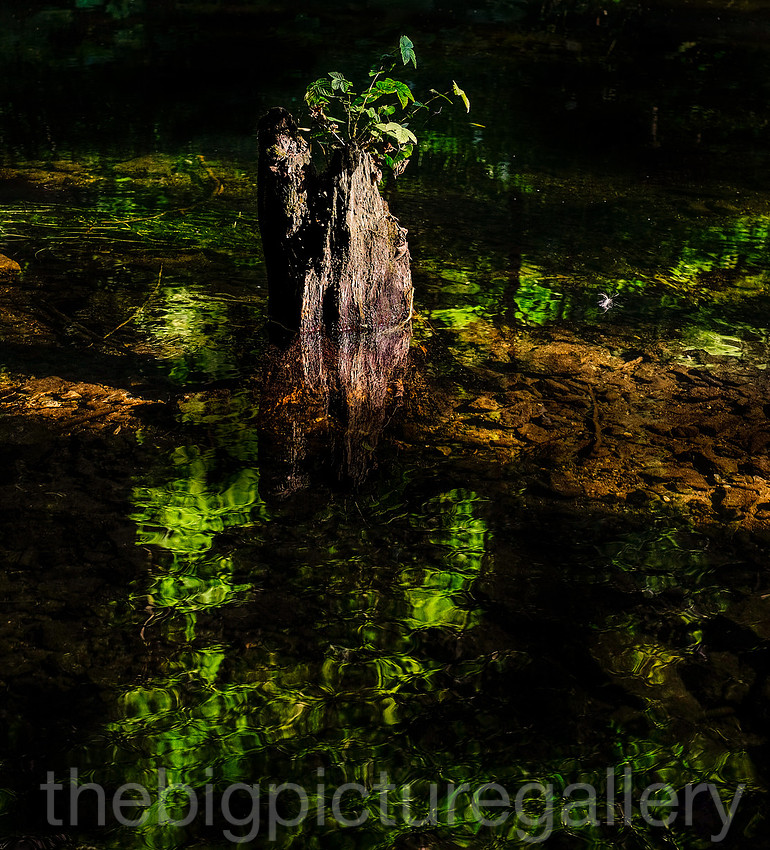
Submerged tree stump reflections Fuji Xt1 35mm 1.4
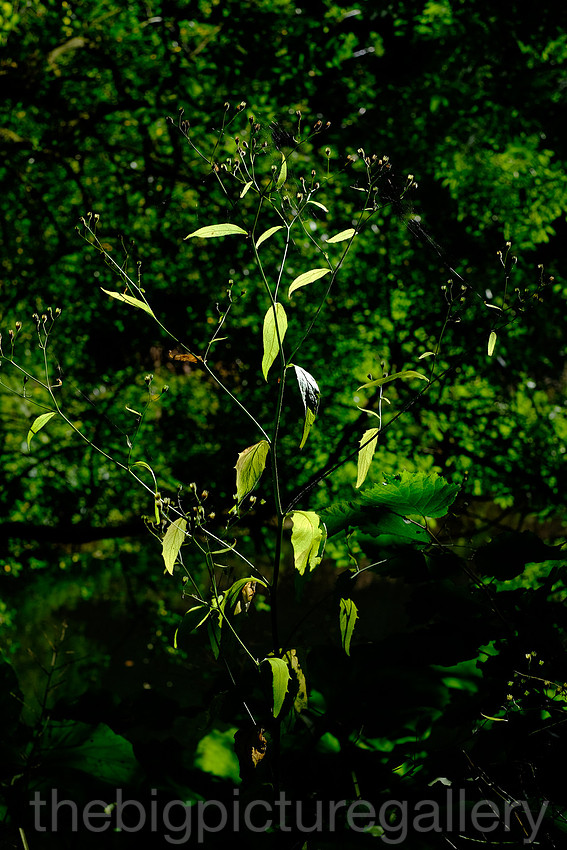
Green on green leaf study Fuji Xt1 35mm 1.4
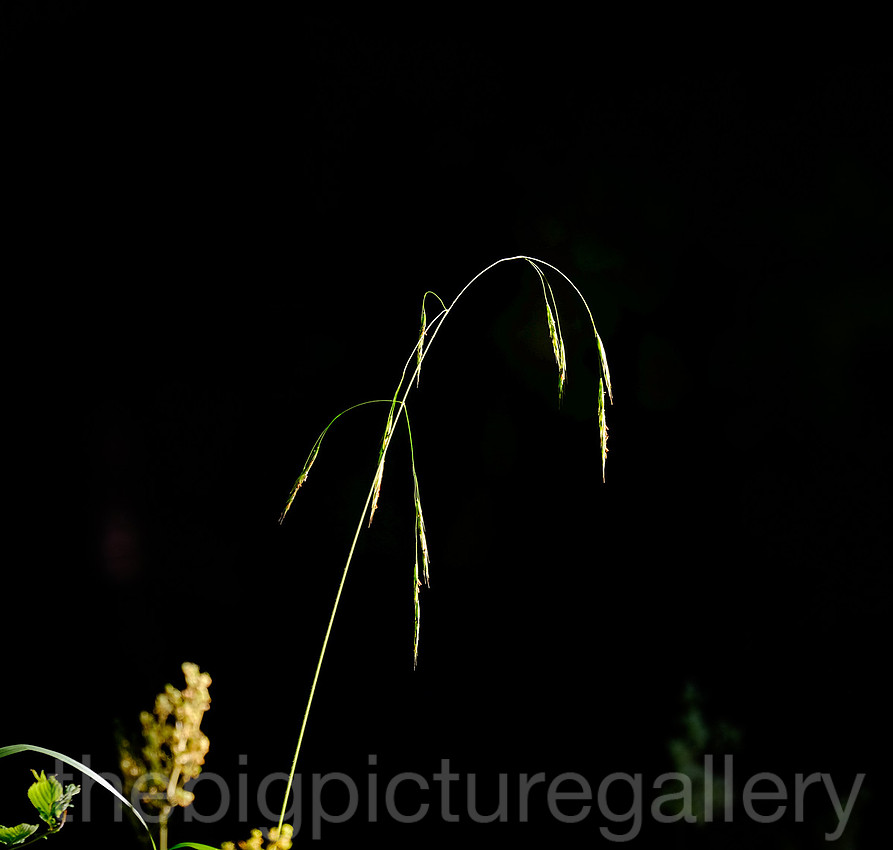
A tiny pool of light highlights the simple elegant beauty of this grass study. Fuji Xt1 55-200mm
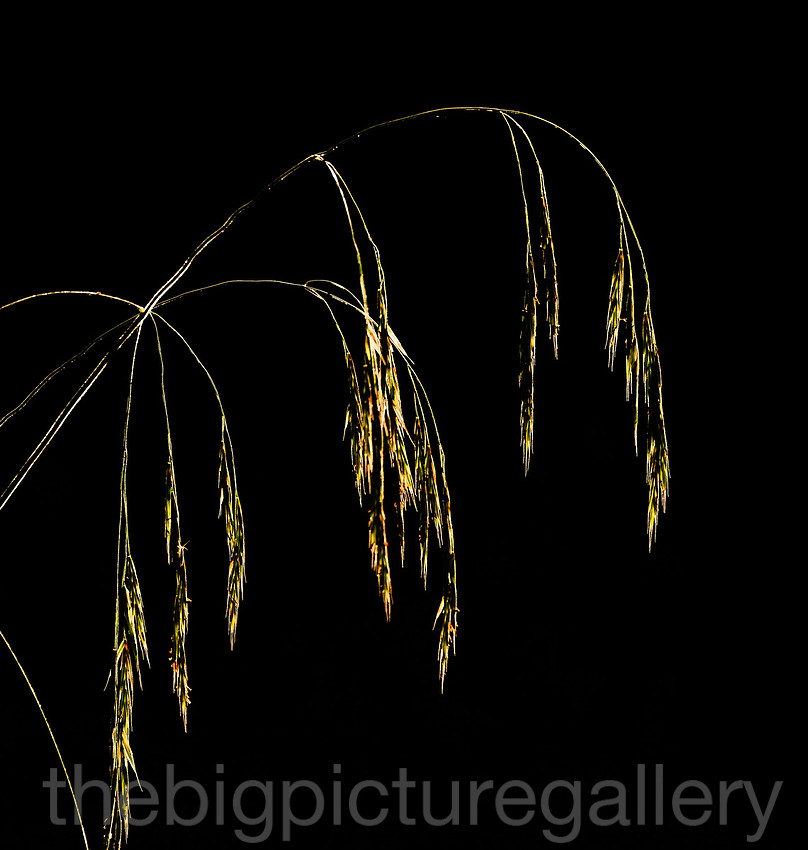
The light just catching these grass heads provides the right contrast for this study, Fuji Xt1 55-200mm
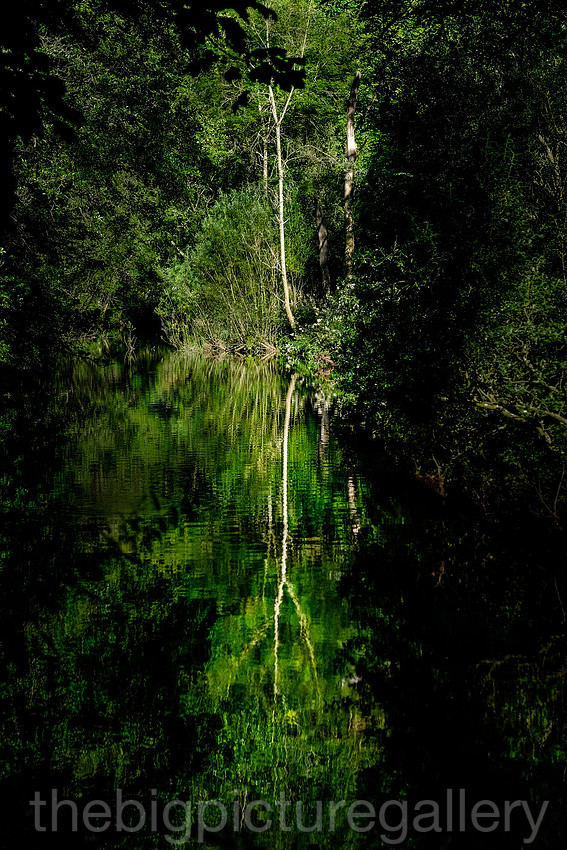
Reflections captured with the Fuji Xt1 and the marvellous 55-200mm
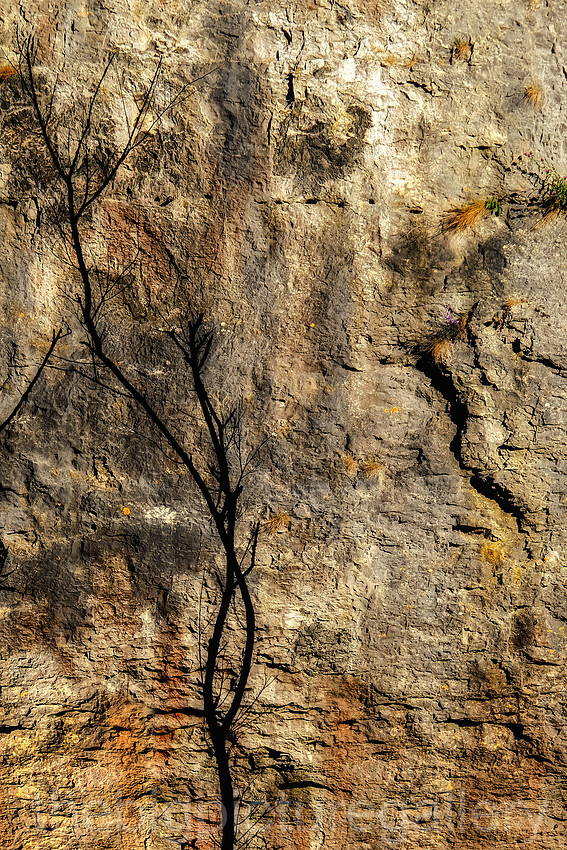
Dead tree contrasts perfectly against the warm tones of the limestone Fuji Xt1 55-200mm
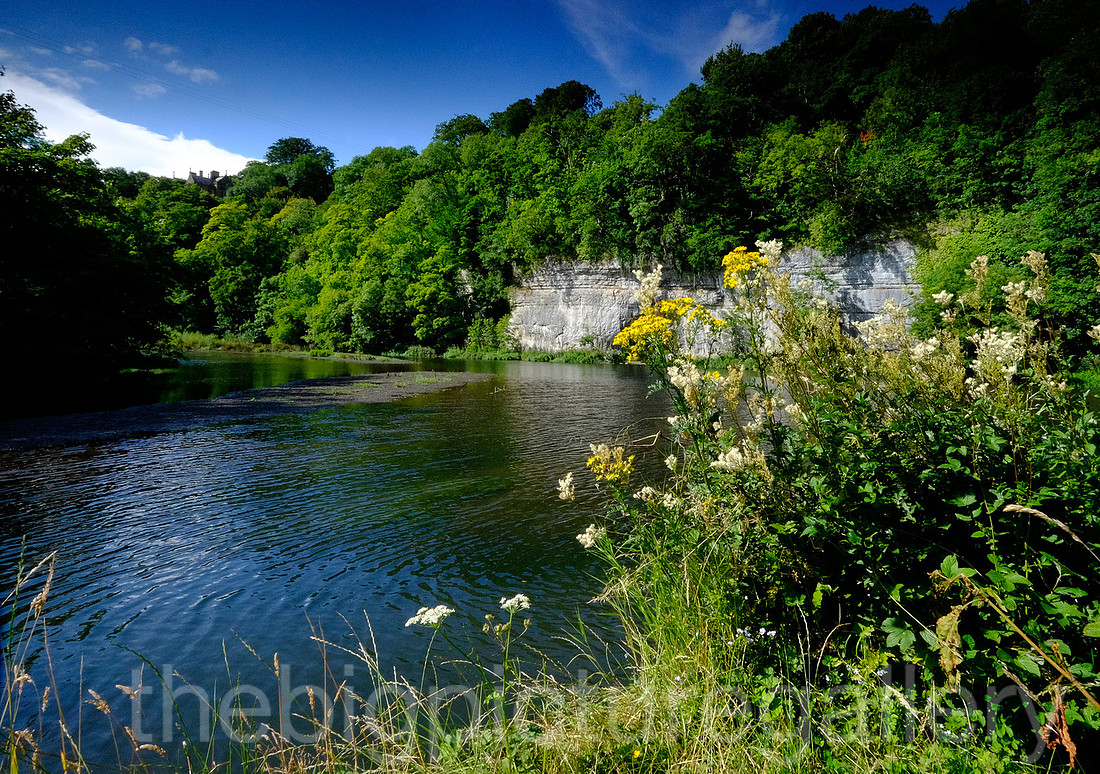
Rubicon wall basks in the late afternoon sunlight Fuji Xt1 10-24mm
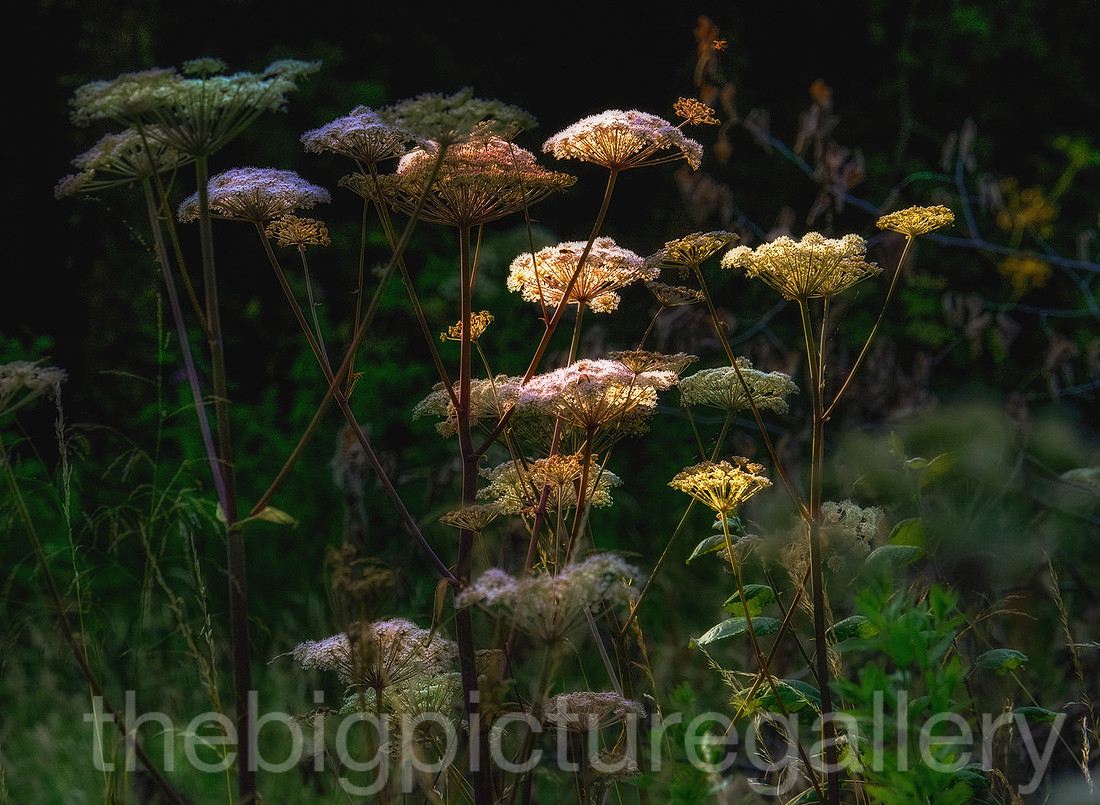 Dappled sunlight highlighting this group of wild chervil Fuji Xt1 55-200mm.
It was perhaps the nicest couple of hours I've had in the Peak so many shooting opportunities made for some interesting studies. It's quite weird but one of my most used lenses when out shooting in the landscape is the 55-200mm. Since the new firmware version updates to the Xt1 this lens snaps into focus everytime.
I think this place will be lovely in autumn, I will look forward to going again, when the leaves start to change.
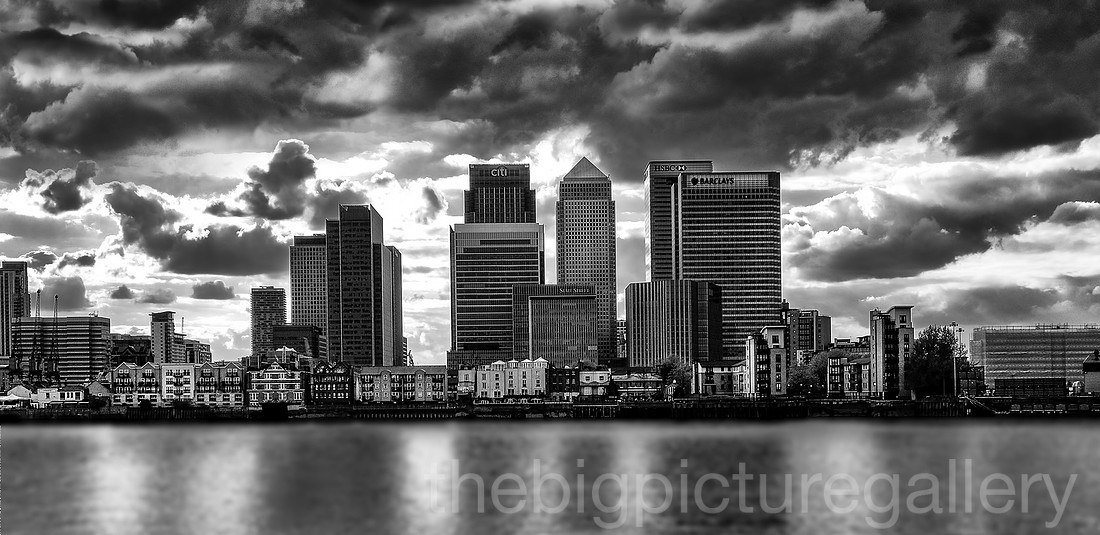
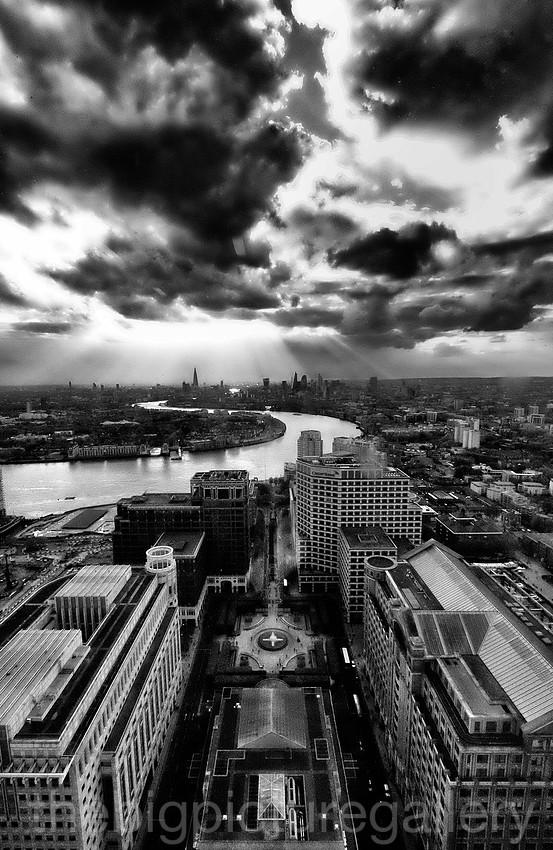
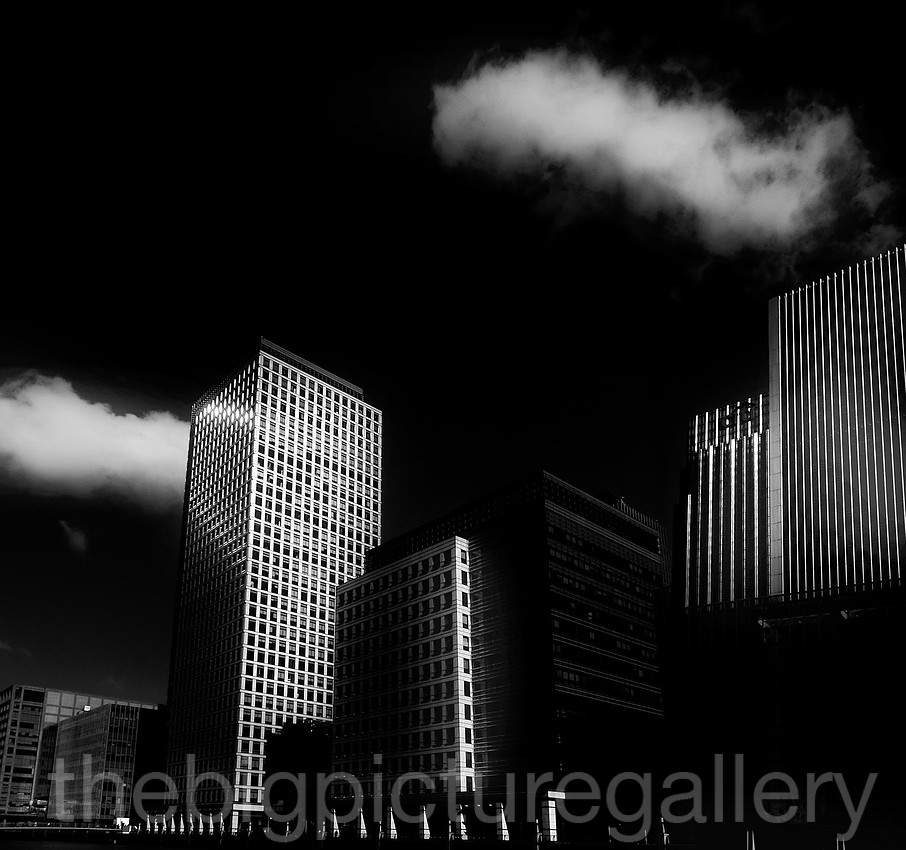
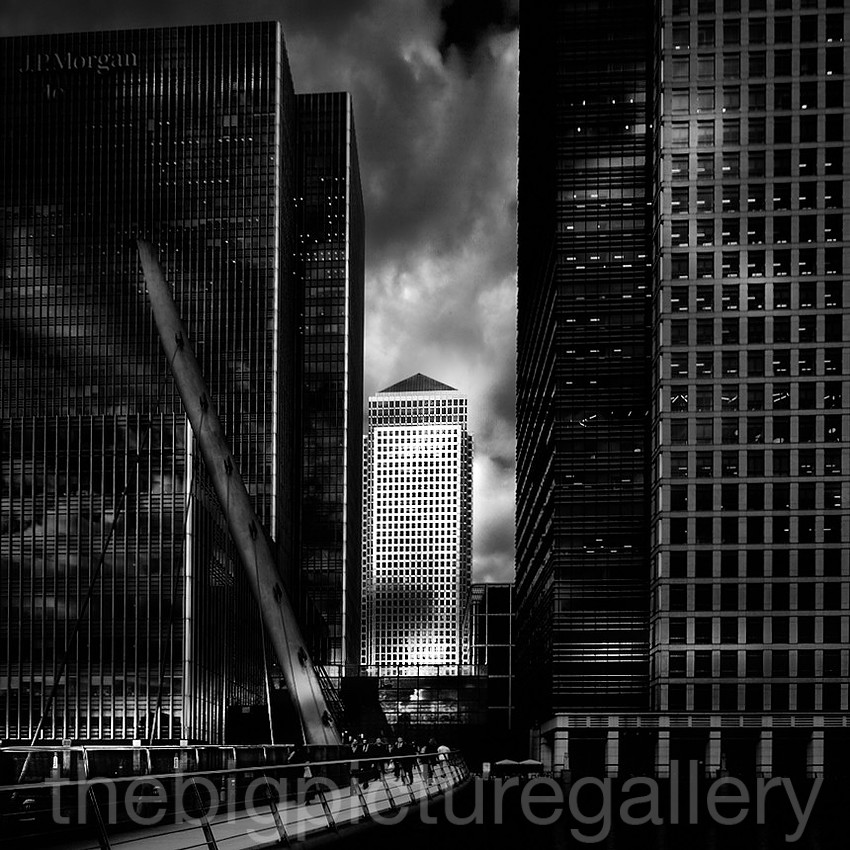
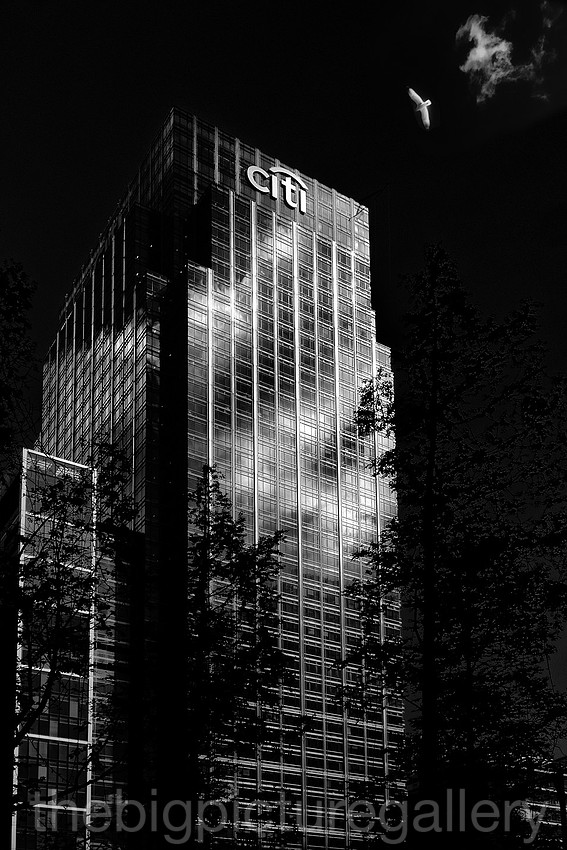
]]>The place is simply fantastic, a miniture city in itself, glass, steel and concrete structures soaring into the sky. Housing thousand of workers who swarm in every day. Its a great testement to the vision of turning this once run down and forgotten part of London, into something resembling Manhatten. I was fortunate enough to be given a couple of days of brilliant weather. Which worked so well for me and the images I had in mind. Not once during the 2 days did I encounter any hostility to me shooting images around there. My kit for the visit comprised of Fuji Xt1 and X pro 1 bodies, 10-24mm, 55-200mm, 35mm and 18-55 lens.This was all packed into my F stop Gura backpack, possibly the best bit of kit I have owned for carrying and comfort. Combined with the small size and weight of the Fuji X cameras and lenses, I was totally comfortable with carrying this gear around on what became 2 very warm days.
Using the Xt1 and the X pro 1 leaves you totally unnoticed by everyone, I just looked like a tourist. Its such a pleasure to shoot with these amazing little cameras, I'm certainly looking forward to the new updates to the firmware in June, I think the updates are going to address a number of issues that people have been waiting for to be reolved, and will certainly give Fuji a breather until the next itineration of cameras comes along. I certainly don't feel the need for more and more megapixels, I print large for the gallery and find the files from the Fuji to be able to resize very well. I find the quality of the X files so easy to manage in post processing, I want to be out shooting images, not sat behind a monitor for hours on end.
On an end note I found the whole trip away from my usual subject matter to be so refreshing., it's nice to be able to shoot something different, and another visit is definately on my to do list for this year.
]]>
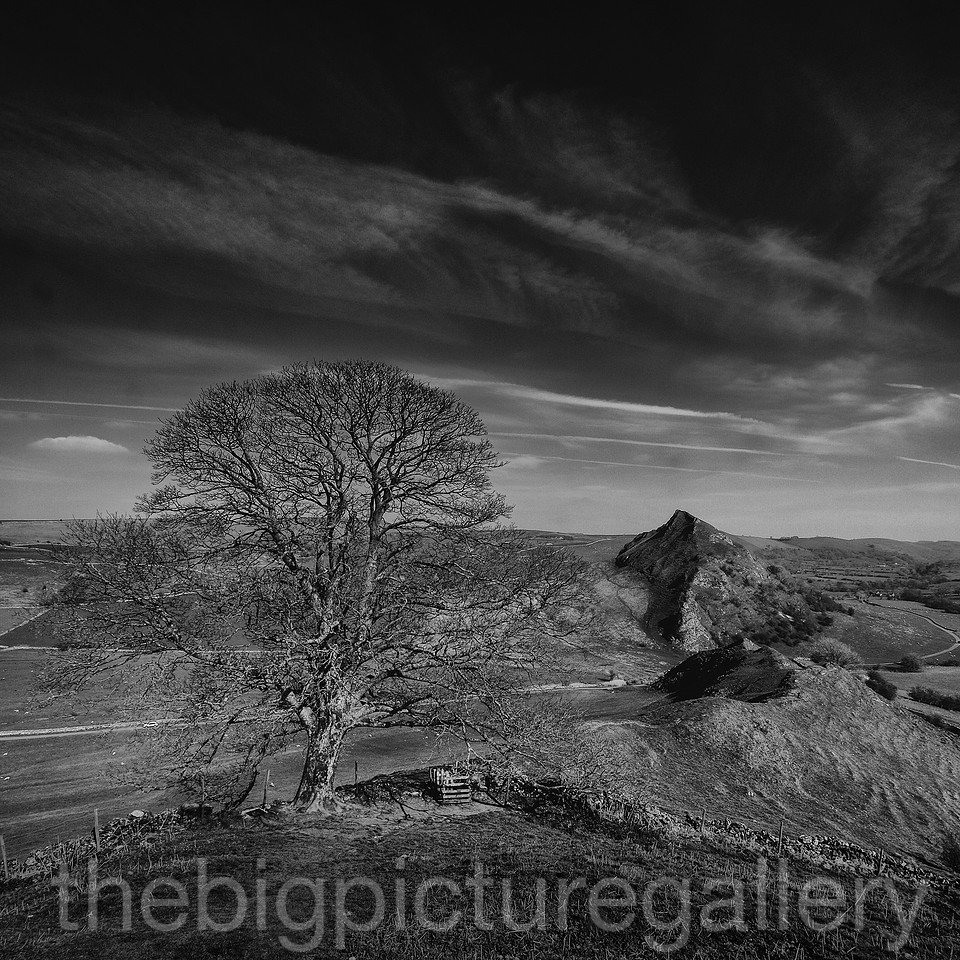
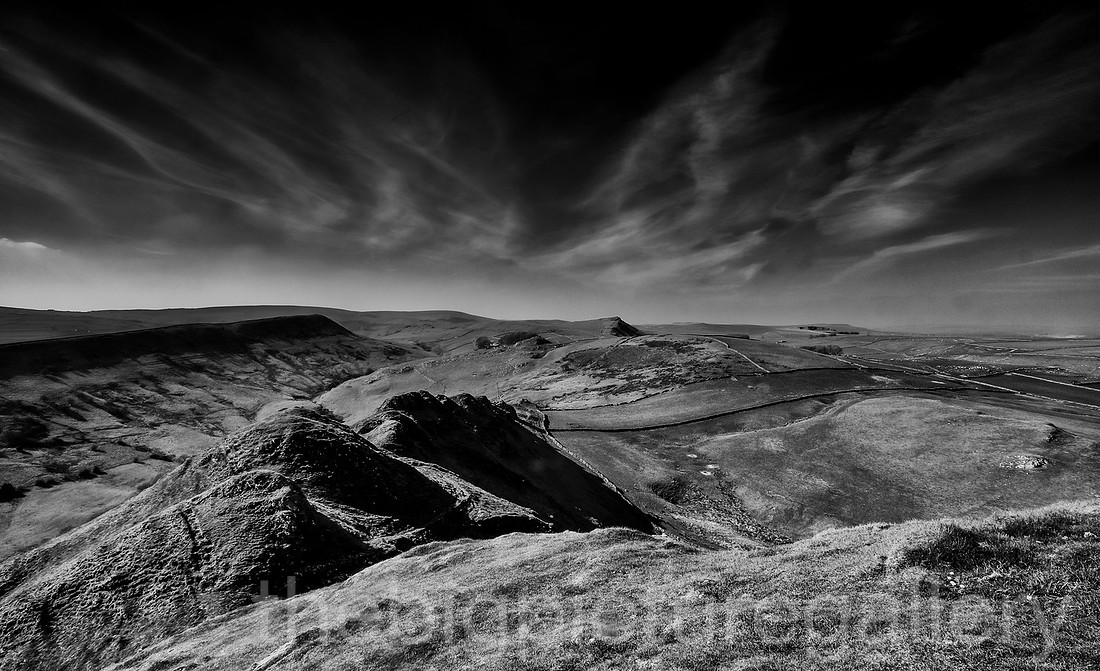
Once through the farm I struck upward until reaching a small copse, then walked up the spine of Parkhouse Hill. What fantastic views it gave me, the breadth of the Dove valley and the spine of Chrome Hill. Mind you the midges were out in force, and quickly swarmed around me due to it being a near windless day.
Descending Parkhouse is quite steep, and loose underfoot so care must be taken ! Save for the odd passing car going upto the farm I was totally on my own, in one of the most picturesque locations in the Peak district. It's funny how we call it the Peak comprising mostly of high moorland, that is until you come to Dovedale and see these spiny ridged beauties. Certainly care must be taken in places, especially on Chrome Hill as in places the drop is sheer. Once again the views from Chrome are pretty majestic, and you can see right over Axe Edge moor, and the high quarried face of Harpur Hill. All the images were made using the Fuji Xt1 and the 10-24mm and 55-200mm lenses.
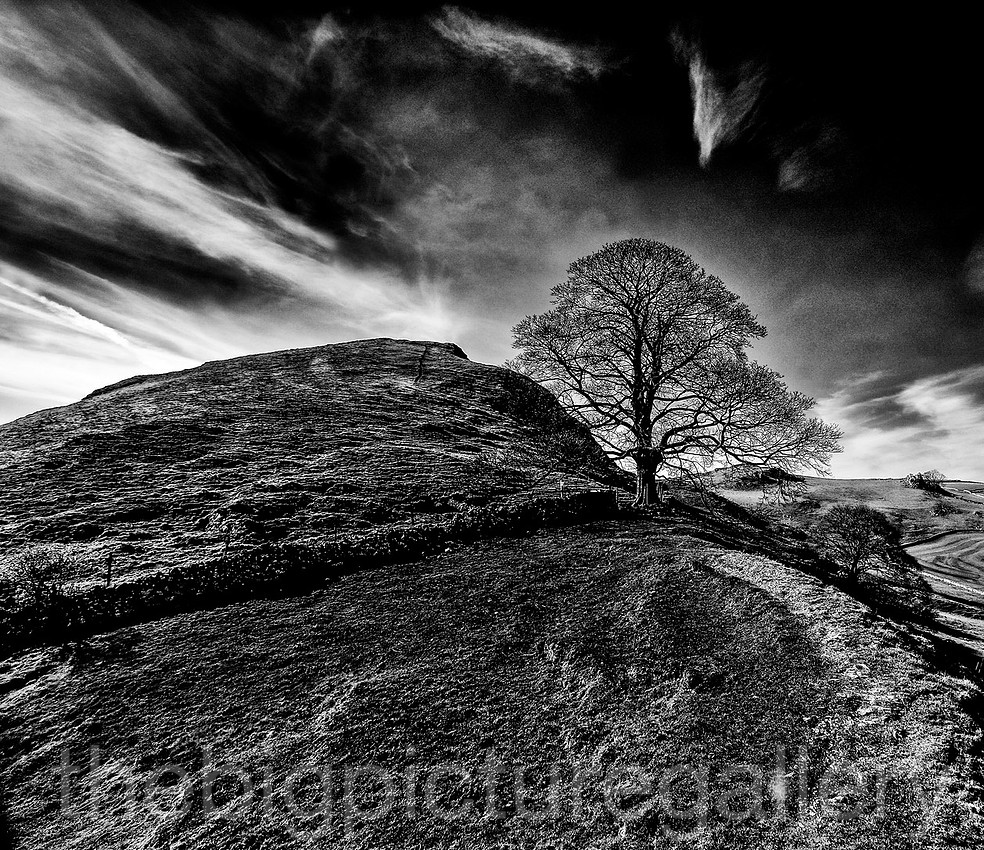
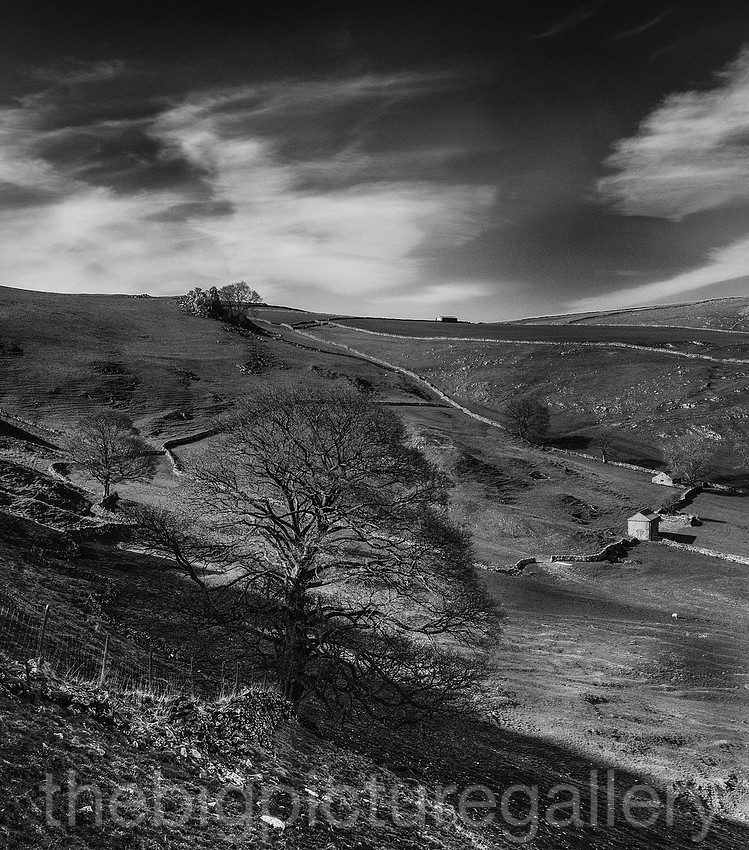
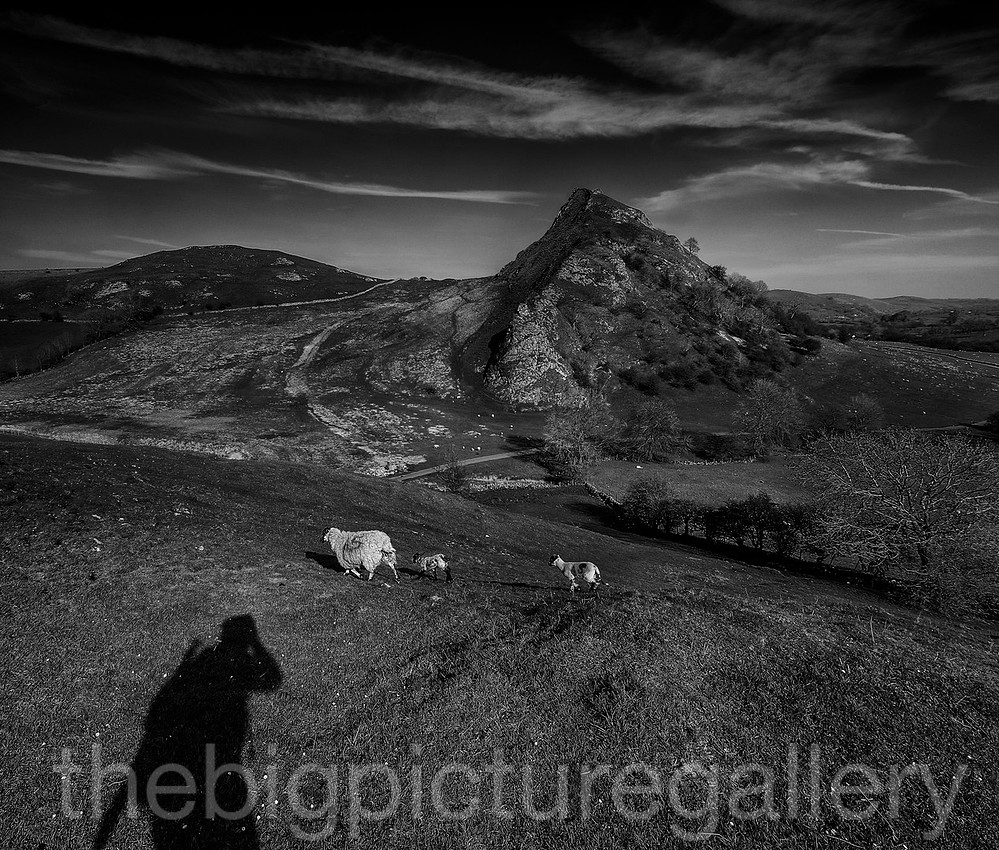
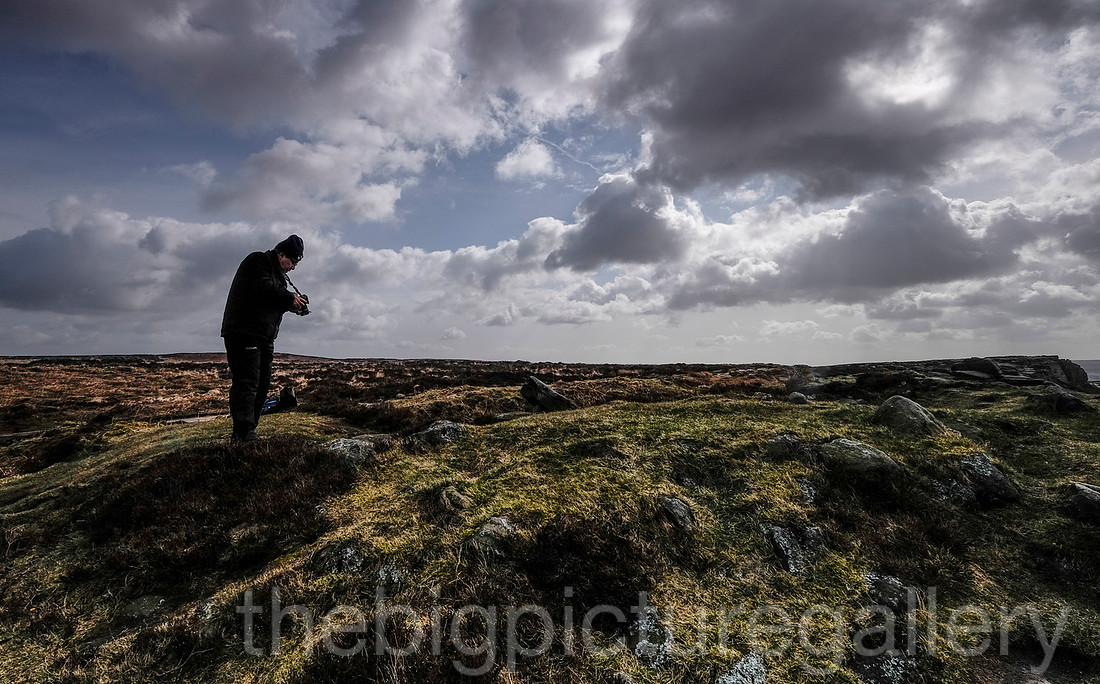
Finished the day off over on Stanton Moor, when the rain fell late afternoon. All in all an enjoyable day with great company, and Andrew came away with some nice images. Will he be a Fuji convert, We shall have to wait and see. Some images from the day. All the images taken with the Fuji Xt1 10-24mm, 55-200mm lenses.
Thankfully we had cloud, without it the shoot would be difficult in the extreme, I would have had to overcome a massive exposure difference to retain the elements which were key to the image. The other key factor was to figure out the best angle that would allow me to use the 55-200 mm lens, which would give me a nice view of the Eclipse, plus keeping the elements of the foreground in the frame.
So the drive over to Curber was filled with constant checking of the cloud cover, it was patchy all over tbh, however on getting up on top of the edge, it was very overcast, would we even get a glimpse of the event? As it turned out we had 2 fleeting moments of the clouds parting to show the moon passing by the sun.
I only shot 60 frames in the 2 hours I was there. Such was the poor light, It was amazing how gloomy it got, and also how cold.
Watcher of the skies Fuji xt1 10-24mm
The moment the clouds parted Fuji xt1 55-200mm
I was so pleased with the images, that and with a huge element of luck with the weather, gave me the best opportunity to capture an image that encompassed everything I love about the Derbyshire landscape, with a moment that I will never see again.
]]>
So how does the 10-24mm compare to my much loved 14mm. Well I can say without a doubt that it seems to me to be pretty equal, maybe the 14mm edges it in micro contrast just. The 14mm has a marked aperture ring, and it's a shame that Fuji didn't use the same marked ring on the ultra wide. However the differences in extra viewing real estate is the real issue for me.
I always felt I was comprising my composition with the 14mm, for ultimate landscape work the 14mm is just not wide enough. As an example the image below of the dead branch would not have had the same perspective with the 14mm, some may say I could have stepped backwards, however there were things in the way which would have altered the composition for me, so it was not possible, I could have altered my viewing angle but that would have meant losing part of the image either top or bottom, again not realistic.
I know many have said the extra weight of the wide zoom is an issue, yes it's a larger lens than the 14mm but on the Xt1 with battery grip the combo weighs in at just over 1 kilo. On my D3 with a 24-70 f2.8 Sigma lens weighs in at over 2 kilos. Toting around the 10-24 on the Xt1 isn't that bigger deal. The OIS system on the 10-24mm is staggering, I have shot images at 1/8th of a second hand held without loss of clarity. F4 or F2.8 about the same when you take into account the OIS factor. Lens flare is apparent when the sun is low in the sky, but its not ugly flare, the starburst effect though is a nice feature you see this happen when stopping down the lens past F11.
The lens is very well made and certainly feels nicely balanced on the Xt1, the lens hood is pretty good, a better fit than on the 14mm which on my version had a tendency to fall off at random times. I feel the lens attains focus a little faster than the 14mm, but its not a game changer TBH. The lens is another fine optic from Fuji, has all the hallmarks of Fuji design, great sharpness, great colour and contrast.
For me the Pro's definately outweigh the Cons I really struggle actually to have any. The only real issue for me is the lack of markings on the aperture ring, it's so nice to be able to set the aperture without looking thru the EVF. The manual focus to Af clutch mechanism was a real cool touch on the 14mm, as was the superb build quality. The 10-24mm build quality is pretty damn good. My all time favourite lens for a long time, was the Nikon G 16-35 F4, it was and still is a stellar piece of glass, the ideal focal length for landscape and travel photography. The Fuji 10-24 is certainly on par with that lens.
Hope you enjoy the rest of the images.
]]>
After a year of heavy use the top plate and the dial engravings are still pristine, I don't look after my gear that well it gets chucked around alot, on car seats and in the boot, again testimony to its build quality. The image quality is just staggering, I don't just show my images on the web, I have a gallery with my images printed as large as 4 feet by 3, a caller earlier today asked if it been taken on a medium format camera, that's how good they look in print. My favourite lens is the 14mm teamed up with the Xt1 gives me everything I need for my landscape work. The viewfinder (EVF) is such an immersive experience, it's doubtfull I would ever go back to a hybrid view like the X pro 1 has, don't get me wrong I love the X pro but the viewfinder is a league away. The AF is pretty decent, in fact I've stopped comparing it to my old Nikons, its not as good, but hey I'm not carting around a big heavy DSLR anymore. I don't compare it to anything now, as Its totally pointless, I've moved away into the Fuji system and thats it.
So yesterday to we had the most bizzare weather, bright sun, sleet, snow, rain, and a biting wind. The light in the afternoon was epic, I left for Stanton Moor around 3pm giving me a couple of hours to see what I could find. It didn't disappoint. That laser light you get when the sun is low in the sky was amazing, I was in mono heaven. I didn't shoot that many images in the coule of hours i was out, I spent most of my time chasing views and trying compositions that worked with the light, a fun excercise. So my day ended, and I viewd a selection on the Ipad, gotta love the wi-fi feature. Pretty pleased with the results. The only nagging doubt I have is should I get the 10-24mm, If I do it will mean goodbye to my constant companion the 14mm? I love this lens so much. Anyway a few images made yesterday, I hope you like them.
]]>
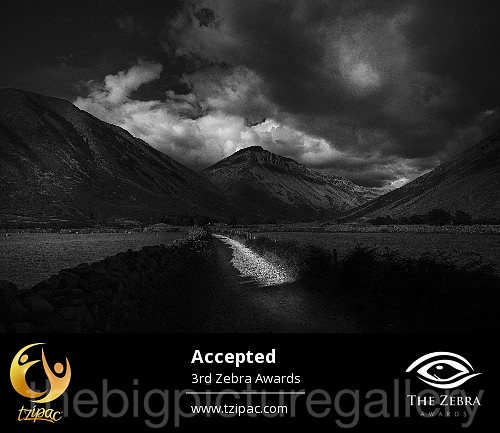
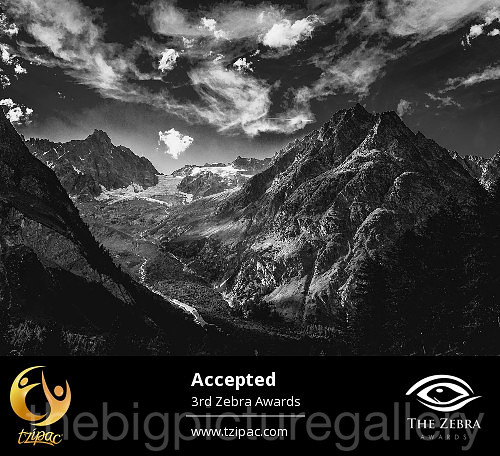
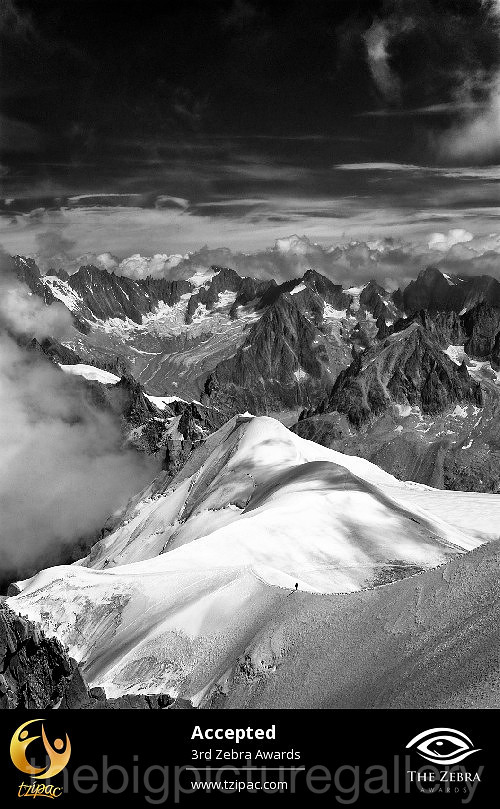
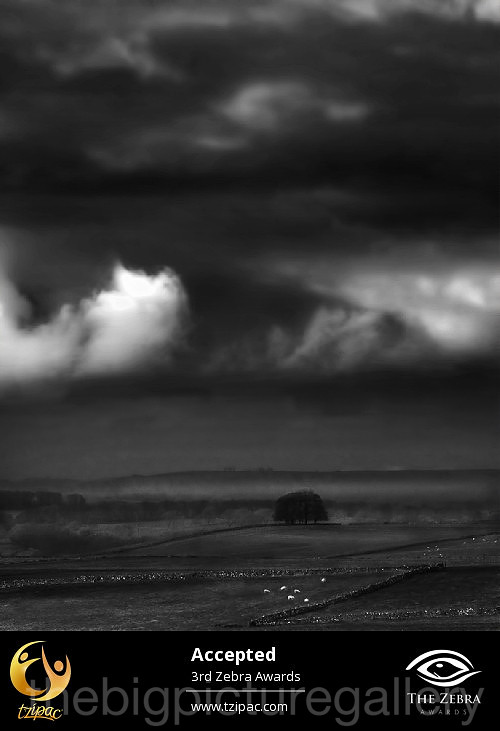
]]>
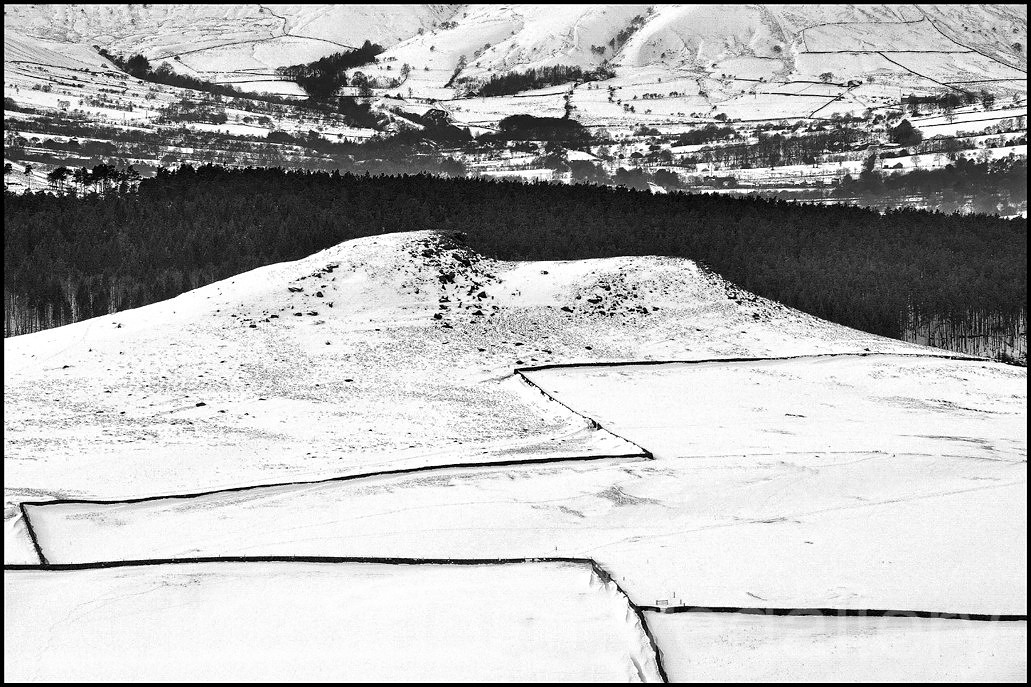
I was not really prepared for how cold it was on the edge, with a keen northerly wind I reckon the windchill was in the low teens, certainly made for some interesting walking. The scenery was simply staggering, and really gave me that bleak mid winter look I was after. The moorland looked like the artic tundra, even the grouse wern't hanging around. Stopped by Mam Tor for a quick photo, which I must say looked superb, in the late afternoon light. All images taken with the Fuji Xt1, lenses used 14mm, 18-55mm and the 55-200mm.
]]>
After a pleasant drive through France into Switzerland we stopped just before dark close to Lake Lucerne for a much needed break and bought some food, here we encountered our first problem, we assumed wrongly that the Swiss used the Euro, so all our currency was in Euros, not a good start when paying for the food which was in Francs. Finally arrived at the campsite around 10pm, the journey had taken a little over 14 hours. It's no fun trying to pitch a tent, blow up a double airbed, in the pitch black being grumpy and tired, needless to say we had one or two heated exchanges whilst we made our shelter.
After a much needed sleep we awoke to problem number two, the campsite has no lights at night (which is a good thing) so we just pitched up finding a spot lit by car headlights. Only problem was we had set up our camp about 5 metres from the toilet block. Hastily moving our camp had one or two campers shaking heads at our ineptitude.
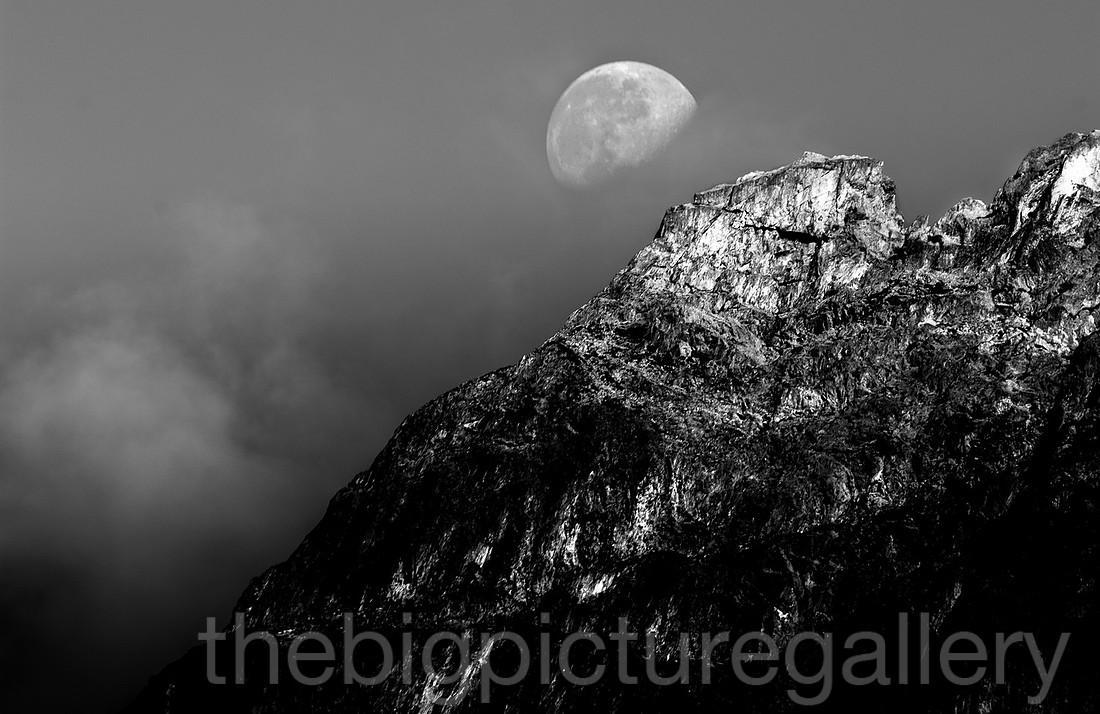 Alpine Moon Nikon D3 70-200mm
The campsite and surrounding mountains were simply breathtaking, waking up early doors and seeing the moon light up the peaks of the Tour Noir, and Mont Dolent was something special. The weather for the entire duration was endless days of high pressure, blue sky and sunshine. In fact apart from the first morning it never rained.
Alpine walking I can quiet honestly say, is a huge toil, for one I'm not that fit, and two not appreciating how tiring, walking up hill in hot weather and the resulting scarcity of oxygen is, it makes for a long day.
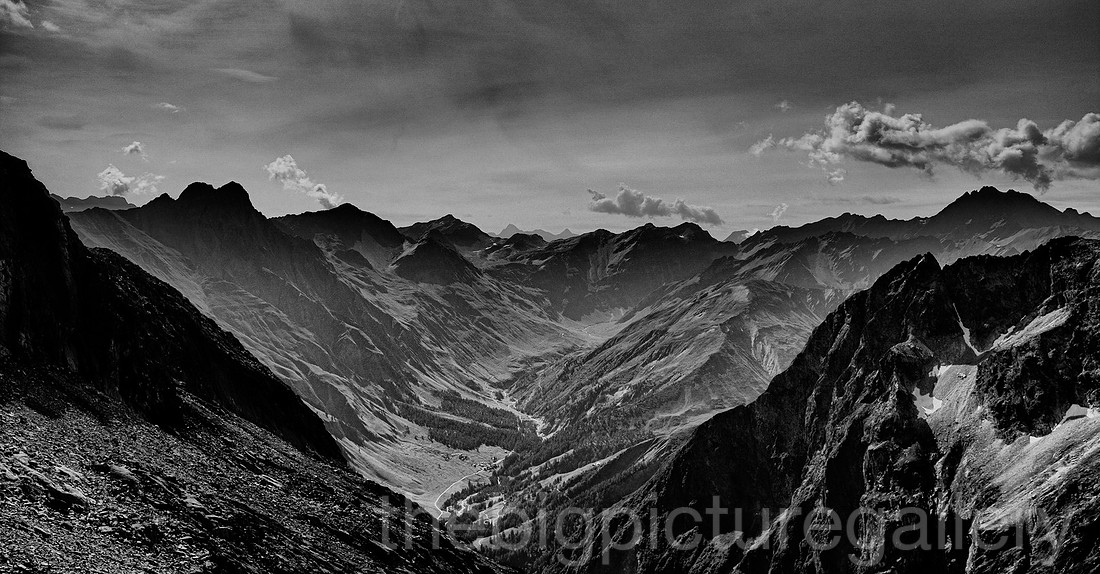 View of Le val Ferret Fuji x100
For one of my trips I went up to Cabane de La Neuve which sits high above the valley at over 2700 metres. This is pretty close to 9,000 feet, not quite like romp up Tryfan or the Lakes. It takes effort, something I really felt aware of during the 4 hour upward slog. The access to the cabin is via a 60 foot climb via chains up a groove in the rock, interesting ! and not for the faint of heart. After taking in the views and an hours rest, I decided to try and get up to the Col de Tour Noir at around 3600 metres, however changed my mind when I saw some of the crevasses en route, and hearing the boom and crash of falling rocks, decided to give it a miss and headed back down to the campsite.
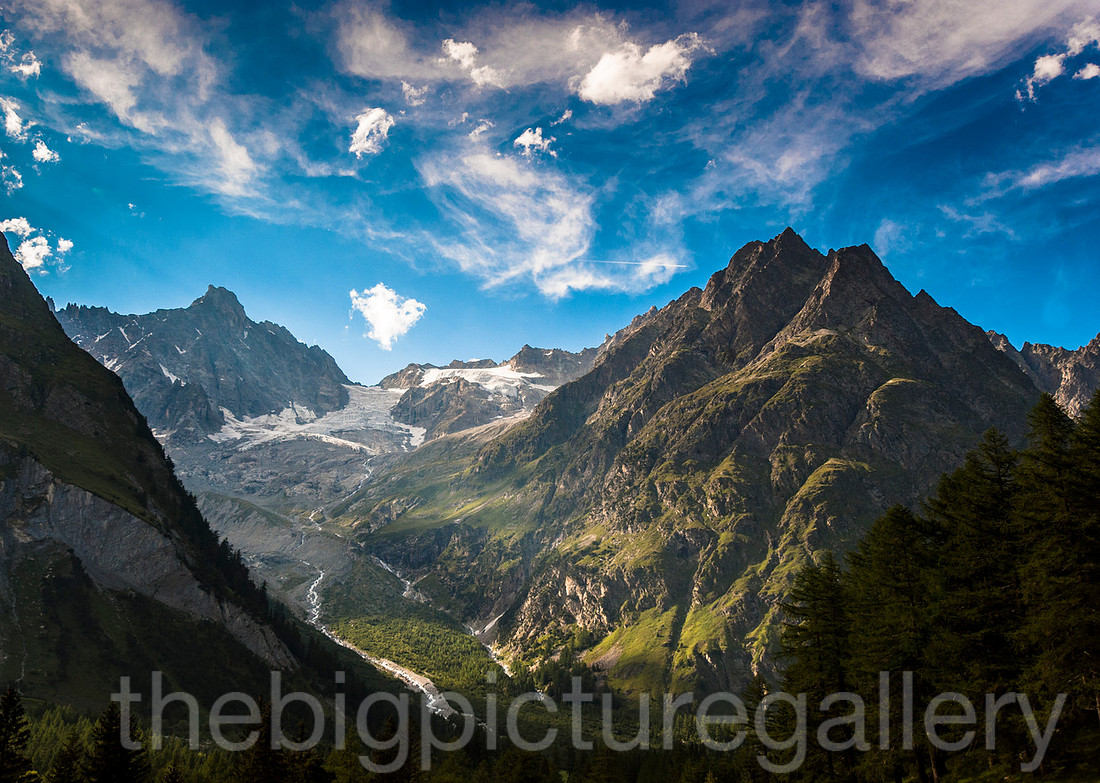
Pointe des Six Niers and the Glacier De L'a Neuve. Late afternoon. Nikon D3 16-35mm
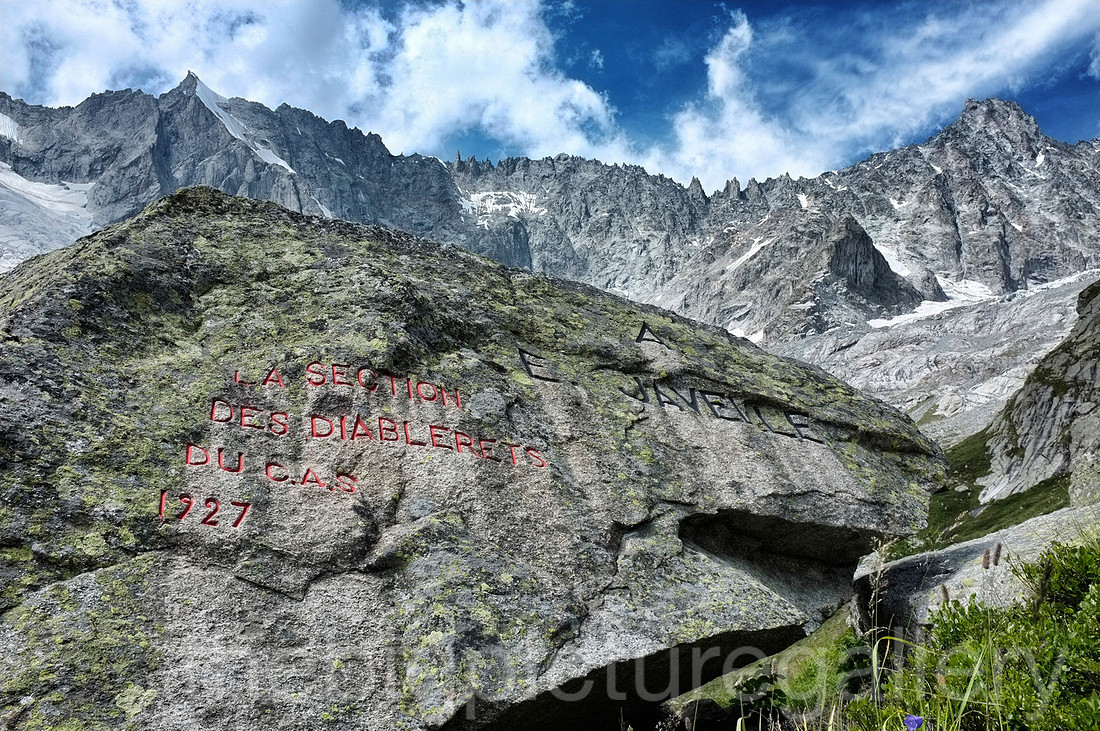
The spiky tops of the Javelle Ledges and a tribute in the rock. Fuji X100
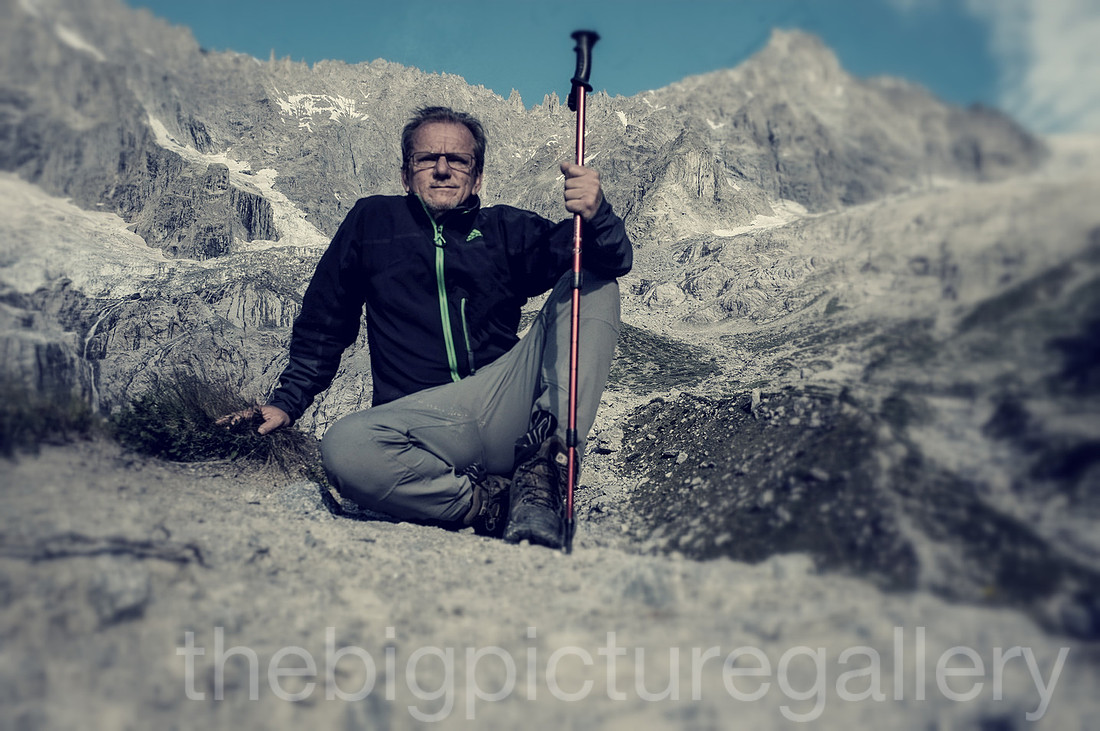 Taking a breather Fuji x100 selfie The peak to the right is Le Tour Noir.
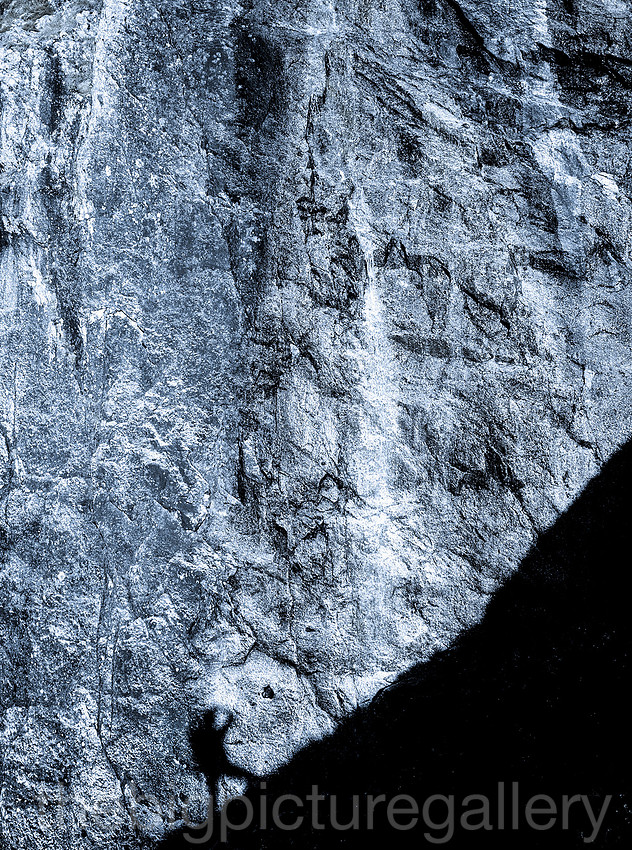
Shadow play Fuji x100
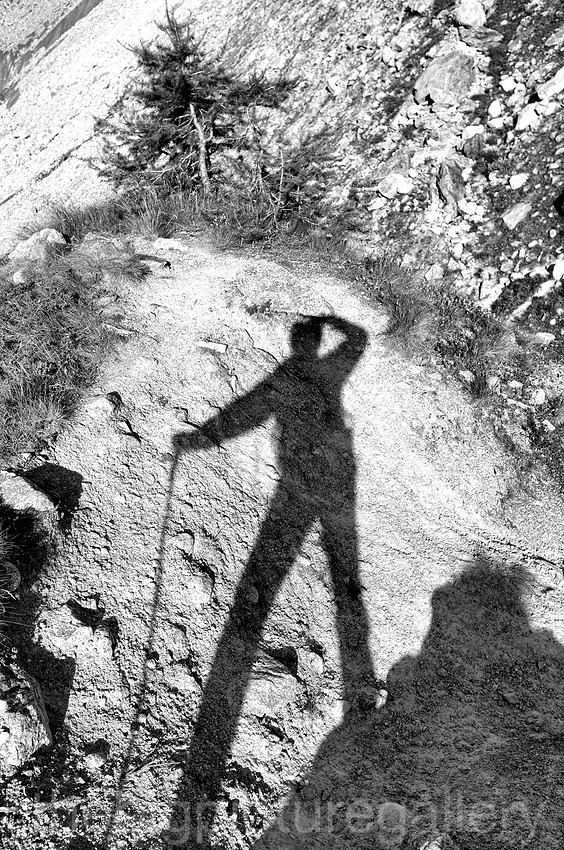
High on a hill etc etc Fuji x100
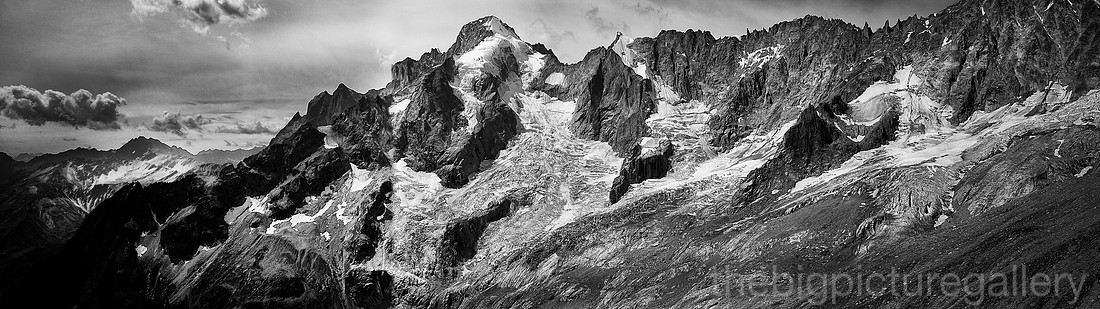 Mont Dolent and the L'Aiguille de L'Amone leading to across to the Javelle ledges. Fuji X100
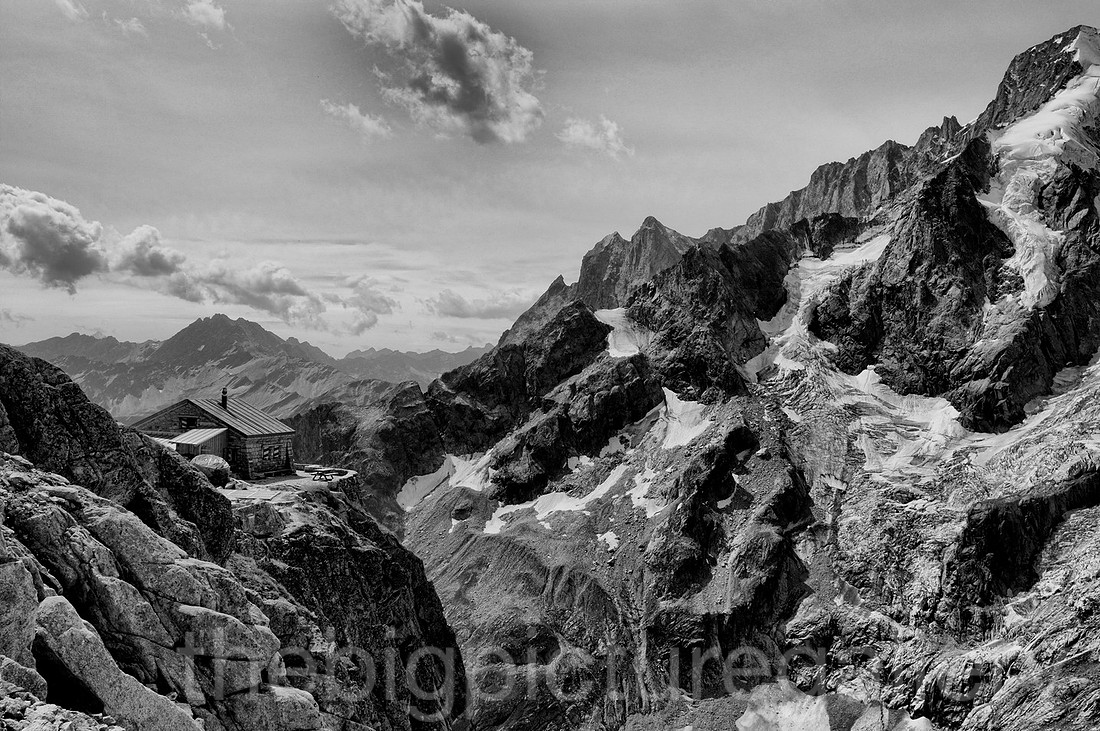 A room with a view Cabane de L'a Neuve.
From a photography point of view, I really cursed the D3, of course its a great camera, but it weighs as much as a small child, and with fast glass 2 small children, tabbing uphill carrying that is seriously debilitating. I was so glad I took the Fuji, it delivers so much in such a small form, what more could I have wished for...... A fuji 14mm maybe.
To be continued........
]]>
So the gear in my shootsac was Fuji Xt1, X pro 1, 14mm 35mm 18-55mm and the trusty 55-200mm and of course a plethora of batteries and chargers. I also took along my often used Epson p300 for backing up my images on.
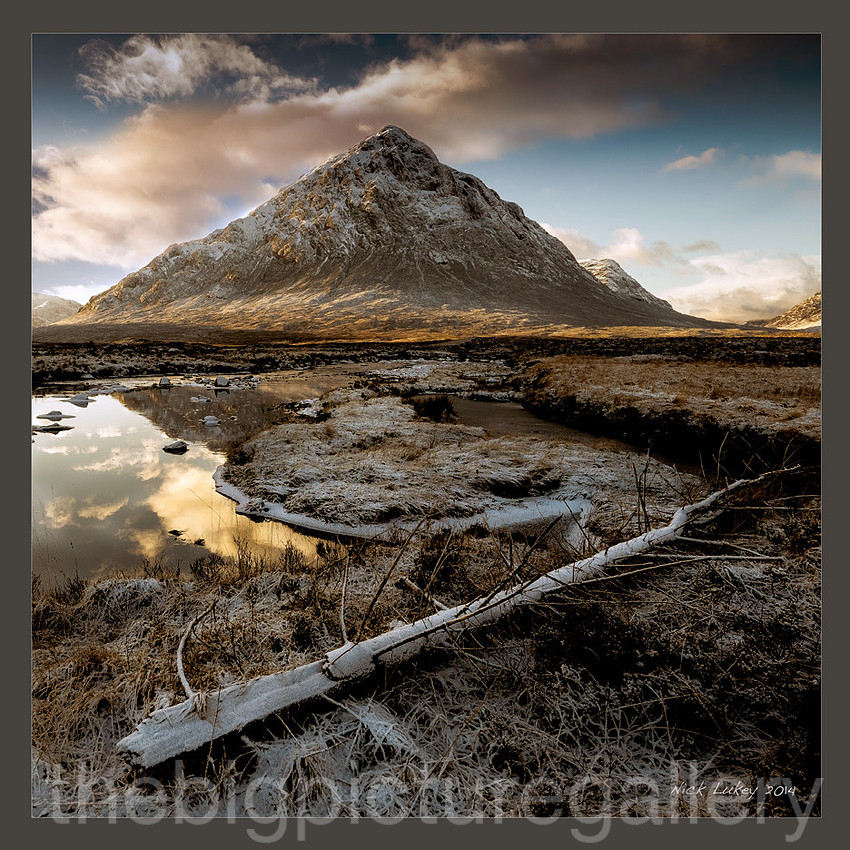
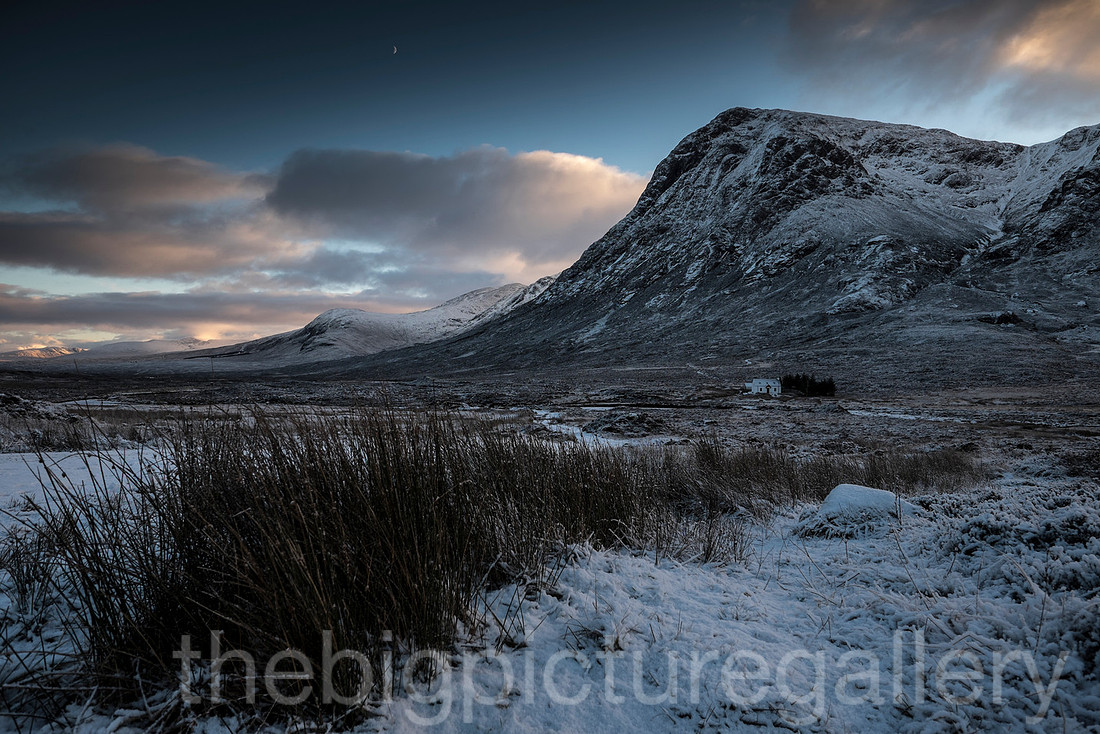
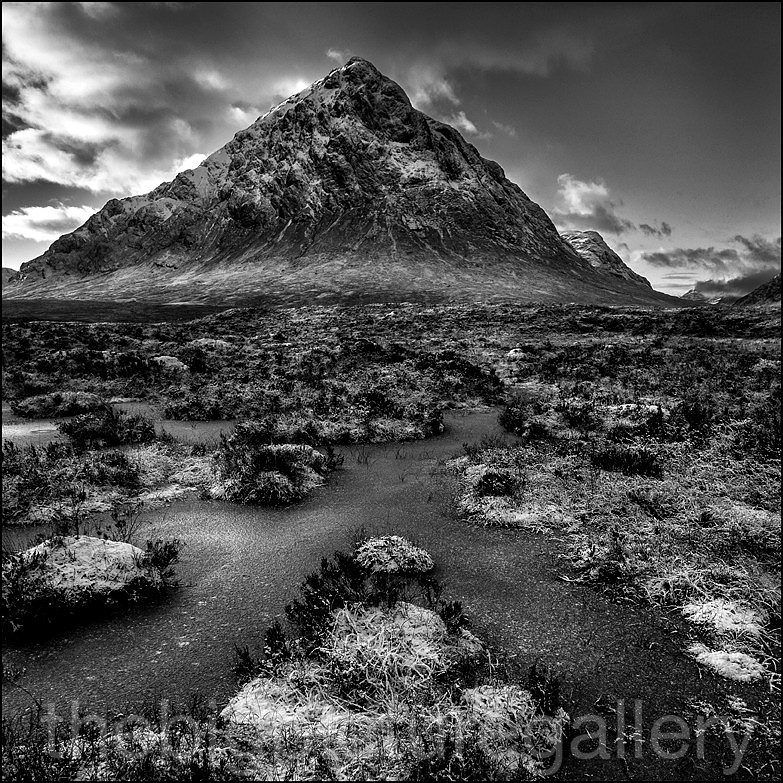
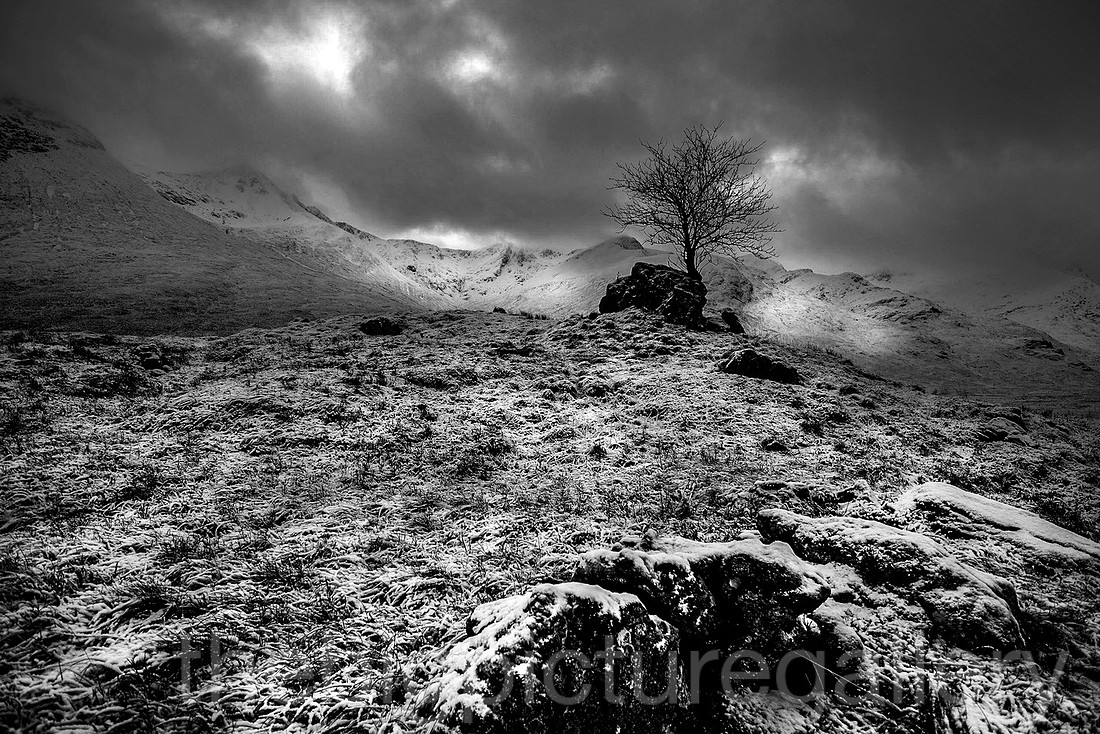
The Buachaille Etive Mor is possibly the Uk's finest looking mountain apart from maybe Tryfan, Its no soft looking hillside thats for sure, and the dusting of snow gave it even more presence. The light and timing of our arrival could not have been better. We spent an hour in and around Glencoe.
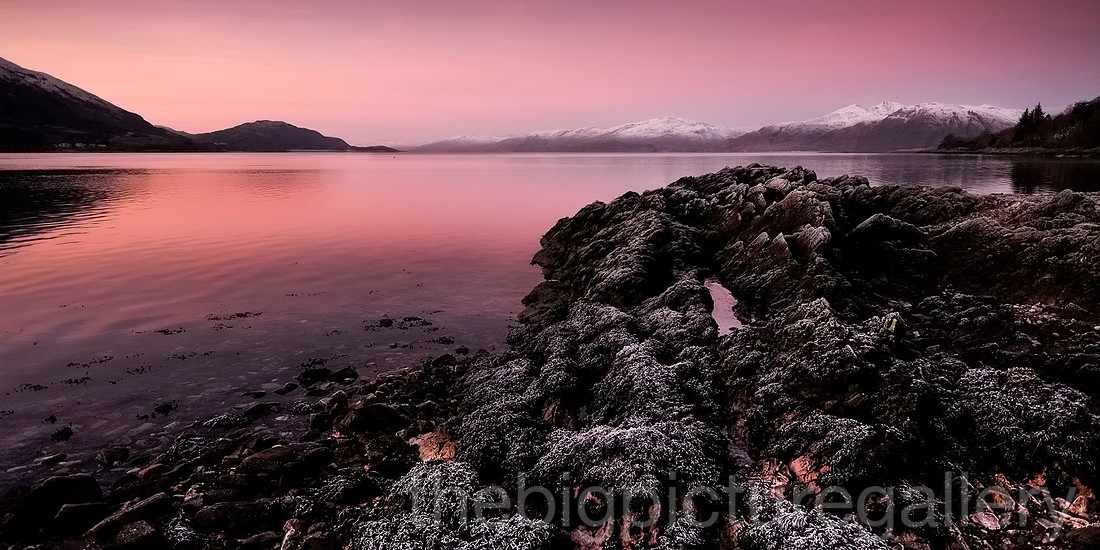
Then onward to our overnight stop at Onich on Loch Linnie. Dawn broke to the most fantastic view of the loch and the snow capped peaks of the highlands.
The drive to the Isle of Skye took us through a very quiet Fort William and a cloud covered Ben Nevis through Glen Shiel and on to the Kyle of Lochalsh.
On the way out of the Glen not 100 feet from the road was a rocky outcrop on which was a 12 pointed stag, had I missed the shot of the championship. We couldn't stop safely and nowhere nearby to park, but even today I am gutted in missing this a chance to capture an iconic iimage.
Once on Skye we turned off left at Broadford and went along the narrow but pretty road to the little village of Elgol, where by miracle of miracles the late afternoon light was epic, and only a couple of other photographers. The foreshore was full of image potential with fantastic rock formations, to detail shots of kelp and huge pebbles, I wish I could have had a whole day to explore the varoious viewpoints.
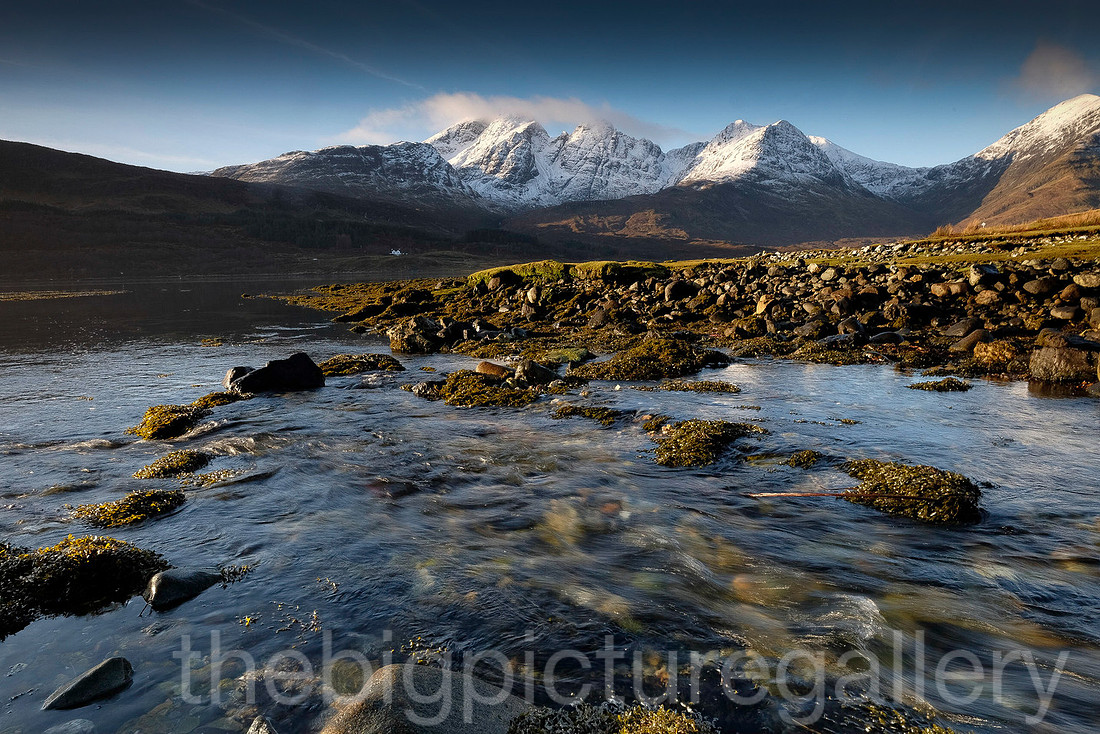
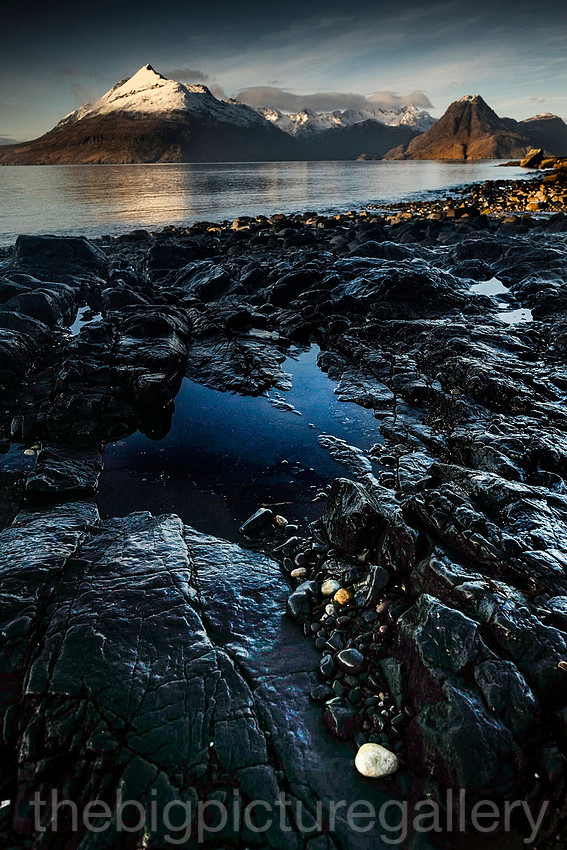
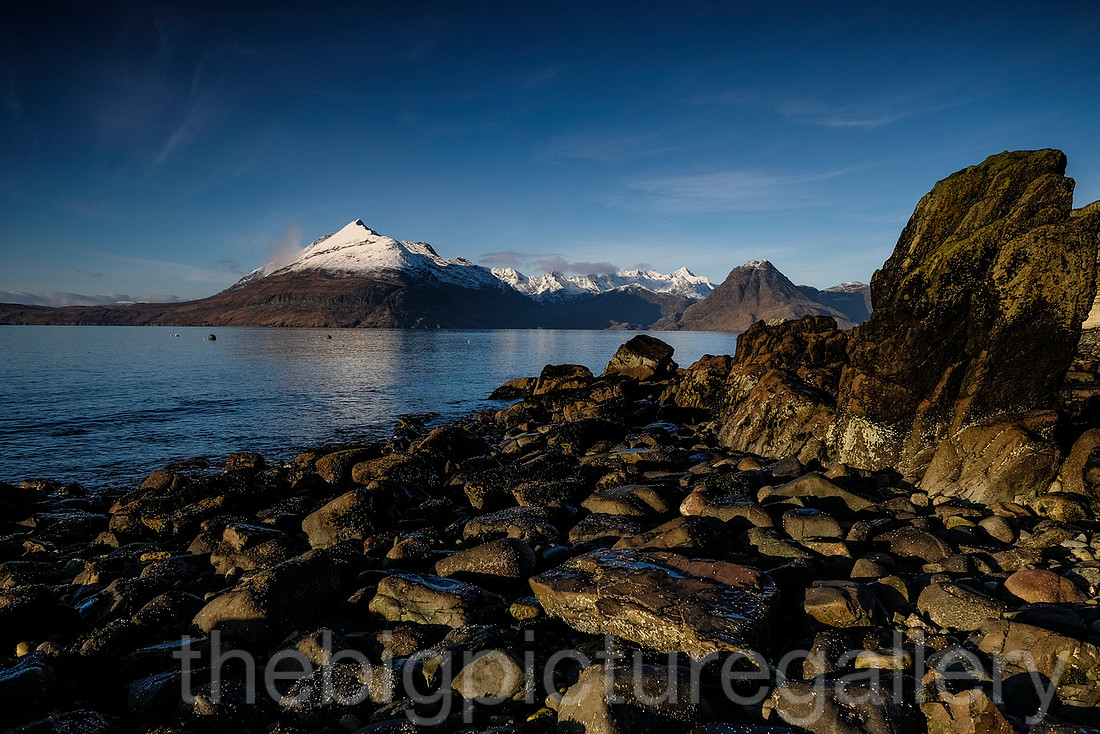
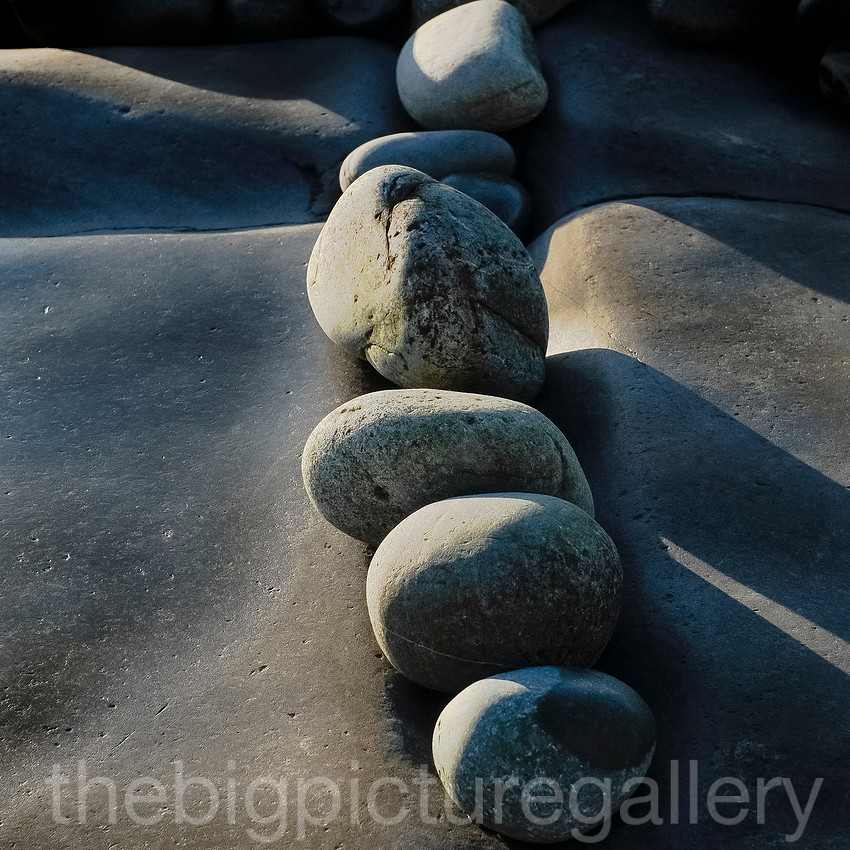
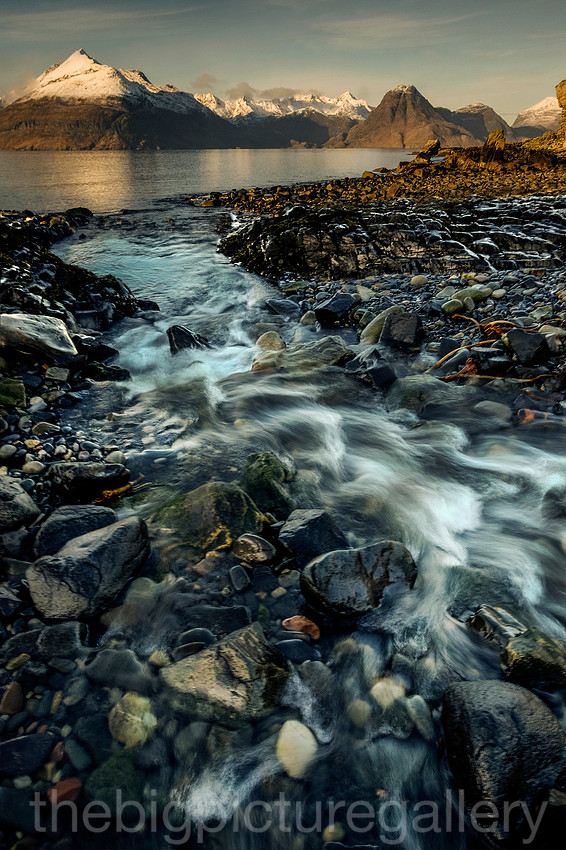
Having enjoyed a lovely nights rest and food at our hotel north of Portree, the following morning saw us once more on the road, going up to see the Old Man of Storr, however the light was awful, I had a terribel cold and felt quite miserable so we decided to head of up to Wester Ross for the final leg of our journey. As we journeyed northwards the weather started to change, became much cloudier and the forecast was for rain.
So our last stop was on Loch Maree, which I have wanted to photograph for awhile, the light whilst not perfect was interesting, trying to find the right composition via soggy and deep boggy moorland was a trial, but I think I satisfied myself with the images I shot.
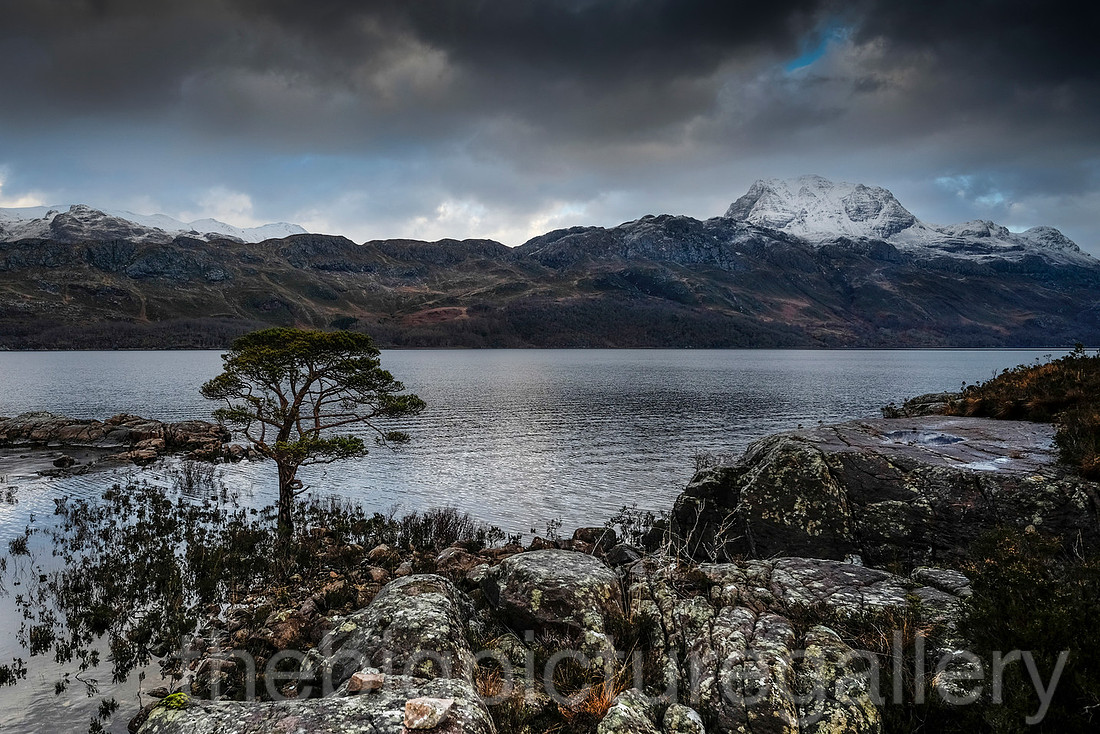
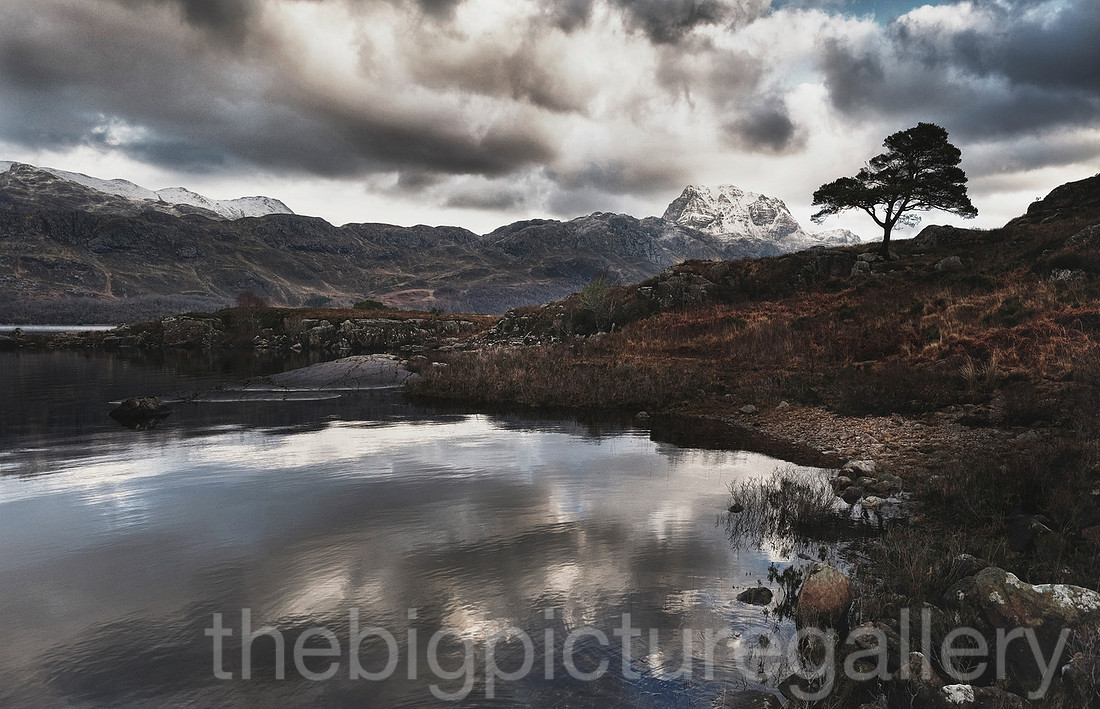
Looking forward to spending a full day on and around the Loch, we enjoyed a lovely meal and an enjoyable stay at our B & B at Gairloch, alas the weather the following day was miserable with rain and low cloud hanging over the hills, we therefore decided to call it a day, and head home.
Looking back over the whistle stop tour, I was glad that I had got my planning and timings right, every stop we made was a photographic treat, yes the stops were short, but in a way it meant more focus on getting the best i could, rather than relying on a re shoot. However the key to this trip was the change in the weather, something a photographer has no control over. The only downside was leaving the tripod at home. We covered over 1200 miles in 4 days, and marvelled at some of the most iconic scenery imaginable.
]]>
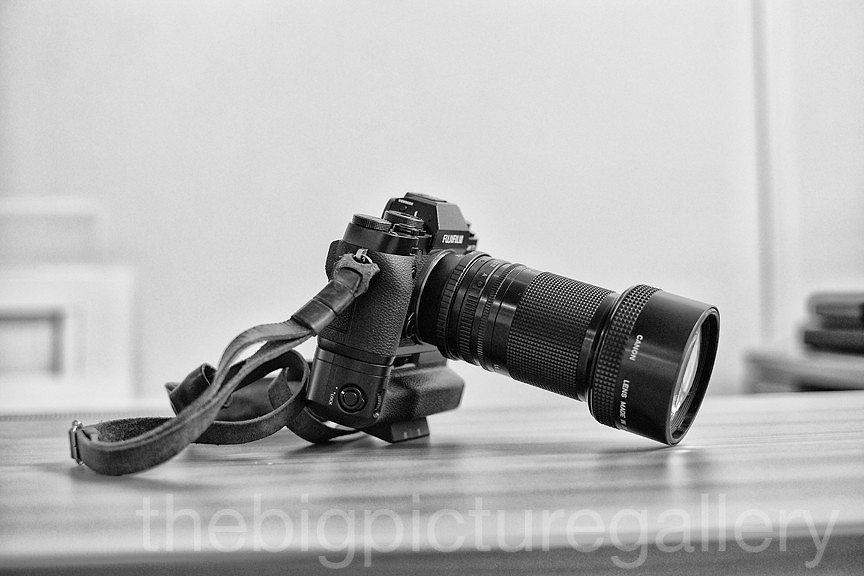
Six months into using the Fuji Xt1, I thought I would update my initital review. Over the years I have used nearly every Nikon model from film through to digital, my last Nikon was the D3, a truly superb bit of engineering, and a very well thought out camera. After 4 years of ownership I was becoming tired of it, not only down to the weight of the beast and attached glass, but because I felt the camera was owning me and not the other way around. I felt my photography was being done by the camera, with very little input from me. I wanted to be inspired again, remove myself somewhat from the electronics. Hard to believe this camera appeared in the Uk late 2007.
So my journey of re discovering my photography came through the purchase of the Fuji x100, yes that bloody quirky camera !, that little camera delivered superb images, set me on the Fuji path. Given my photographic needs I followed up that purchase with the Fuji X pro 1, and started to aquire some lenses. The 55-200, and the 14mm, along with some legacy glass from Olympus zuiko. Still I felt for some professional assignments where speed was required the Fuji's were a little lacking. Though image quality had never been an issue. So when the Xt1 was announced I jumped for joy, no more carrying the D3 around for that moment when a little action occurred. I can now honestly shoot a portrait session or wedding day without worry.
Since owning the Xt1 I have had so much shooting pleasure from it, yes it has the electronics and all the gizmos, most of which I rarely use. I feel I am in control again. The pleasure of the analogue dials, the shooting film again experience. What Fuji have done for me is to give me my soul back.
One thing I do feel though is that the Xt1 is a much different shooting experience to the X pro 1, although the fuji quirkiness is still present, it feels more refined in it operation, and thats where I feel Fuji need to beware. By packing more and more into the body, in terms of buttons and bells and whistles, it may, and I say may lose the appeal of so many fans. As it stands the Fuji Xt1 is a fine small camera, that delivers great images, while still retaining that user experience. Fuji have established a superb collection of Cameras, and a selection of lenses which are sharp and contrasty, but the pressure to add stuff needs to be controlled. So for me the biggest changes that I have appreciated are file quality, af performance, shooting speed, build quality, the retro dials and overall appearance. Everything else thay could have left off, nice to have on occasion but for everyday use, think I've maybe used the swivel screen once or twice.
For me the camera has some weaknesses, the lack of a decent flash system, and I can only refer to the Nikon's system which is brilliant. The battery management indicator, and general battery strength though, are woeful. I know we can buy extra batteries, and i have several, but shooting all day requires these, but then it starts to negate the weight saving aspects. The flash system for me is not that much of a put off as I shoot available light for the most part, still a pro camera, deserves a pro system and to me Fuji need to deliver on this.
Many have commented on the image quality differences between the X pro and the Xt1, yes they are different, but to me and I shoot for print, I genuinly have not been able to see that much difference between the two, sure the Xt1 has some NR going on but you can turn that down, overall the image quality is pretty similar and still has that Fuji look to its files. AWB is very good, most lighting situations are handled very well. The big difference for me is when using larger lenses, whereas the X pro felt unbalanced and compromised, the Xt1 feels great. When I'm shooting weddings I rig the X pro 1 with the 35 1.4 and leave it on all day, the Xt1 carries the bigger lenses.
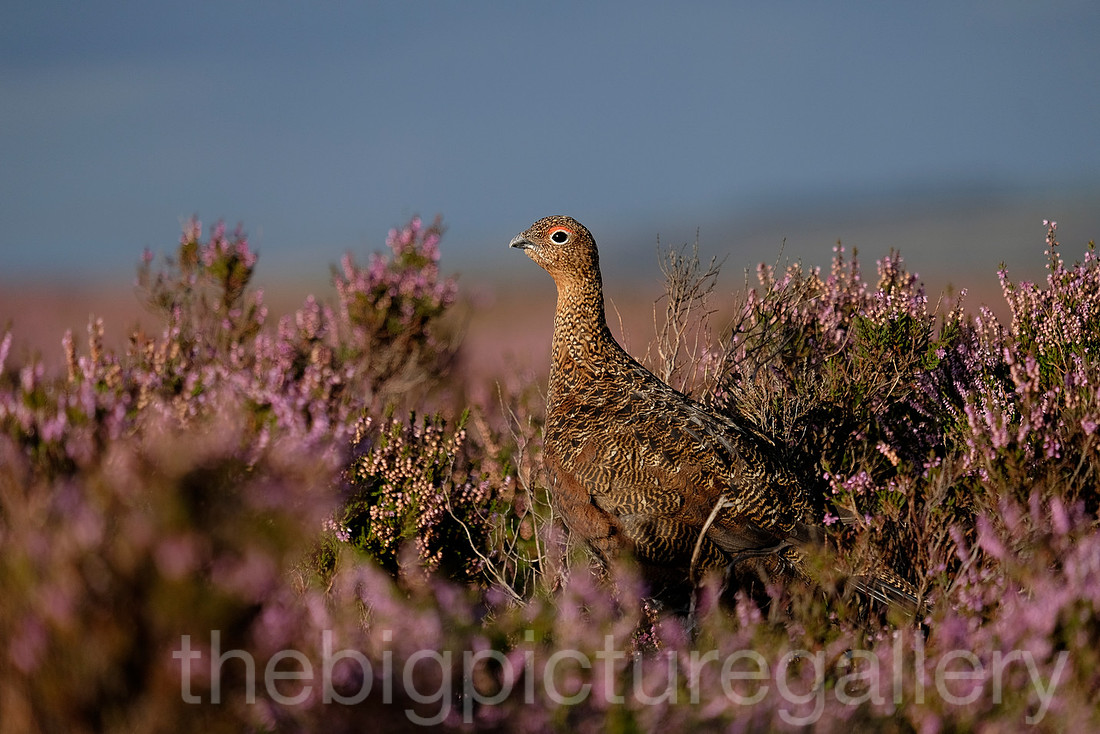 Quick focus aquisition even with the slow 55-200 is not an issue, as the above image of a red grouse i was stalking shows, the Xt1 is a capable camera able to deal with most situations when you understand it.
So to wrap up this review and I apologise if I've waffled anywhere. The little Fuji Xt1 is a grown up camera, not without its quirks and oddities, but they can be easily overcome. Brings speed and image quality over the earlier models, retains the same form factor and aesthetics unique to Fuji. The sensor is sublime, and at 16mp prints very large. Trust me I have gone 4 feet with images from the camera. I feel personally for me this camera along with the X pro1 is ideally suited for most of my needs. Its doubtful I will need to upgrade again for awhile unless it breaks.
]]>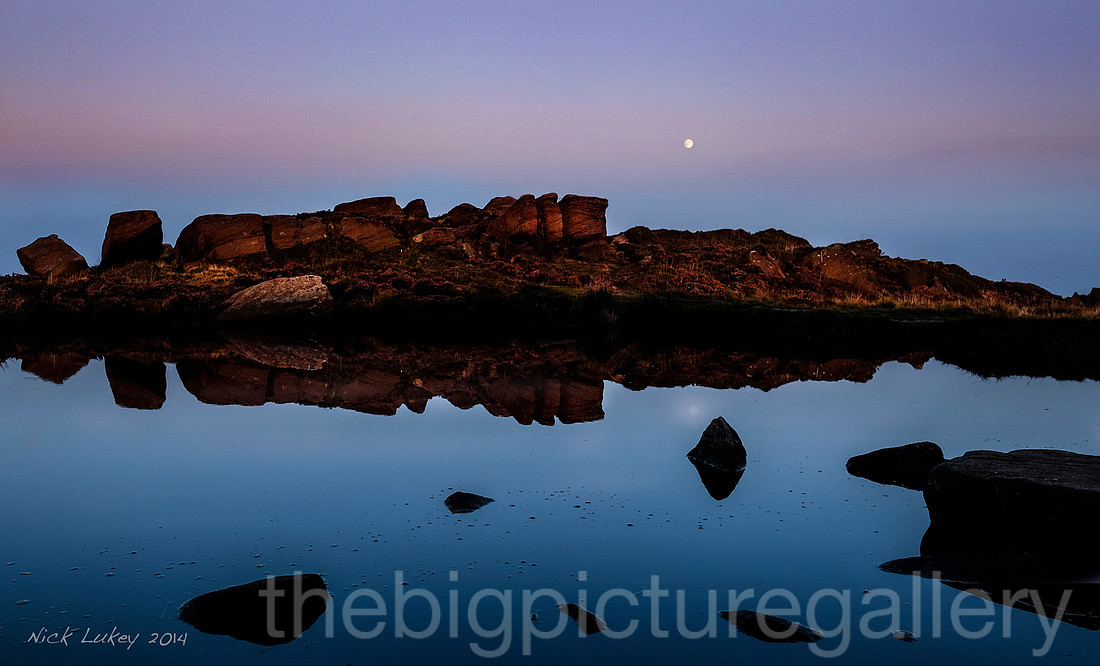
Given the right weather these places are fantastic for photography, especailly now as the moorlands are full of purple hues from the heathers that are in full bloom. I ventured out yesterday on a very blustery day, the odd heavy shower certainly spiced things up a bit. However the light was exceptional, scudding clouds allowed bursts of sunlight through to highlight the landscape. On top of Curber walking to Froggat, the winds over the top were super strong, and battered you into submission, so that you had to find shelter on the leeward side of the edge.
The only lens I used yesterday was the 14mm combined with a couple of Lee nd grad filters just to balance the exposure. The Fuji Xt is such a nice camera to have about when out hill walking, as usual it delivered superb images.
Whats most unusual for me is shooting images for the colour impact alone, how could it be any other way.
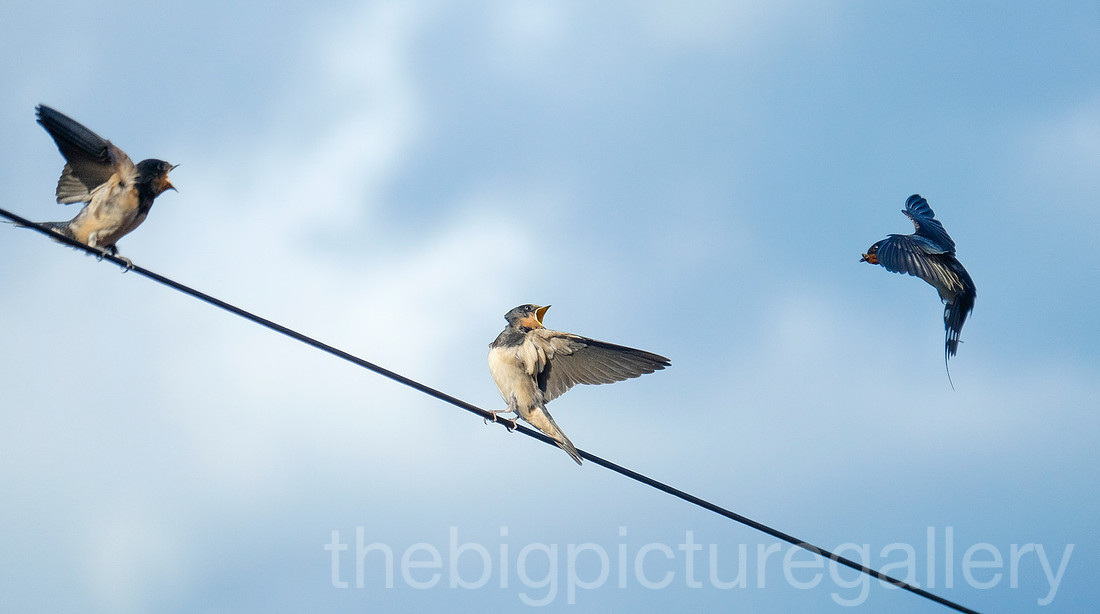
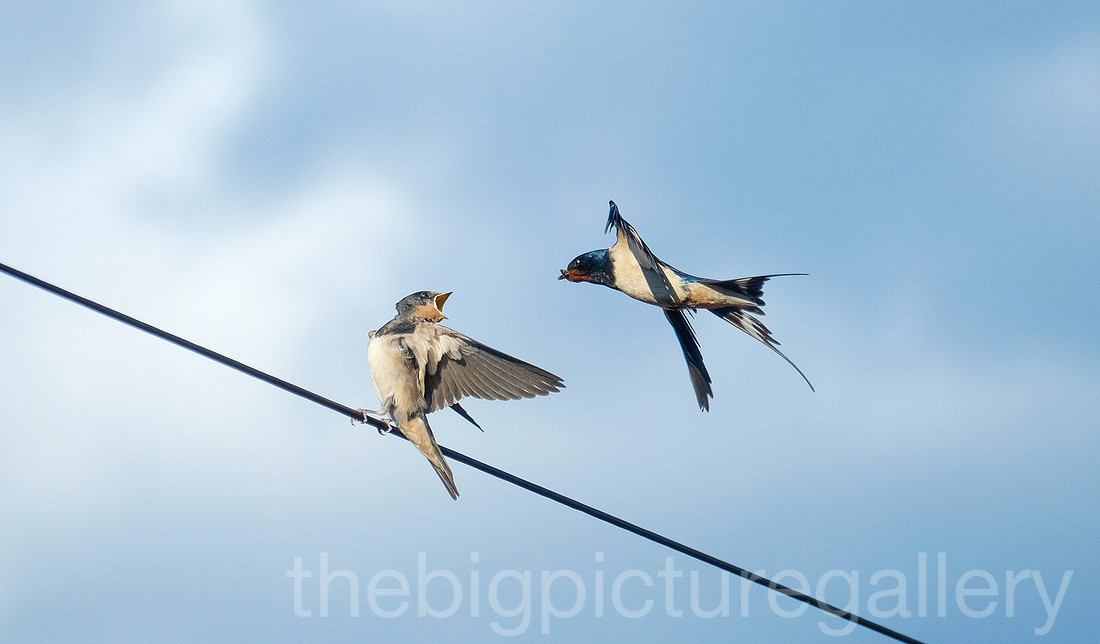
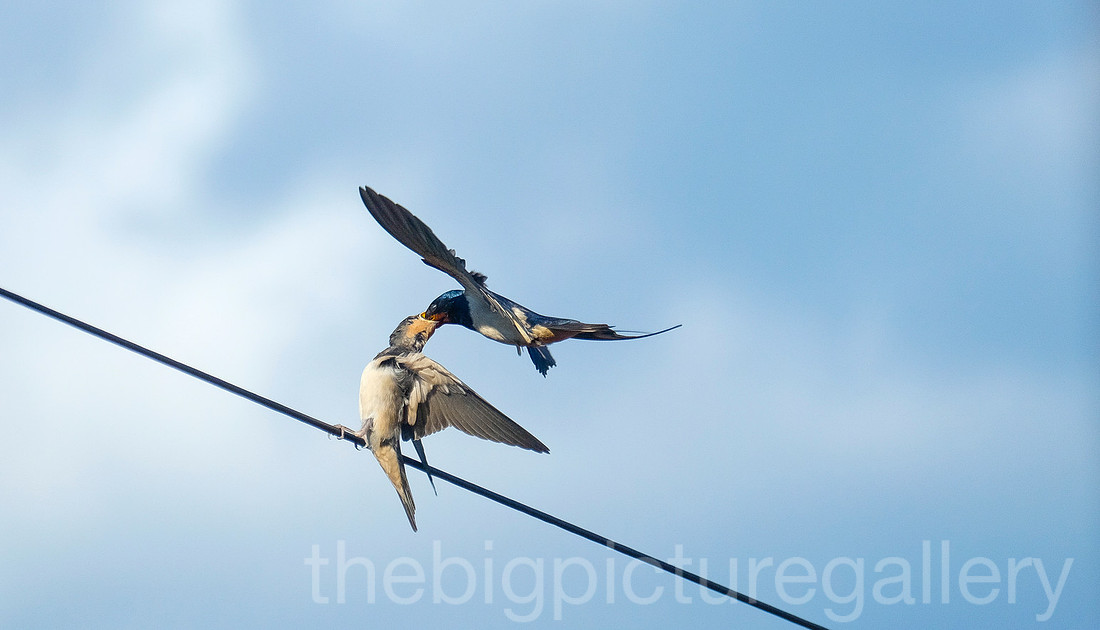
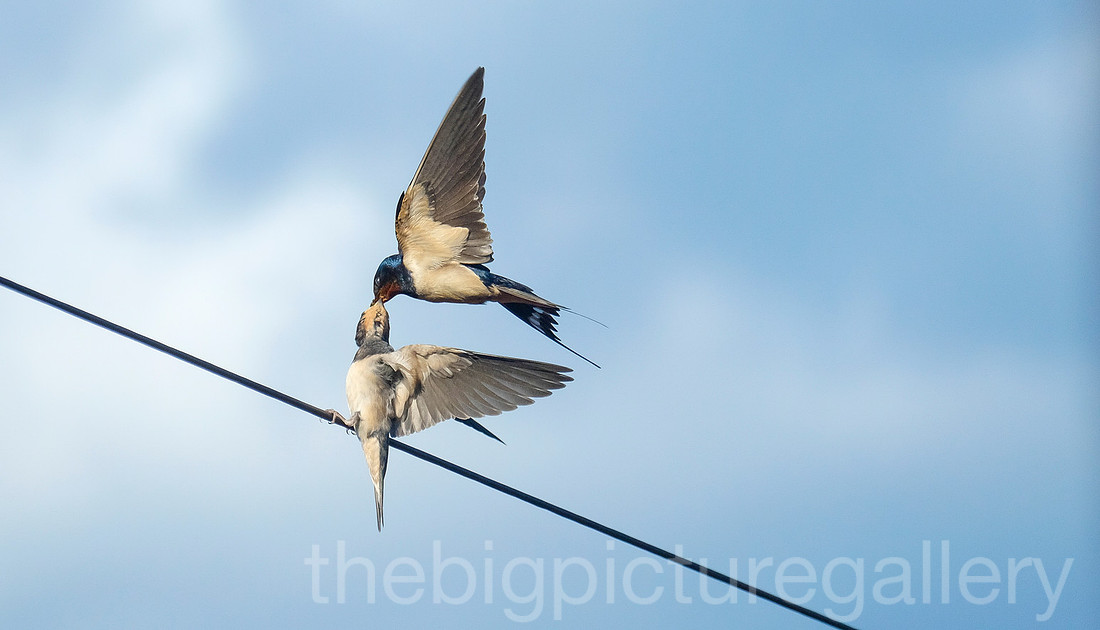
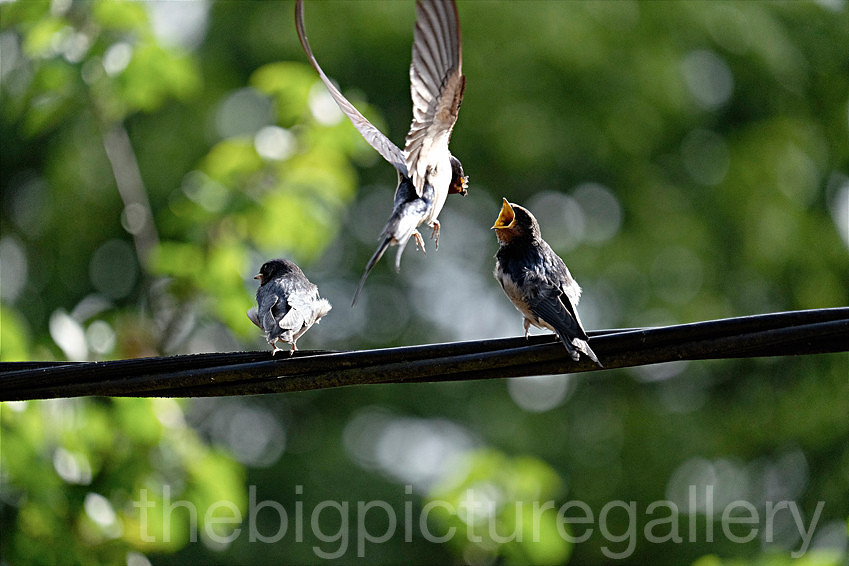
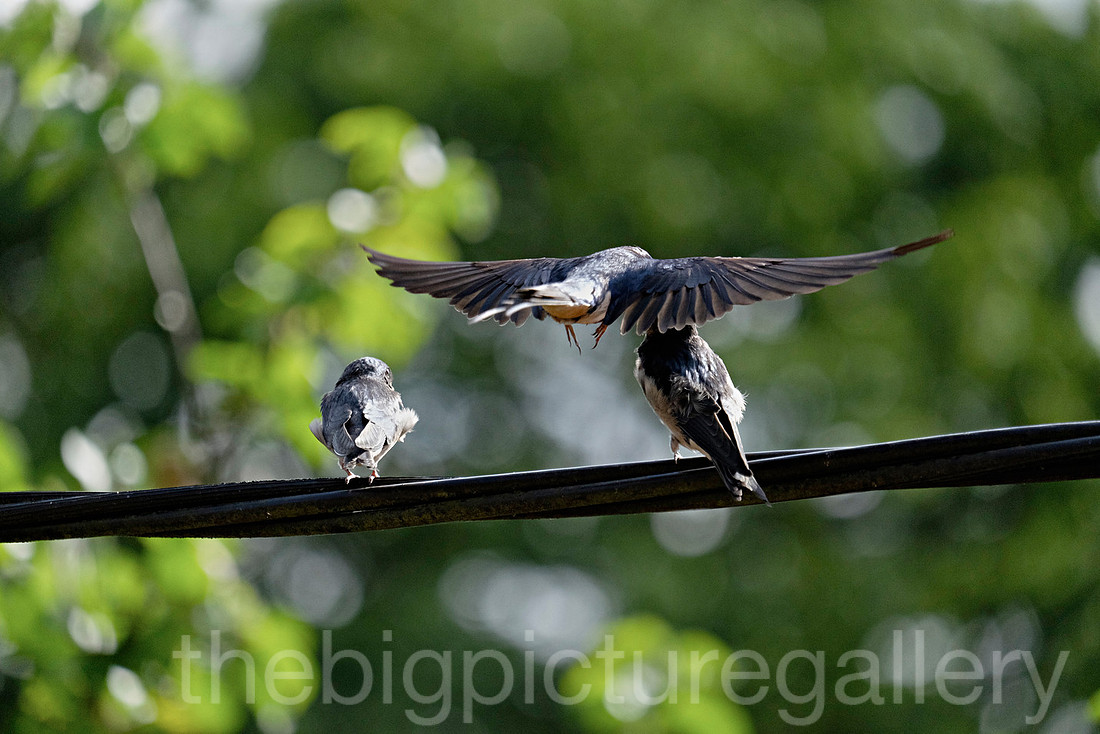
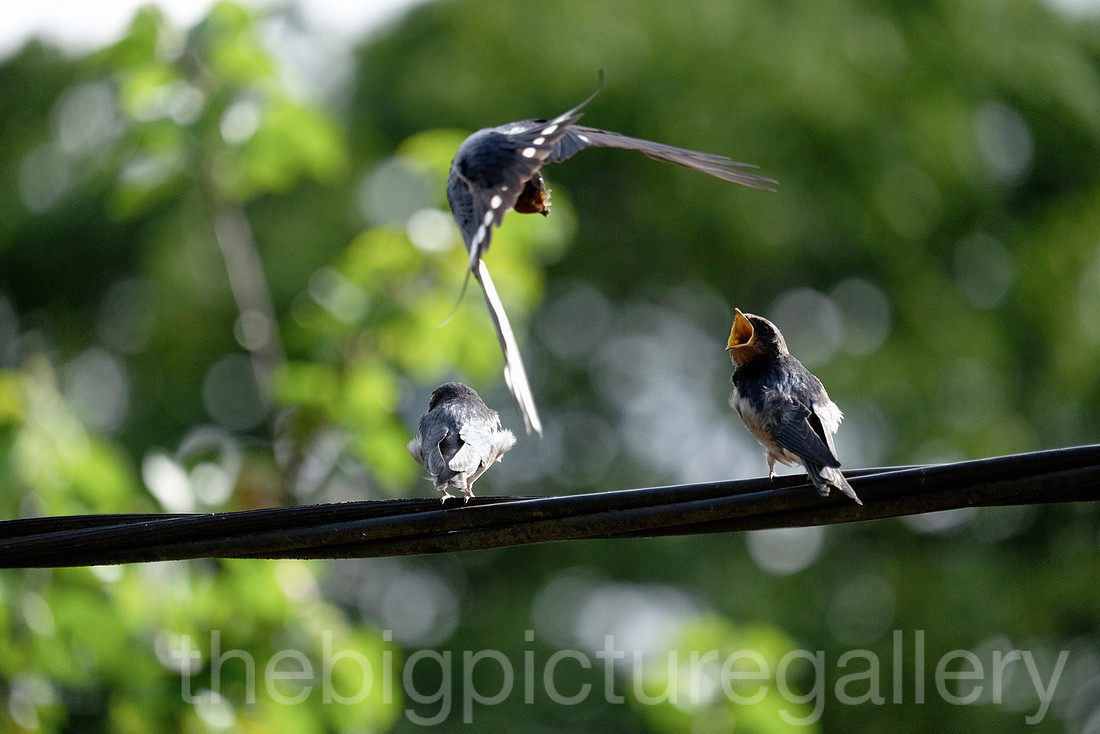
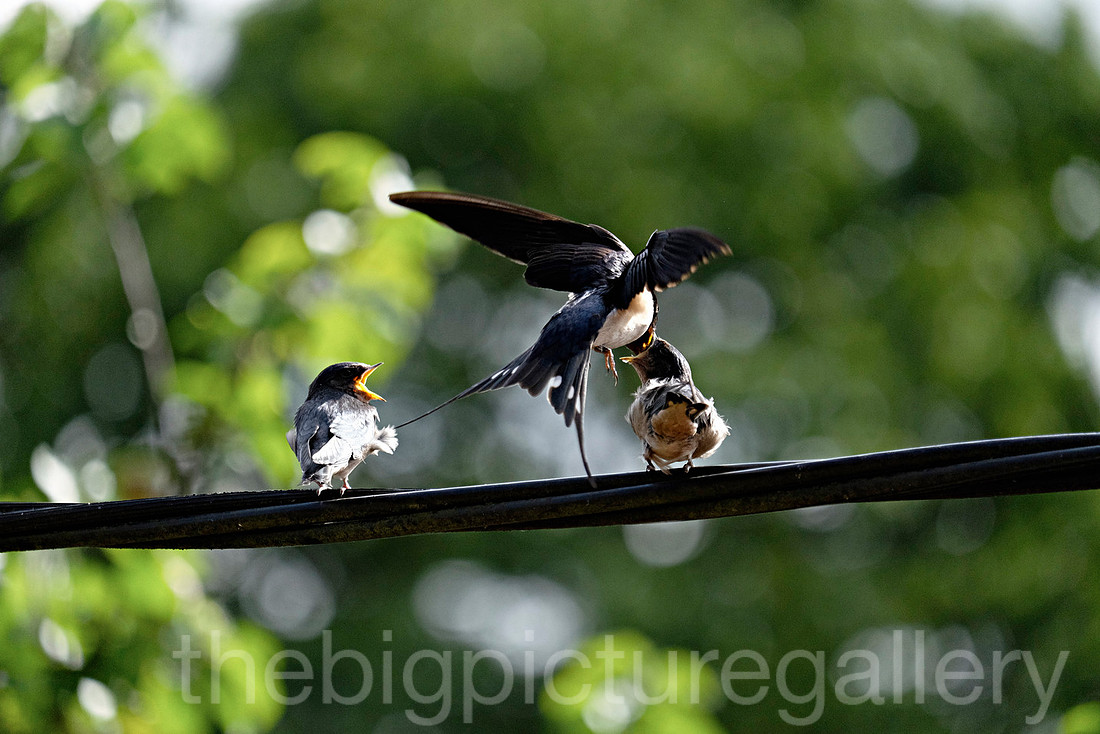
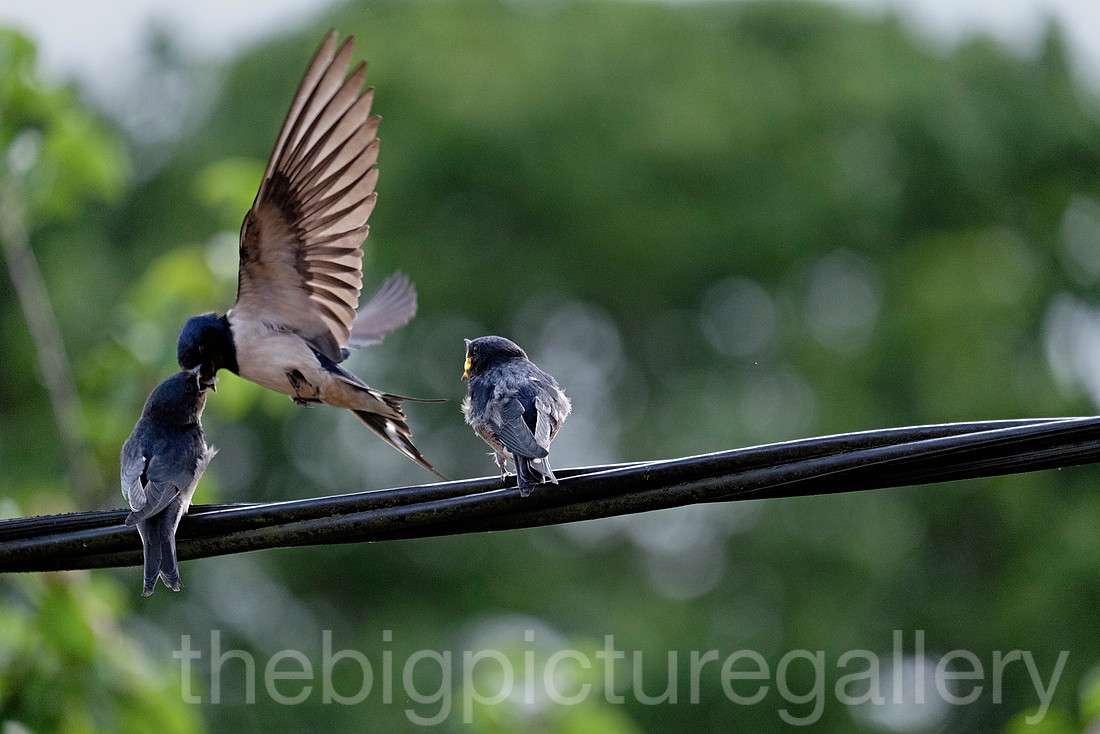
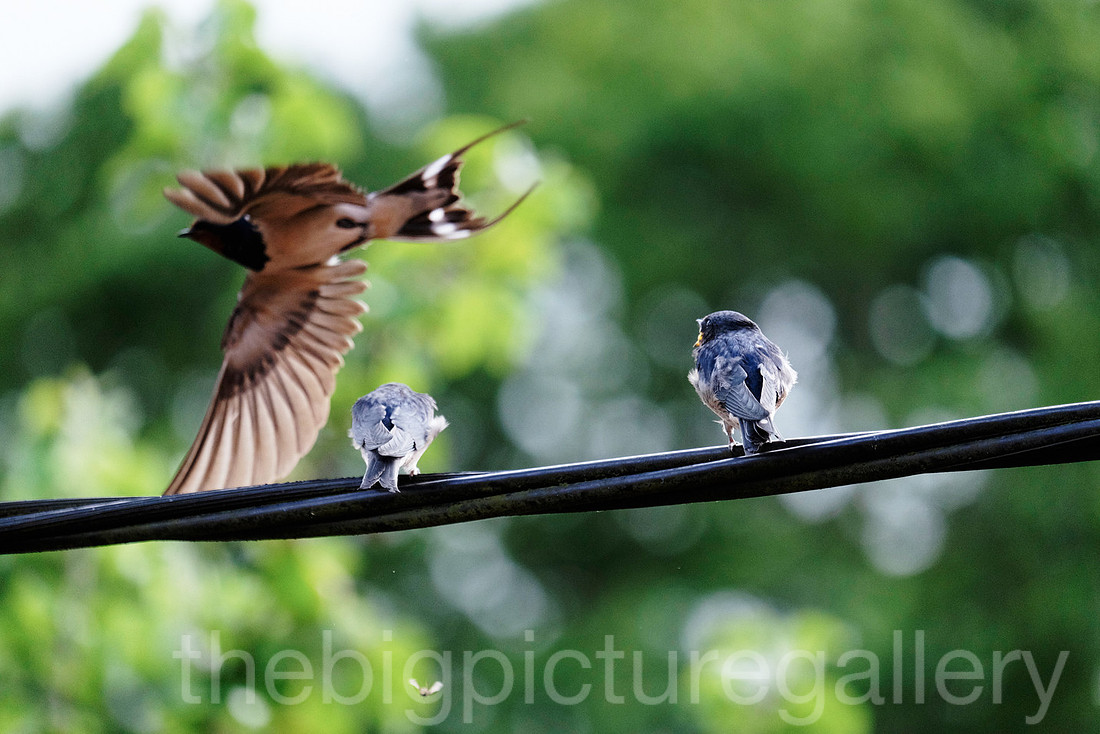
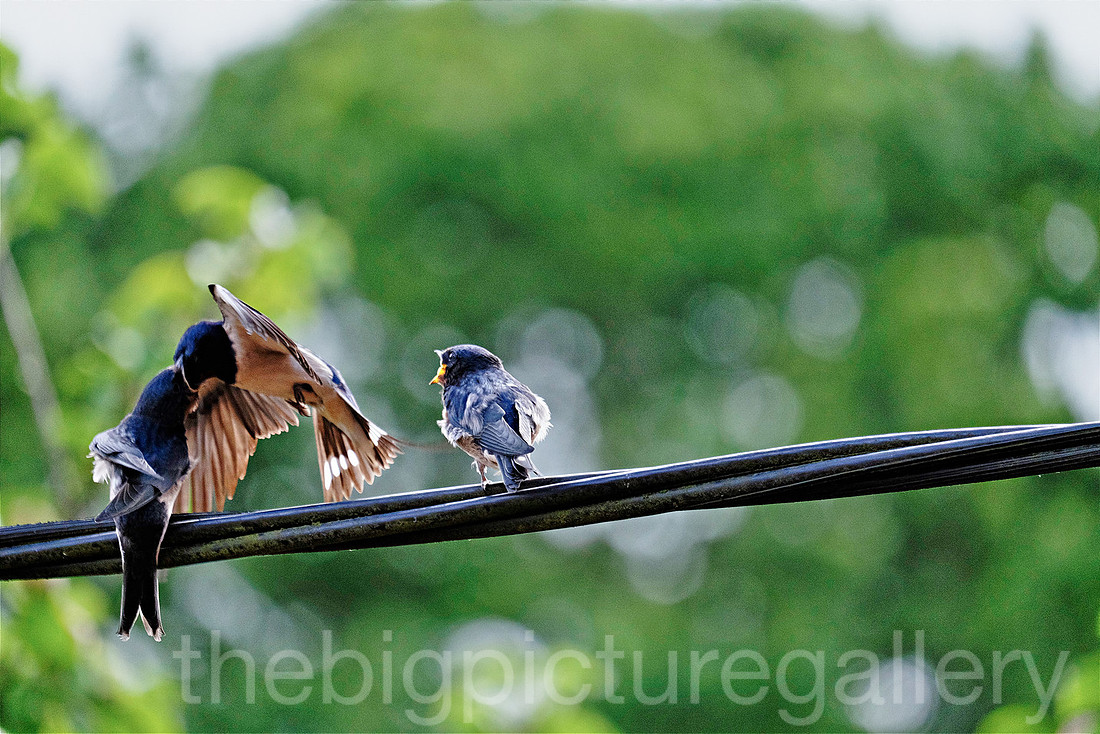
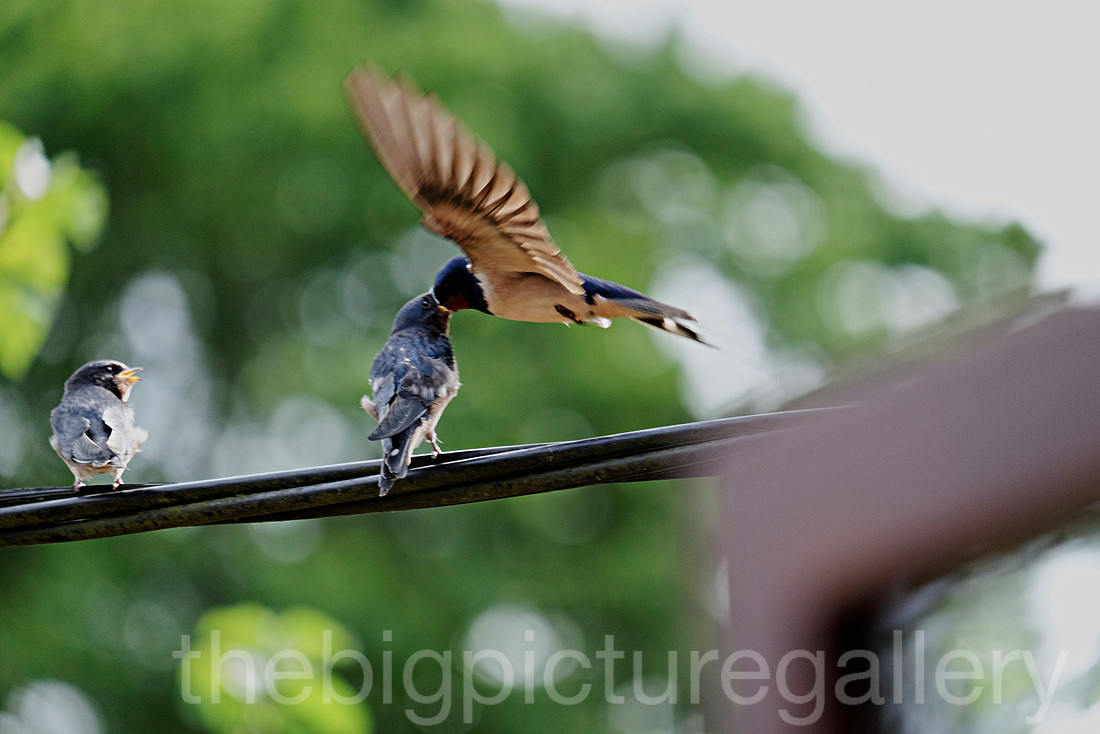
I have the pleasure of watching these 2 swallow chicks being fed quite close to our house. With some ninja tactics I managed to get a position which allowed me to witness the feeding ballet between parent and chicks. Problem for me was the pair of younsters were quite far apart, I never knew which one she would pick to deliver the goodies to. Concentrate on the left chick, she would feed the right one. All this flight and feed, happened in the blink of an eye.
Even at 1/4000 of a second on high speed drive, I didn't get all the action, they are just so quick. The images were shot with the Fuji Xt1 and 55-200 mm lens. The best reults came from having the lens set on A/F C (continuous focus) set to focus priority release. That means the camera will only fire when the subjects are in focus. I think the sharpness and IQ from the 55-200 are fantastic, its a great lens. Sadly the family have all taken to the wing, after a few short days they are now zooming about like daft things. Not be too much longer before they make the long trip south to Africa for the winter.
]]>
Caught literally as I was going for a shower, spotted the 2 youngsters of the cable running into the house, rushed and got the Fuji and the 55-200mm, gently opened the window, and waited. In she came with all the grace of a ballerina. Feeding each in turn. I could have watched her all morning. Difficult to pick a focus point, but I settled on the youngsters and hoped I could get the right image as I fired off high speed bursts.
Wish the light was better, but you get a chance and it is what it is. Hope you enjoy the series of images.
It's one of the most iconic views in England, and one which I had never photographed. On checking the weather forecast the weekends rain was clearing and it might throw up some rather nice light. Even better was the fact that this weather window was in the afternoon, after last weeks tiring journey to Wales, it would be rather nice to enjoy a later start and miss the morning traffic on the M6. Still given its location it was still a 4 hour drive, the last hour being stuck behind a gravel laden lorry and a caravan. The drive though was well worth it and we were blessed with late afternoon sun and some fantastic cloud patterns. Enjoyed a lovely meal at the Wasdale Head Hotel, well worth a visit to view some of the fantastic historic climbing and mountaineering images on the walls. Hope you enjoy looking at the images.
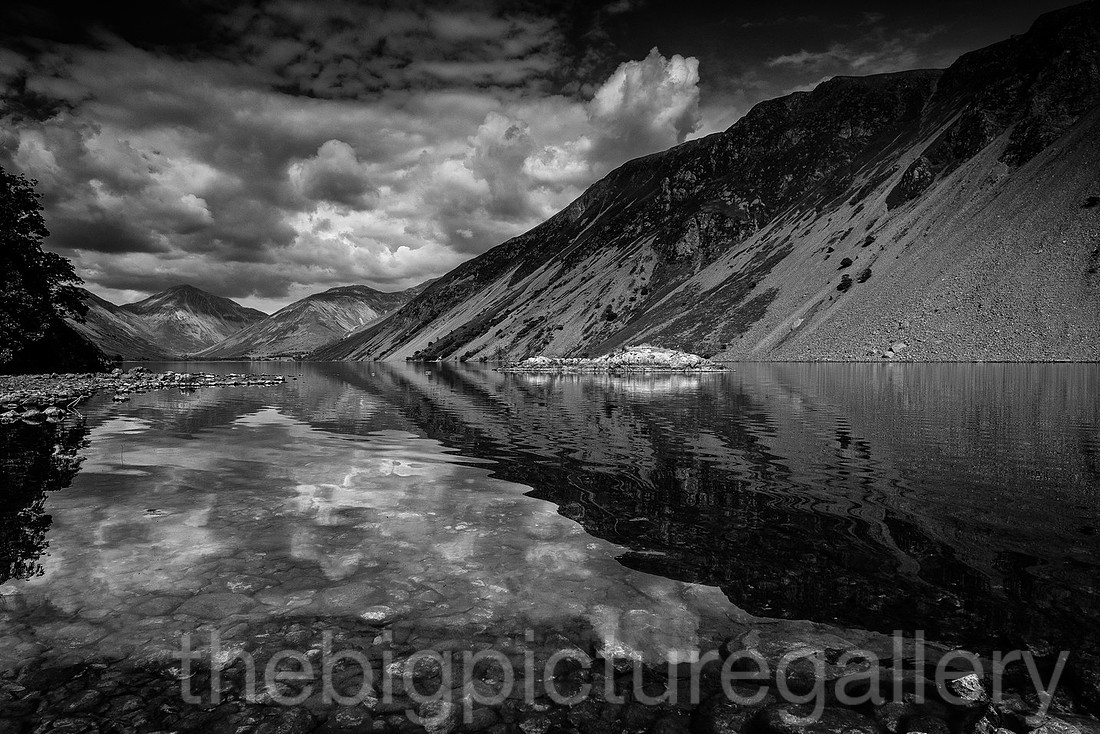
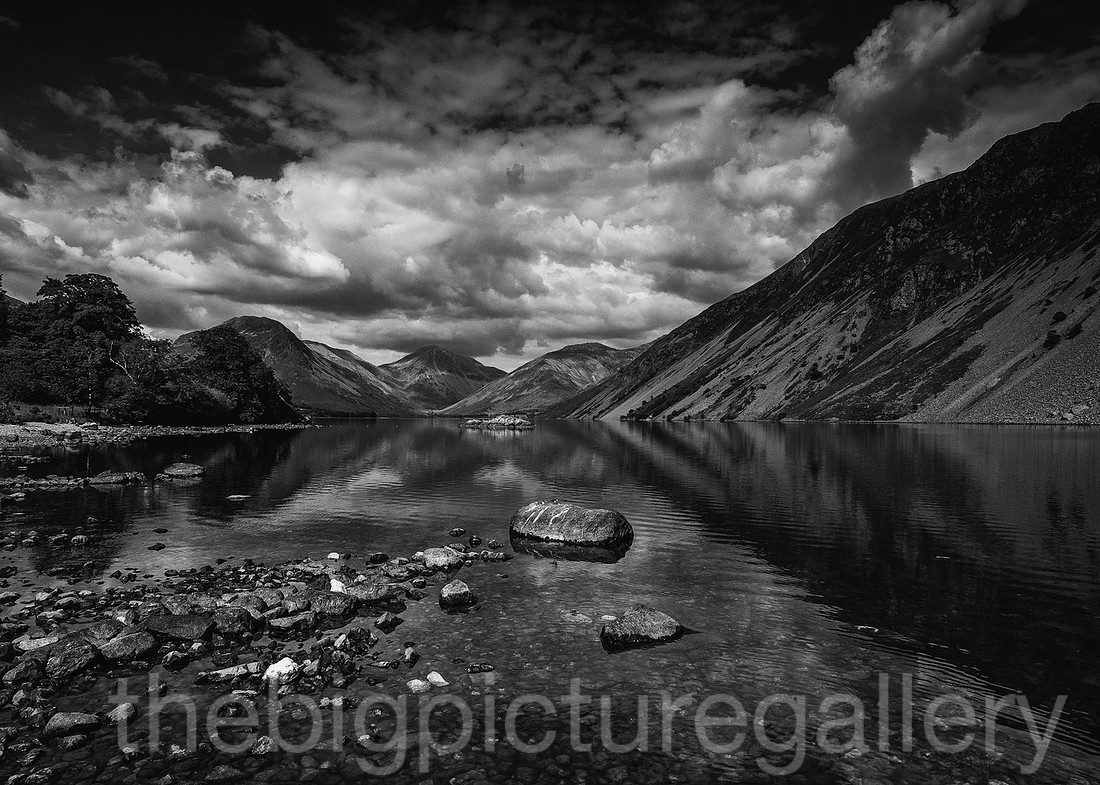
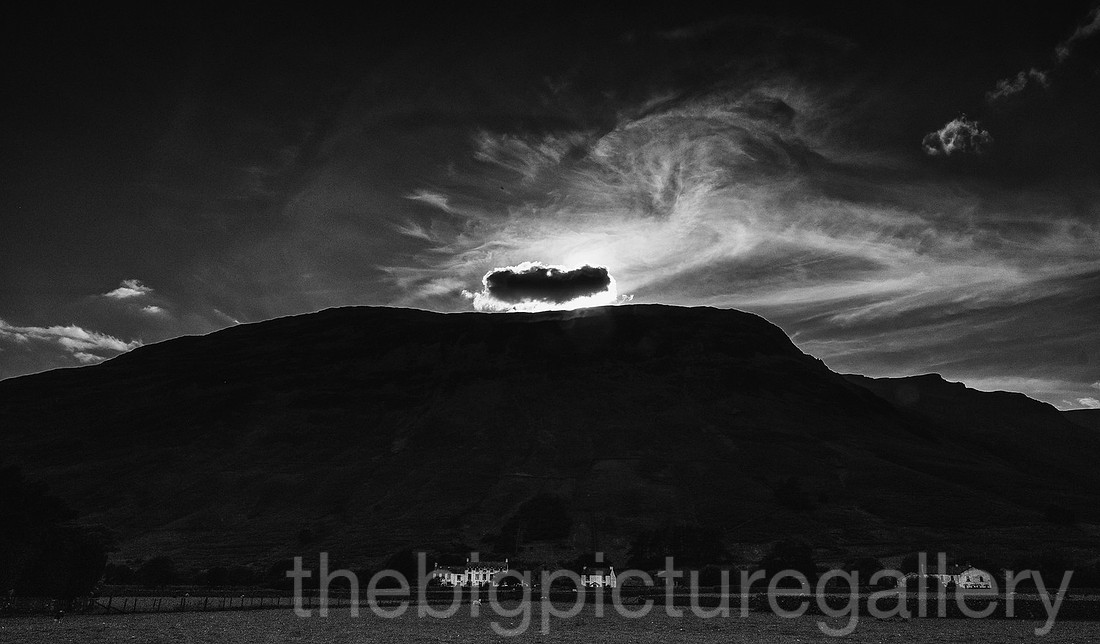
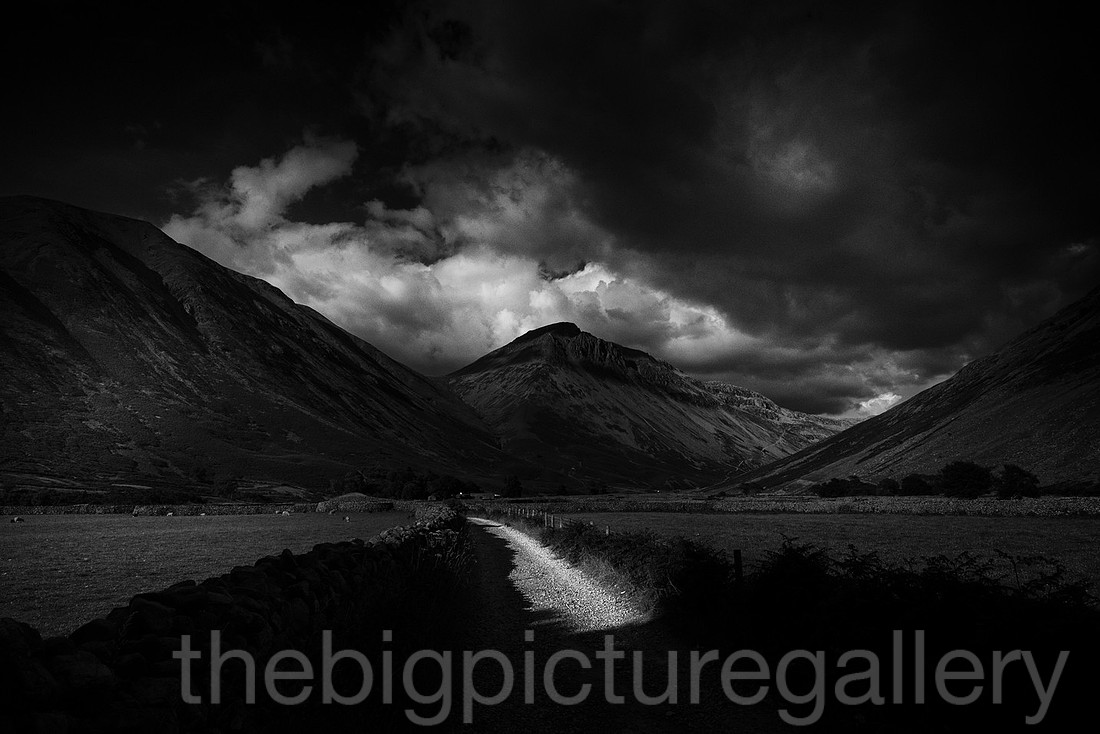
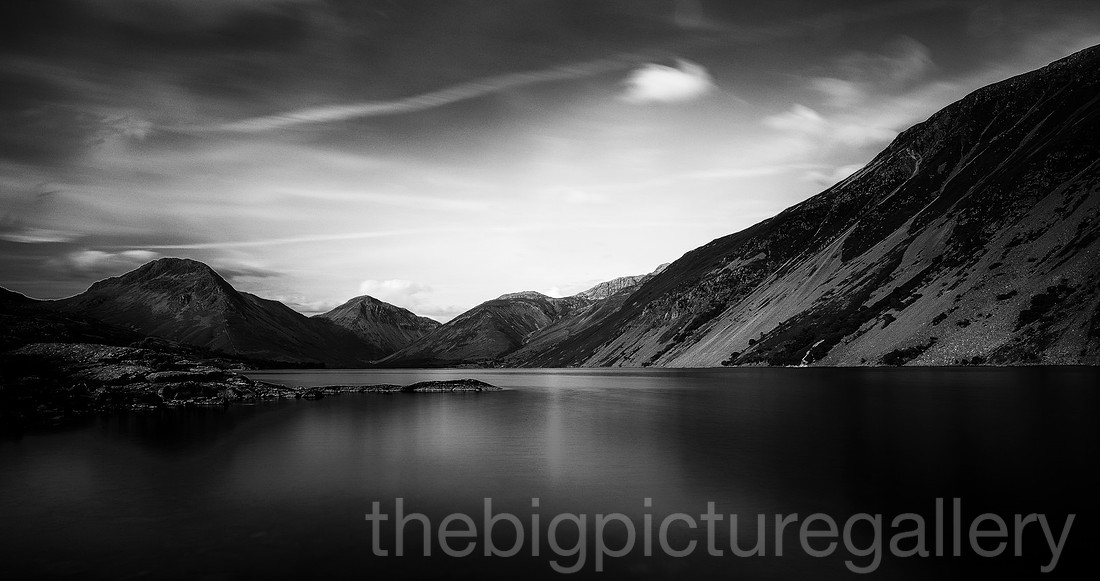
All the above images were shot using the Fuji Xt1 with 14mm lens, using a combination of CPL filter/ND grad, all images were shot in Raw format.
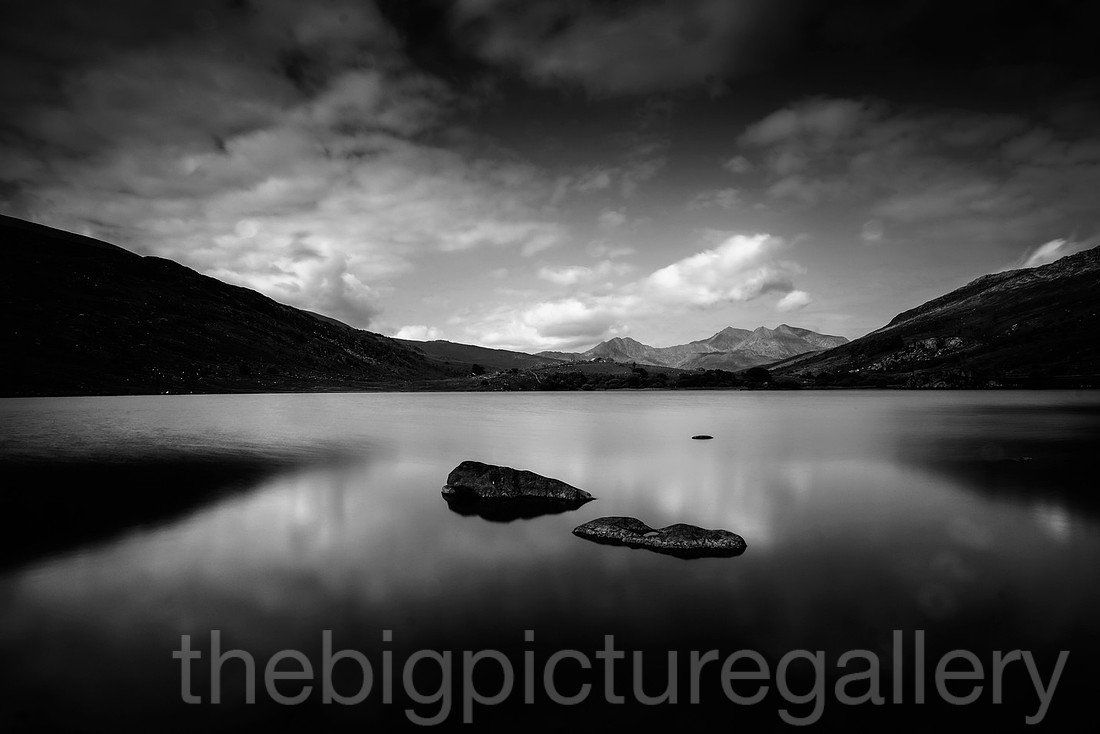
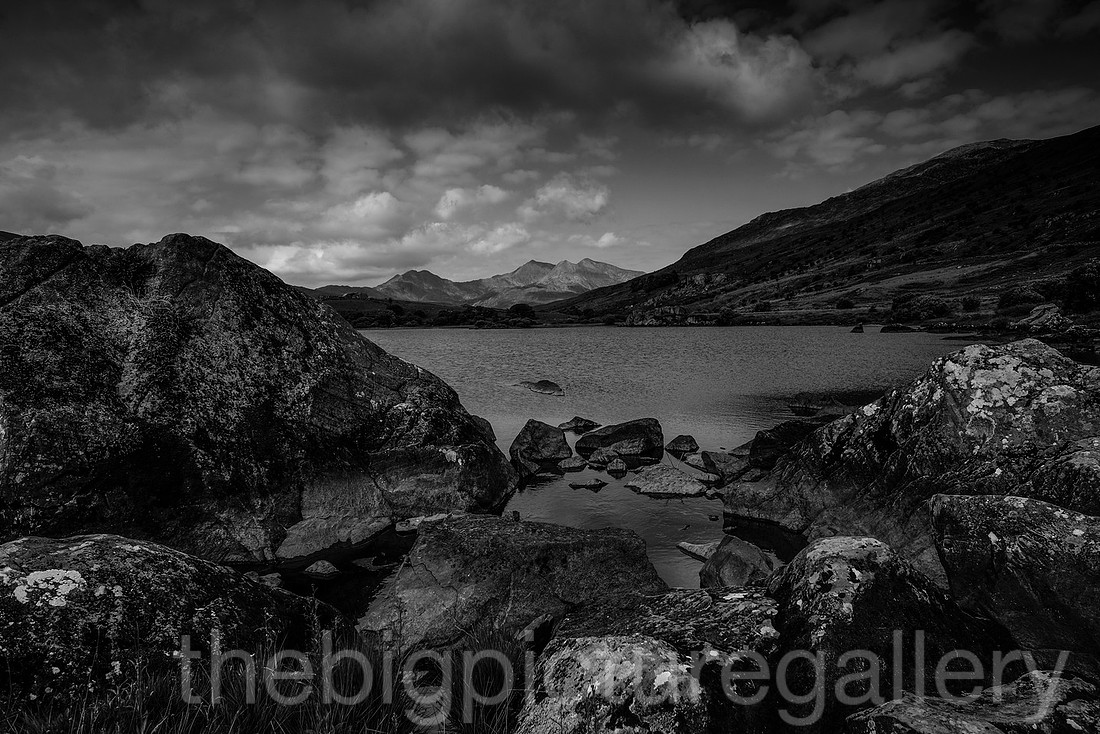
]]>Anyway the dawn broke and it was gorgeous, the incredible light and calmness made for a glorious morning, by 6am it became very warm, not a breath of wind, so we decided to up sticks and head off up the Ogwen Valley in search off some breakfast. Ended up in Betws Y Coed, marvellous fry up in the Station Cafe. Finished off the morning by heading up to Llanberis to get some images of Snowden. A fine day overall but the drive home was tiring. All images taken with the Fuji Xt1 mostly on the 14mm.
The (EVF ) viewfinder is sublime, seriously it is flipping awesome, akin to watching a widescreen TV, and compared to the X Pro 1 the difference is massive. Though the X pro has the very nice Optical viewfinder. The dioptre control on the Xt1 is a real bonus for me as I wear glasses, so being able to dial in the right dioptre is a bonus. On the X pro it takes screw in ones, be aware these fall off eventually I've lost 2 of them. Although a little nit-pick is how easily the dioptre can be moved on the XT1, out came the Sugru and a little dot on the wheel and body stops any rotation.
Shooting with manual focus lenses is made much easier with this new evf and you can choose to have either a split image view or to have the focus edges highlighted in a colour, you can change this option in the menu. I found the split image a little disappointing, it seems to lack the ground glass clarity you find on a 35mm film camera, I use the edge highlights and the focus assist button, you can zoom into the image to check the focus. It works very well especially useful in low light. I found using the blue colour option to be particularly good for showing the edge sharpness.
Controls and dials are well placed and are easy to alter, some can be done whilst the camera is at the eye, shutter speed, metering mode and exposure compensation can be altered easily whilst seeing the effect within the viewfinder information panel. Care needs to be taken if adjusting the exposure compensation dial, as sometime you can hit the video on button. Hopefully this feature will be given a disable choice when the firmware is updated. The dials to the left of the viewfinder namely ISO and frame rate selection cannot be easily done without taking it away from the eye, especially the ISO button as it needs to be depressed before the housing can turn. Some find this an issue, personally I generally shoot auto ISO so leave the dial in the A position most of the time. At least it cannot easily be knocked out of position. The remainder of the buttons are easy to access though I do wish there was a 2 button quick reformat card option. This brings me to the D pad, many have found the operation of this to be a little tricky, feelings are the buttons don't seem responsive or a feel a bit mushy, personally I have found them to be OK, however they are slightly recessed so folks with fingers like sausages will find them uber annoying. Don't fret you have a friend in sugru, within five minutes you can have your buttons as big as you like, without any damage to the camera. For the cost of a Fiver I used only a tiny amount on mine, believe me it's awesome stuff.
The menu system is pretty easy to navigate and gives you a plethora of options as usual, I will deal with individual items as my review goes on , suffice to say it's pretty comprehensive, and a read of the manual is needed for some aspects.
Focus focus focus, lots of issues and conversations all over the web about this, but for me the focus was the key to me buying the XT1, and I am seriously impressed with it. Last weekend saw me shooting a wedding for 12 hours, in torrential rain, in low light and bright sunshine, I can honestly say with hand on my heart the focus speed was never an issue. My go to settings are usually AFS on focus, whilst my AFC setting are on release. In a fast moving environment, I usually switch to AF continuous, this may appear to be a little unnerving as the camera seems to be constantly focusing leaving you with the impression that it cannot lock, it's not meant to lock its tracking. Just mash the shutter and have faith it does work. Several situations at the wedding found me switching to AFC especially the confetti run, out of 9 frames only one was out, just keep the focus box on your subject and hit the trigger. I have also found by making the focus box bigger it gives a much increased chance of keeping the subject in focus.
Much has been said about changing the performance mode (Found in the menu spanner2 power management) to High performance to gain faster autofocus and faster camera response, for me I leave it off and never had an issue, I prefer battery longevity. If your shooting fast moving action then I would use this option. The biggest issue to me is what lens is attached to the camera, governs how fast focus is achieved for me the slower lenses are the 55-200 and the 35mm, the 14mm 18mm and the 18-55 are very speedy, the 18-55 especially is superb. Reminiscent of the superb Nikon AFS lenses, updated motors I guess. The problem for Fuji in the Af speed is that you need to ensure you understand the system and how things work, best settings etc to get super fast AF, whereas on the Nikon D3 just stick a fast AFS lens on and it just nails pretty much everything.
Understand the settings, and its limitations, the little Fuji set to full motor drive, and the right lens can pretty much hit most things. Superfast wild life or sports action may show up its limitations. Battery life is really just so so, I have the battery grip attached fulltime to my Xt1 and bought extra batteries, shooting the wedding for 12 hours saw me go through six batteries in total, 2 for the X pro 1 and 4 on the T1, my view is using the IS lenses certainly takes some juice from the batteries. The only gripe is the battery meter on the Xt1 like the X pro 1 sucks big time, you go from half full to empty in the blink of an eye. It seriously needs addressing. My only other major gripe is the flash system, is poorly implemented. I know you can use it in low light without flash, but I think its a serious drawback to a system, that Fuji does not take flash, and lighting control seriously. Wake up guys !!!
Image Quality as ever is superb, I confess to being a jpeg shooter, have been since the onset of digital, concentrating on getting the correct exposure is most important to me, I'm not getting involved in the raw debate, its a case of each to their own, But I don't pixel peep, I print large. being a gallery owner is about printing, and usually large. The largest Fuji file I have printed and sold was 4 feet by 3ft, I usually print either archival matt or onto canvas, trust me when I say file quality is not an issue. From my early adoption of the X100 to the X pro 1 and now the Xt1 I love the fuji colour and file rendering. Some will point out smeary foliage or high noise reduction in the Xe2 Xt1 files, TBH I see very little difference between the Xt1 and the X pro 1 in printed image quality. I have shot several paid jobs with the XT1 from Weddings to Family portraits and it has never let me down in anyway. After years of lugging round pro glass and pro bodies and one bout of severe RSI, I love the mirror less system, its not perfect but for image quality, form factor and operational ability, it's a killer camera and never fails to impress me.
My recent images from the weekends wedding. Taken with the Xt1 Xpro 1 14mm 2.8 35mm 1.4 50mm 1.4 zuiko and the 55-200 mm
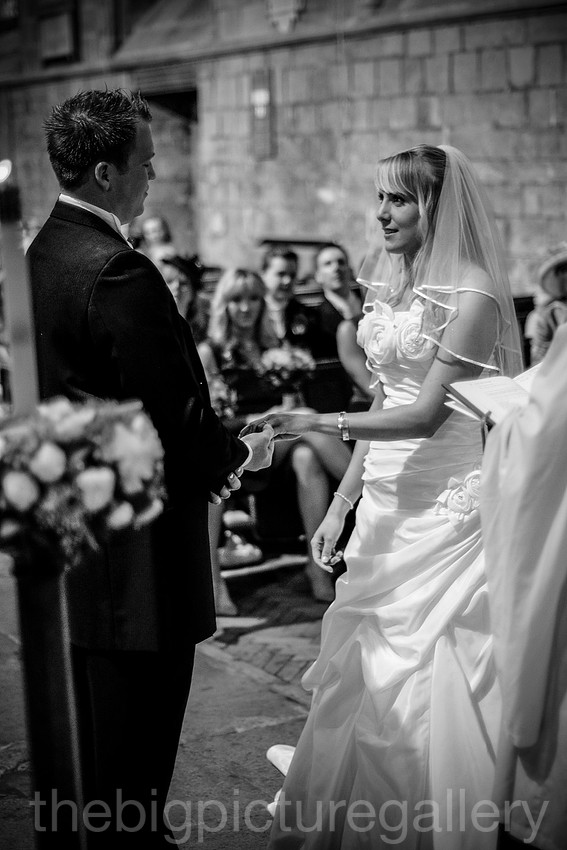
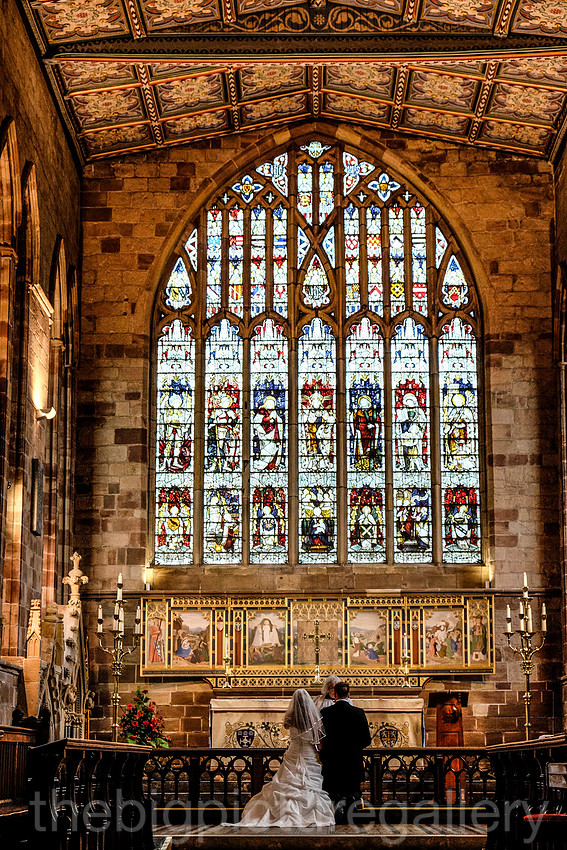
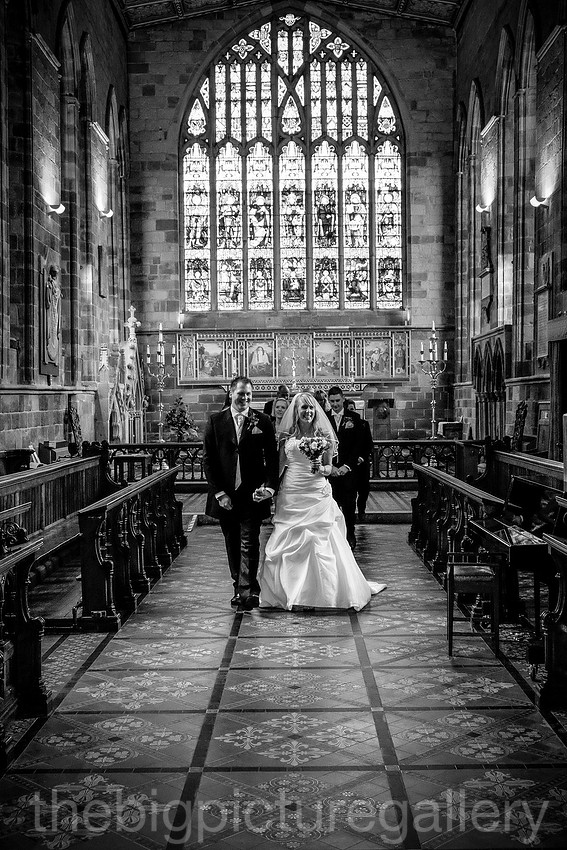
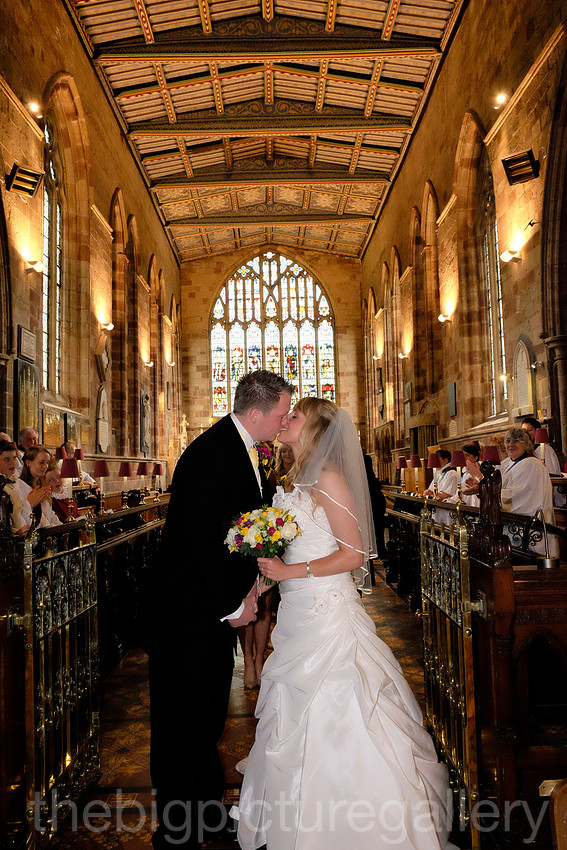
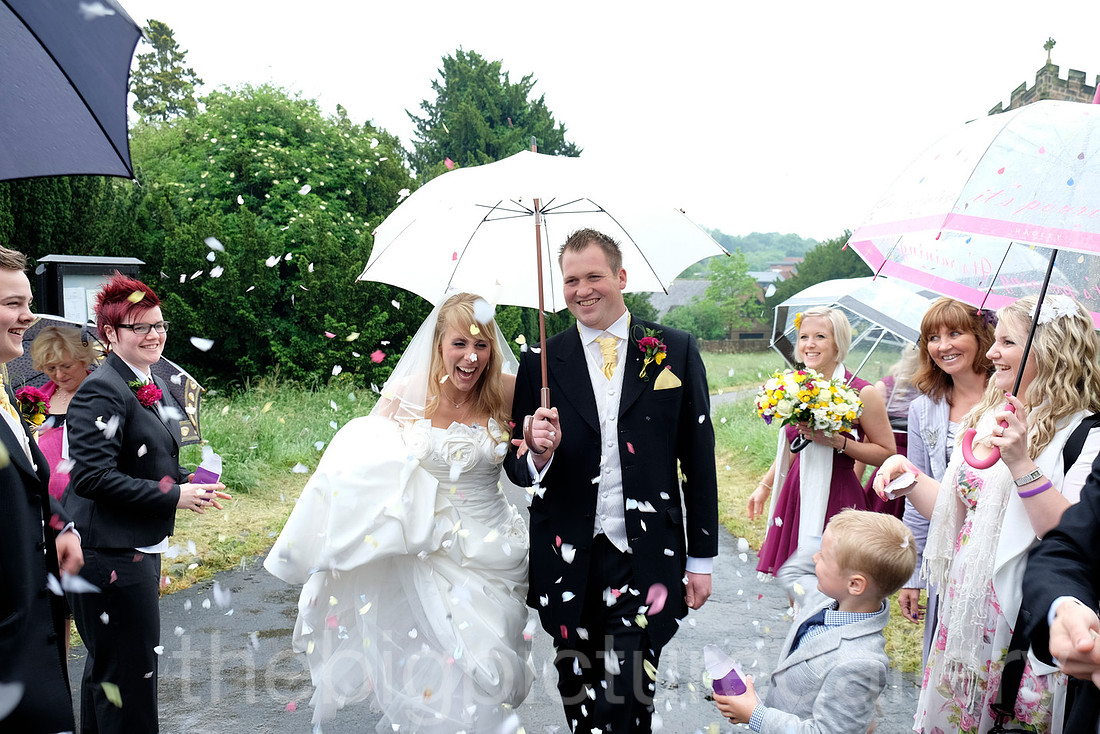
I was out shooting for a total of 5 hours, and got home to a sausage sandwich, and a nice cup of tea (yorkshire tea though) a just reward I think.
All the images were shot using the Fuji XT1 with 55-200 and the awesome 14mm lens. I even used my nice Gitzo mountaineer tripod for a change.
]]>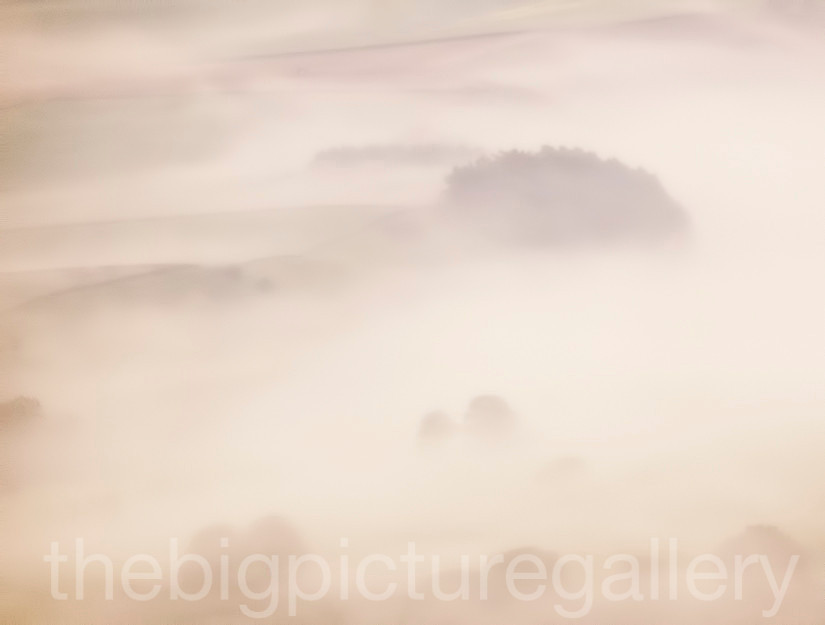
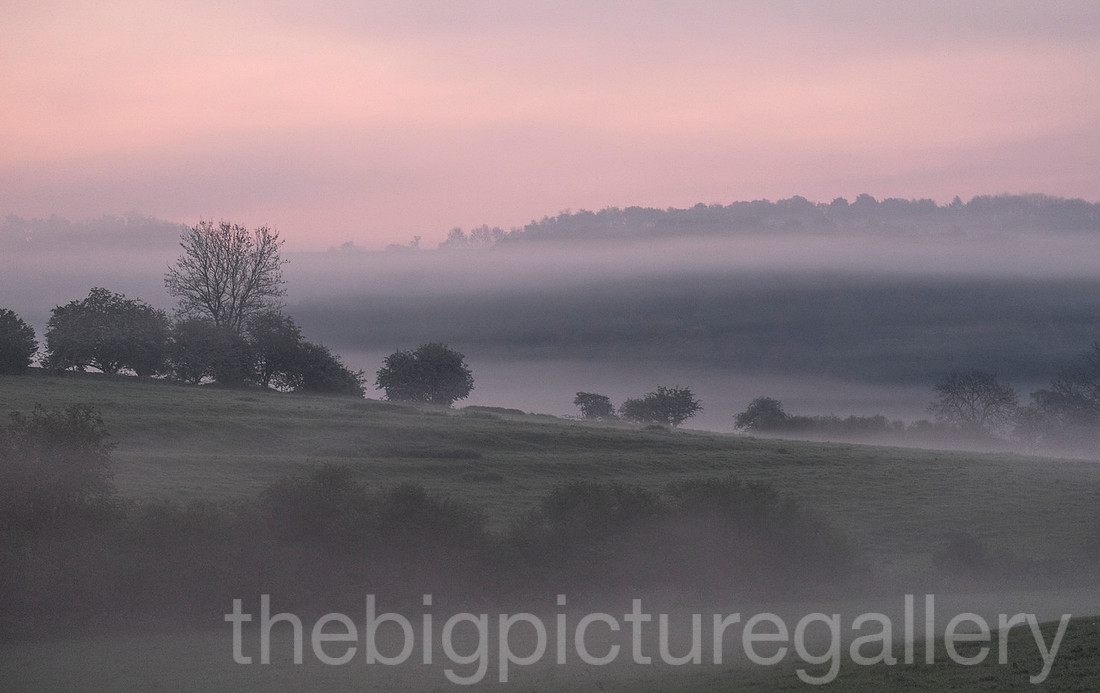
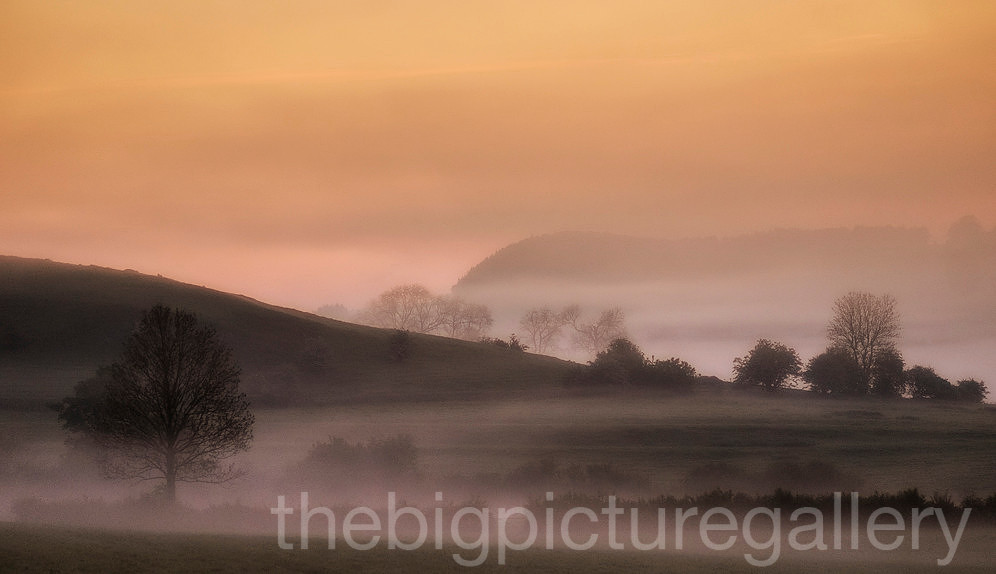
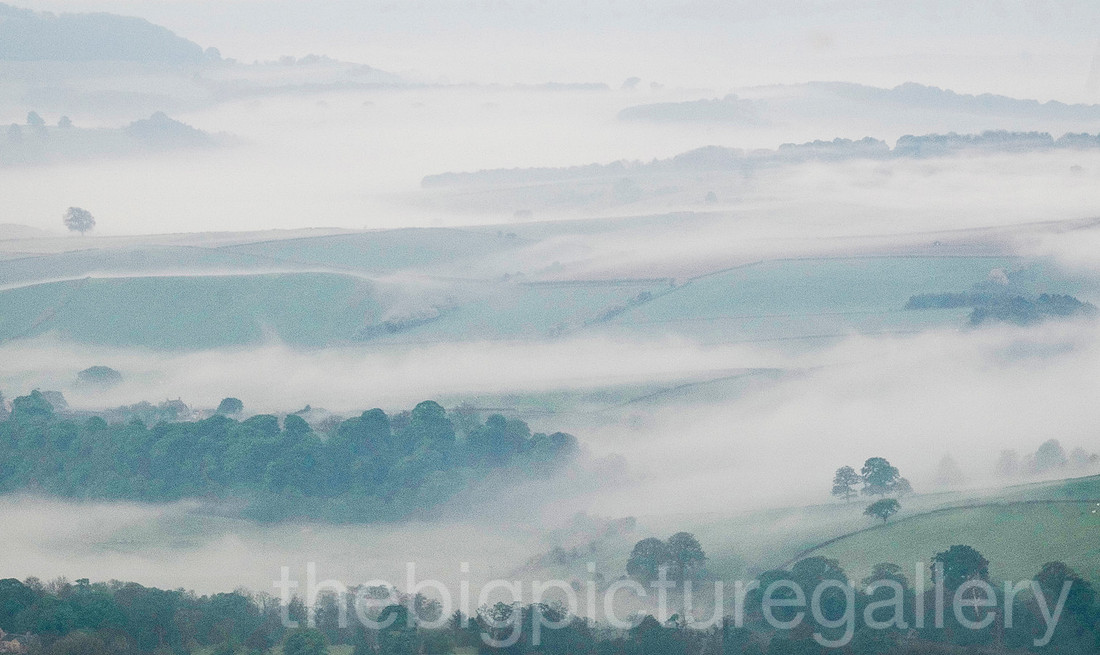
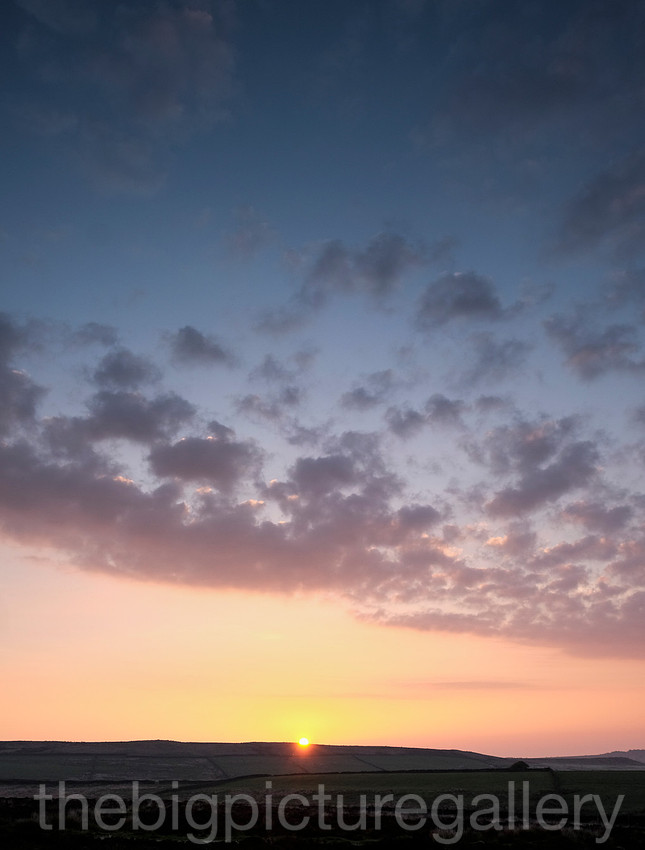
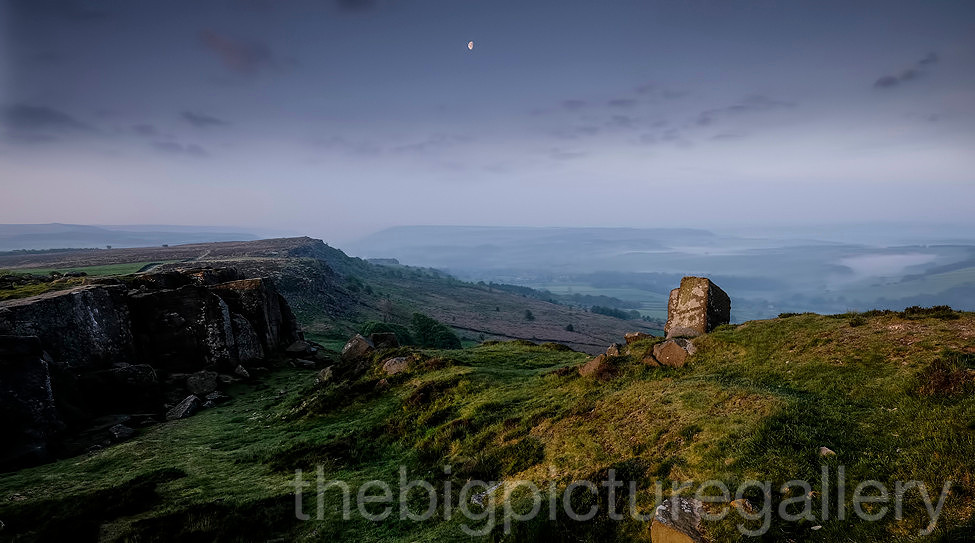
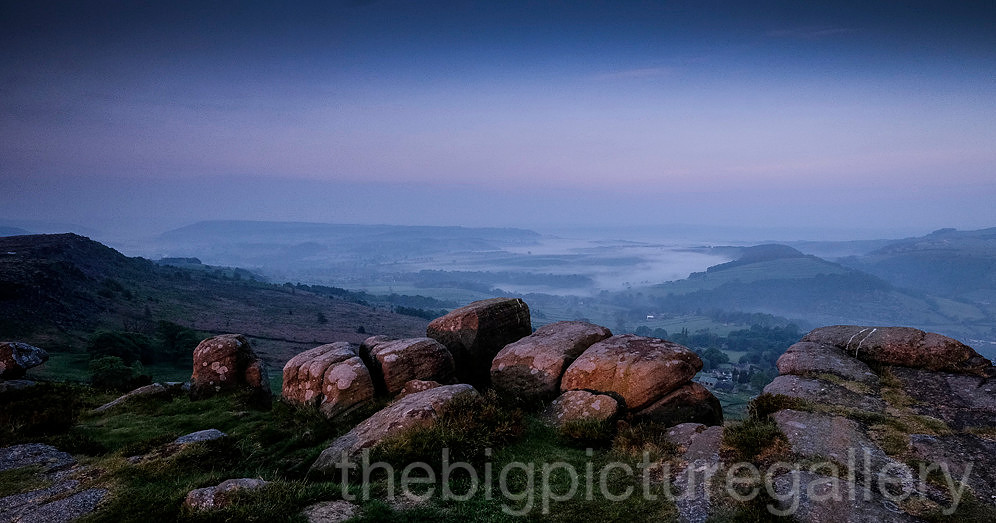
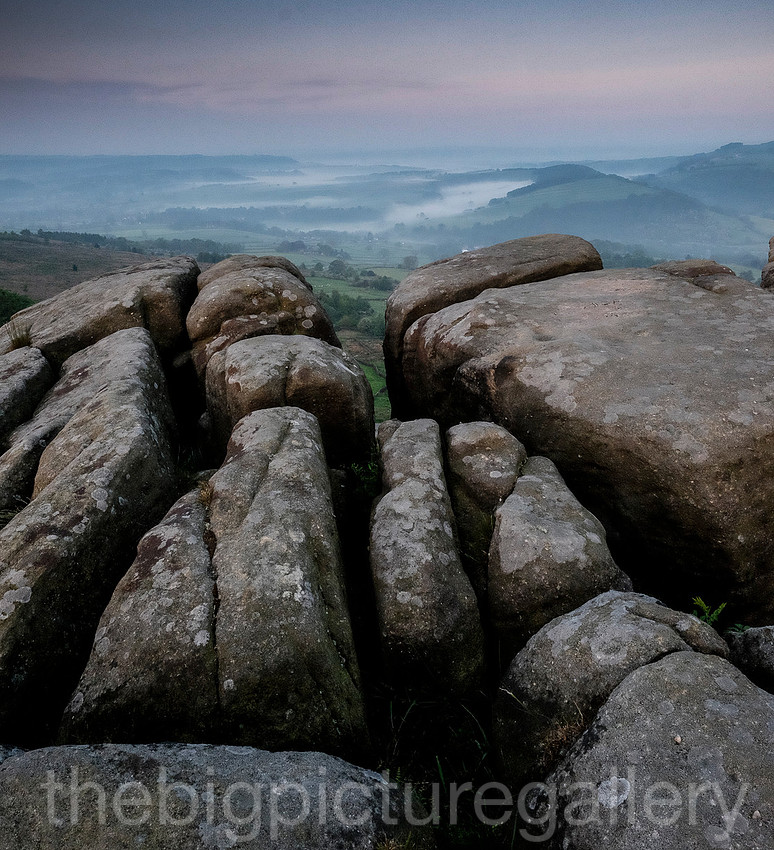
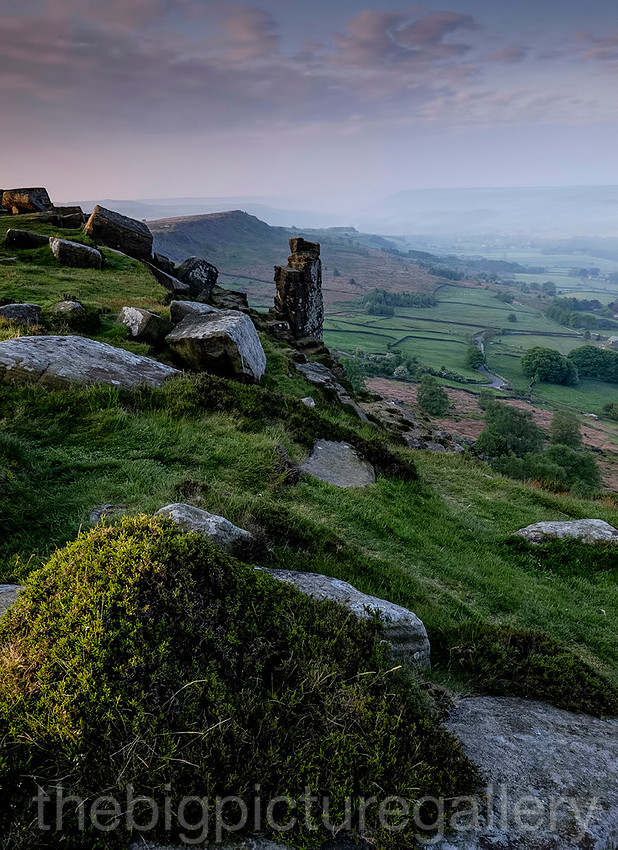
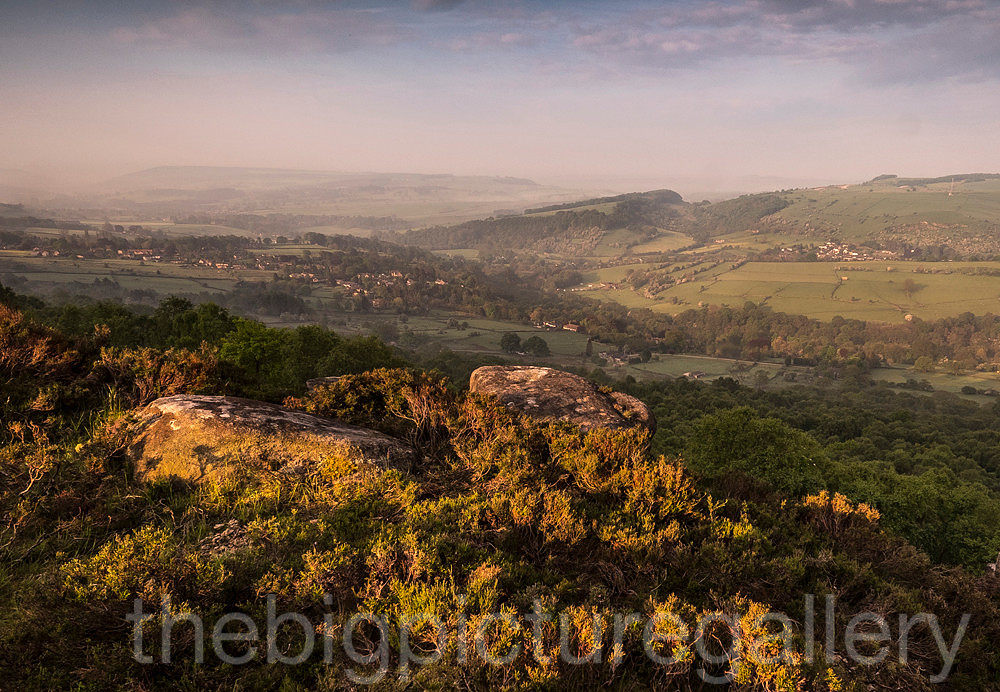
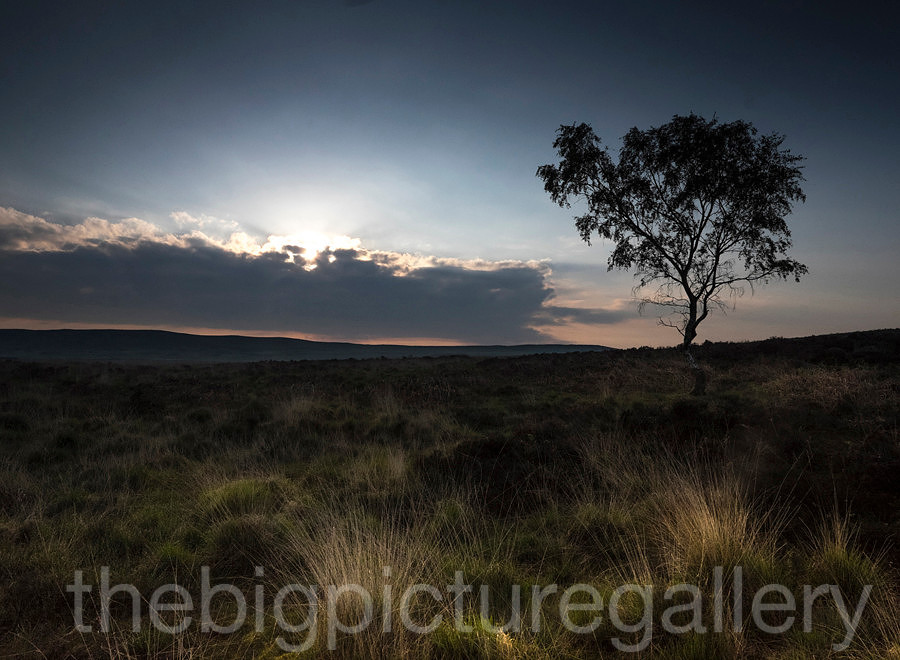
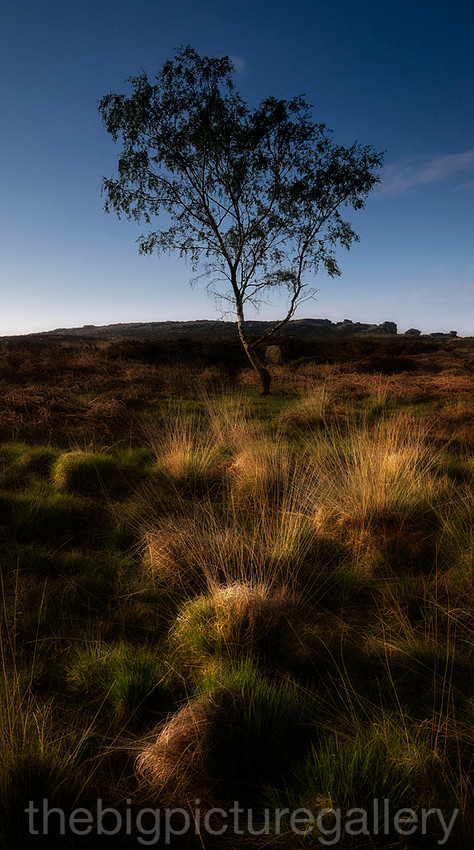
It rained on and off during the drive, even sat in the car in the car park waiting until it stopped, I was still in two minds about spending the evening out on the tops if the weather wasn't going to change. So I set off goretext to the max. After 20 minutes or so the rain stopped and to the west the cloud started to break up, and I was left with the most beautiful light I could ever wish for.
All came good, I was bang on perfect for the right light to be hitting the edge, was fortunate the weather broke when it did. The reward for a 50 mile round trip was to be in some of the best light I have shot in. If I had not bothered and been at home when the weather cleared I would have been going nuts, and possible swore at the cat.
Some of the evenings images, all shot with the Fuji Xt1 and 14mm, I only used the 55-200mm for a few shots.
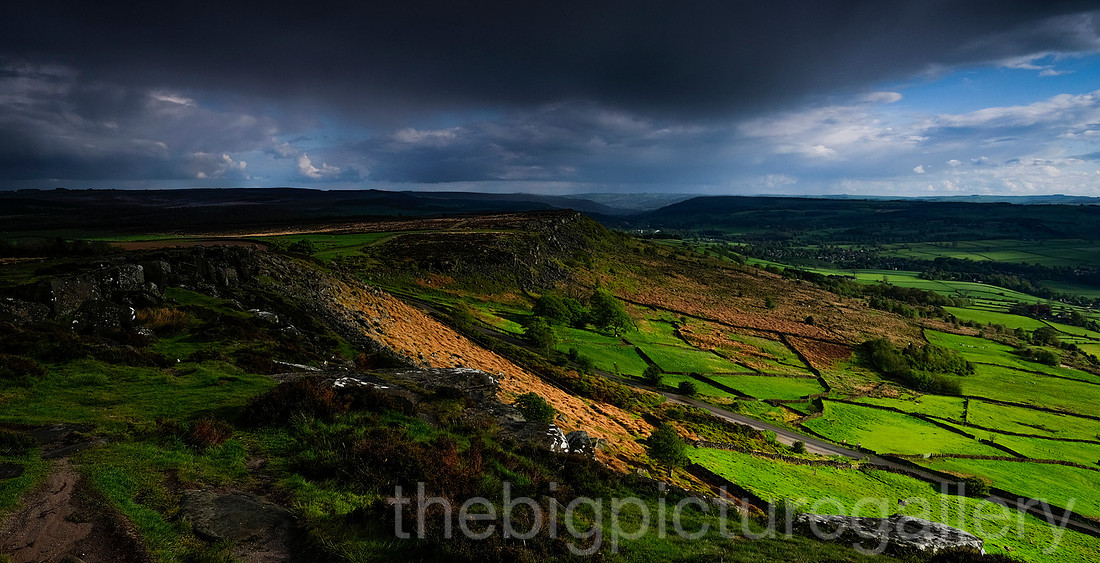
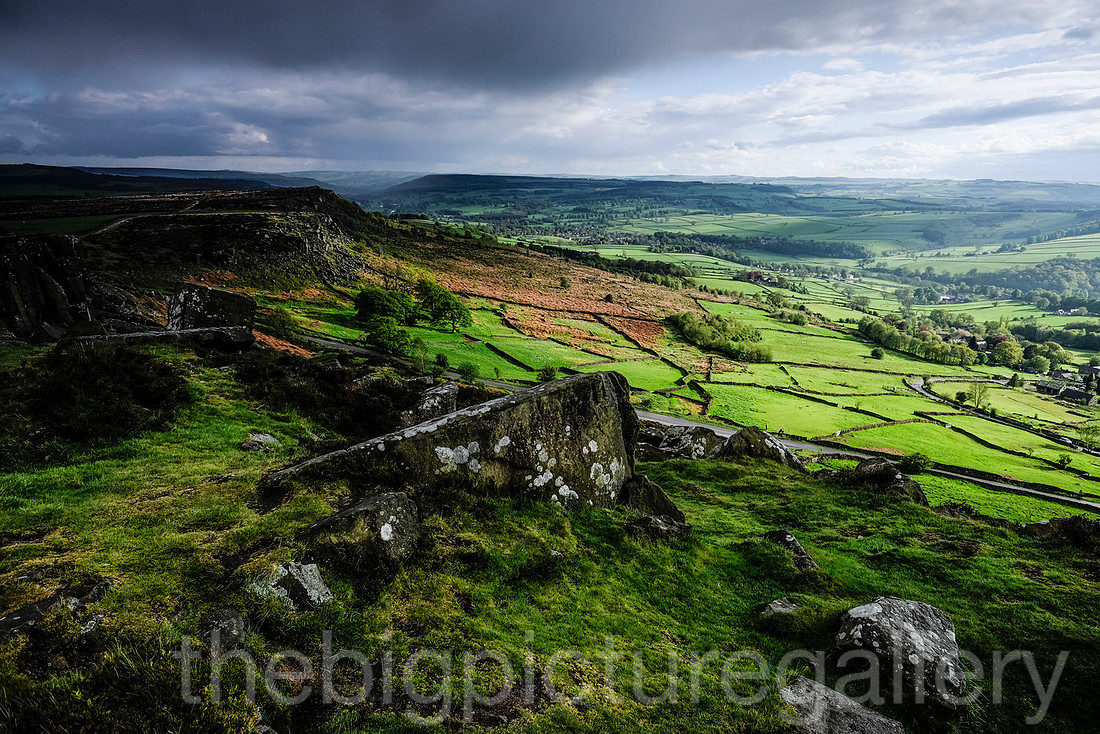
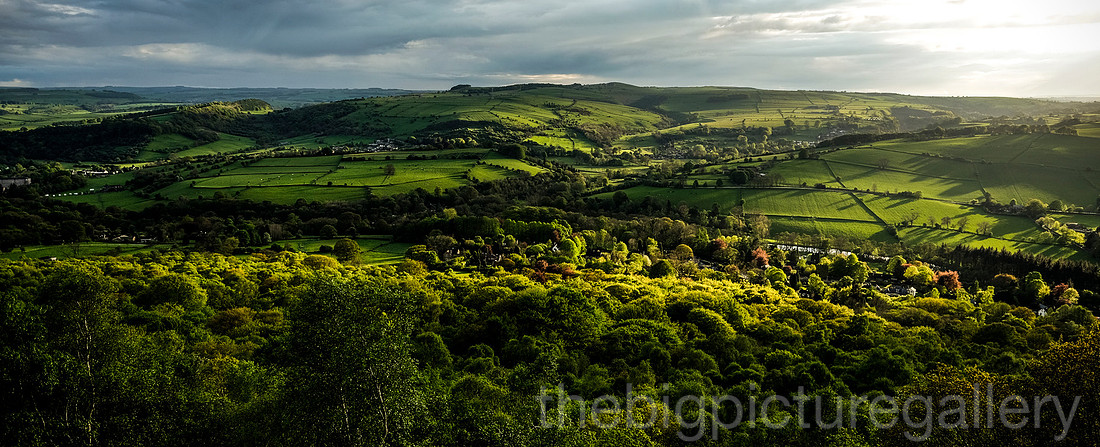
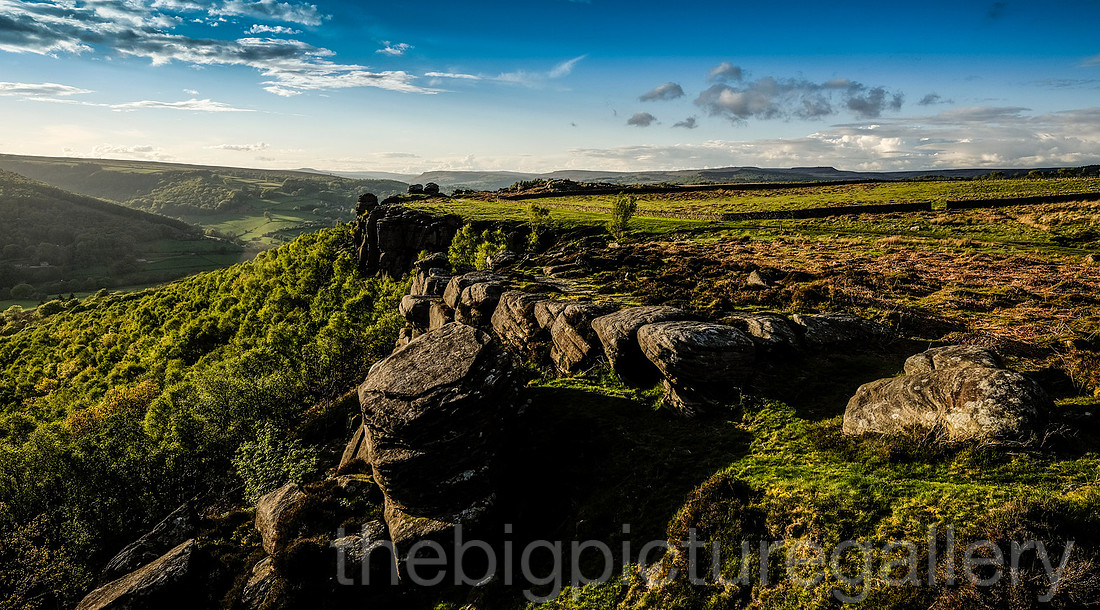
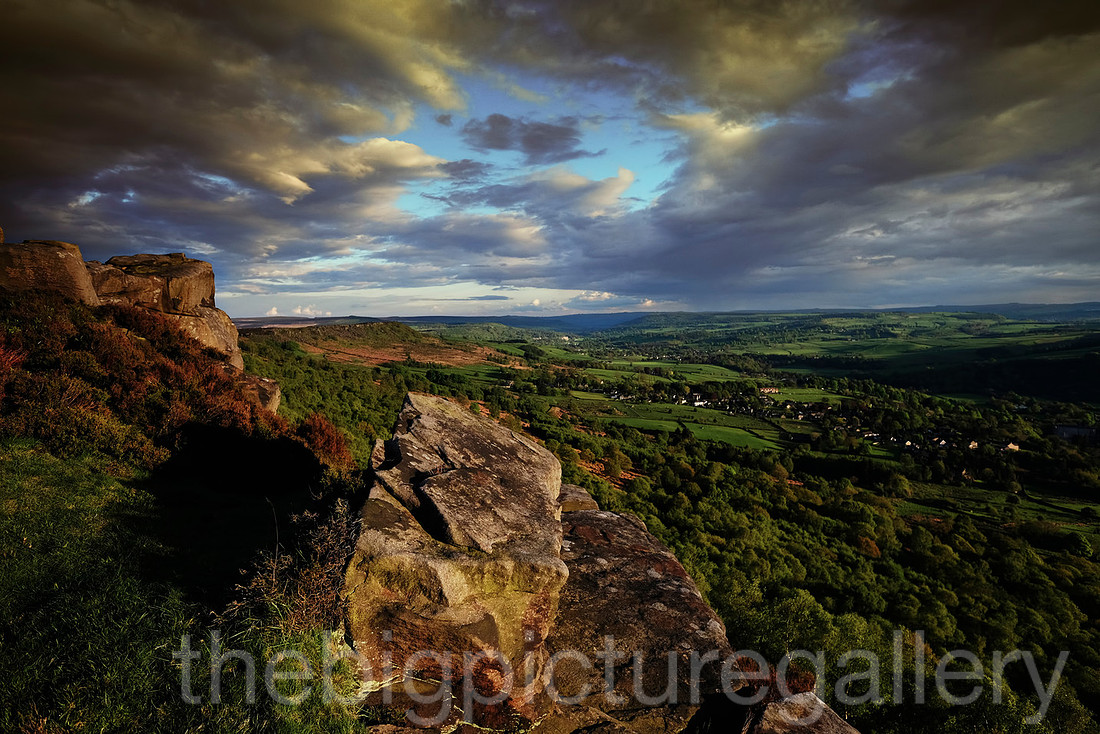
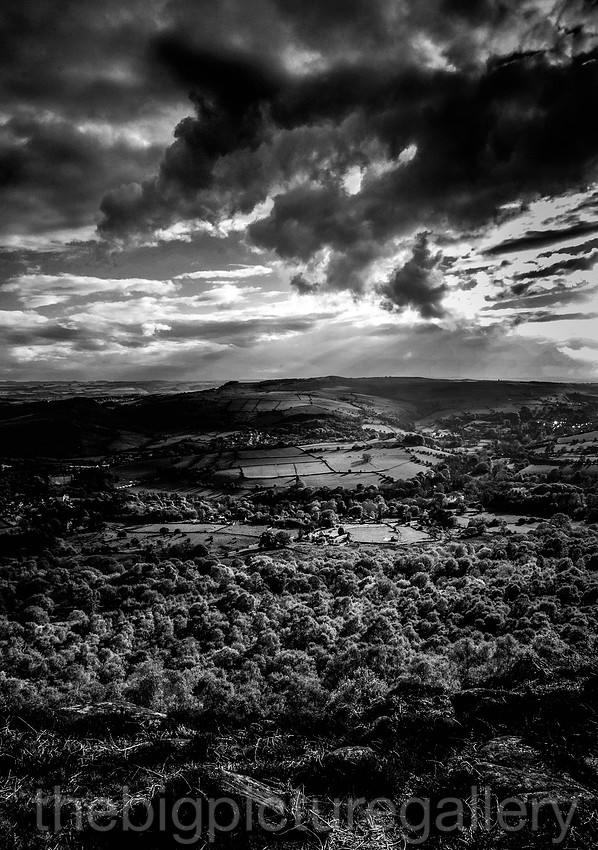
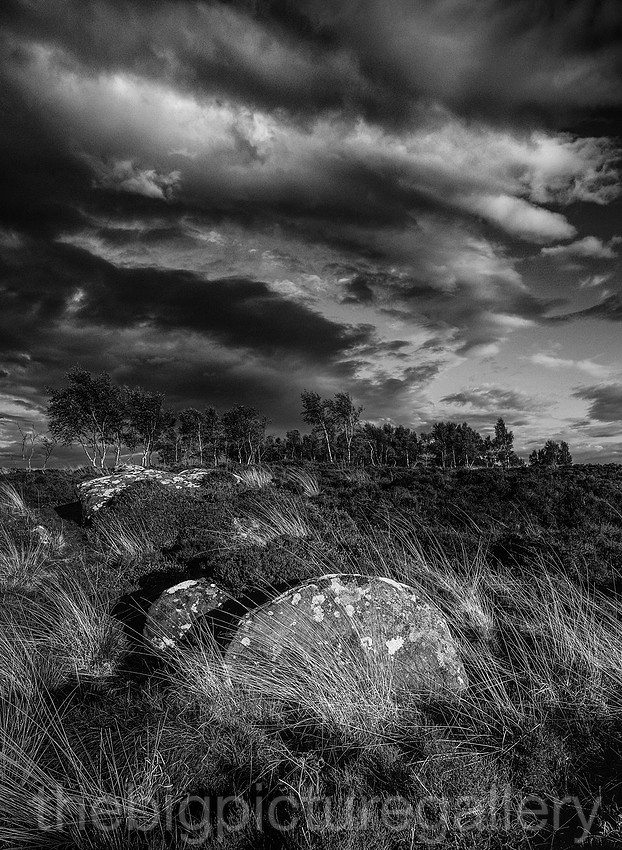
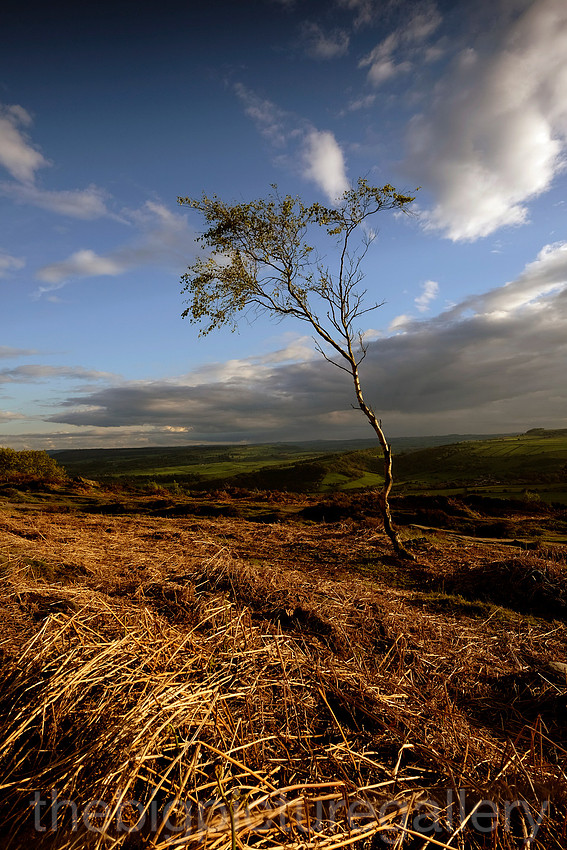
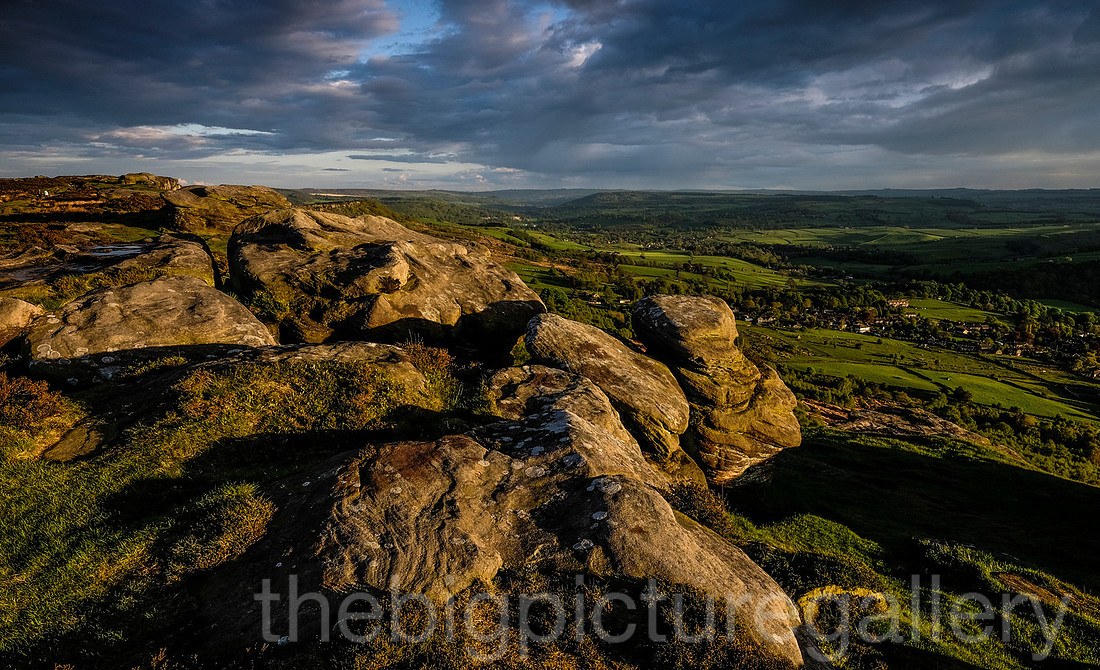
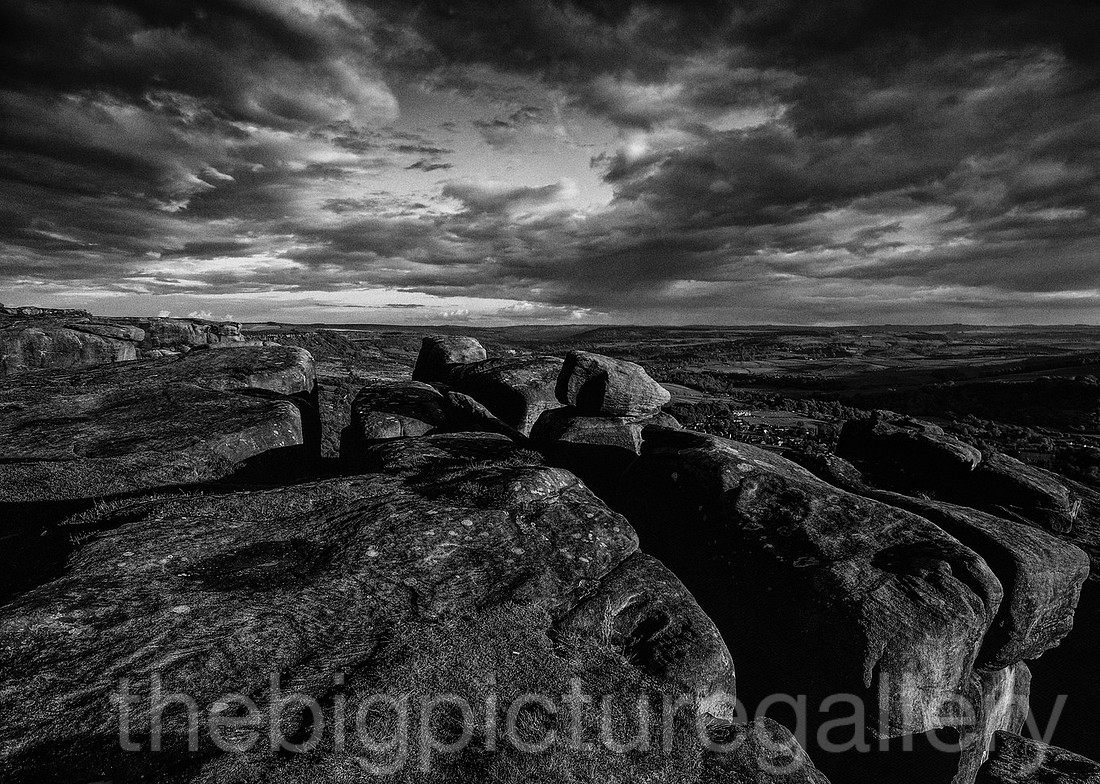
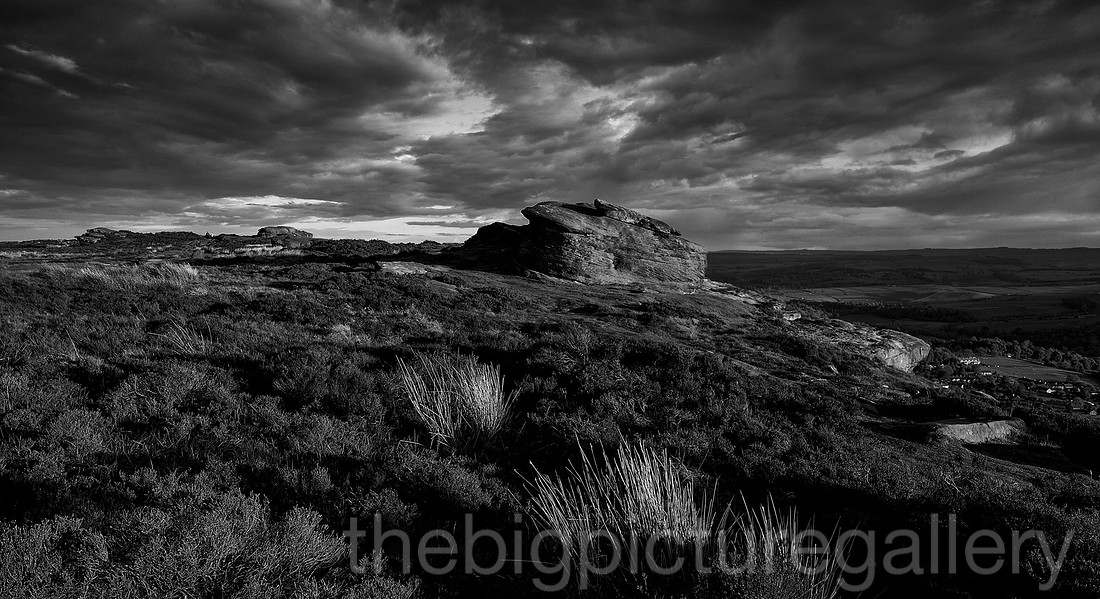
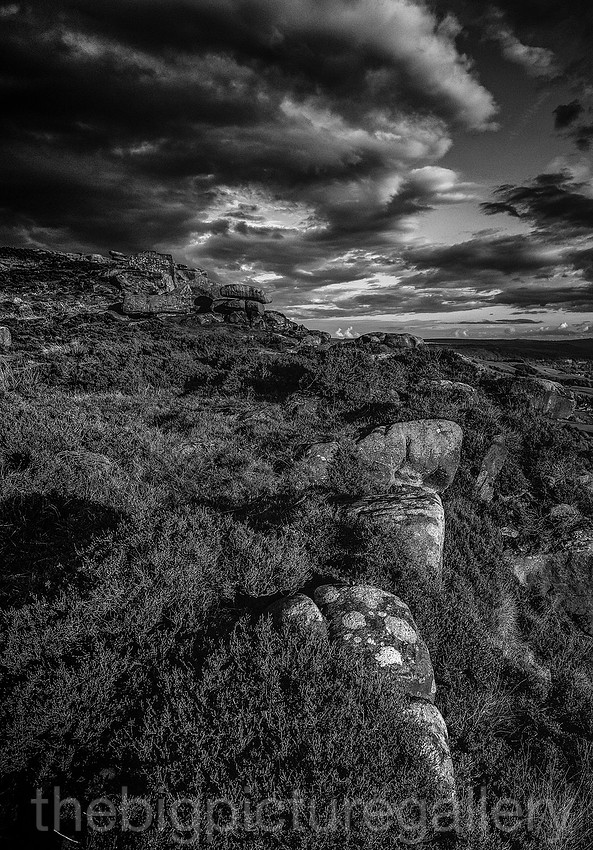
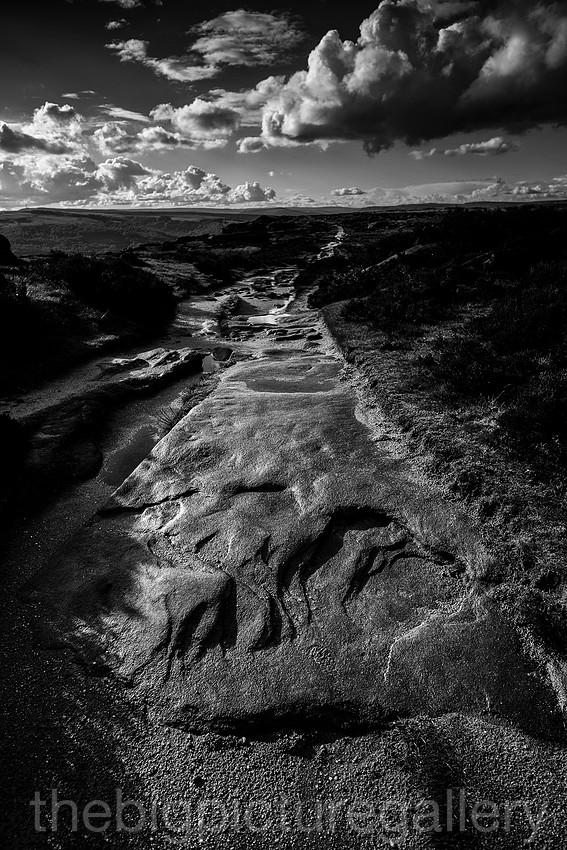
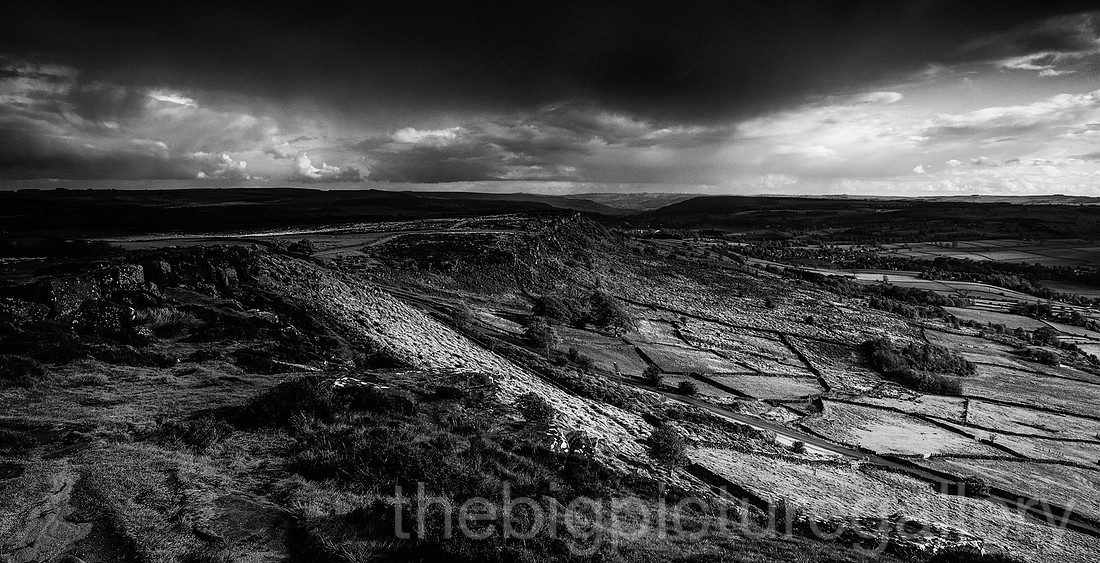
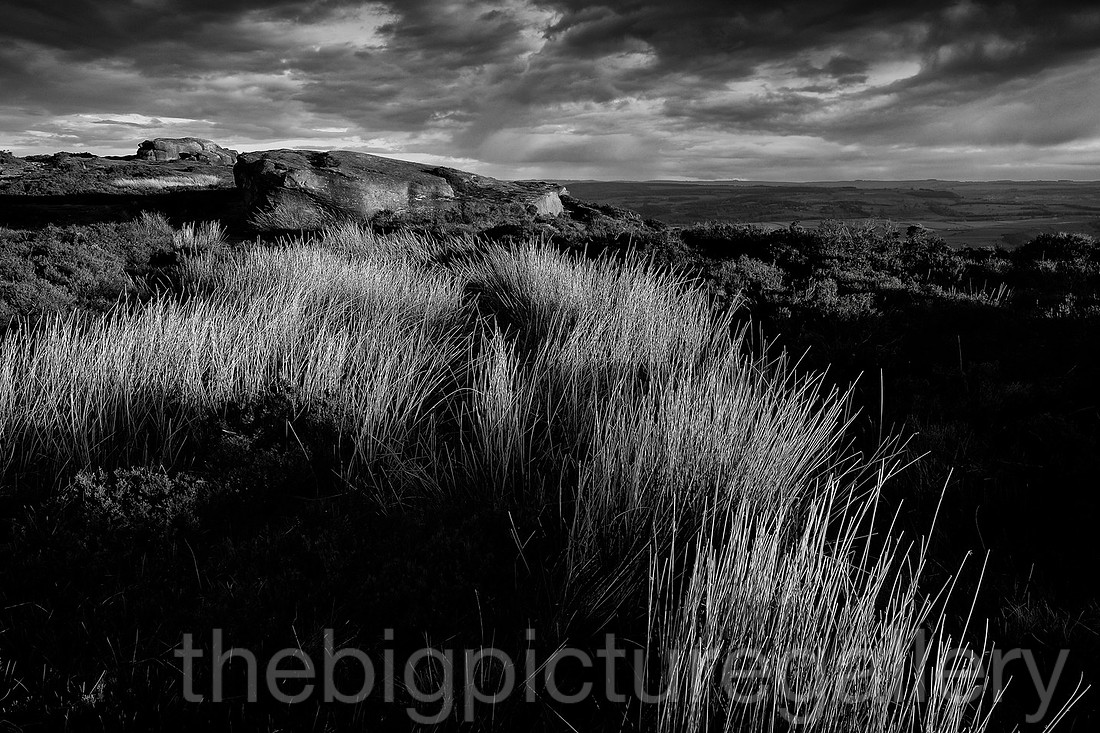
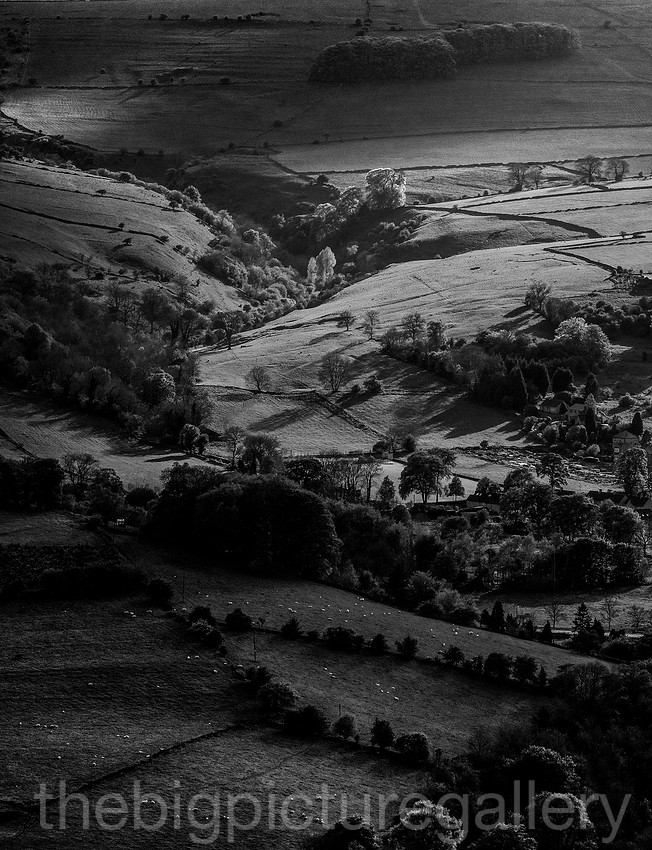
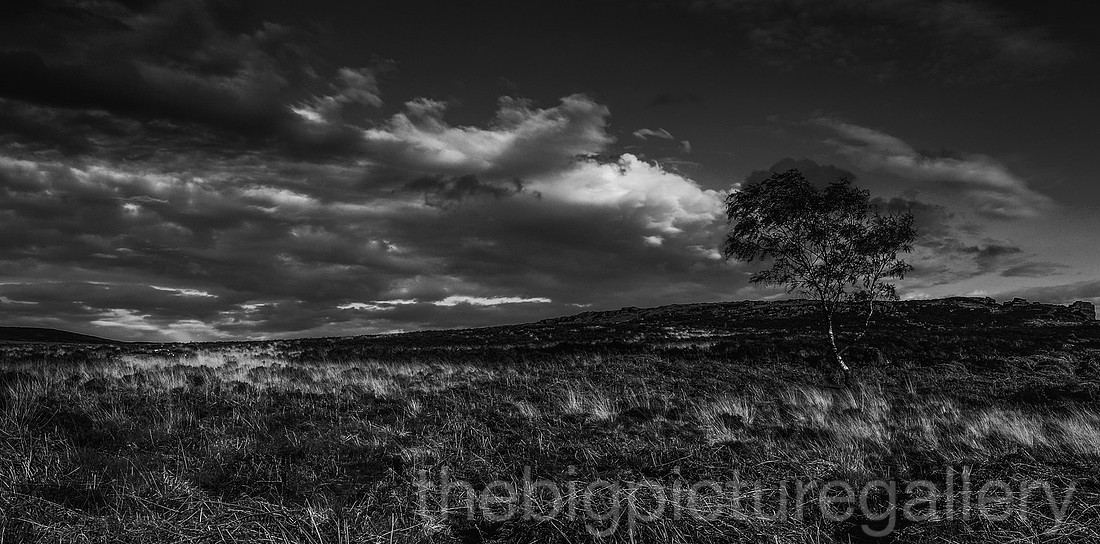
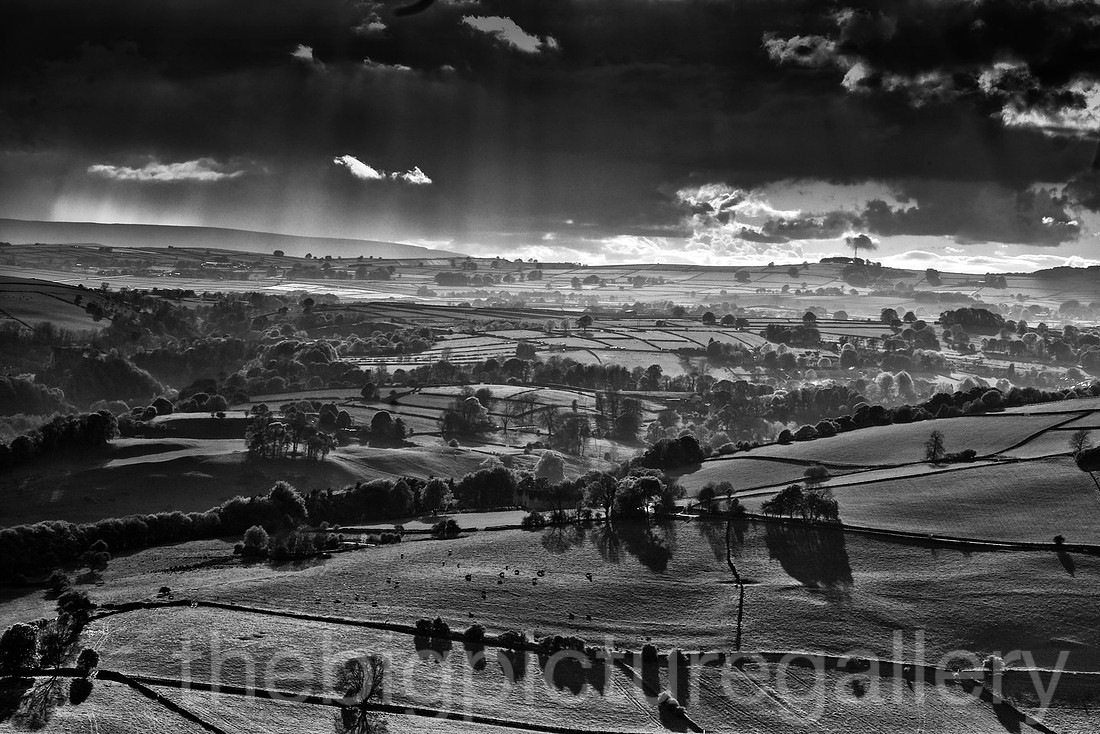
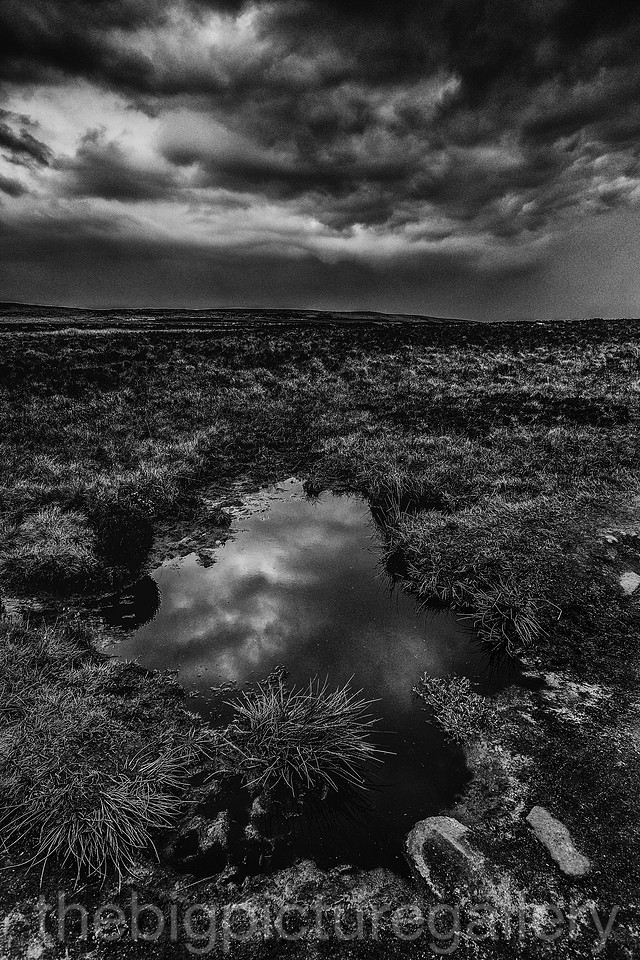
The weather was basically pretty rubbish forecasting low cloud and rain, but hey ho onward and upward as they say. In some ways the weather really helped, the flat landscape intersected by straight drains that are arrow straight for miles was really meloncholy. Spending a few hours there on a grey day really made me appreciate the emptiness. Finished off the day at Hunstanton beach for a latte and ice cream. Brave souls wandered along the shore, as it was bloody baltic. We are a hardy lot. Anyway some images form the day. Fuji Xt1 14mm and 55-200 lenses.
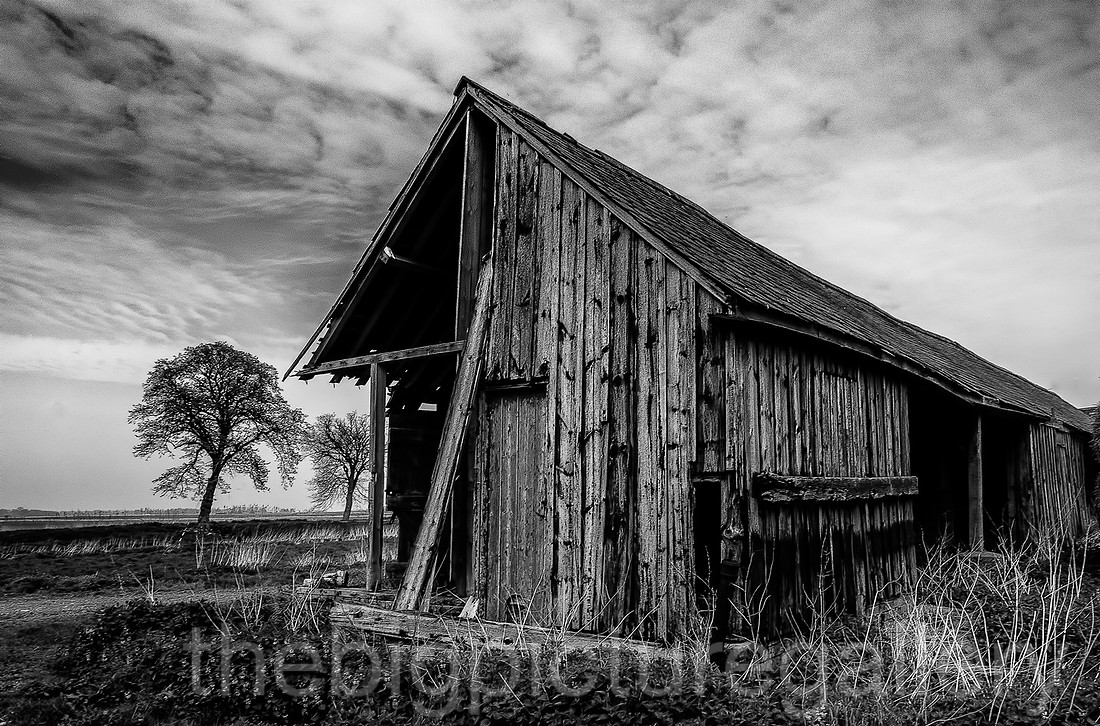
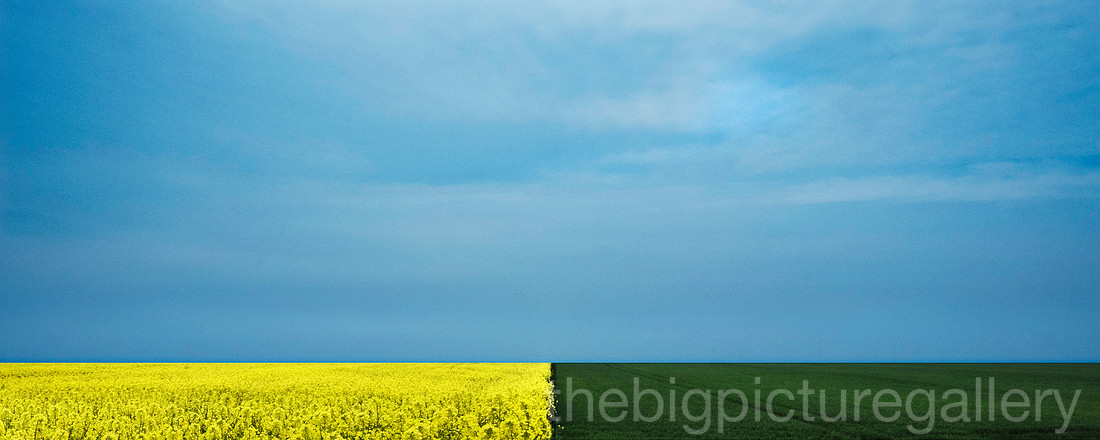
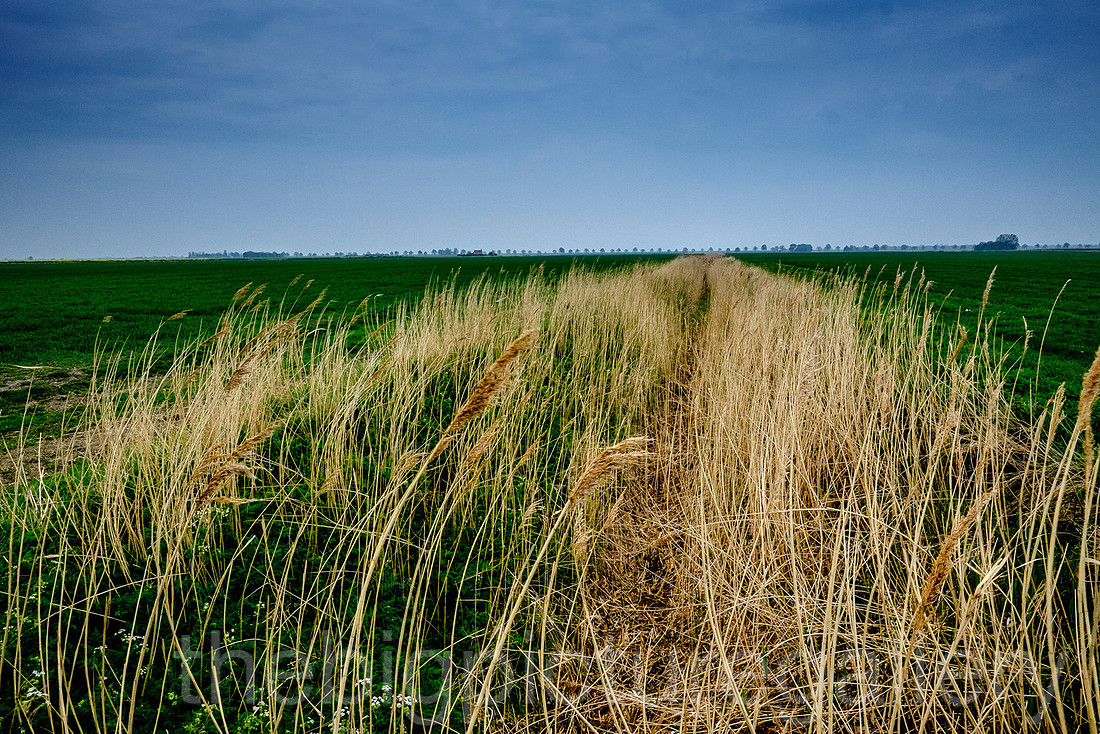
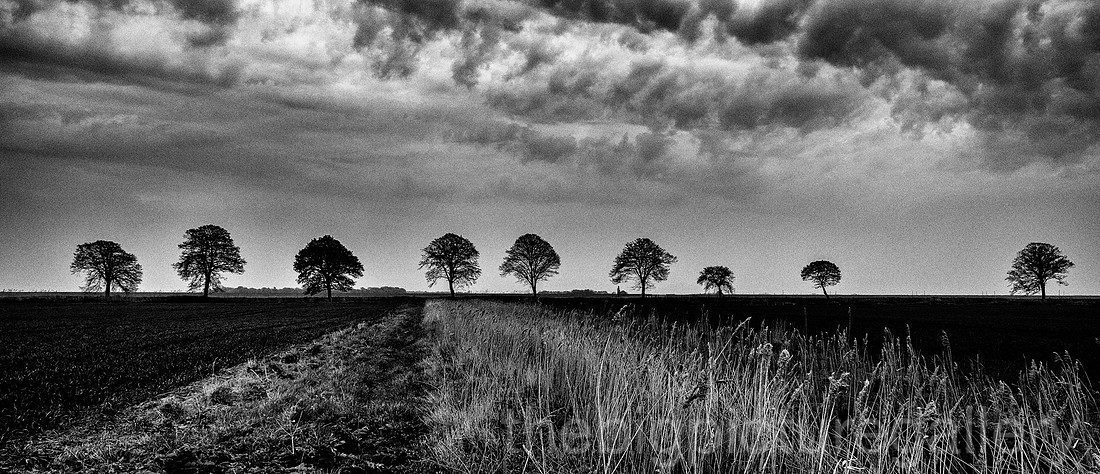
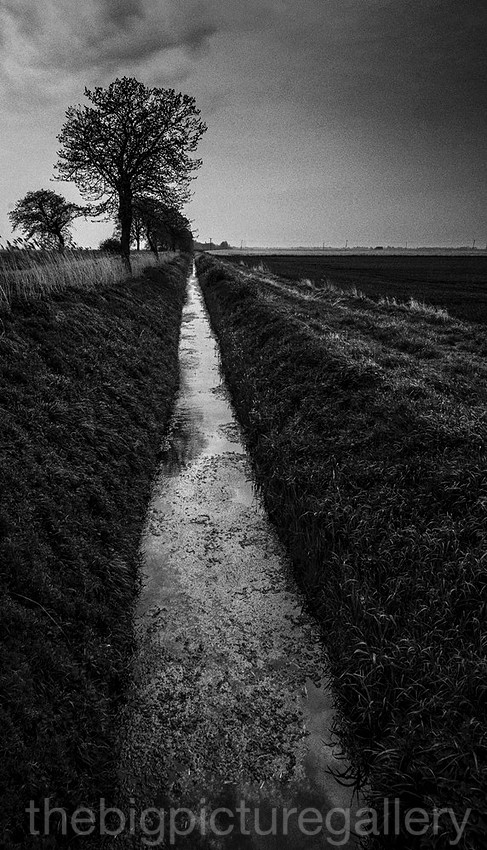
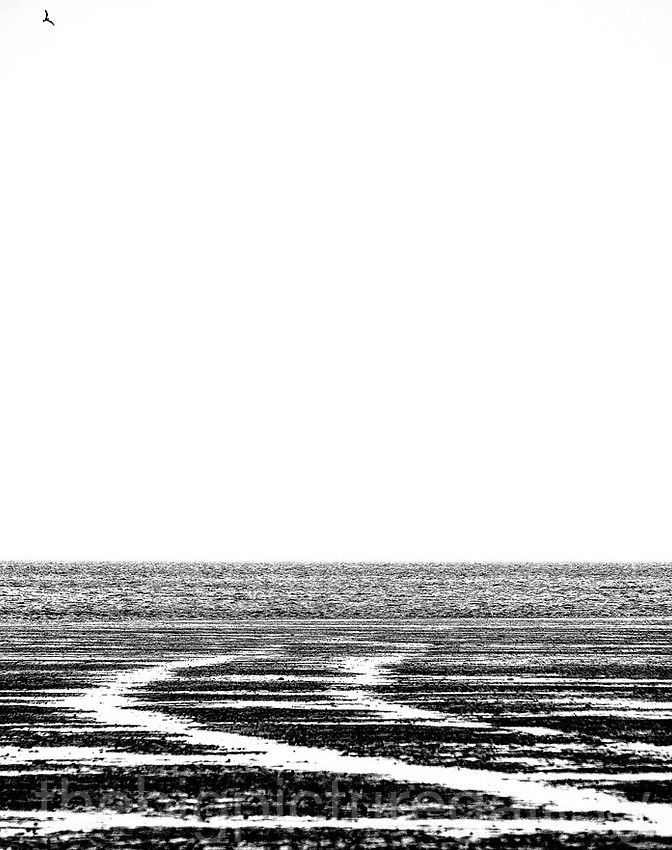
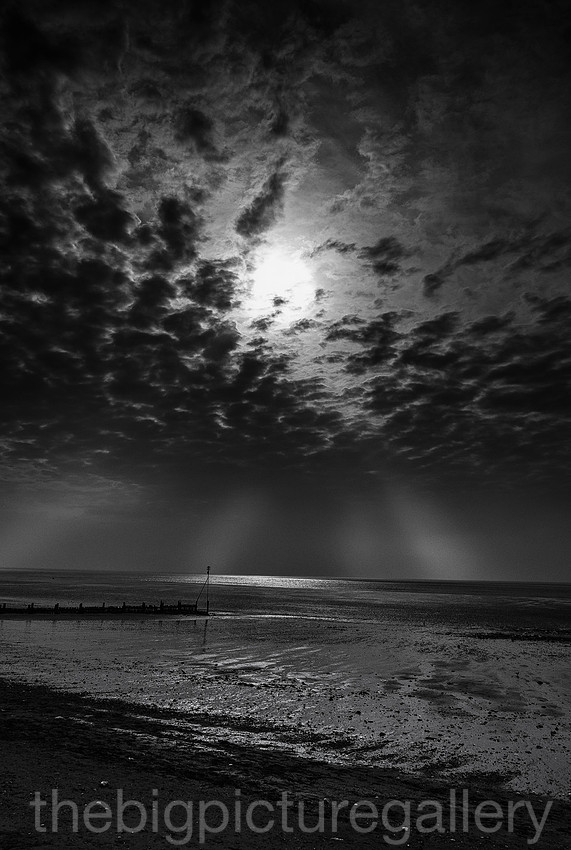
]]>
One of the other problems associated with the Xtrans is the problem with processing the raws. Given that I have been a Lightroom user since day 1, I find my workflow easier by sticking to one system. Given the issues Lightroom and Adobe had in getting decent results from a raw file, to me this just complicated things even more.
So when the new Lightroom update added raw support for the Xt1, I thought i would give raw a try. I have done a simple test compare a raw file processed in Lightroom, with the same profile attached as the jpeg file save with the raw. So my preferred camera profile for Jpeg is Provia, I chose that as my profile for the raw (changed withing Lightroom). I usually shoot slightly under the indicated meter reading as it protects any highlights from blowing.
The settings I used were applied to the Raw and kept the same for the Jpeg.
camera settings were auto ISO and auto WB
No exposure or contrast adjustment in Lightroom, just the following adjustments to the images in the develop panel
Shadows +75 Whites +57 Clarity +34
Sharpening 56 with a radius of 1 detail set at 25.
Here is the first raw file
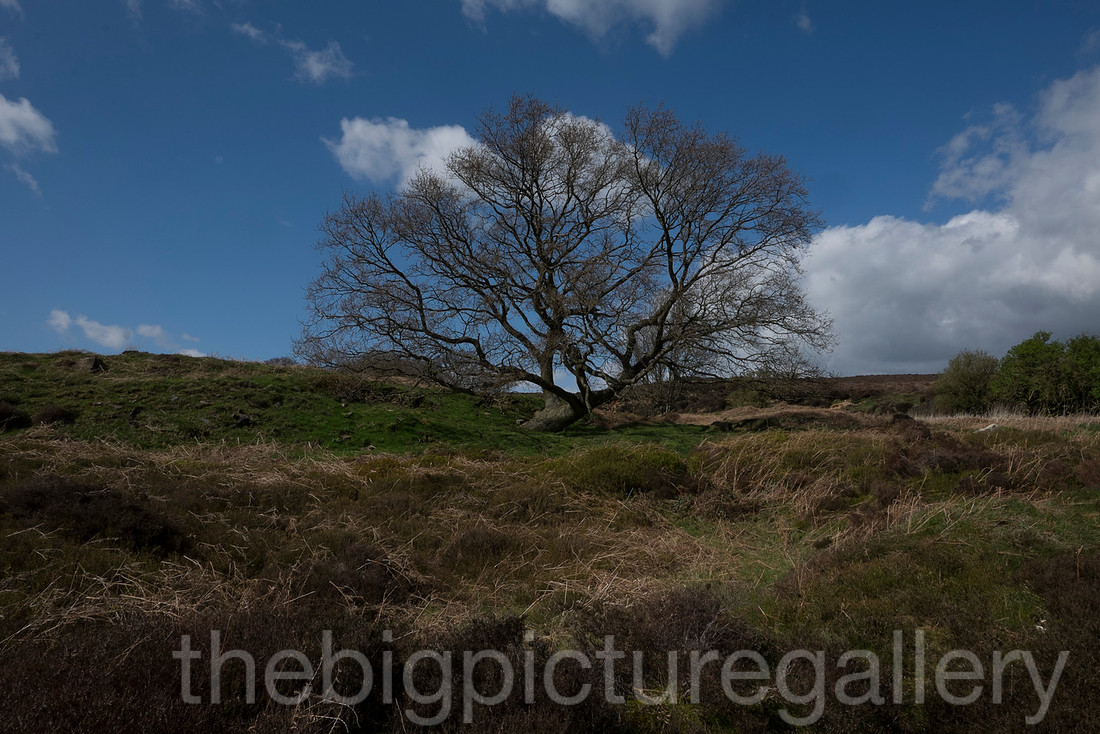
The next file is the processed Raw
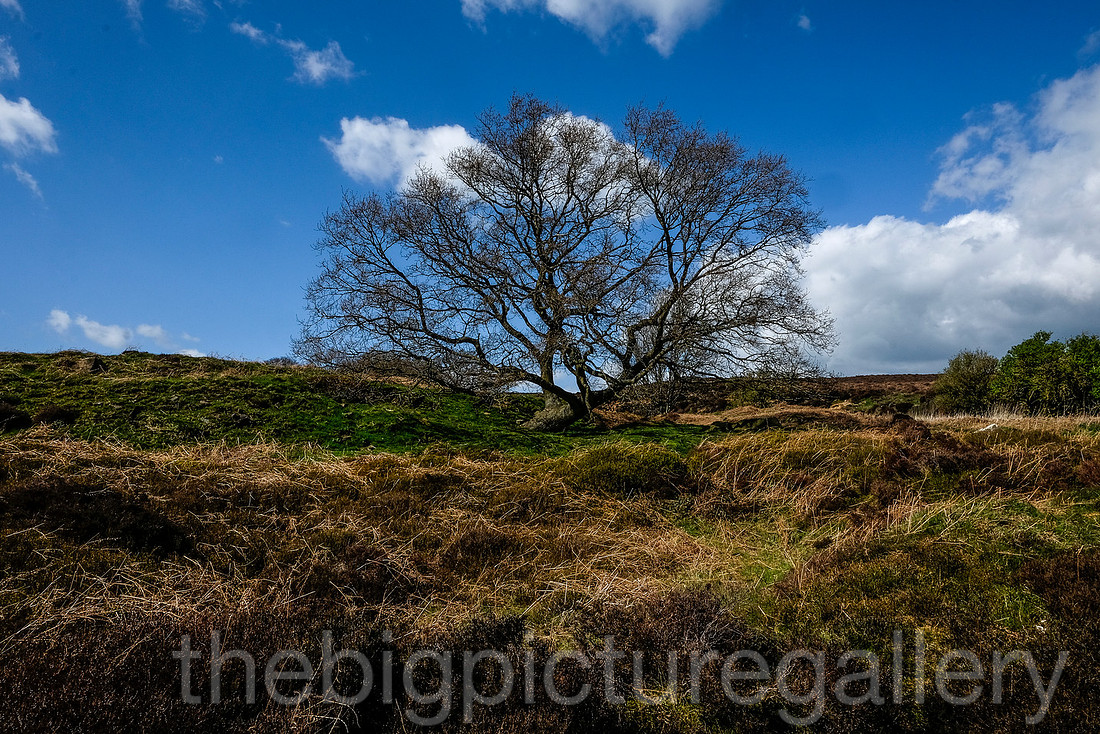
This next is the orginal Jpeg attached to the raw processed in camera using provia film profile
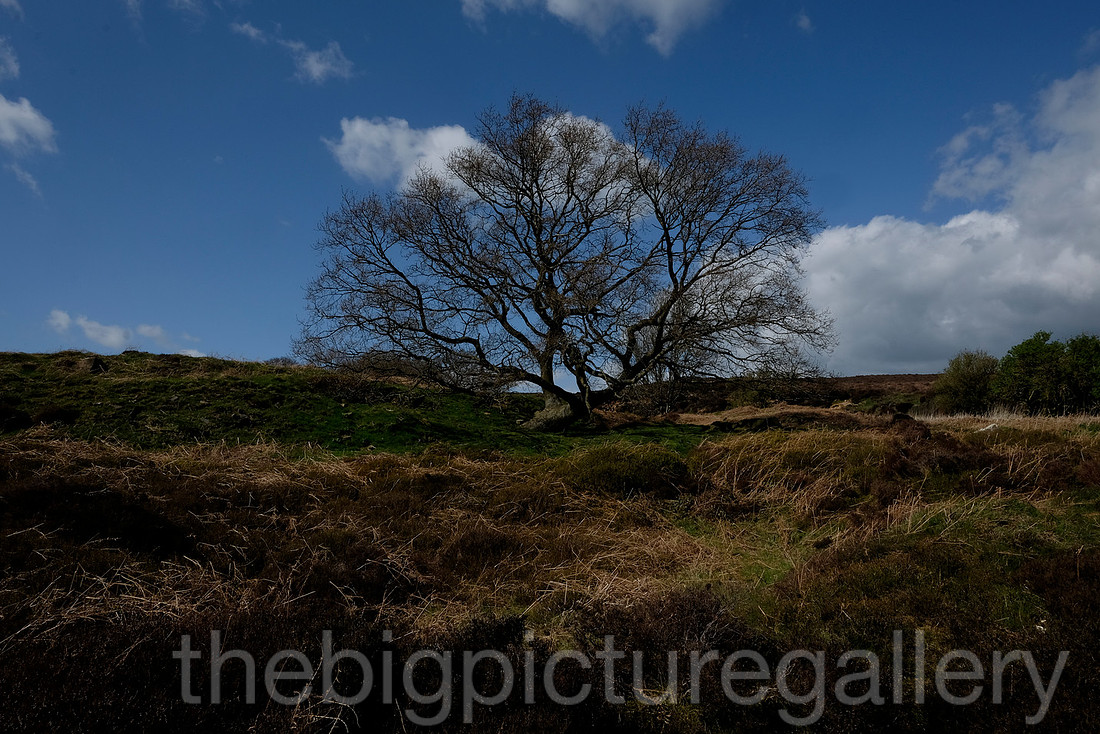
This image is the Jpeg file processed in lightroom
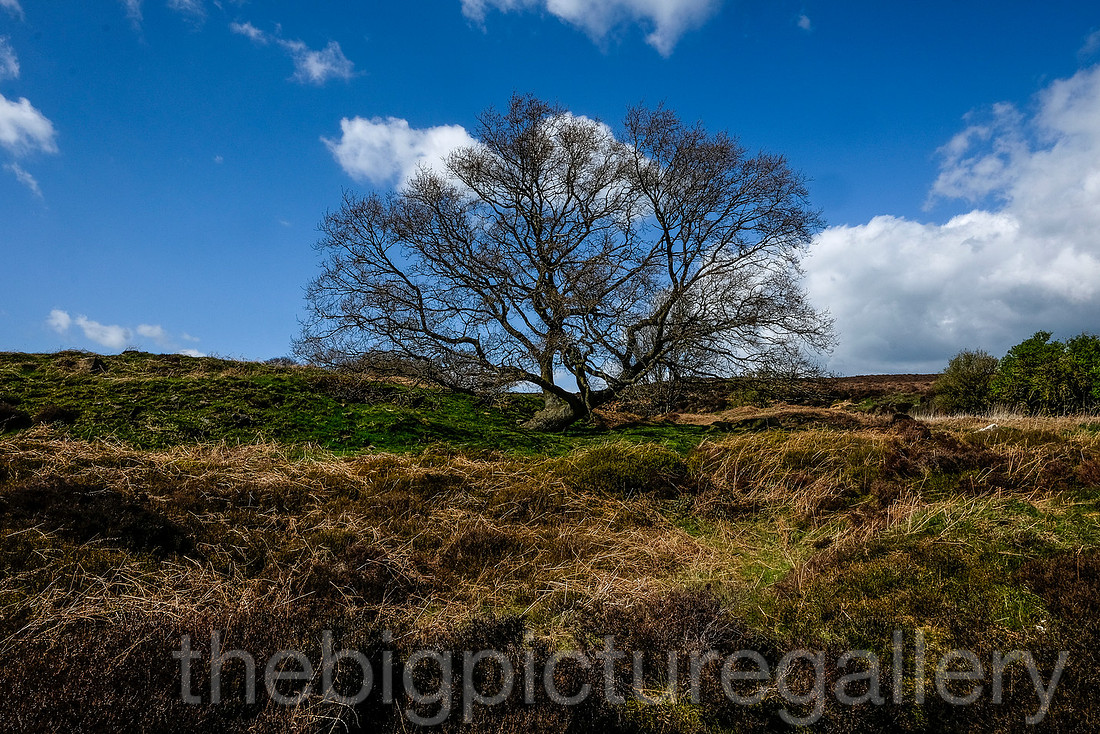
Fuji raw are now well handled when processed within Lightroom each file type printed well, if I were to be really nitpicky, the raw file looks a little smoother, the camera jpeg is sharper, even with in camera sharpen settings at 0 its still pretty sharp straight out the can.
Fuji raws take up more space, and consequently take longer to process and load. Bear that in mind if you've just shot 500 images.
The film profiles are easy to apply in lightroom, i found the monochrome profiles to be very nice, my preferred chocie for creating mono files is using the Silver fx conversion software, but I like the smoother tonal gradients in the raws, sometimes in Silver fx you can get some banding issues.
My point about raw-v- jpeg debate is that photographers should concentrate on taking a correctly exposed picture first and foremost, and should not rely on raw to save your bacon. Now that I have looked at the raw processing using Lightroom, I am now confident to shoot in either. I have not compared raw processing using capture one, or photo ninja as tbh I like my workflow being simplified within one programme, not several.
I am happy to continue using jpeg, from a quality point of view I feel its now simply too close a call to say one is more superior than another. However if you are in a difficult lighting situation I would change to raw, with the confidence that using the latest Lightroom update, it handles raw conversions very well.
Please bear in mind this is just my opinion using Lightroom to process a raw file, it was not shot as a definitive test, really just did it for me to form my own opinion. I have not used either Capture One or any other software so cannot comment on how it handles.
]]>
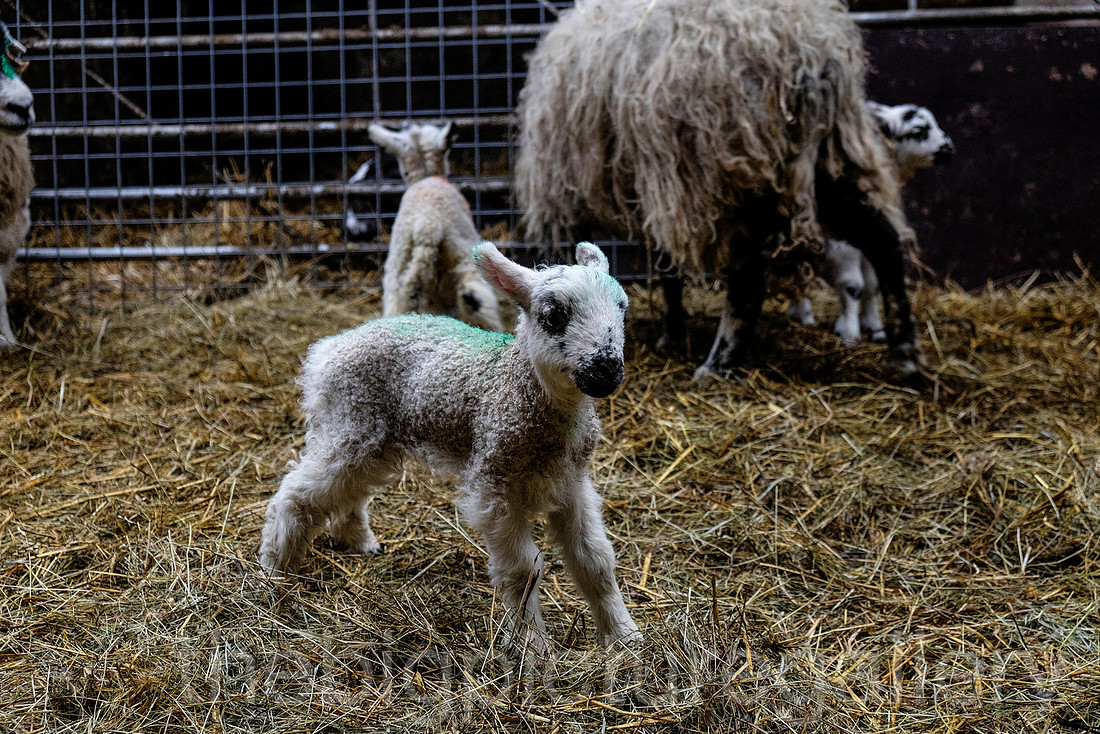
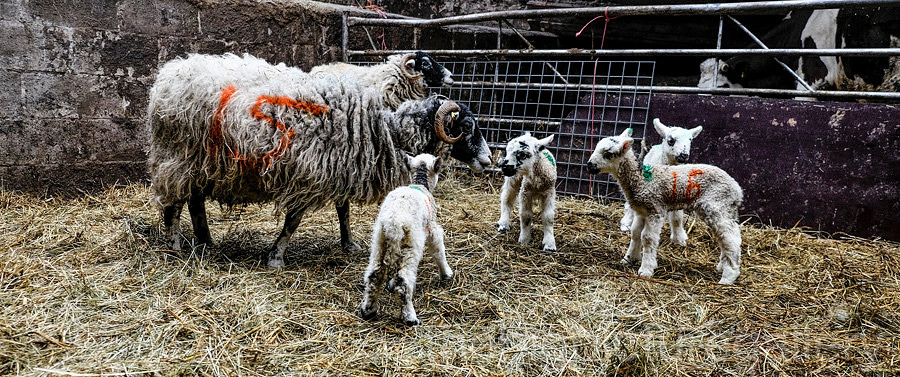
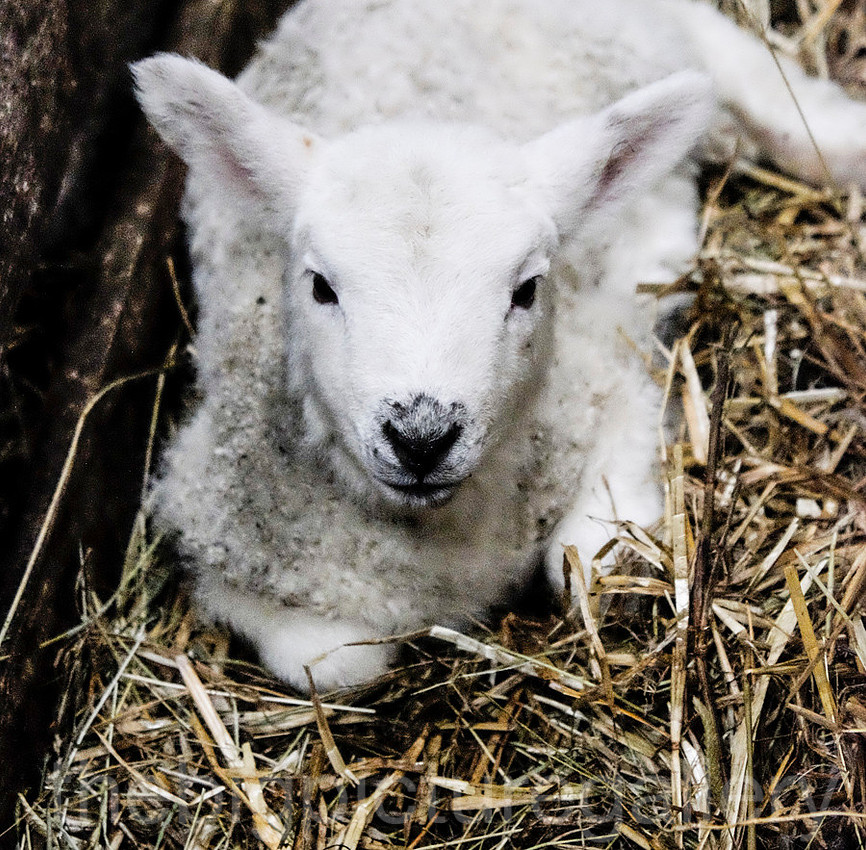
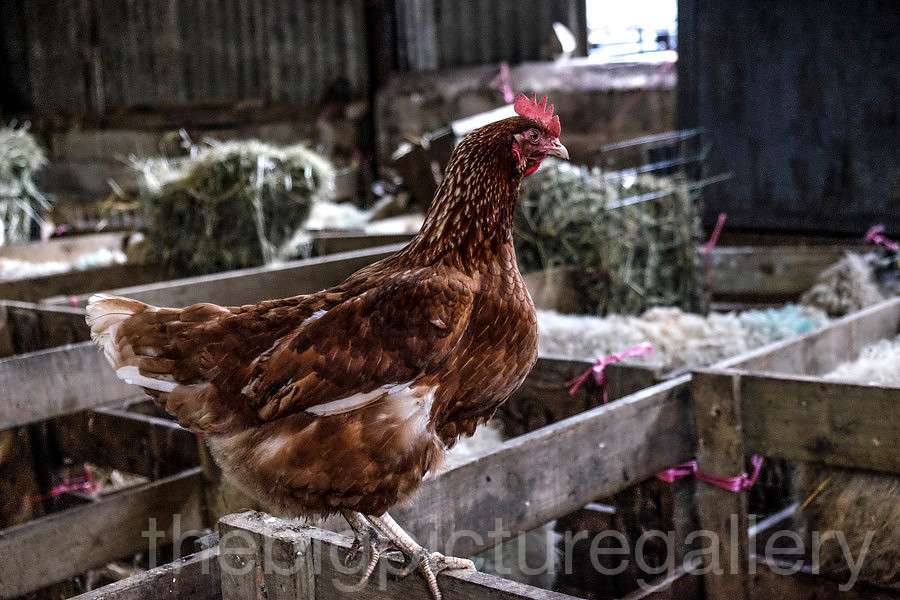
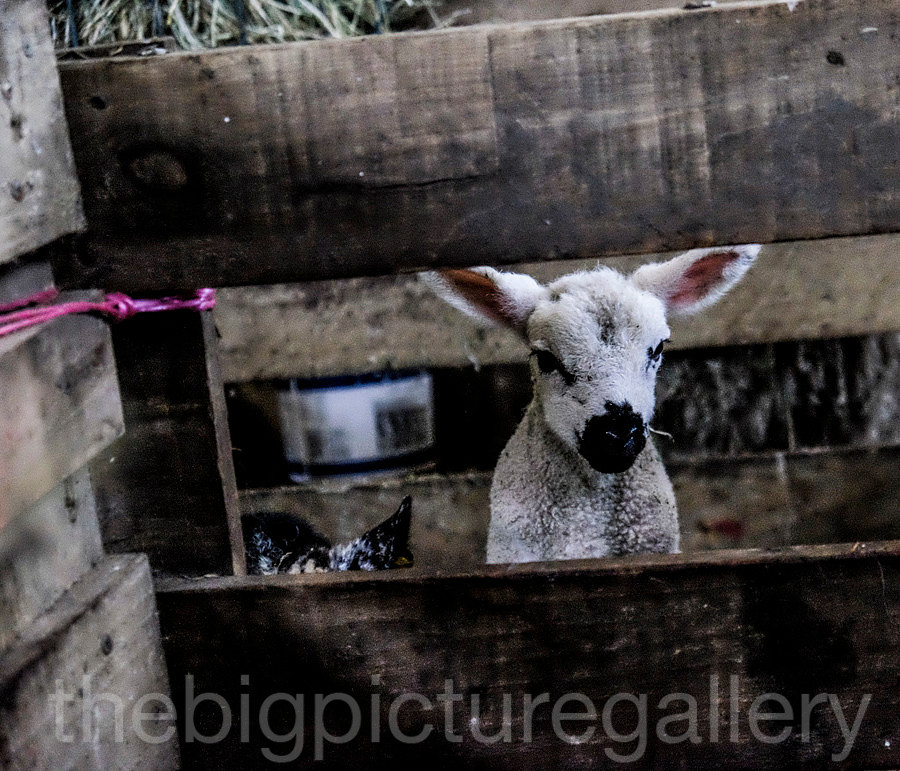
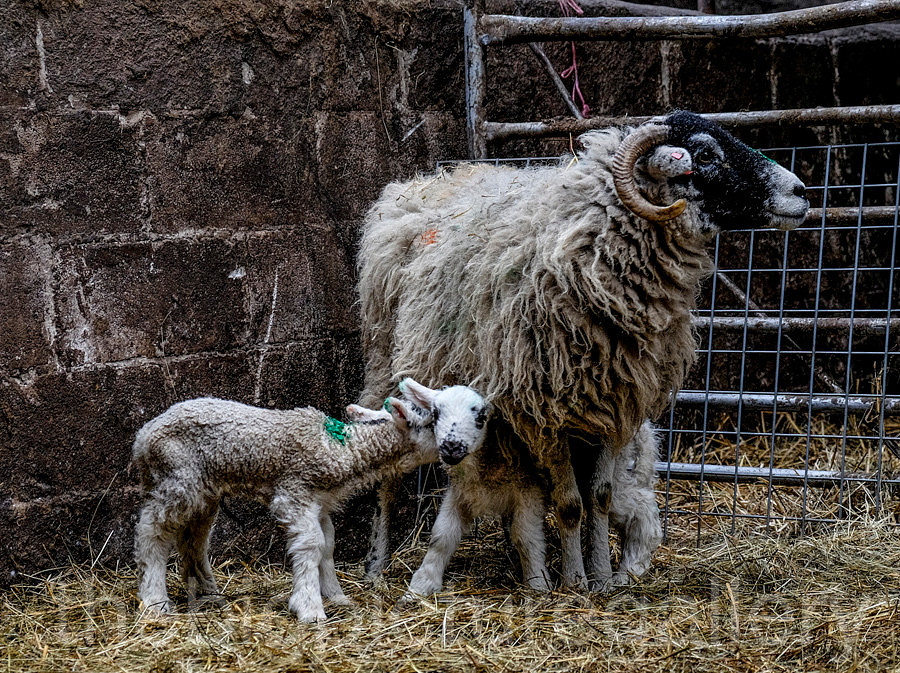
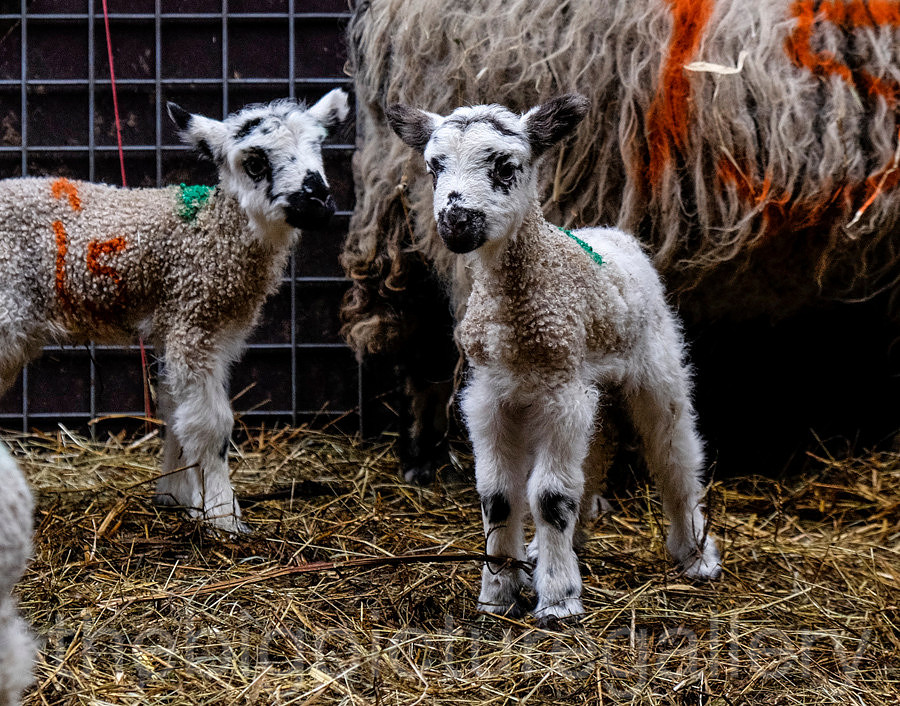
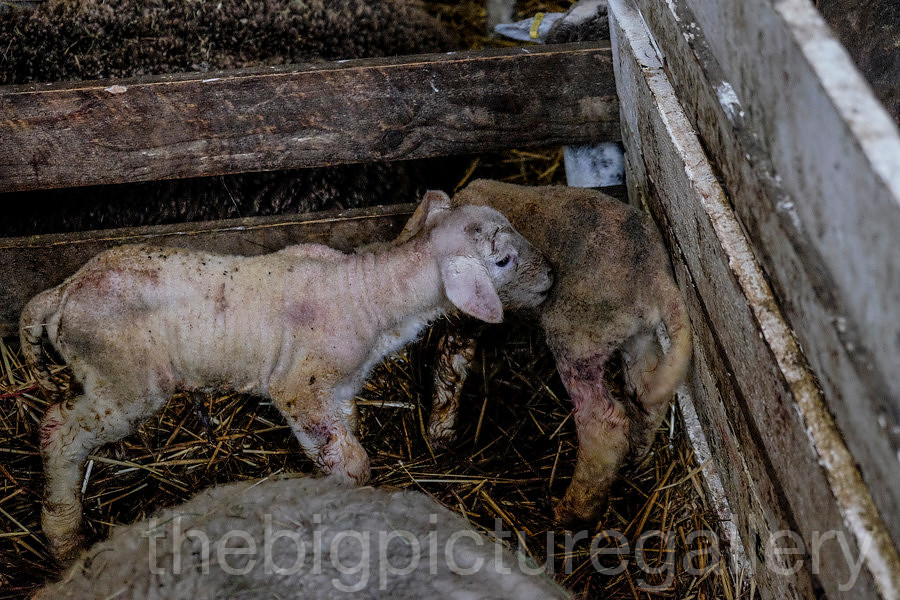
The settings I used were
Capture rate set to CH/Auto ISO/ AF set to release priority/ Focus mode set to AFC/Face detect off/High performance off.
Fortunately for me I chose a place where flying bird action is pretty constant throughout the day. A pair of Greylag geese spotted some feeding going on and flew across the lake for a look. Using the 55-200 zoom I aquired focus and hit the shutter, I shot 10 frames in total and only the last 2 frames showed oof, due to losing focus as the birds dropped into the water. Pretty amazed at this set, given the 55-200 is not the easiest lens to work with. The tracking works a treat. It was fortunate I guess that the 2 birds stayed at a similar distance to each other. Hope you find some interest in this wee test.
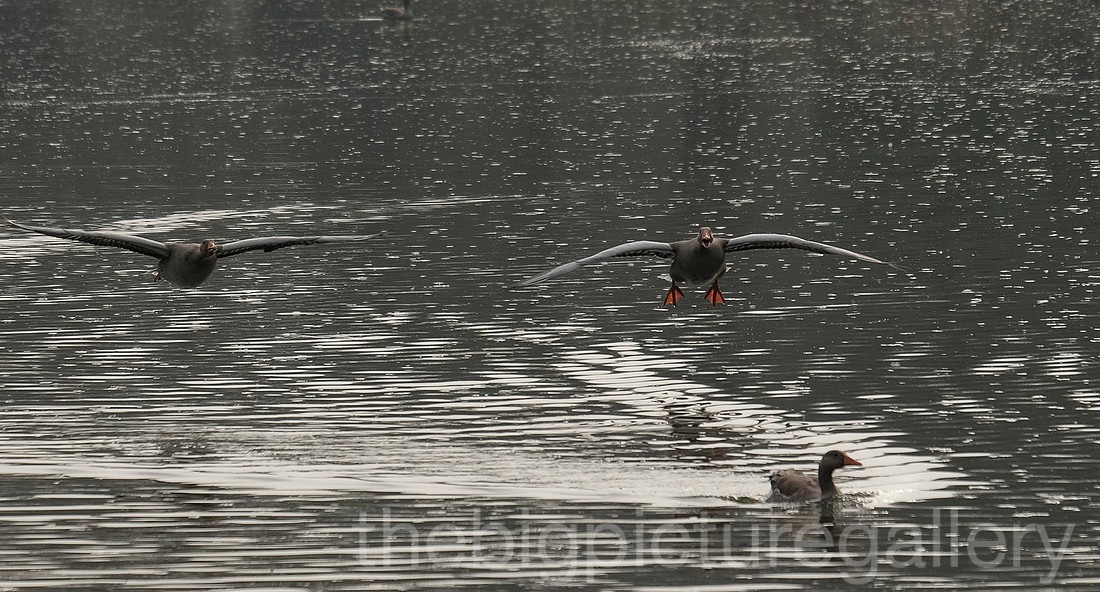
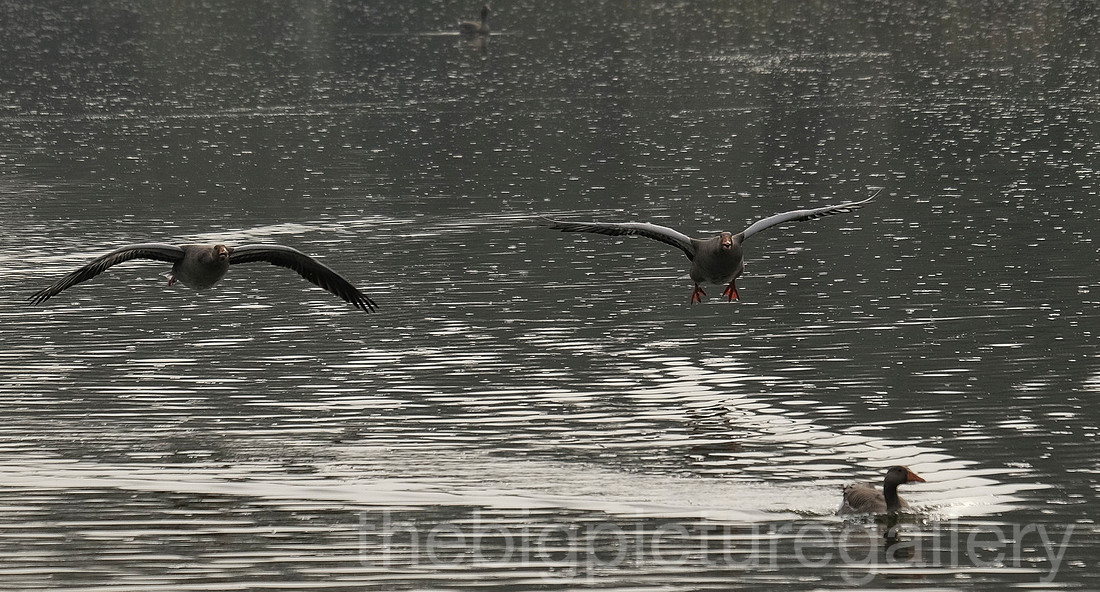
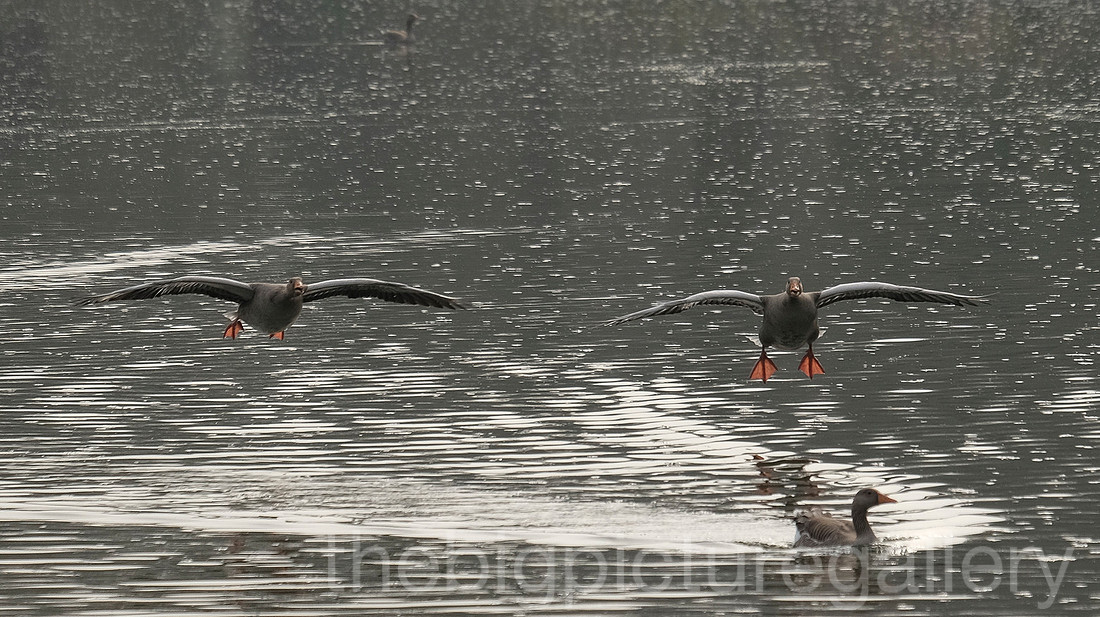
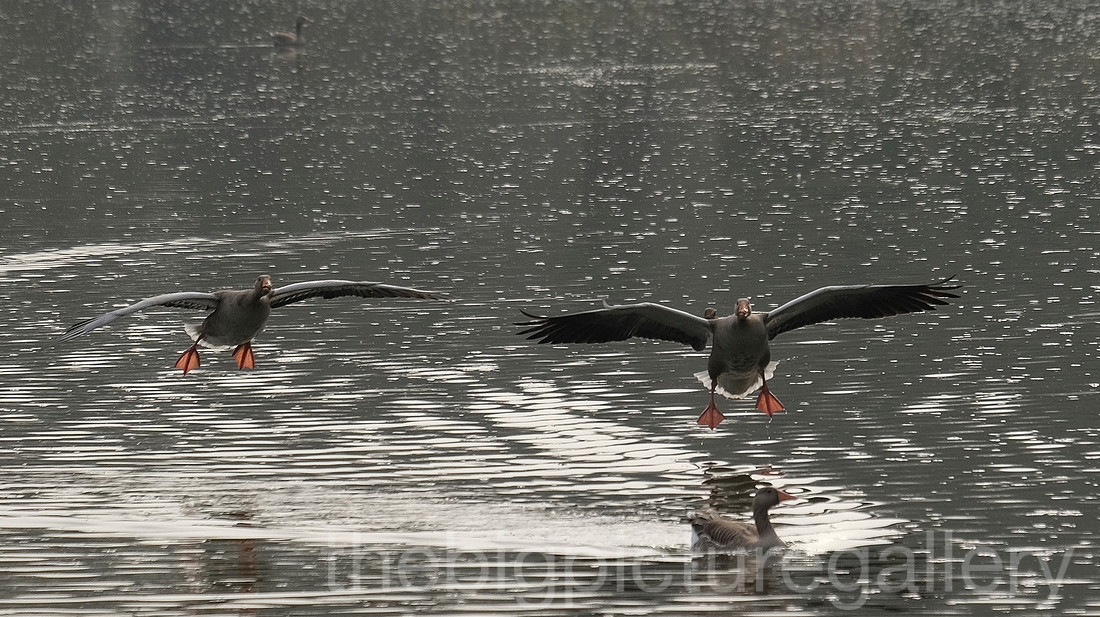
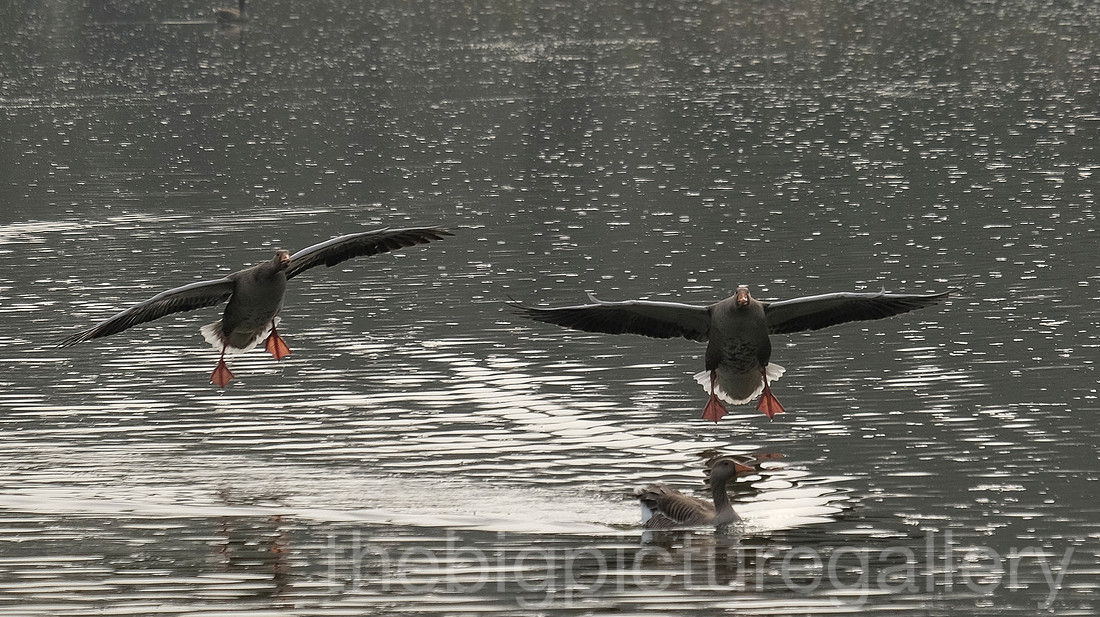
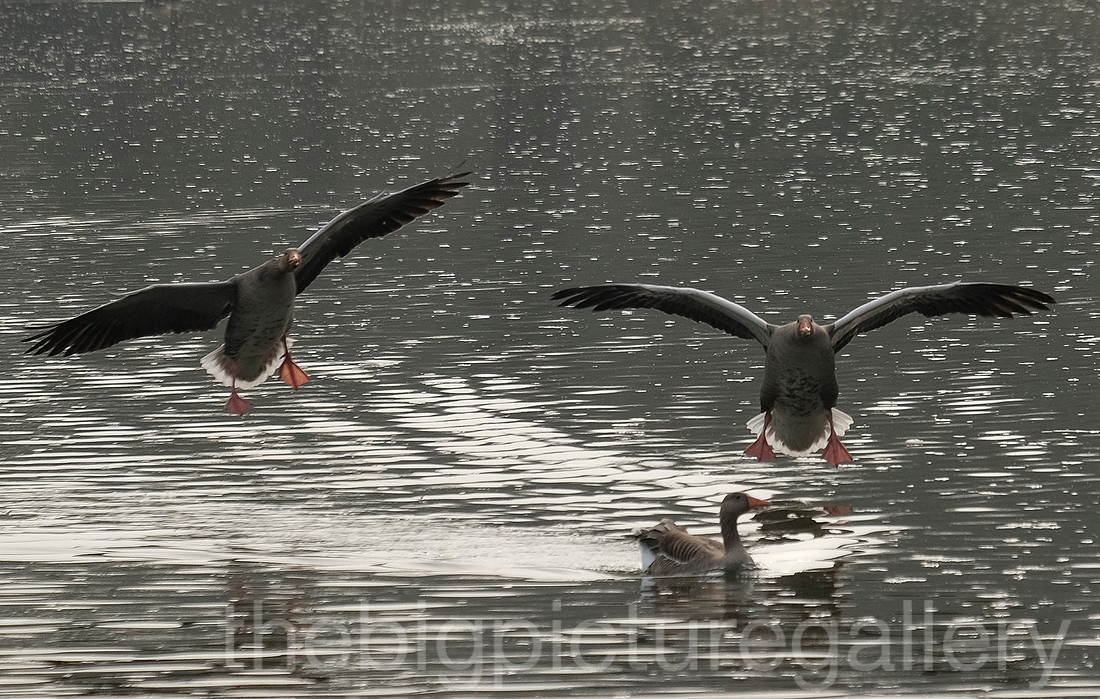
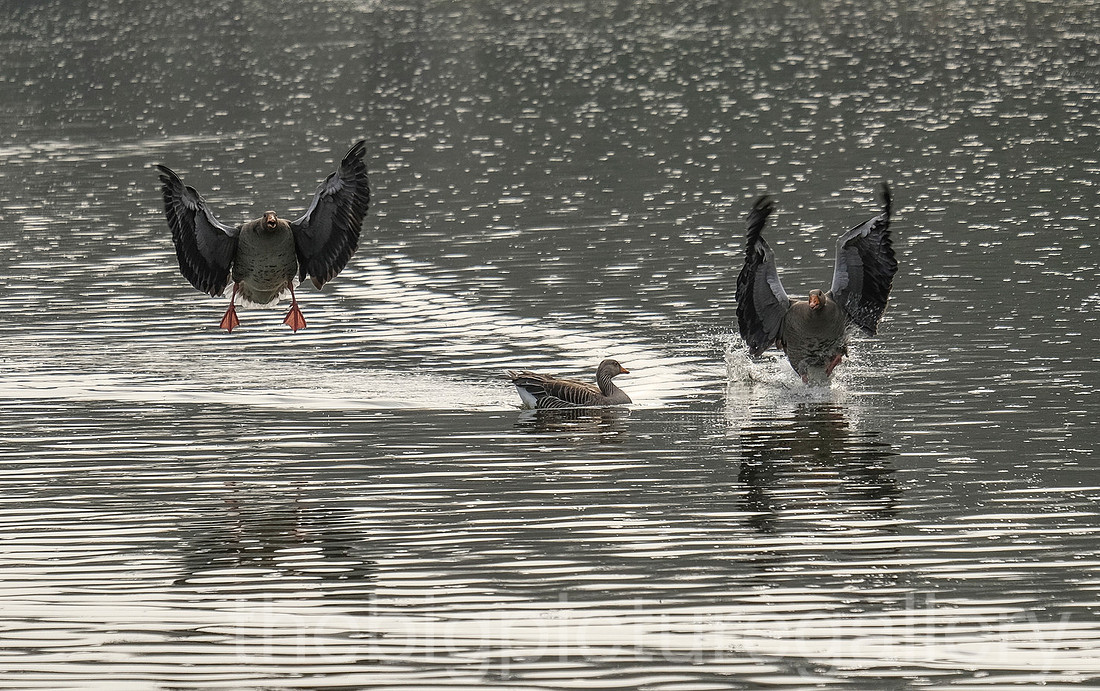
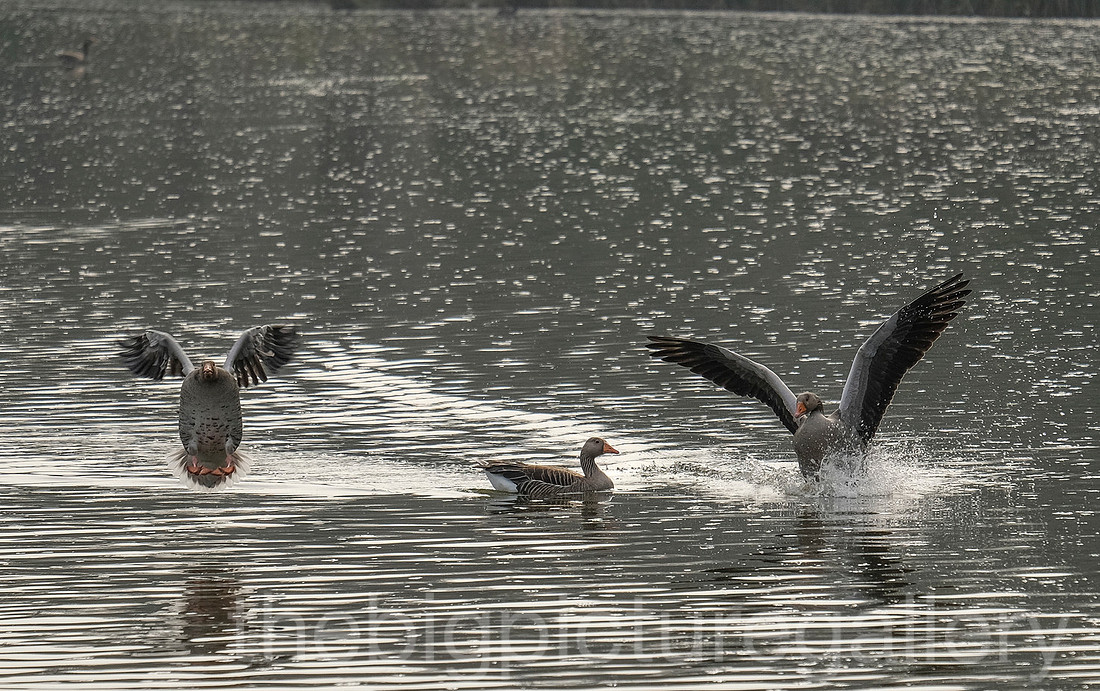
]]>
The weather was delightlful, quite warm but overcast almost misty at times, these conditions are ideal for shooting pictures as the diffused light is much easier to work with. I was concentraiting my efforts on finding patterns and structures, I basically shot with one lens for most of the day, which was the 55-200mm zoom. I was also trying out my new battery grip on the Xt1, which felt perfect, and made shooting with the big zoom a real joy.
Picture opportunities were around every corner, a true spring day. I hope you enjoy the images. All images taken with the Fuji Xt1 with 55-200mm lens.
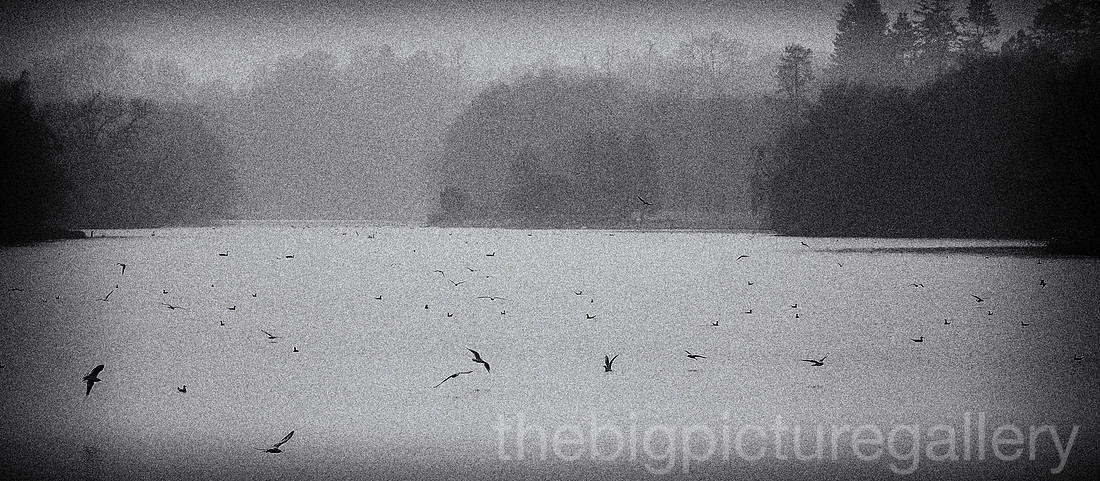
A multitude of gulls over the lake.
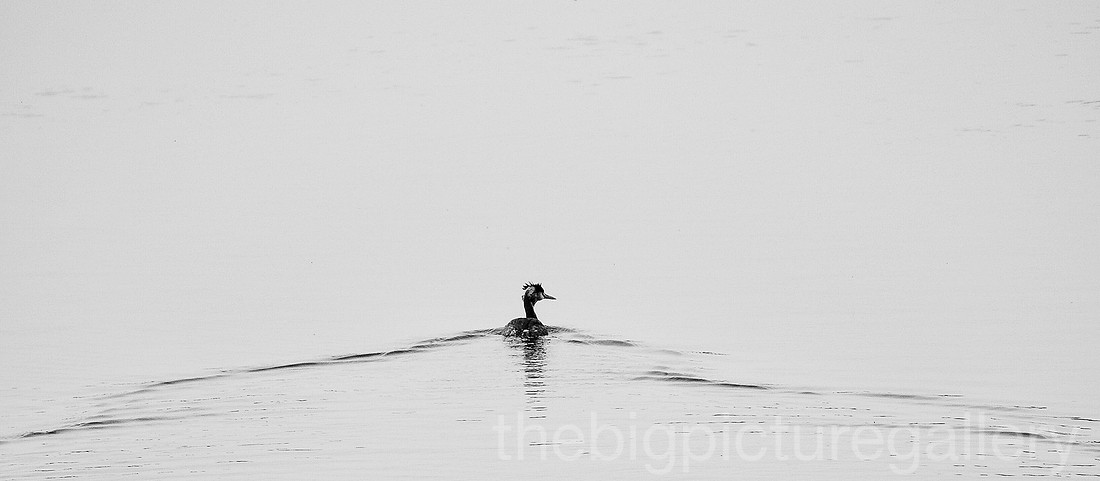
Grebe searching out its next meal
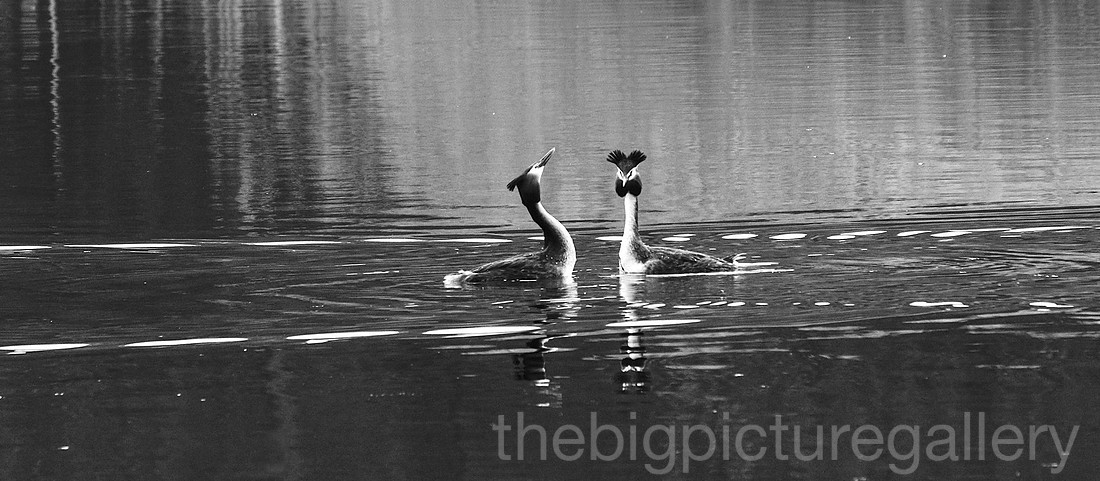 A pair of displaing Greta Crested Grebes.
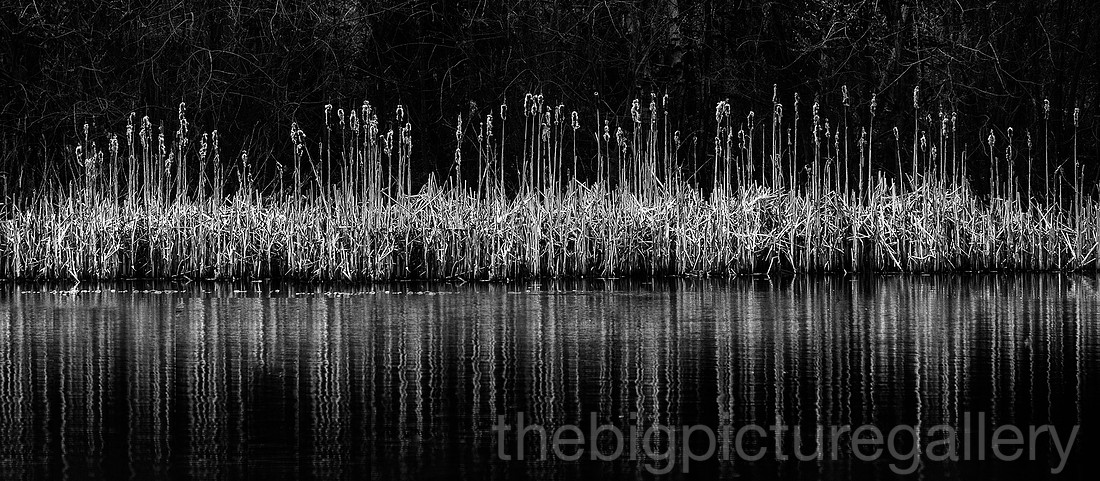 A bed of Bullrushes contrasts against the water.
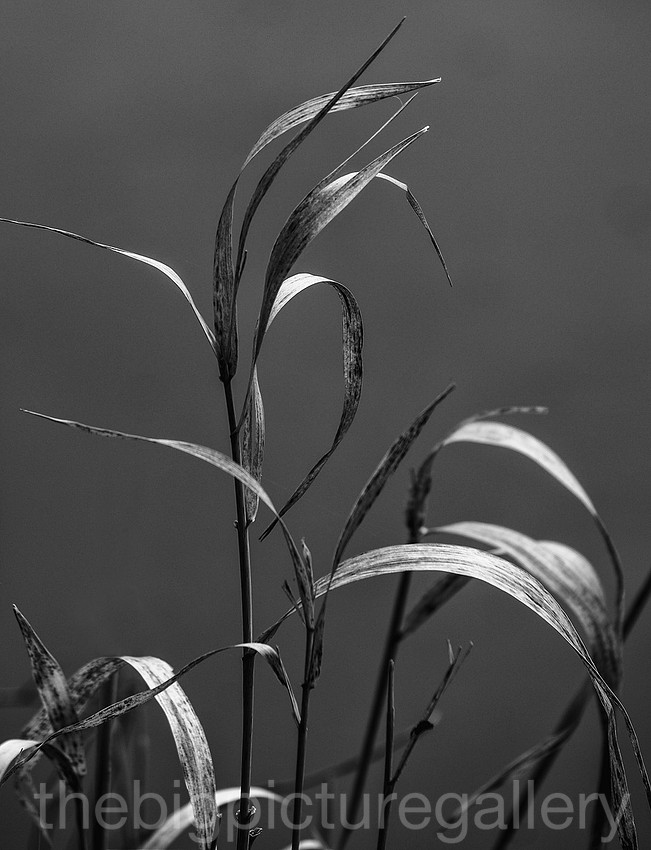
Last years reeds lit perfectly by diffused light.
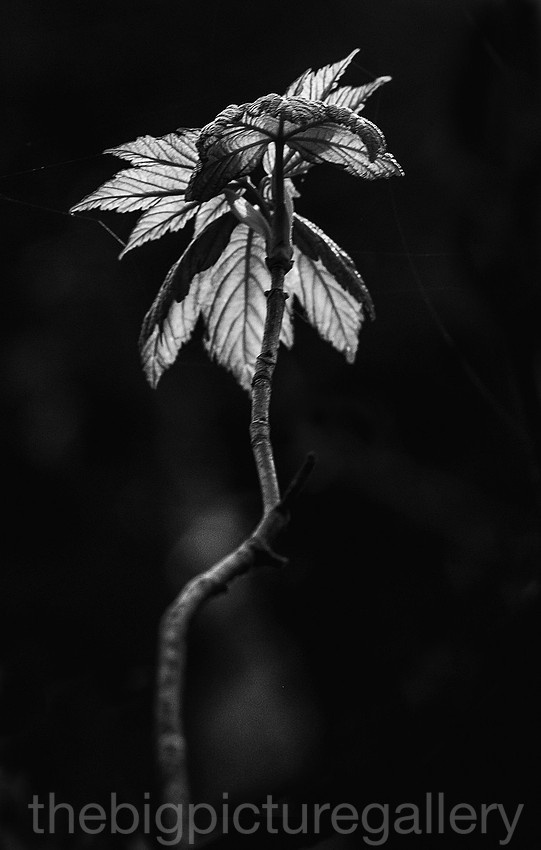
Spring is here, new leaf growth.
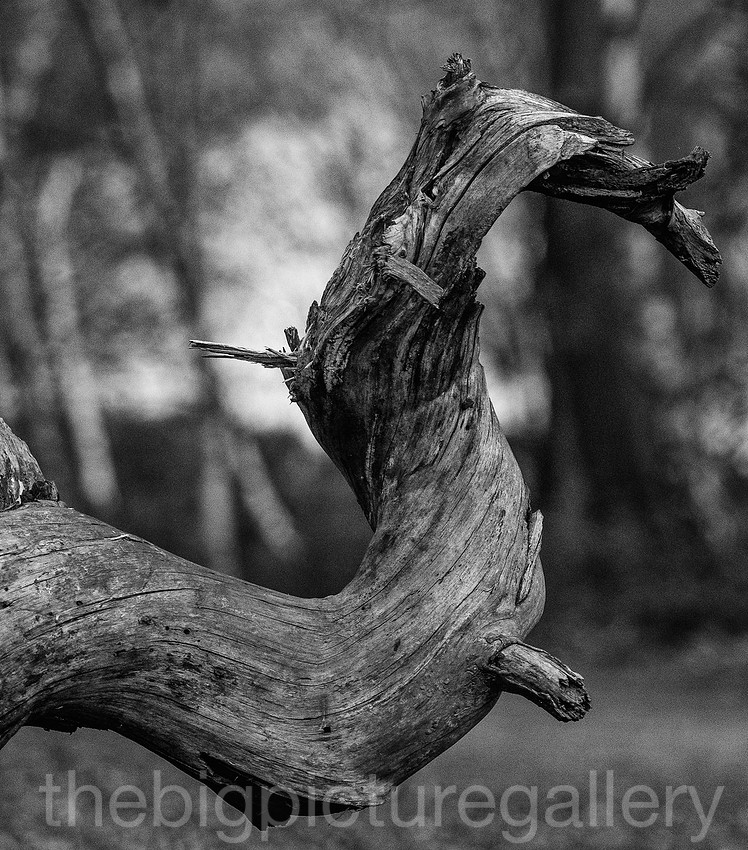
Twisted remains of a once beautiful pine.
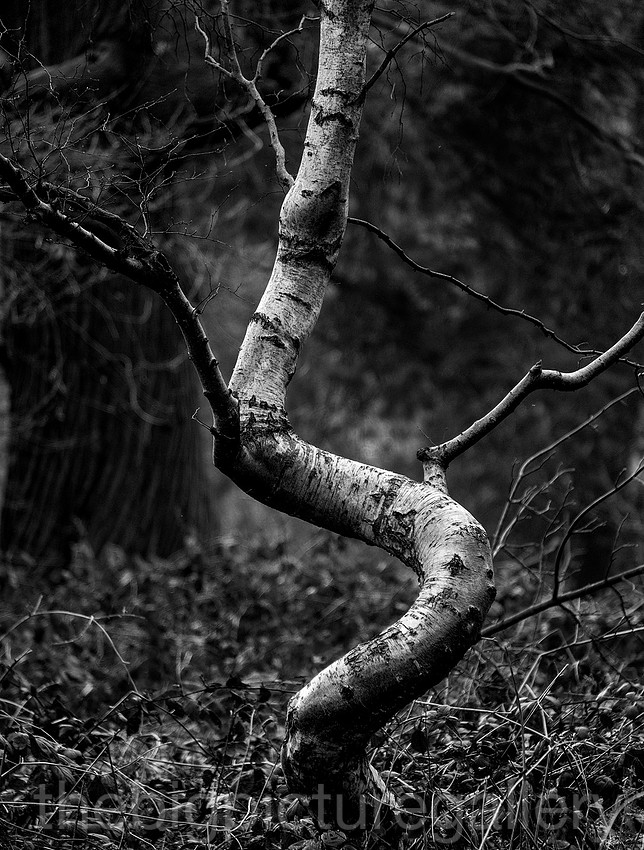
Silver Birch curiously formed.
Remains of last years reeds.
A spider lays a trap.
Forlorn Bullrushes
 Silver Birch reflections.
]]>
So I look forward to those few hours when I can get out and leave everything else behind, I can whistle, I can shout, I can swear, I can laugh at myself, afterall there's no one else around to hear me.
Recent outing above Dovedale away from the crowds that wander upto the stepping stones. I was searching for a different view. I was not disappointed.
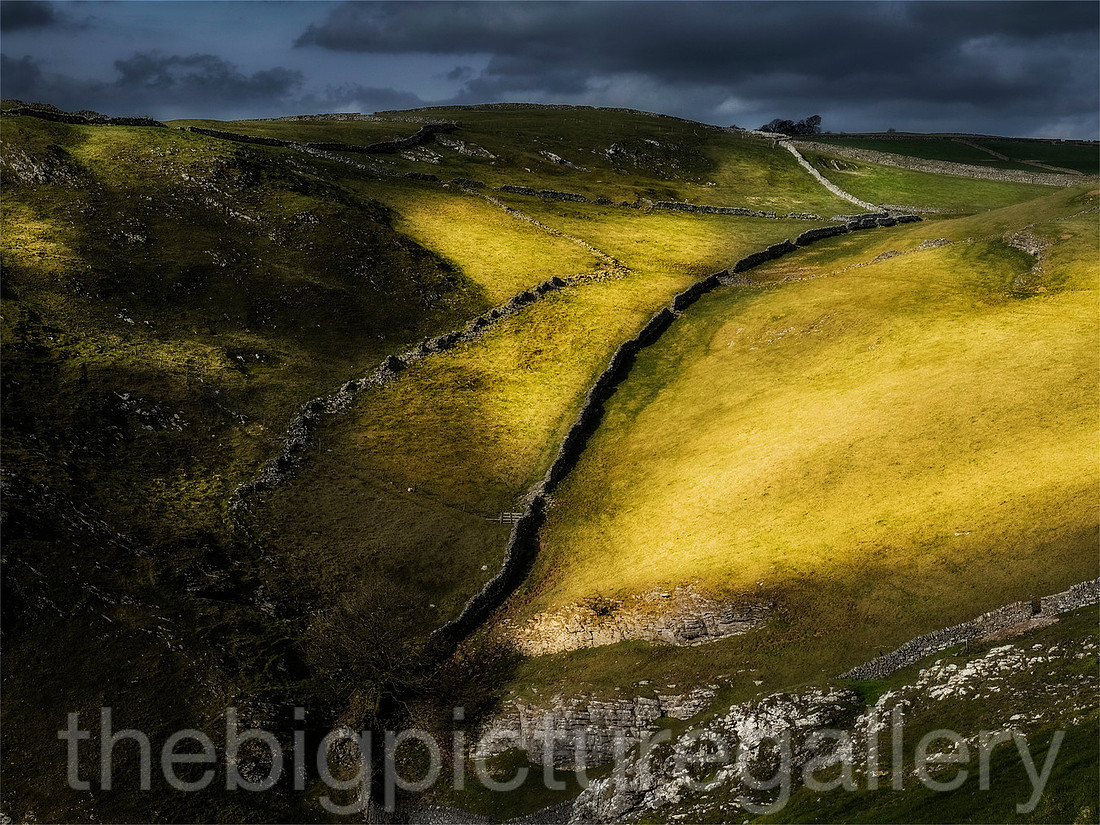
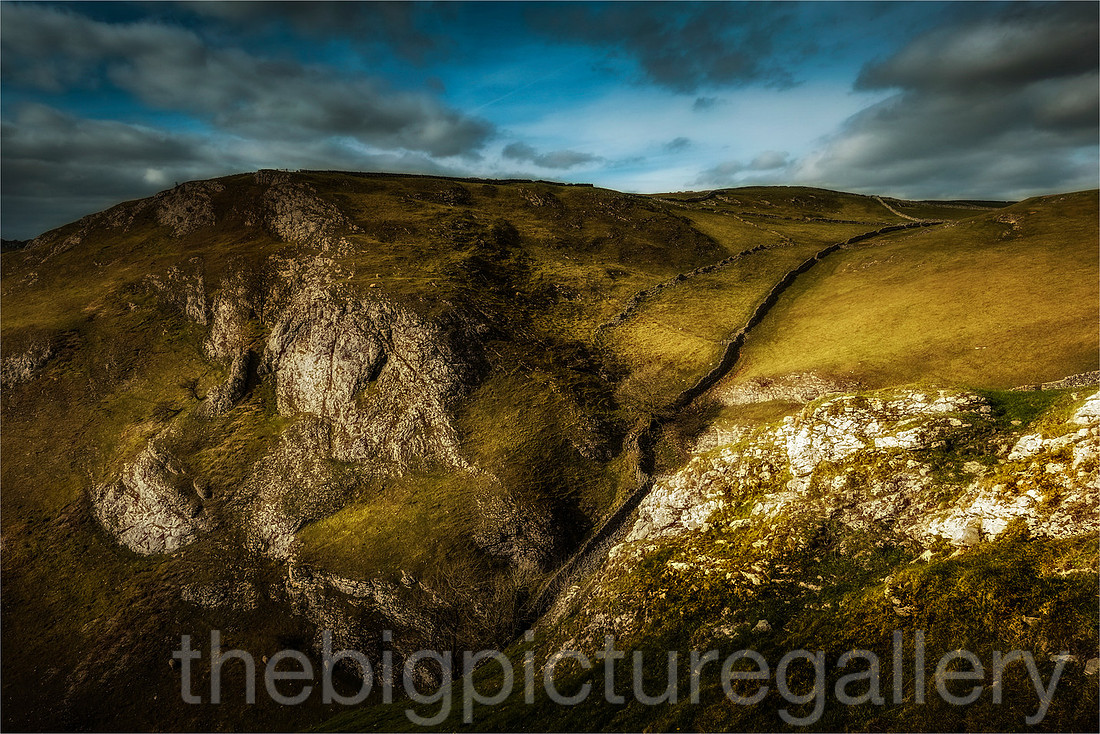
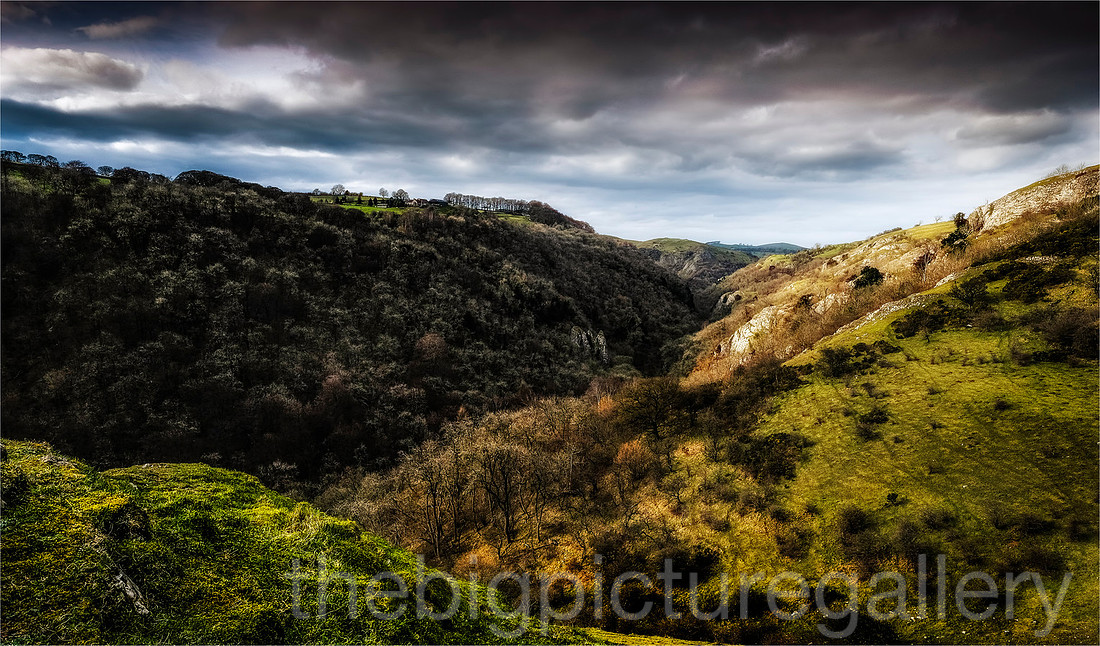
I like the way it renders. All the images were shot with the 18-55 zoom which is a fantastic performer. Many occasions last year saw me humping around my D3 as a backup to cover the X pro 1 when things got a little fast. I can honestly say that those days are gone, the Xt1 performs that well.




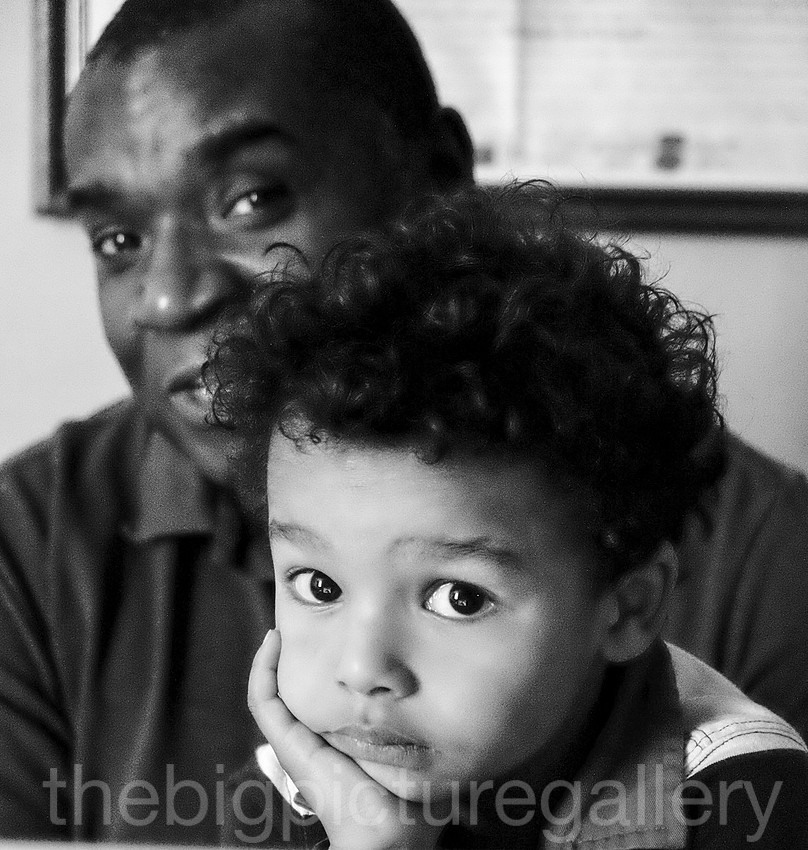
With thanks to Helen, Norman, Max and baby Isabelle.
]]>
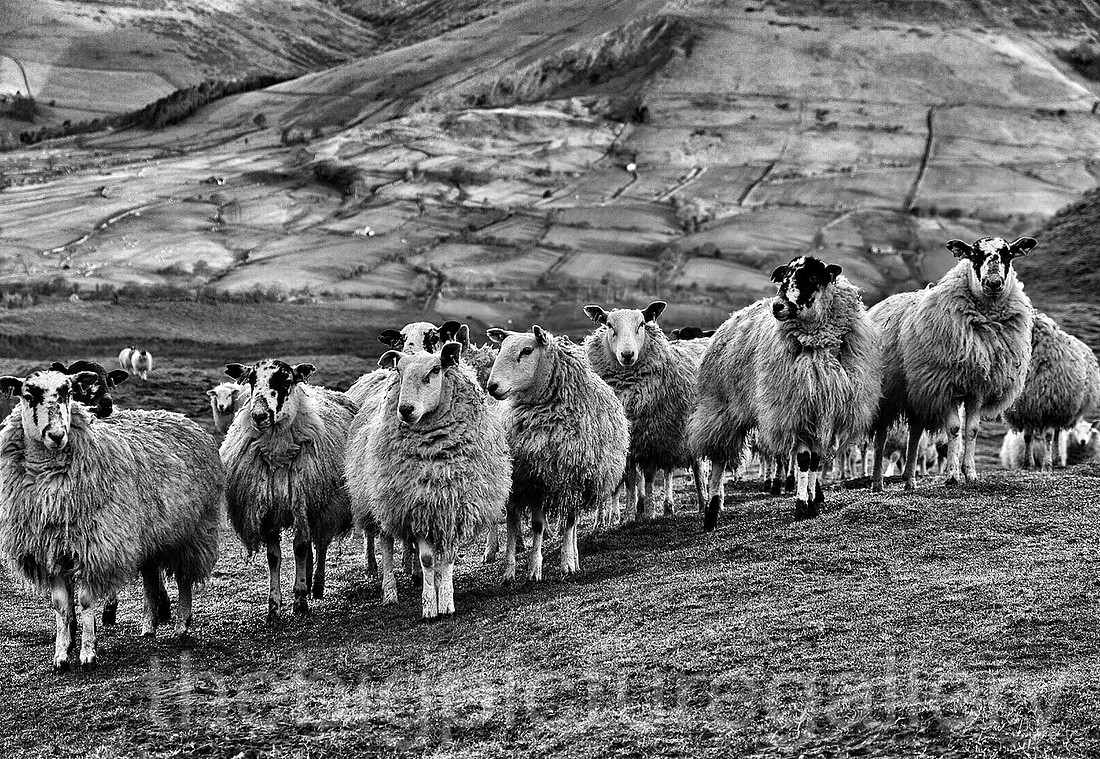
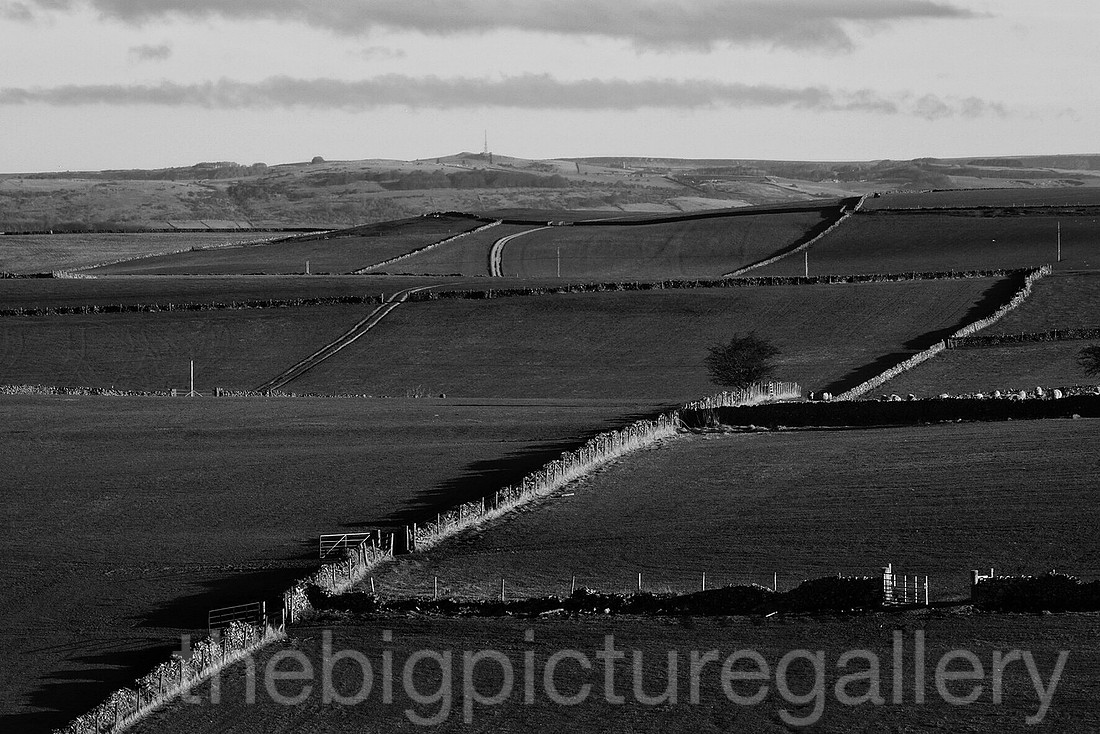
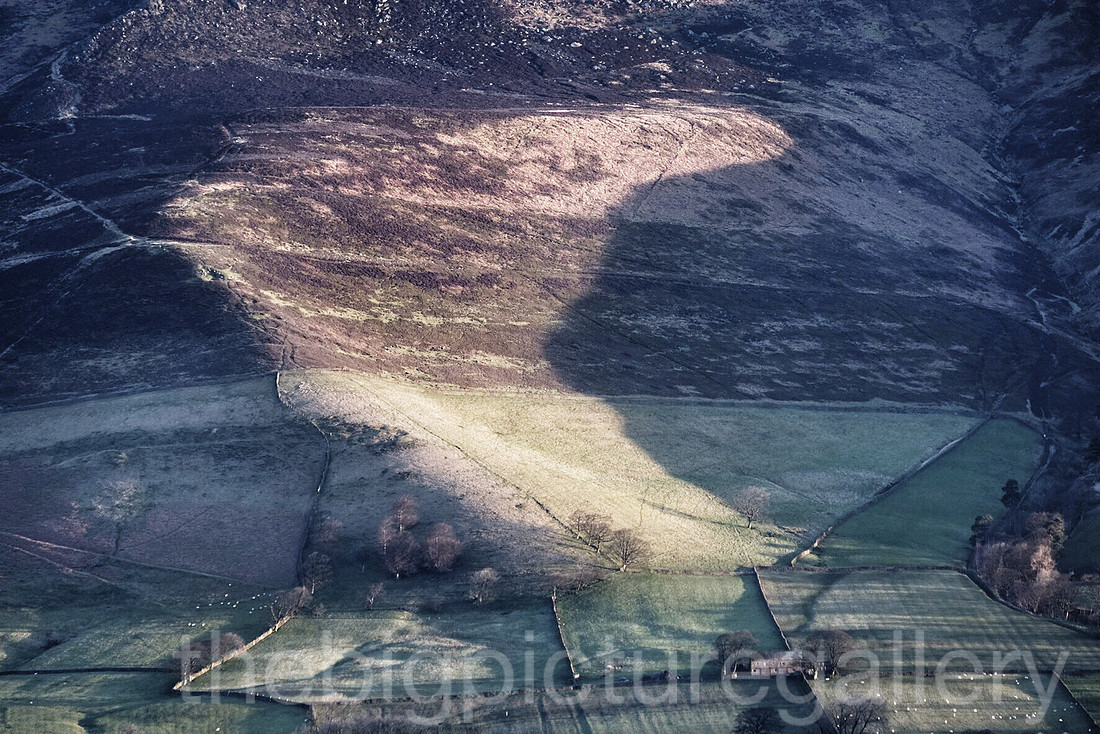
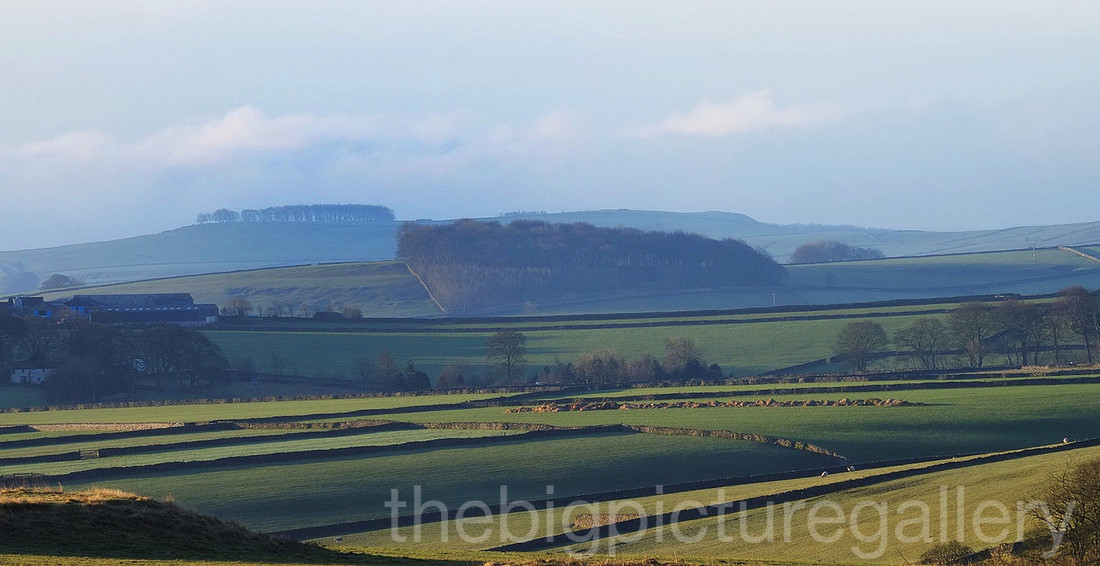
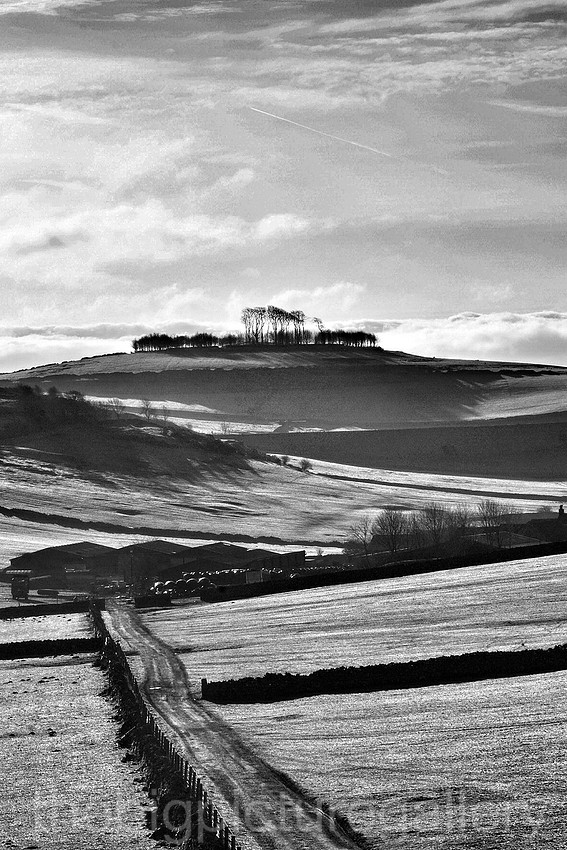
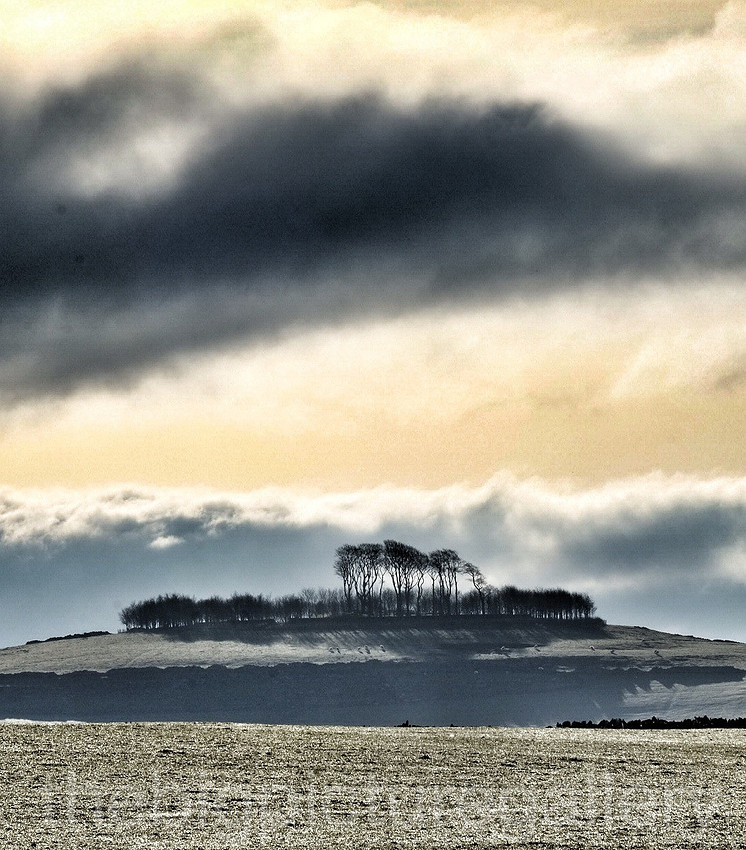
i must say though that between the two cameras I use, the X pro, and this, the X pro feels sluggish, that's how much Fuji have improved response times and process speeds. I have a feeling the X pro 2 will be mind blowing. In order to maximize the new speed, make sure you update your lenses with the latest firmware updates, they work much better.
There are some cool new features on the Xt1, one of which is the remote shooting app. This is a really neat app and works well. I use it on my ipad and really appreciate viewing live on a larger screen. Some folks have remarked about the difficulty in getting it to work. Here's how I do it.
Initiate wifi through the dedicated button on the camera top plate this starts the process, next go into settings on your ipad/iphone tap on wifi and you will see the fuji Xt appear on your wi if networks. Select that, then start the fuji app you will see the status bar appear and within a few seconds it will connect, you can then select a number of options. Sometimes it can time out and a message comes up on the Xt1 clock ok and it usually connects.
The app screen menus
The shooting setup
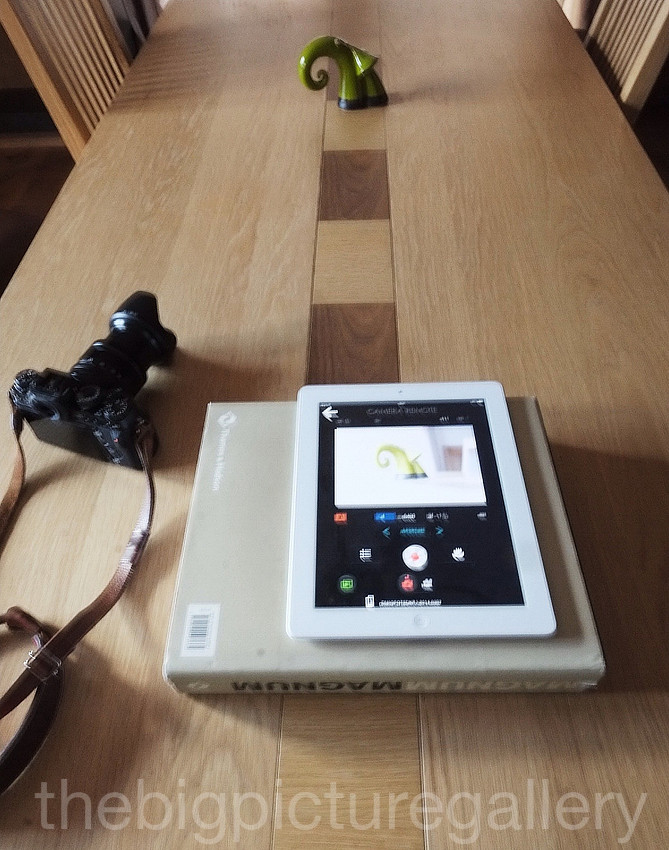
Screen image of the controls, it's all controllable from the tablet, from point of focus, ISO settings, wb, film type, it's easy to navigate and setup.
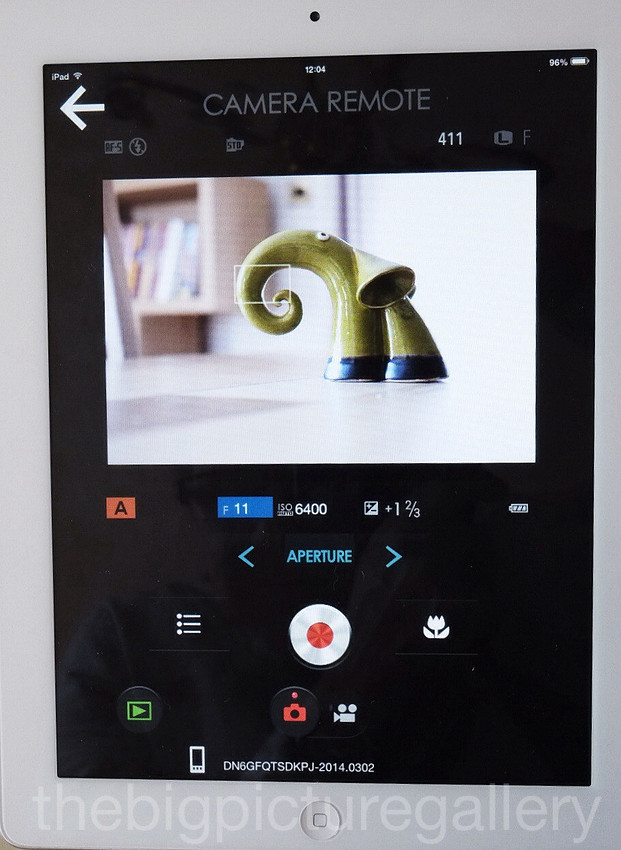
The final image I shot
The shoot for this blogpost took just a few minutes, once I had shot the image I then uploaded it to the Ipad and selected it for use in the blog. It's that simple. Although the app is easy to use it does have one or two glitches which need ironing out. Desperately needs a bulb mode as you can use all the shutter speeds apart from bulb. It's fun to use, great for commercial use, client approvals etc.
How far can you be away from the camera?
I was stood about 50 feet from the camera when I took this, be aware though the further away you are the more delay you get from tripping the shutter to finished shot, I guess around 6 seconds before it was ready for another frame. The other thing to bear in mind is on a bright sunny day like today, the Ipad screen is nigh on impossible to see.
]]>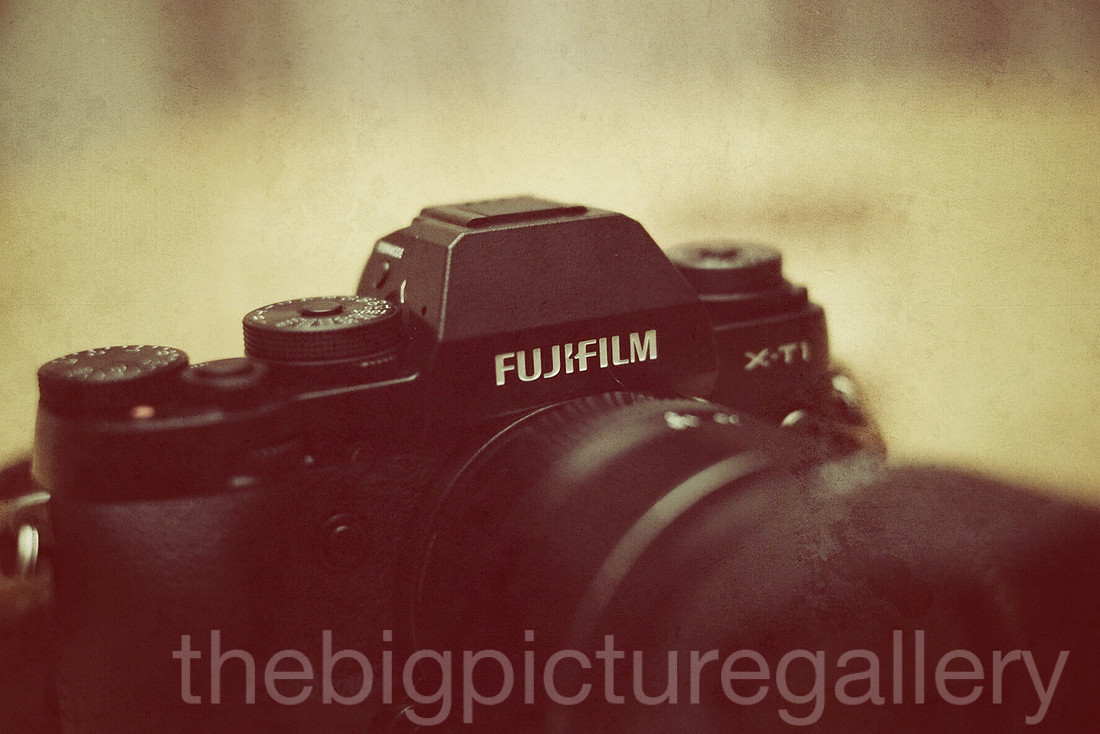 So after nearly 18 months of using my X pro 1, I decided to purchase a second Fuji mirrorless body. My original choice was the addition of the Xe2, as I had a play with one whilst out on a Landscape tuition day. I had been very impressed with how responsive it was. Then Fuji made the announcement in late January about the new Fuji Xt1. Having read everything there was to read about the new camera, I bought one along with the 18-55 mm zoom.
First impressions are that its a well made piece of kit, as per the usual Fuji standards. It still keeps it's retro coolness, very good build quality, nice weight, great feel, and those dials, wow! super impressed. Startup response is good, the EVF is fantastic, no lag at all. I like the superwide view mode. Perfect dioptre adjustment, something I sadly missed on my X pro 1, where you have to buy screw in dioptres that eventually unscrew and you spend another few pounds replacing it. The viewfinder is really excellent with some excellent tricks up its sleeve, like dual focus zones for manual focus. Shoot in portrait view and the viewfinder changes axis. All good.
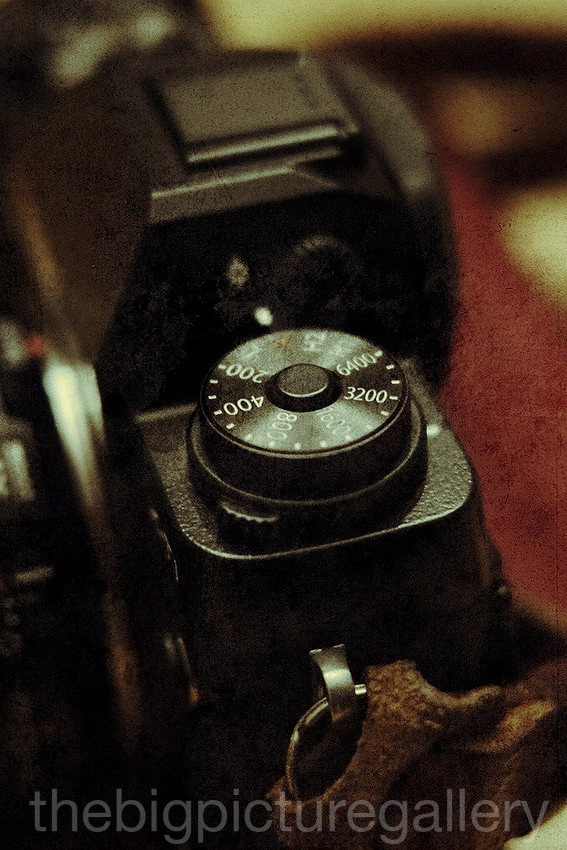
The dials I find are ideal, people have compalined about the fact you have to press a button to twist the ISO, no big deal. They would moan even more if it just span round on its own. I also like the stiffness to the exposure compensation dial cannot really knock that out of place, well I haven't so far. Alll in all the top plate setup is very nice, the dials have a nice expensive feel, and a positive feel when you alter them. My one gripe about the top plate setup is the video on button which sits just to the right of the shutter button, is very easy to knock on. Then you realise your shooting video. I suspect a firmware release will hopefully have a disable video in the menu.
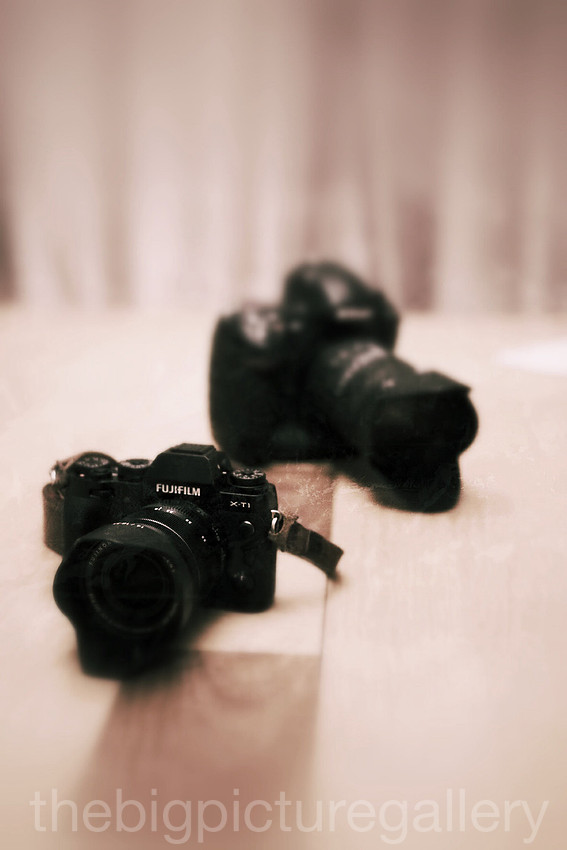
Whilst we are talking of buttons, the Xt1 features no less that six programmable buttons so you can assign functions to each one, a tribute to the earlier comments when the X pro1 came out was that the camera didn't have enough. My own view is that while I like the thought of being able to programme a button to do a specific task like alter the WB or preset film type, metering type etc, I also wish that they would allow you to disable them as well.
I find the idea of having a choice of programmable buttons but six I think is a little ott. Surely it would have been better to use the buttons for items not already in the Q menu as this is easy to go into to alter the shooting characteristics of the camera. I have a job remebering whats what at the best of times. I would like to see a programme button to cycle through the custom settings, that way you could make the camera perform differently for a given situation at the touch of one button. These are really minor nitpicks though.
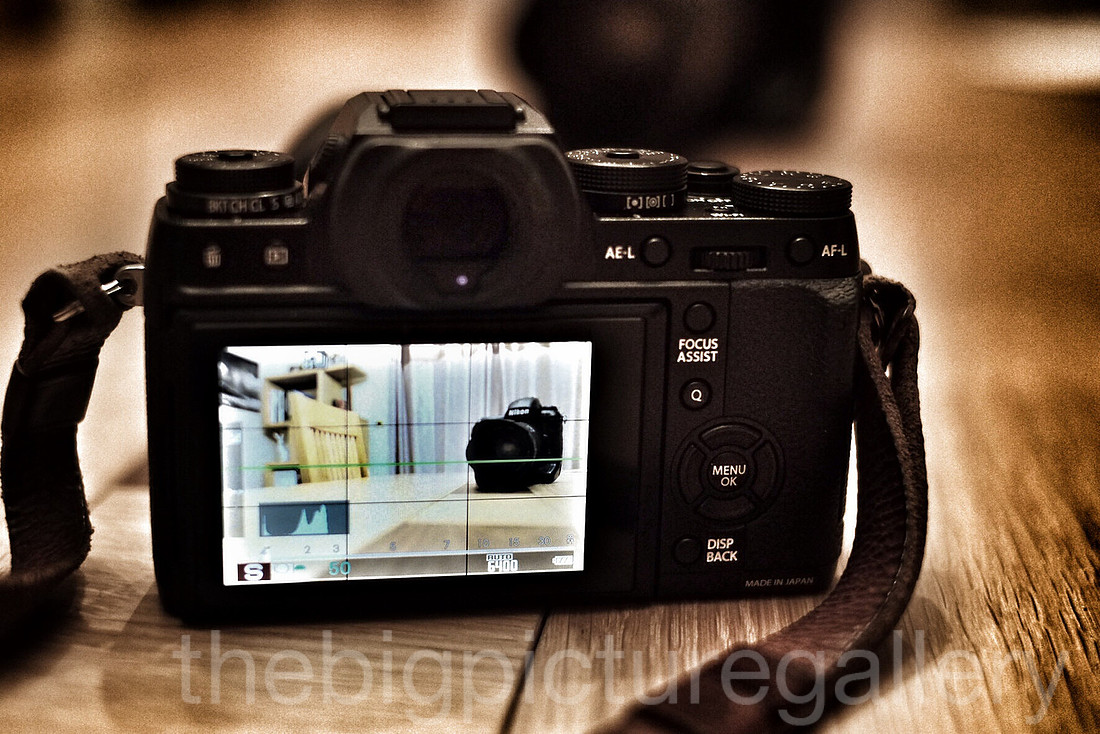
So a big question I have heard alot of people asking, is how is the AF and focus tracking, well put it this way, my Nikon D3 bodies are totally redundant now. The af and focus tracking speed of this camera is fantastic. I shot an event yesterday where fast camera reactions were needed, shooting with the 55-200 zoom I captured frame after frame of in focus shots, its that quick at focus and tracking,I was also shooting the X pro 1 with the 14mm attached, the speed difference is quite amazing, where the X pro 1 has a little think before shooting, the Xt1 is pretty instant. As good as a DSLR maybe not quite but its a smidgen difference. wI saw many photographers yesterday carting great Dslr bodies around with fast glass and I was so glad I had my lighweight gear. Lens firmware updates are available to take into account the new features on the Xt1. I also tested the 18-55 and cannot believe how quickly this lens aquires focus, as quick as an AFS from Nikon. I also noticed how the 35mm struggles its not slow but its a pace behind the zoom, I guess its different motor tech in the zoom, but its so much faster than the prime.
I will be writing another blog entry for the XT1 covering wifi, remote shooting and the IPad. As well as looking at some of the different menu options.
A few images from the Royal Shrovetide game in Ashbourne Fuji Xt1. Shot with 55-200 mm, high performance mode on, face detection on.
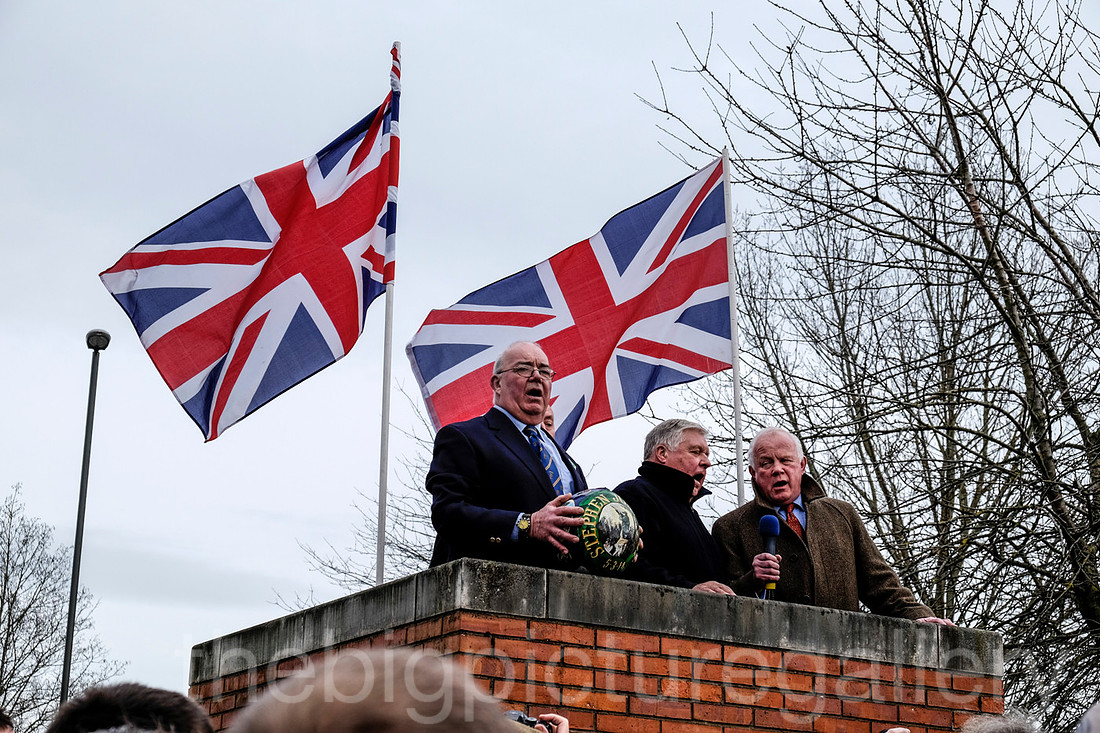
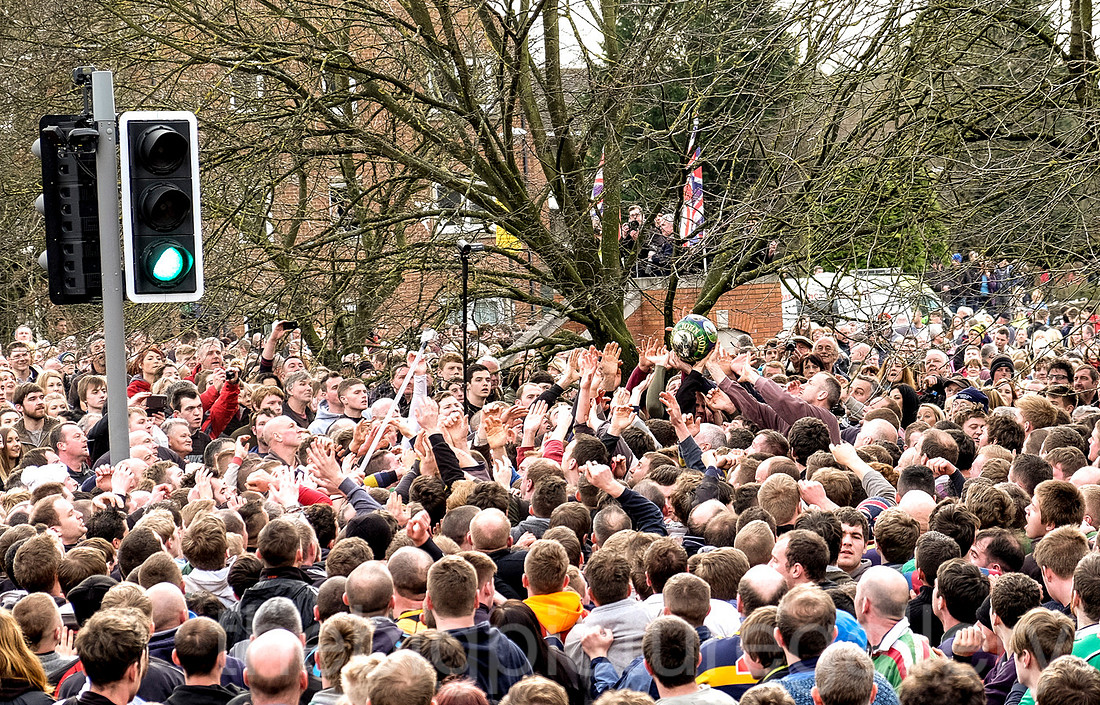
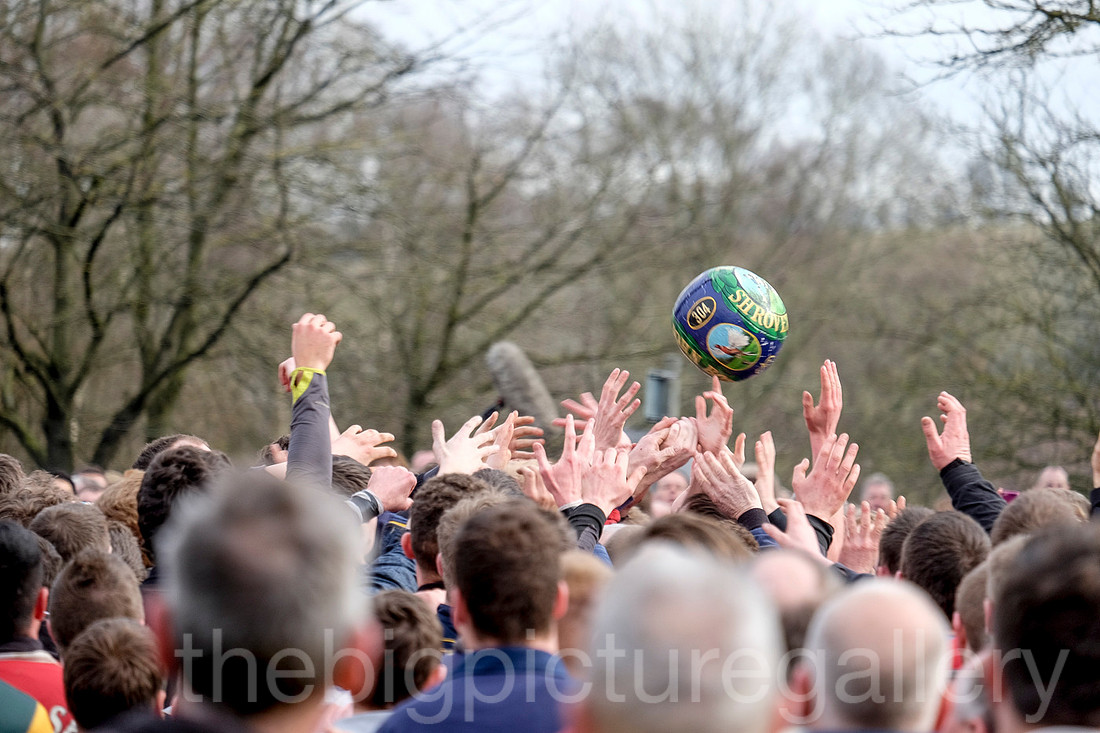
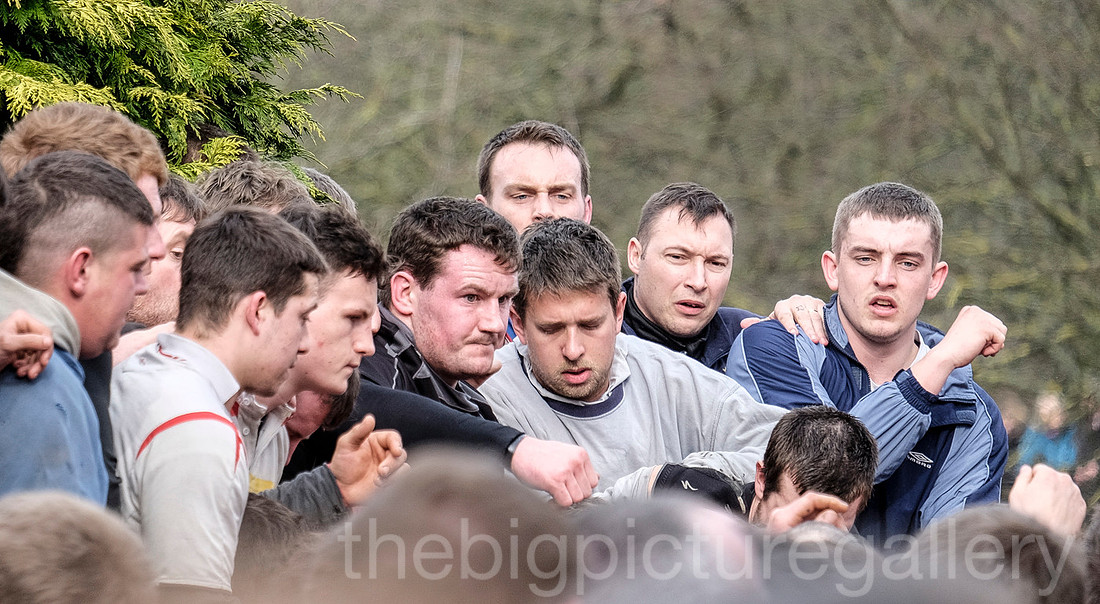
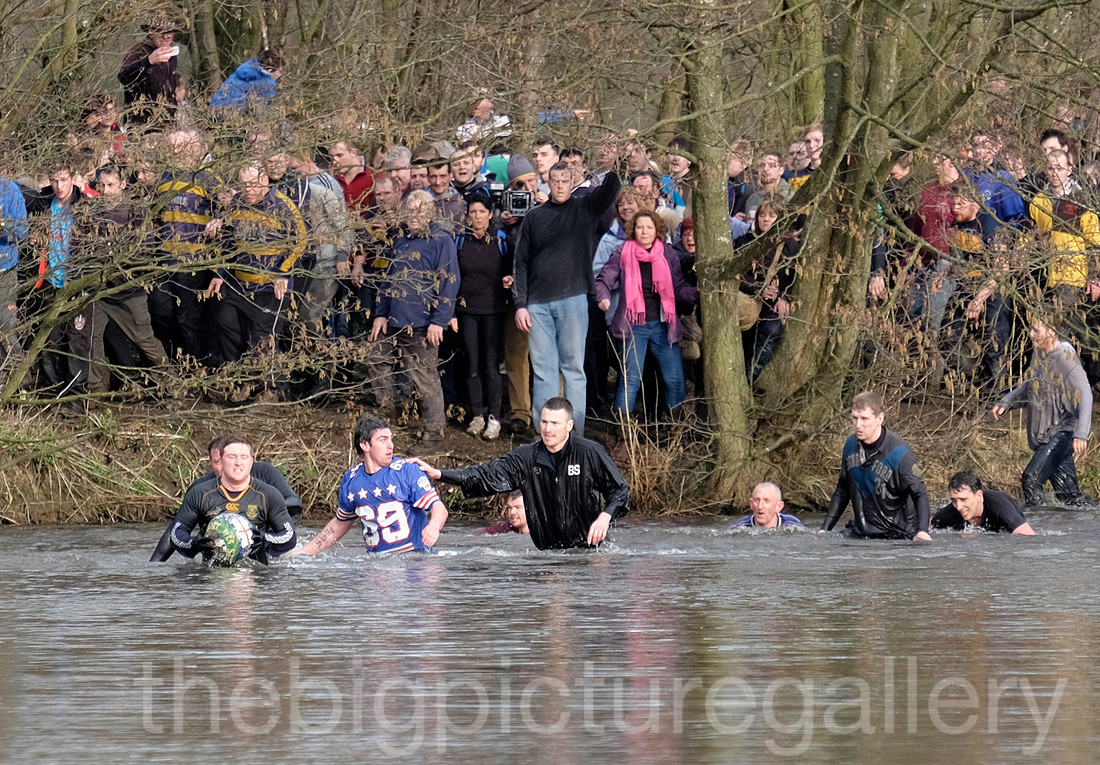
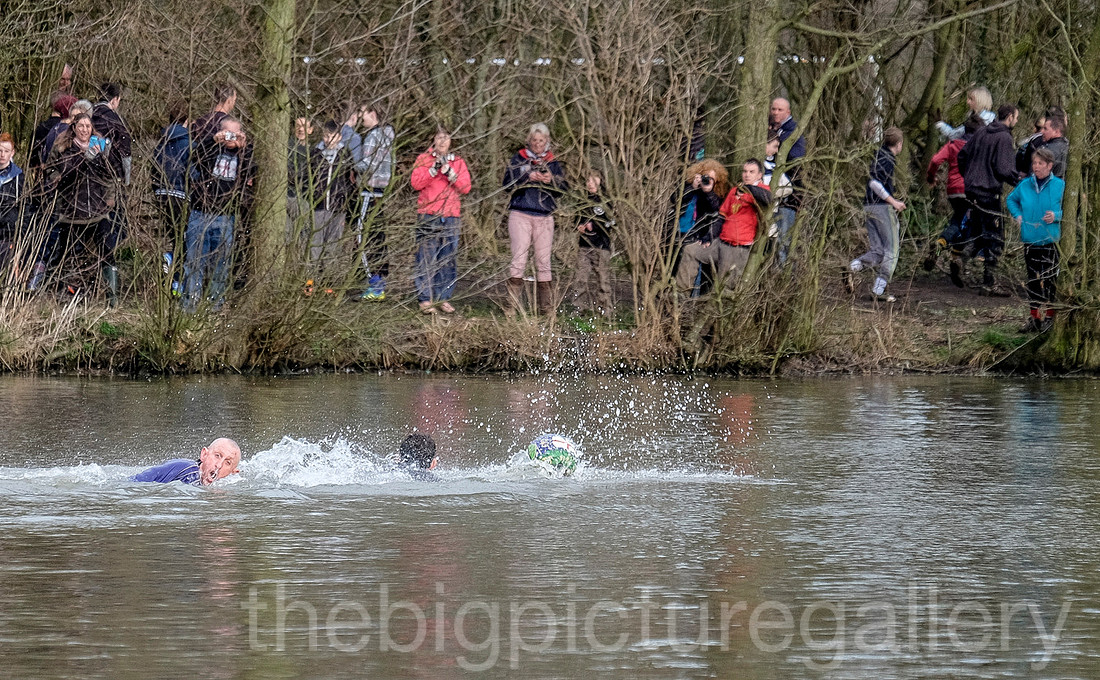
Some of my favourite pieces of work
Late afternoon light spills across walled fields creating shadows, whilst cattle feed.
Limestone walls in North Yorkshire, converge together lit by soft afternoon light.
Storm clouds roll in above Ingleton in North Yorkshire
A limestone wall winds its way up a hillside in North Yorkshire
Limestone edge unveiled by sharp light Twistleton Scar North Yorkshire
A broken wall lit by the late afternoon sun whilst a storm forms in the Derbyshire dales
Sheep graze on Ax Edge moor Upper Dovedale Derbshire.
All the images were taken with the Fuji X pro 1 using 14mm and 55-200 mm lenses.
]]>
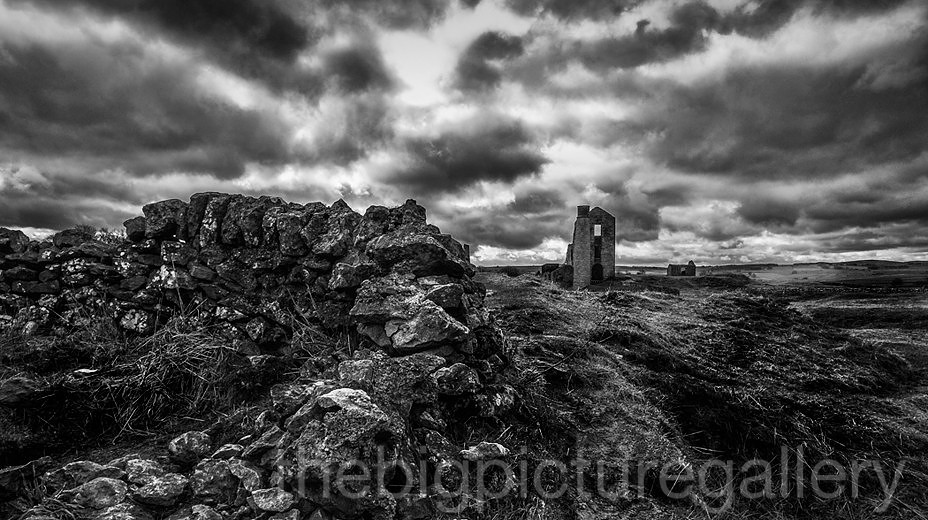
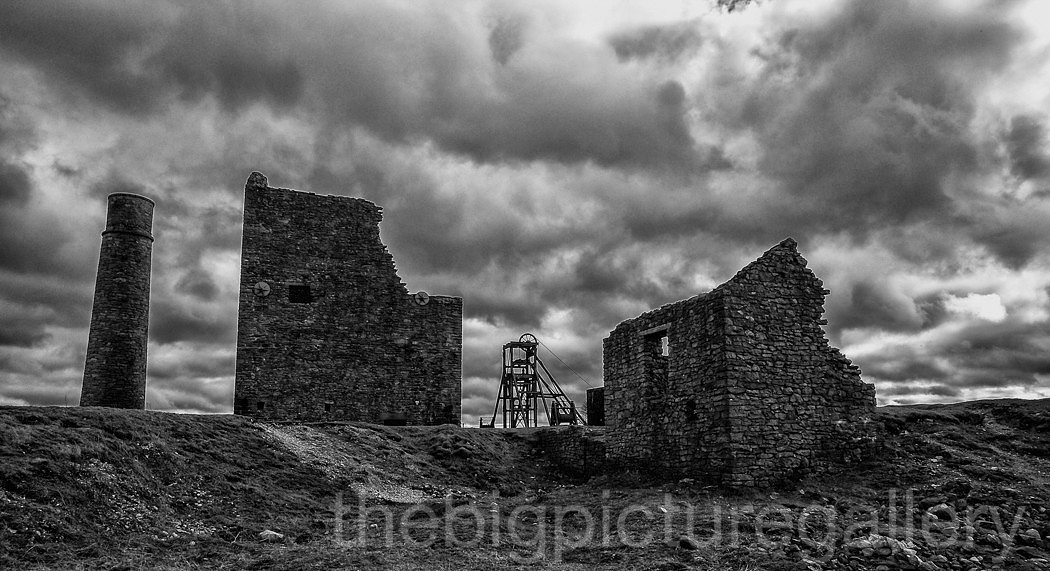
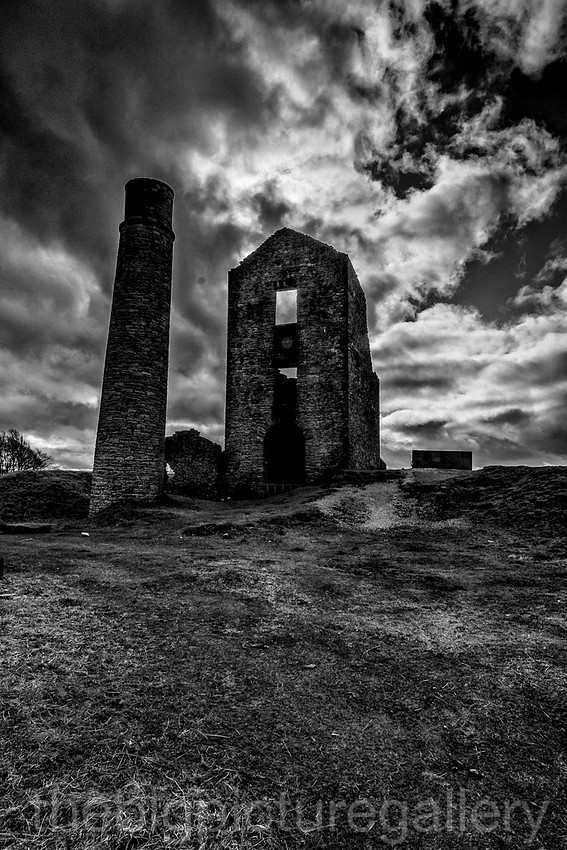
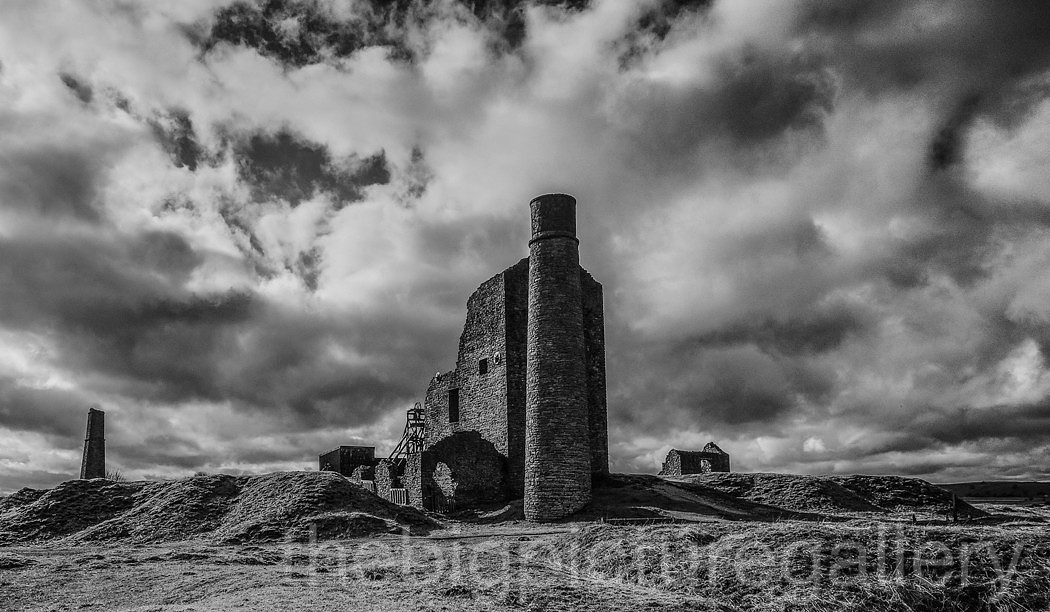
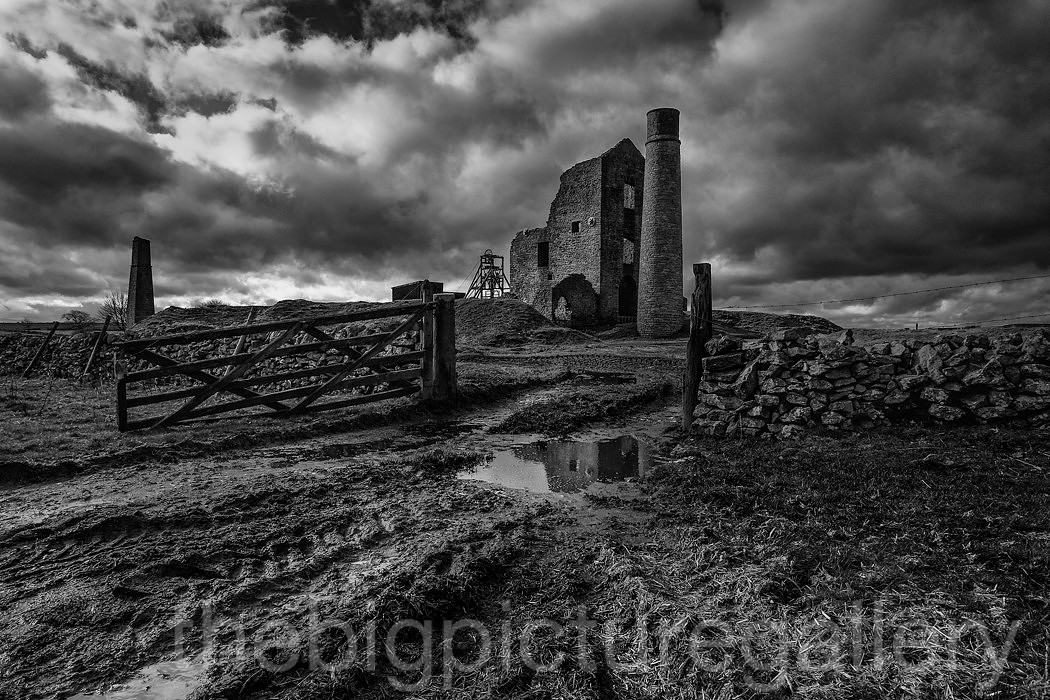
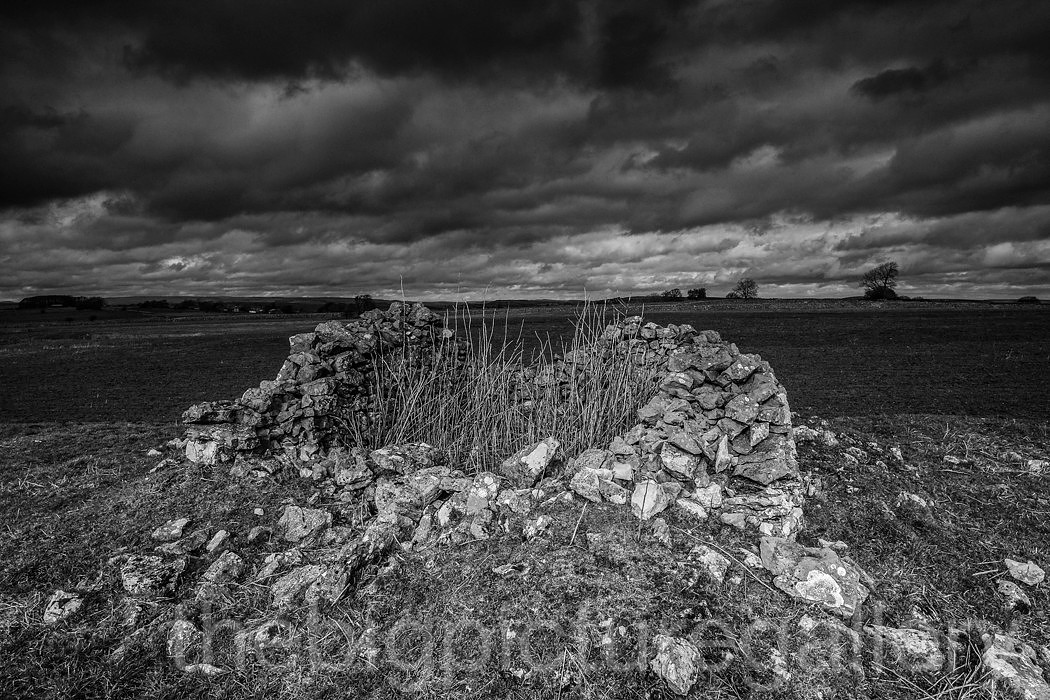
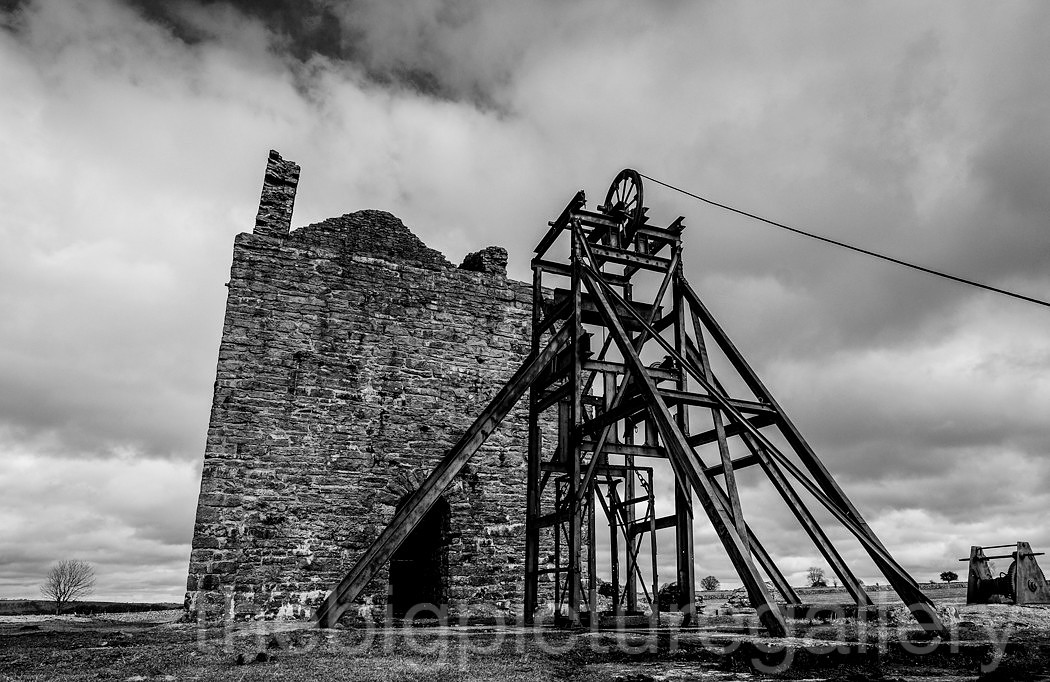
The images were all shot using the fuji X pro 1 using the 14 mm f2.8.
]]>The day I chose was not good weather wise, with a distinct mardy look to it, but thats how January has been, in fact this winter has been very mild compared to last year. The weather did lend itself well to capturing the mood of the place, and late on in the afternoon to be on your own in this place left me feeling quite strange. Minninglow is a Broze age burial site thats stands atop a hill, with a circular stone wall around it.
Its a fantastic place to visit, and has some panoramic views over the surrounding area.
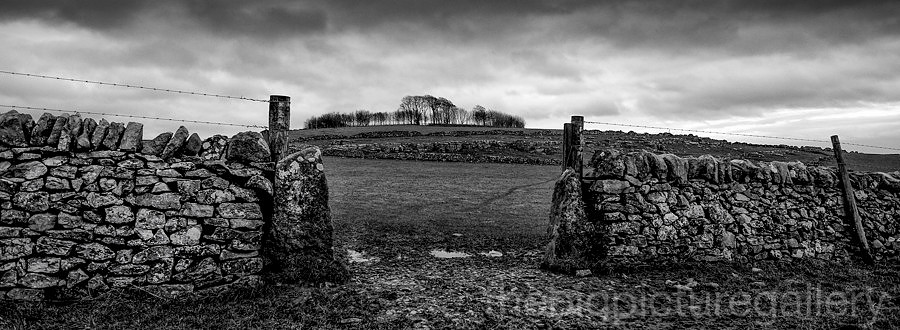
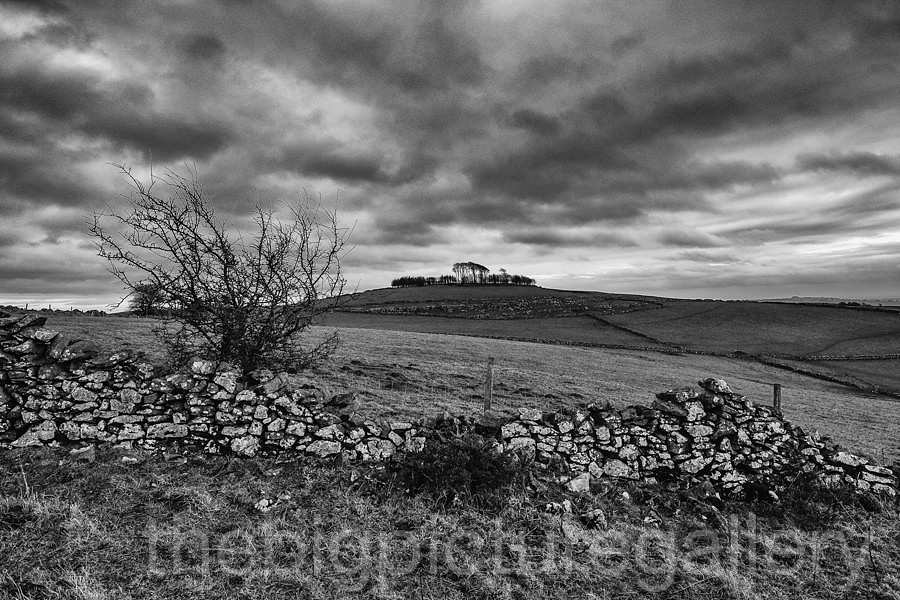
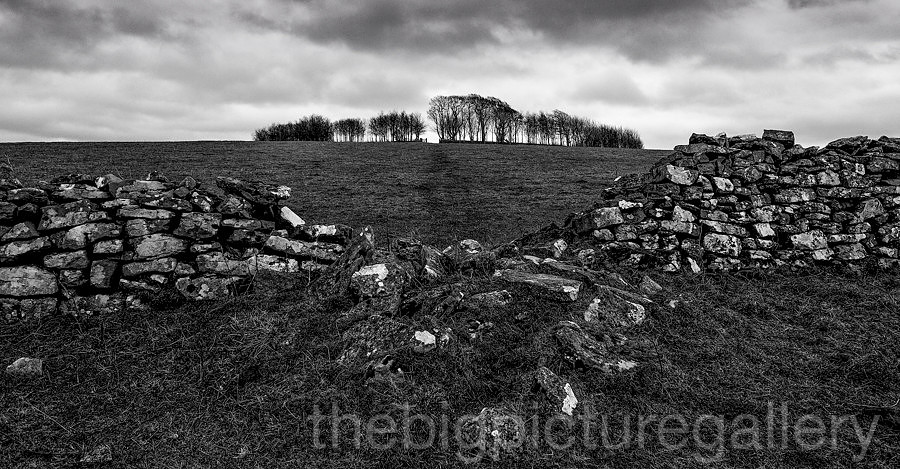
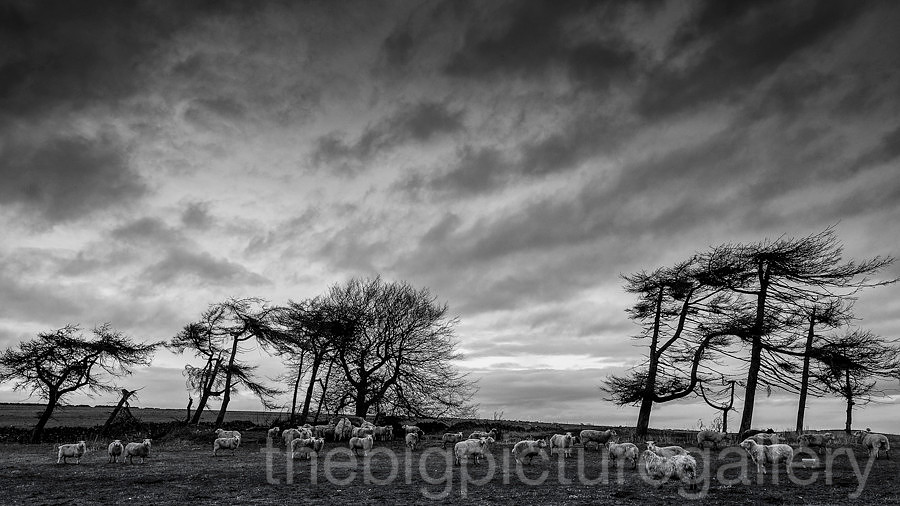
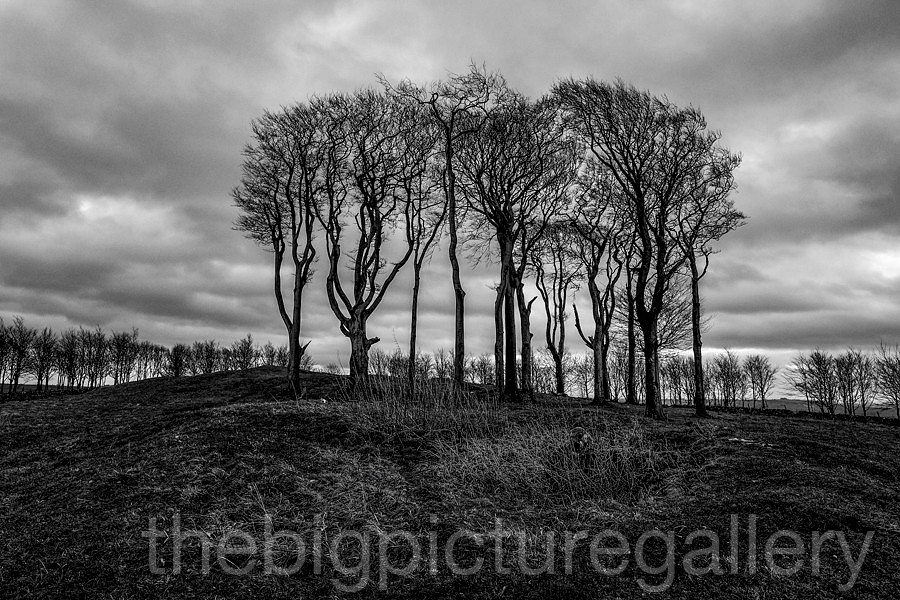
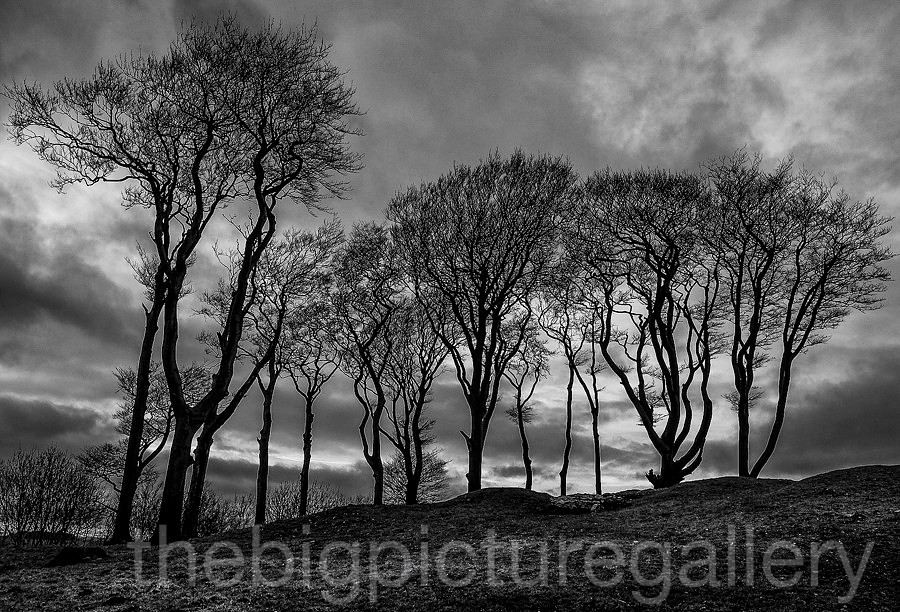
Typically the weather didn't hold much promise, this was the view from Mam Tor on my way over to Nether Booth near Edale.
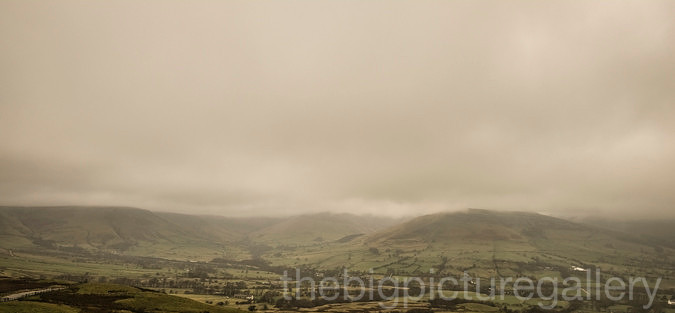
As well as being very overcastit was raining, fortunately the weather improved a little. Allowing us to capture some of the lovely waterfalls in Crowden Clough. This was the second outing for me up the Clough, in just over a week, I will be as fit as a butchers dog at this rate :) it was Kevin's choice to go there. The weather really suited water photography as it allowed the use of much lower shutter speeds without the usual blown highlights. Very impressed with the his new XE2 the rear screen was amazing compared to my trusty X pro 1. Focus seemed a little snappier as well. Another fantastic camera from Fuji. Looking at his images from the shoot, I have to say I was very impressed with Kevins composition and thought processes during the day. Proved himself a very competent photographer.
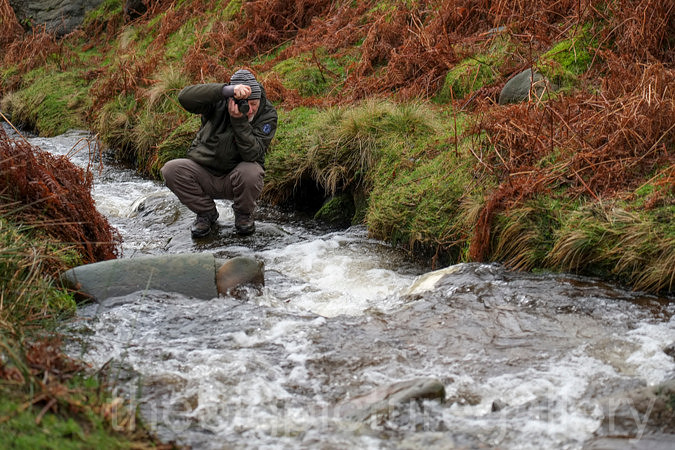
Kevin's rock balancing ability:)
All my images were shot using the Fuji X pro 1 with 14mm lens.
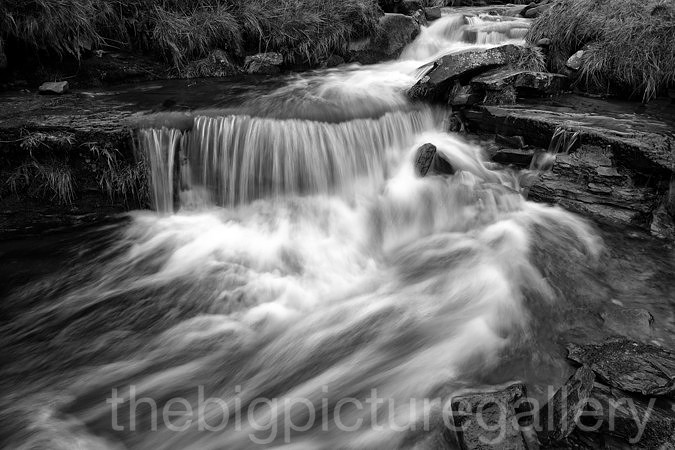
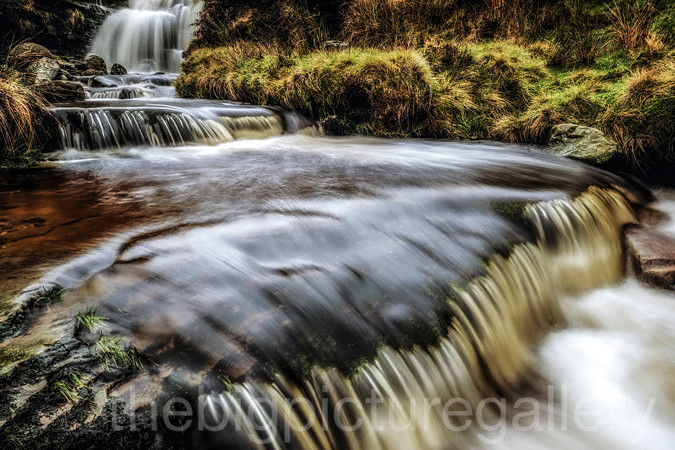
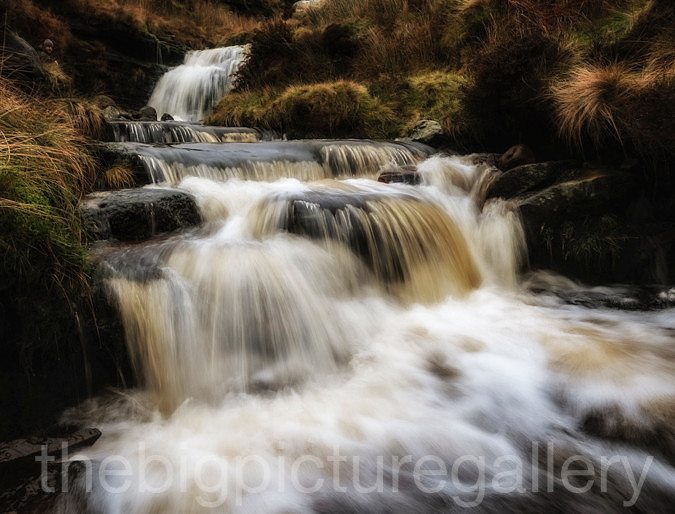
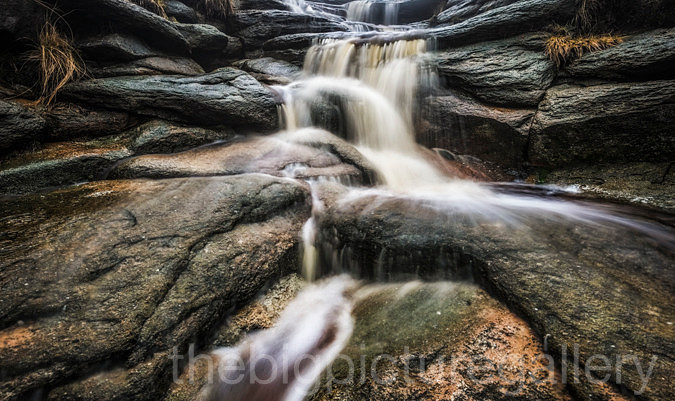
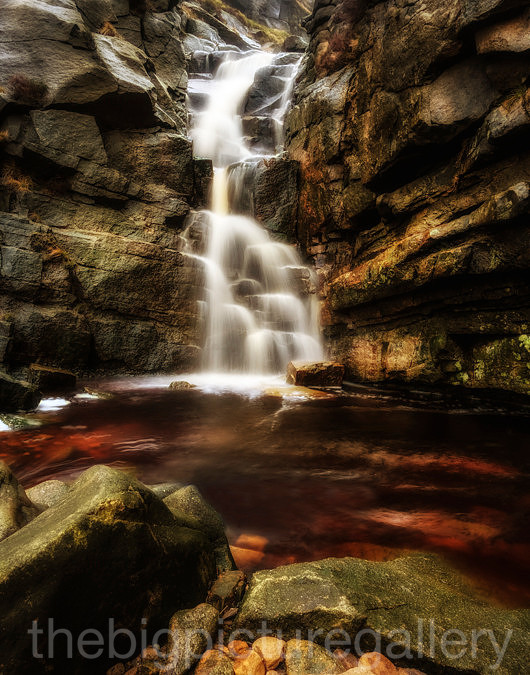
The day proved to be a great success, very pleased that Kevin got some great images. He really enjoyed the rock scramble which added interest and a little drama as the rock was a tad slippy. You can read his comments about the day in the guestbook section.
]]>
I had an idea to go back and shoot at Robin Hoods Stride near Elton, I had been there climbing a few times in the summer, and fell in love with the place, so a trip in winter seemed like a good idea. On the plus side I was driving up through some wonderful dales scenery and had already ticked off some possible locations to shoot. Needless to say the minute I got my gear in the car, the weather started to turn (always the way), still I was commited to getting out, I've had to long a break. On the good side I was also testing out some near gear, a new compact rucksack ideally suited to the X pro gear, and a very nice gitzo carbon fibre tripod. I will be doing a review of these in the weeks to come.
So the afternoon went well, I didn't get wet :) and was even treated to a nice rising moon. All images taken on a Fuji X pro 1 using 14mm 55-200mm and a few nd grads and a 10 stop filter.
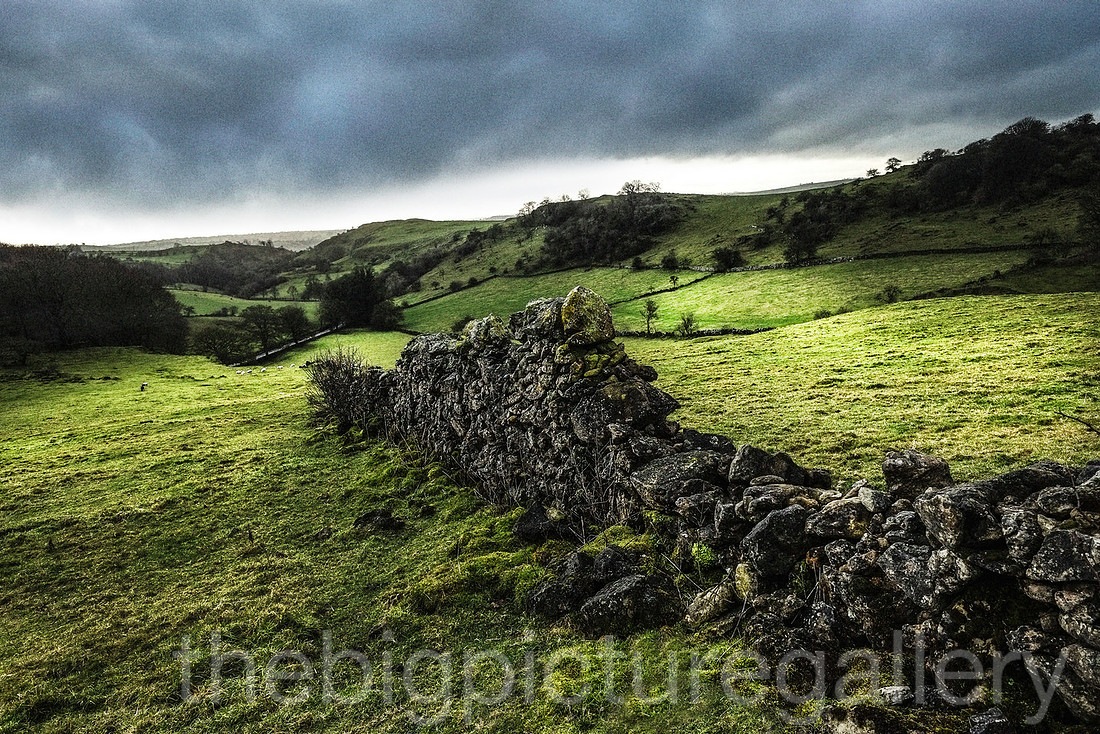
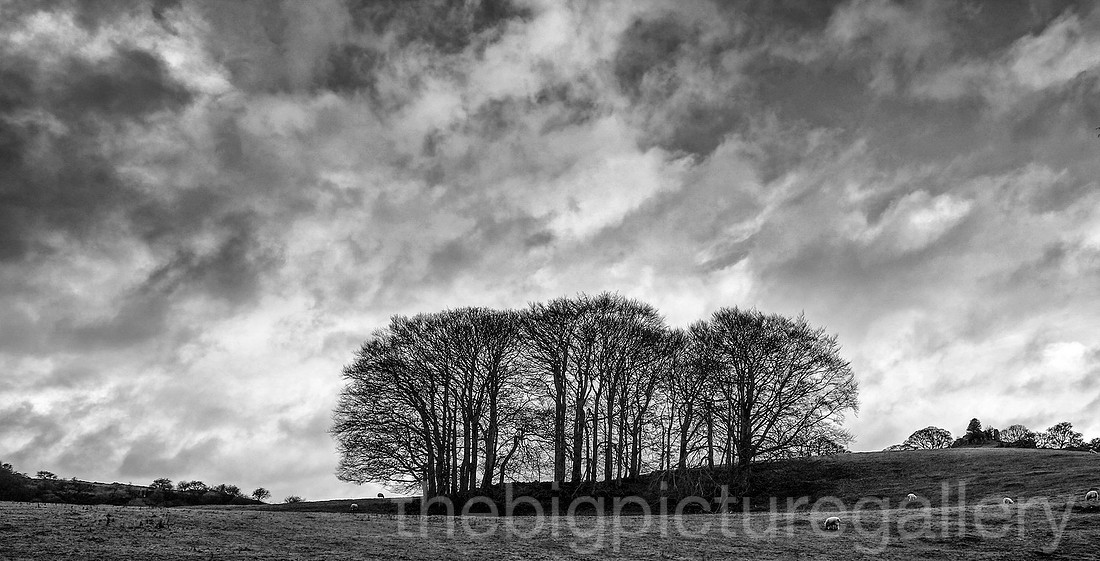
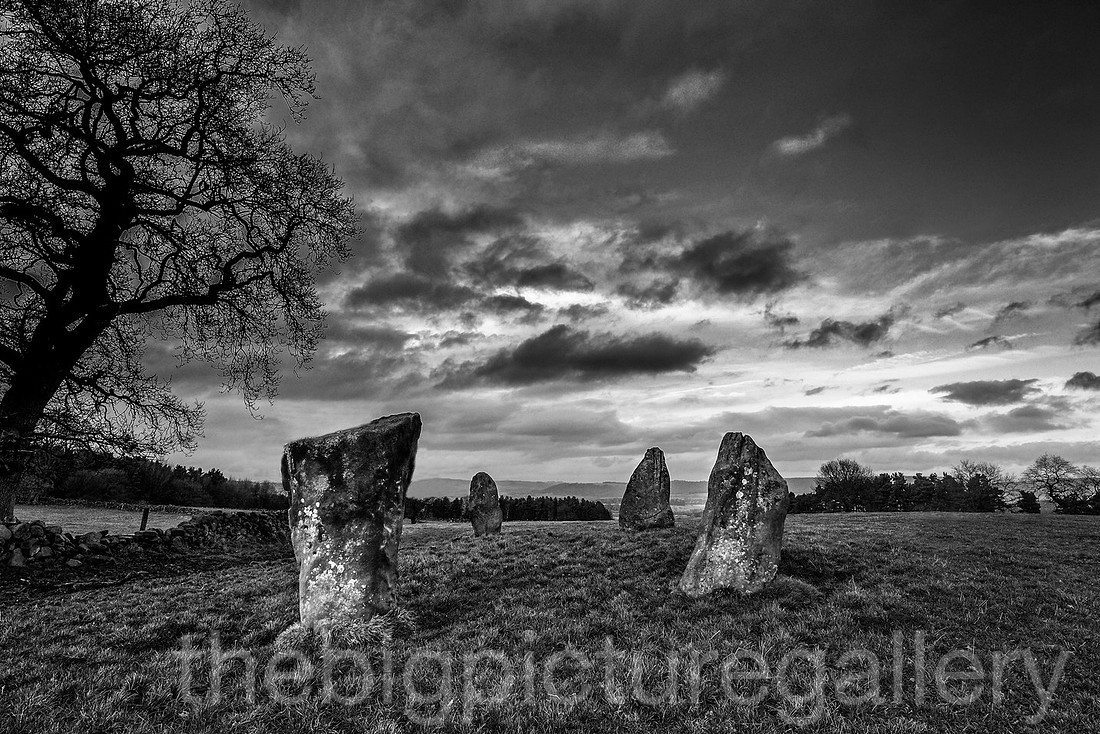
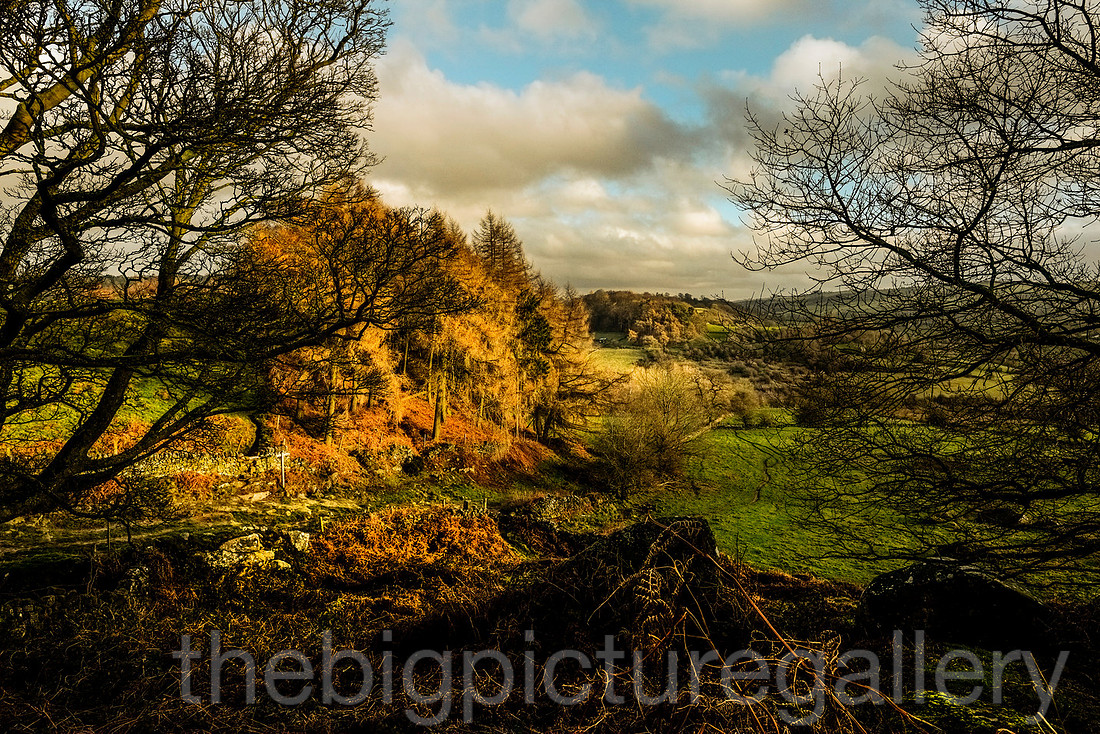
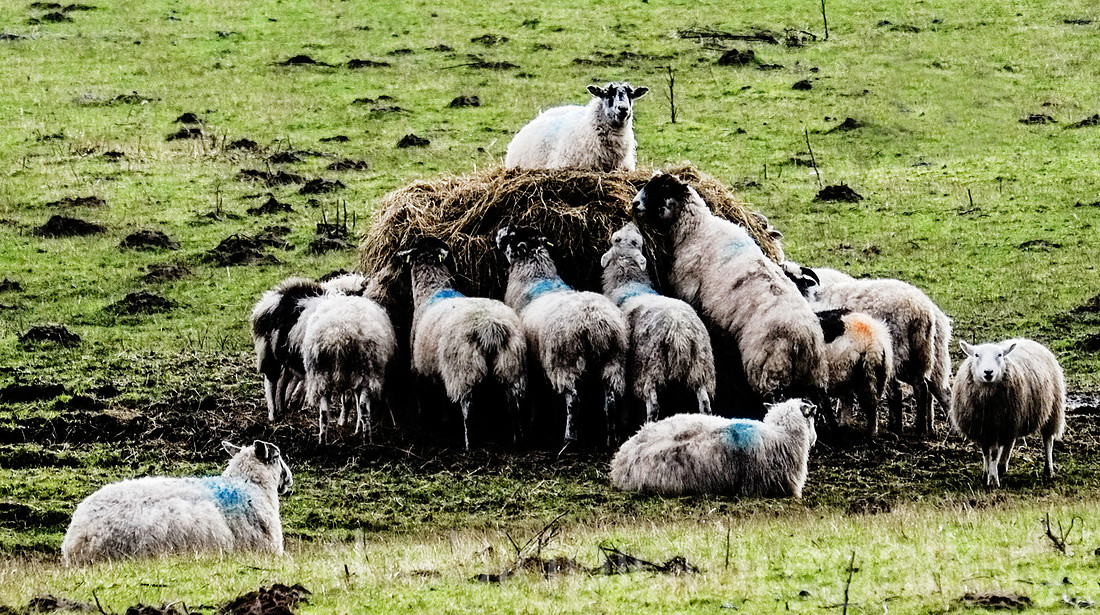
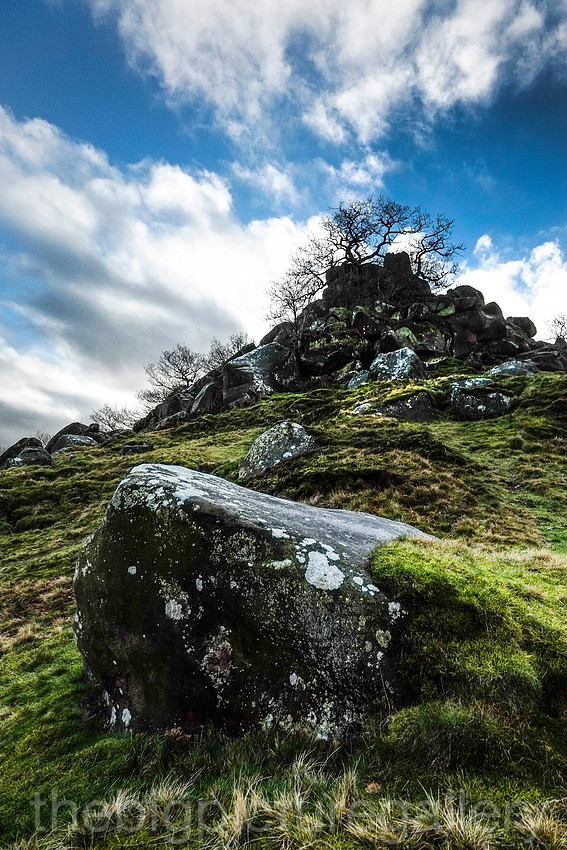
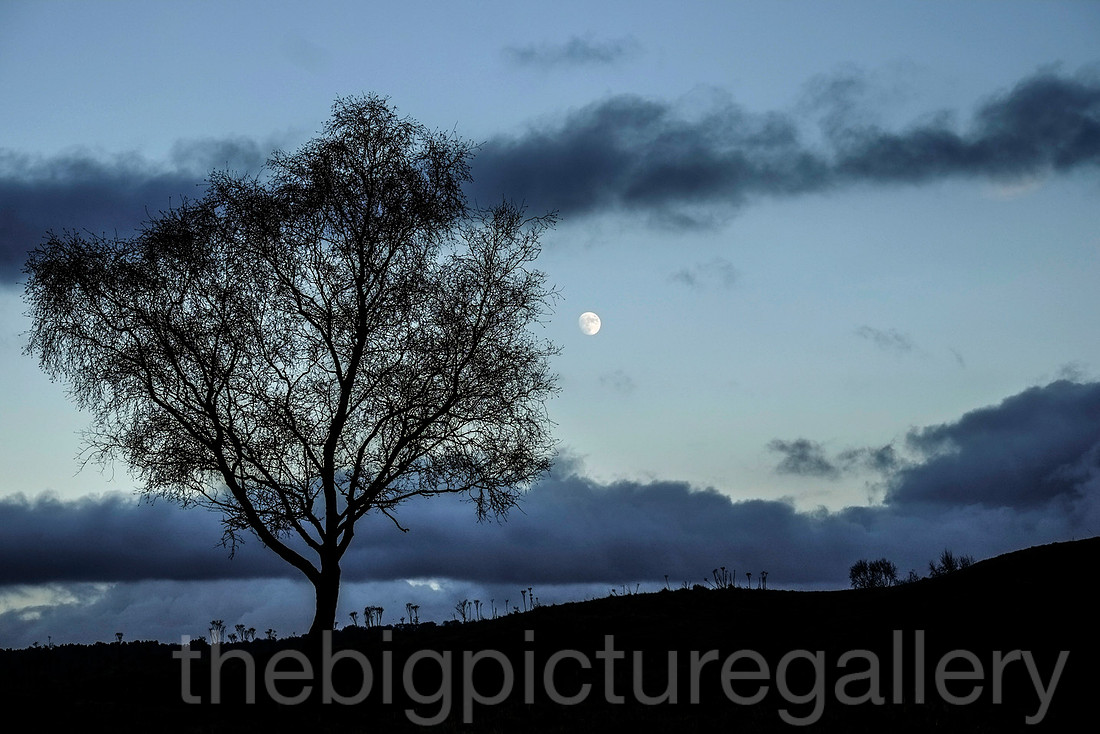
]]>
Following the narrow track past the barn to Crowden Clough, Fuji X pro 1 14mm
Looking down the valley with Rushup Edge in the far distance, Fuji X pro 1 14mm
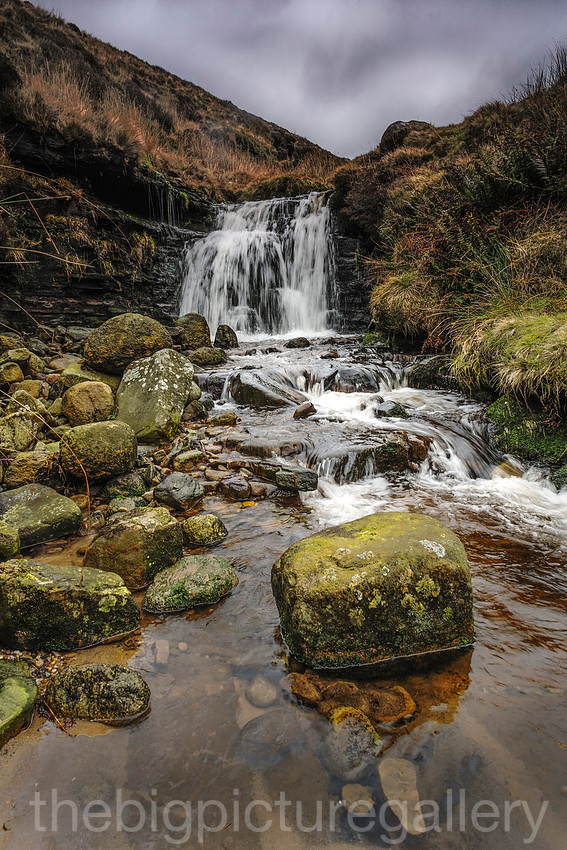
Plenty of water on Edale Moor meant some nice little waterfalls Fuji X pro1 14mm
The climb does get steeper and becomes a rock scarmble towards the top. The calm conditions of the valley below were replaced by a real hooligan of a wind, several times gusts threatened to knock me off my feet. Finally made it to the top, and started off skirting Crowden towers, thinking I would walk round by Edale Cross and descend down Jacobs Ladder. 20 minutes later I was in the teeth of a massive storm, the rain being horizontal by this point, gusting winds easily 40 knots pinged the rain into my face.
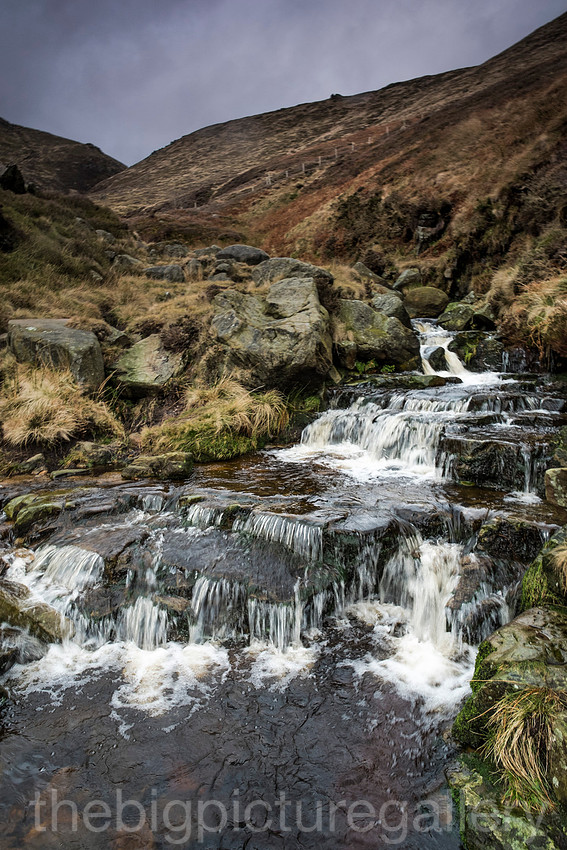
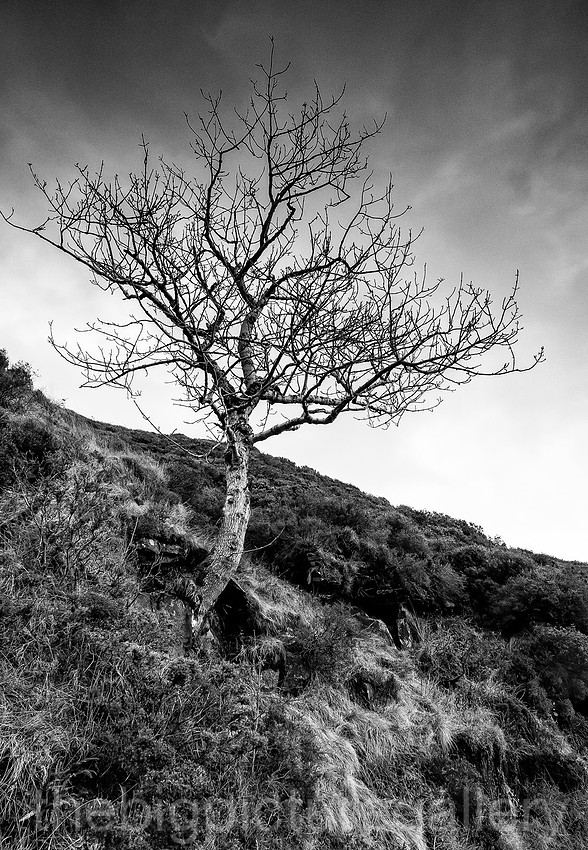
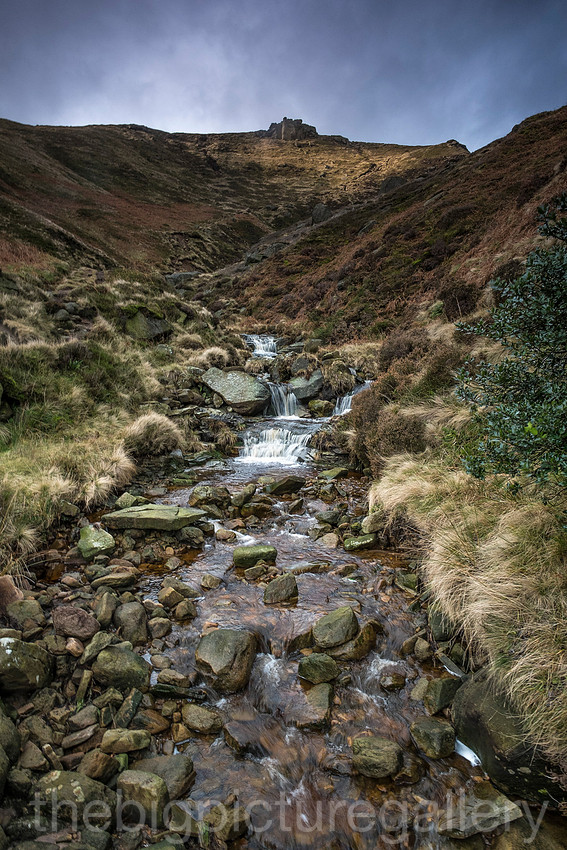
Going up the clough with Crowden Towers bathed in a little sun, Fuji X pro 1 14mm
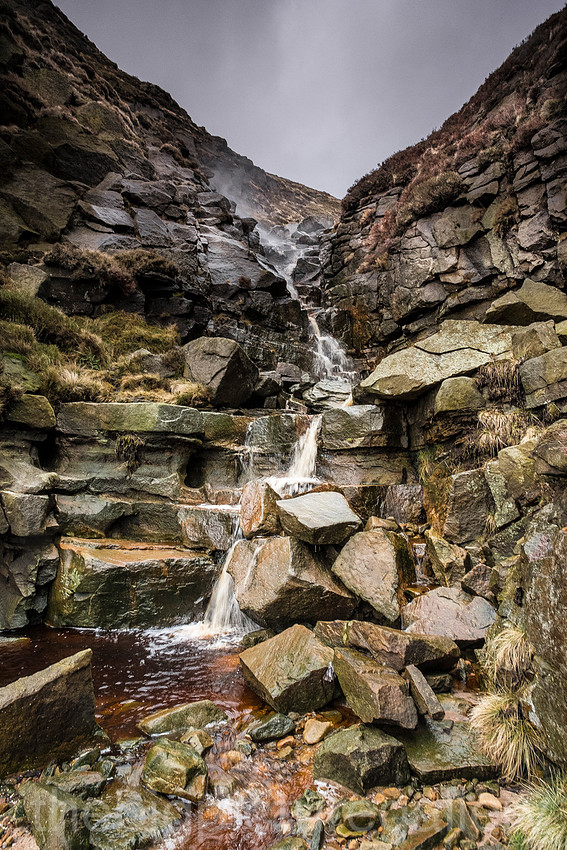
Now the climb starts to be fun, notice the windspray above Fuji X pro1 14mm
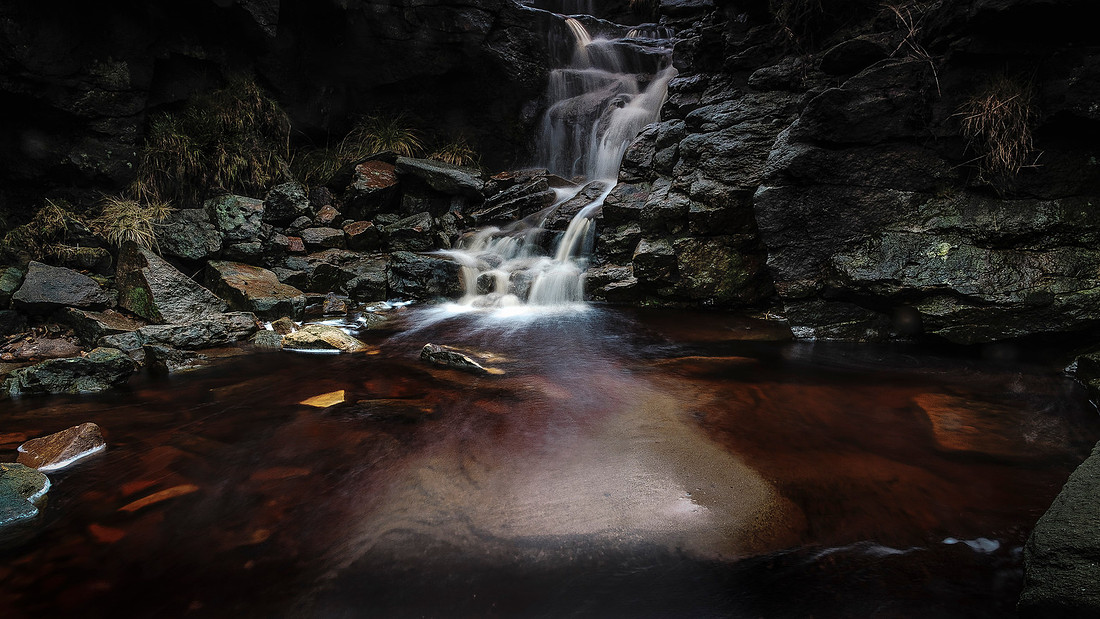 A lovely little pool of amber Fuji X pro 1 14mm
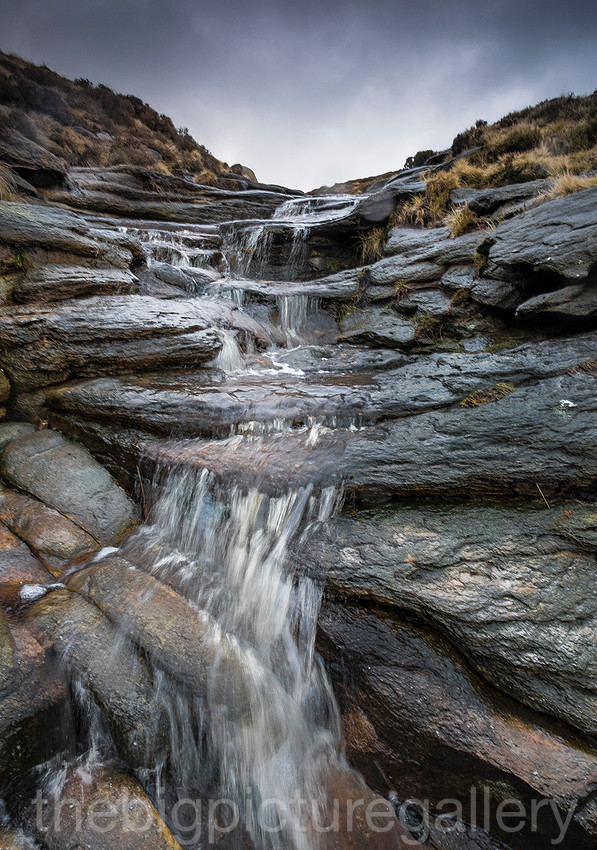
Amazing gritstone steps at the top of the Clough Fuji X pro 1 14mm
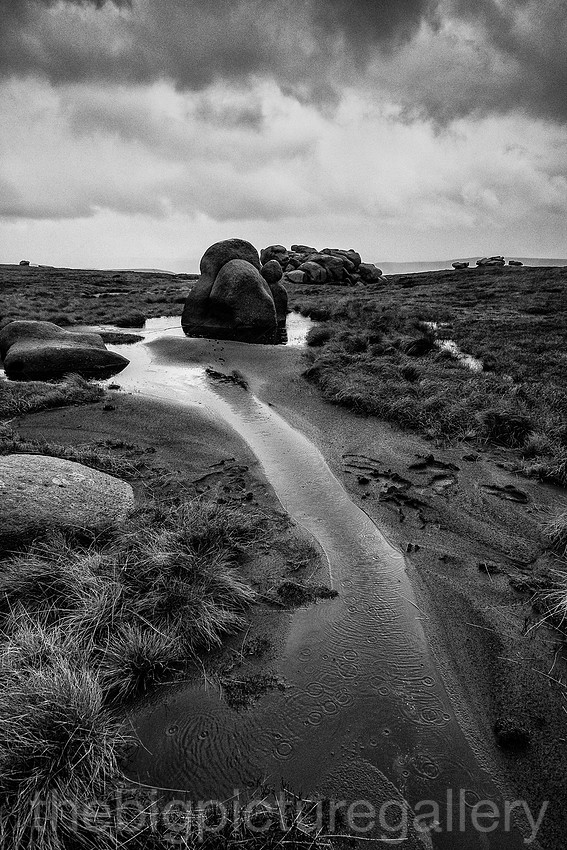
The last shot of the day in the teeth of a gale Fuji X pro 1 14mm
Getting back down was interesting ended up doing a bum slide down several hundred feet of wet turf, laughing my head off. Got back to my car thoroughly wet through despite the Goretex. Whoever thought Landscape photography was easy :)
]]>Nick & Trudy
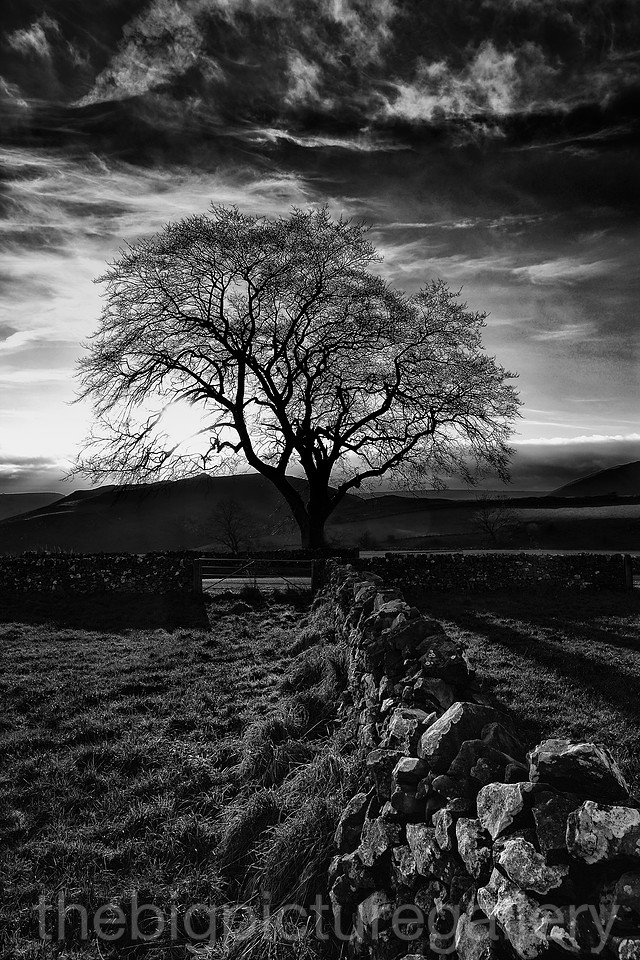
A moment in time, that little shaft of light cheered us up no end, then it was back to plodding back off the hill to the safety of civilisation below us. Despite the conditions an epic day was had, and one image stood out over the rest. Totally summing up the day and conditions, the bleakness of the peak in deep winter.
Fuji X pro 1 18mm f2.8 converted to monochrome.
I just love this old abandoned shed, this was taken with the 35mm 1.4 on my Fuji X pro 1
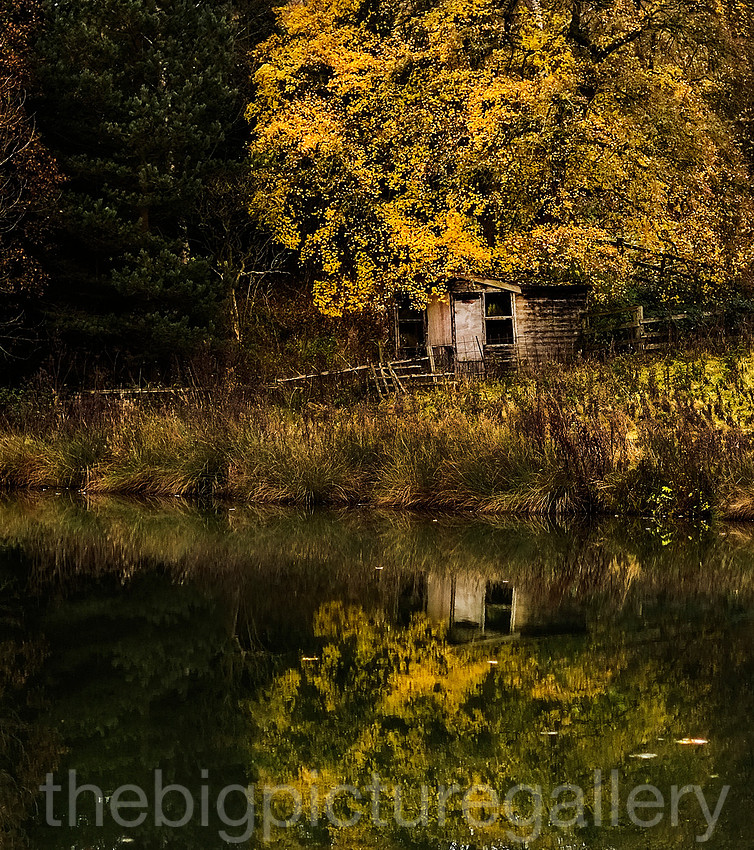
Some other images taken with a variety of lenses 14mm, 18mm, 35mm, and the 55-200 zoom. What I have noticed over my year of X pro 1 ownership, is that they may not make the best camera in terms of ergonomics or af speed. What Fuji deliver however is incredible files, maybe this is due to their years of knowledge about making film. It certainly seems to show in the quality of the images I get.
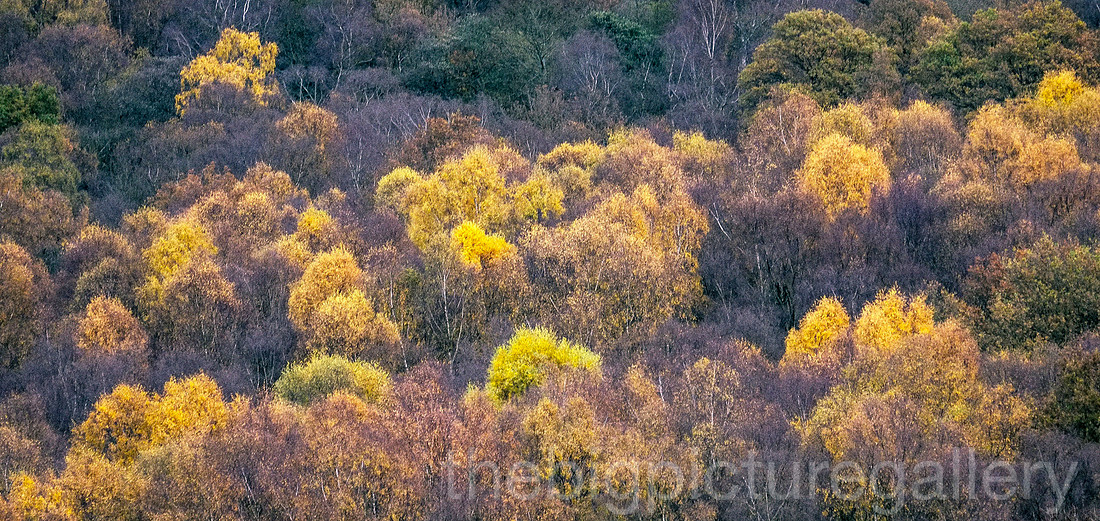
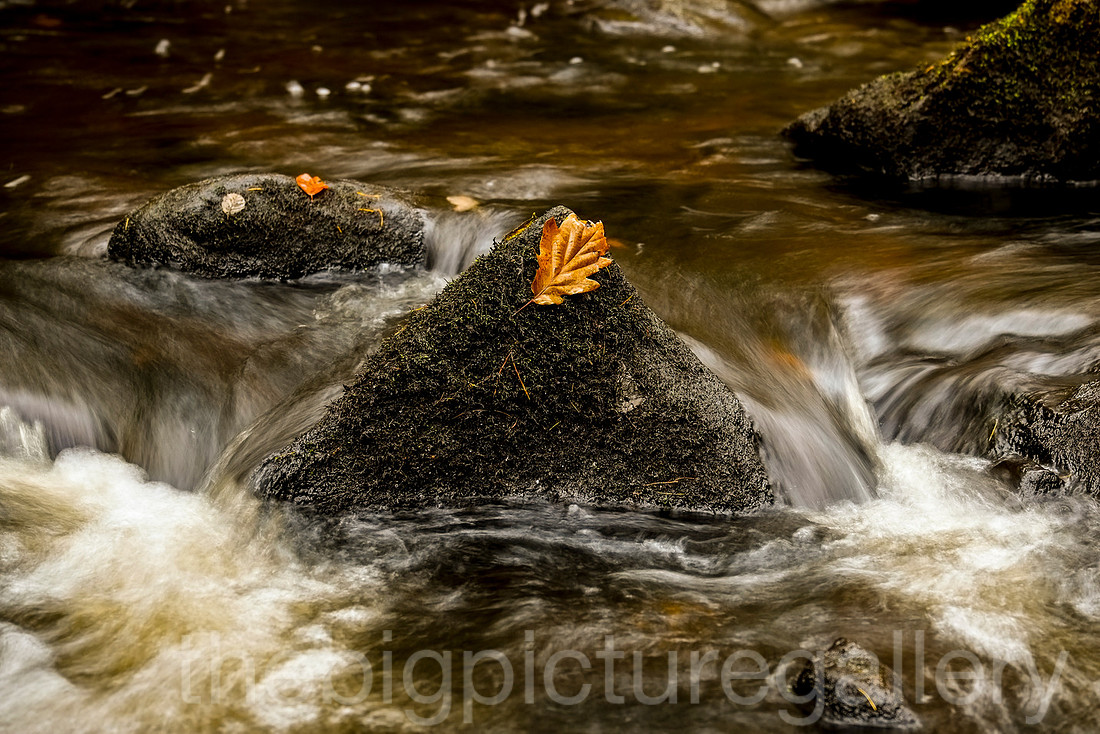
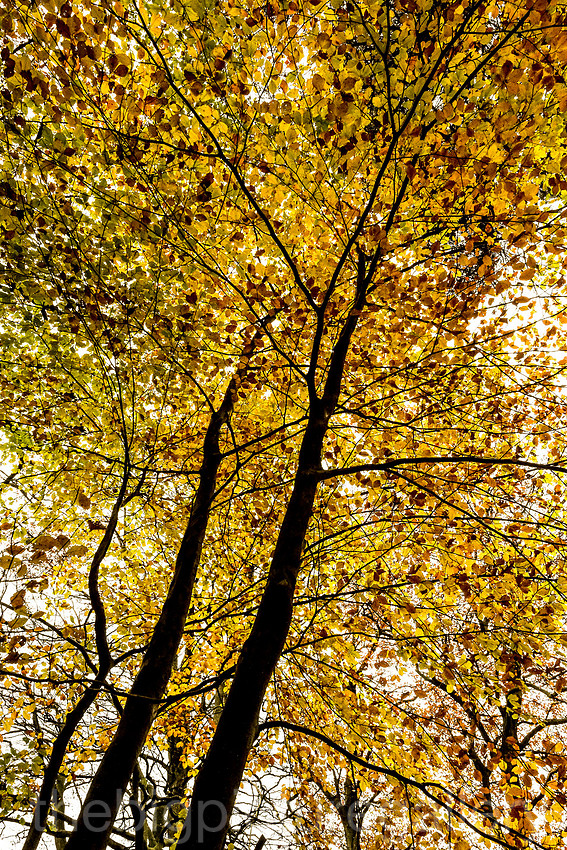
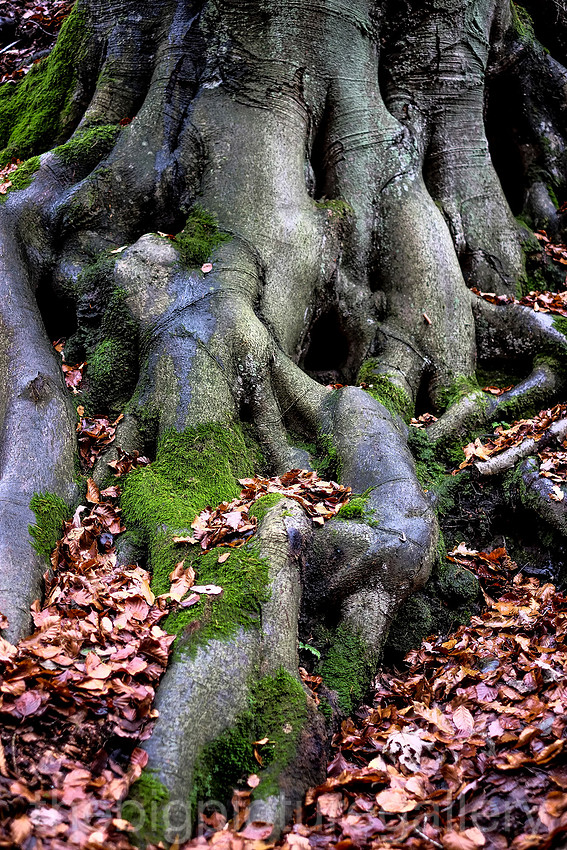
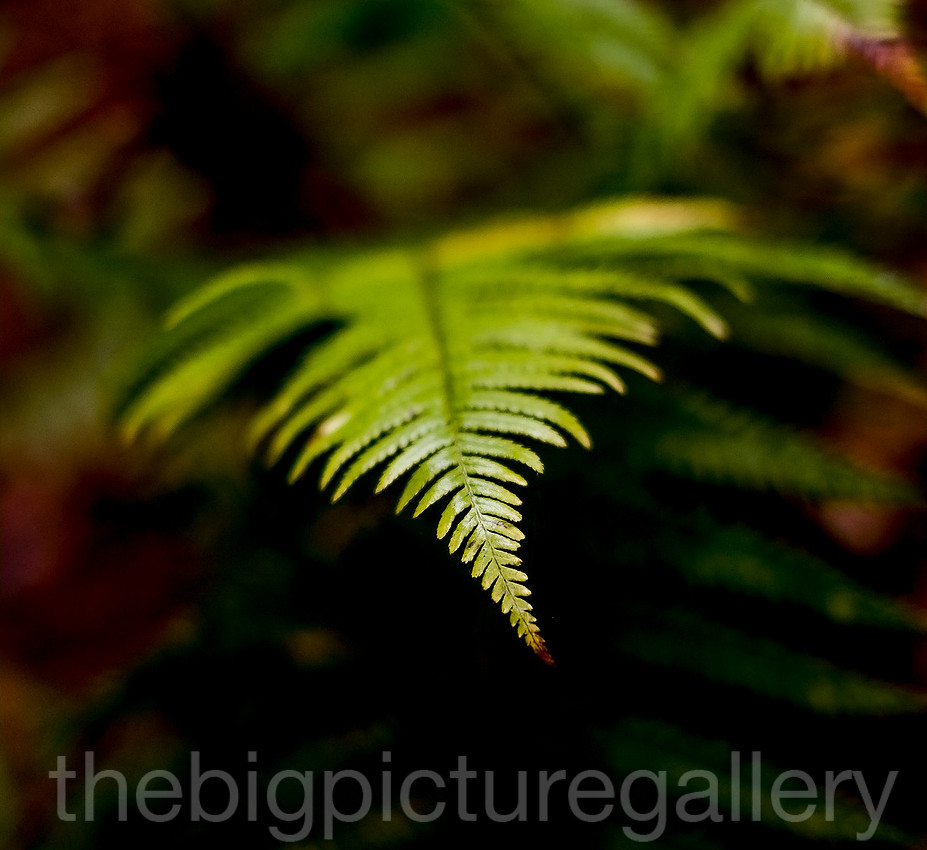
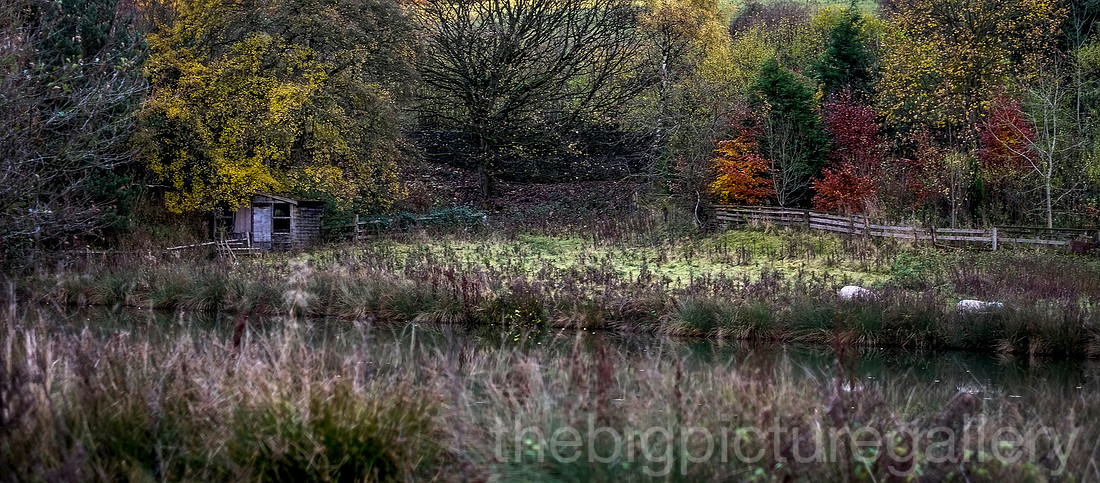
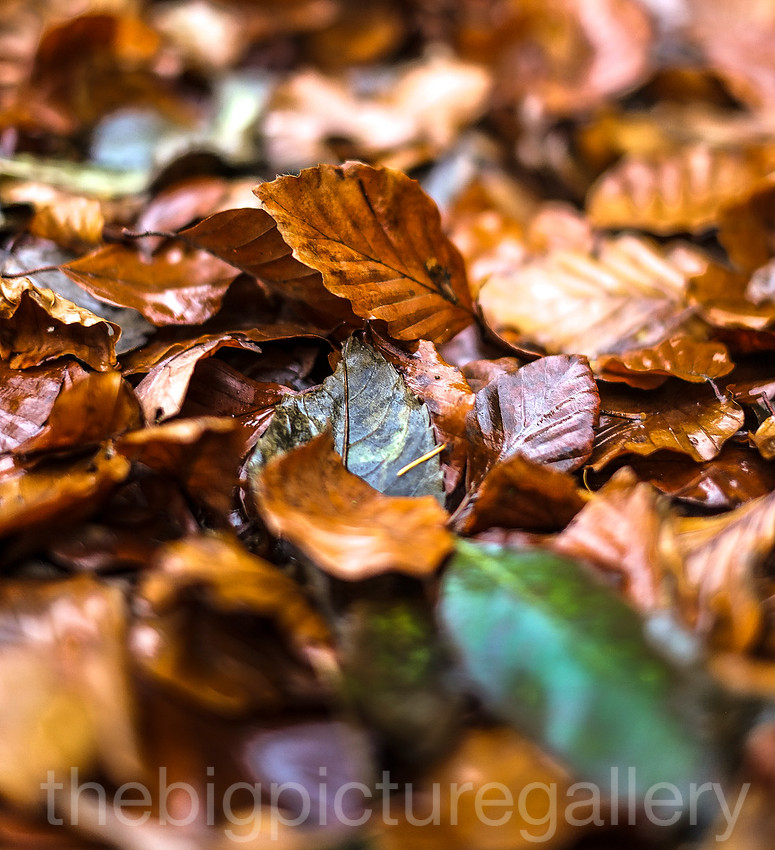
The image was taken using a Fuji X pro 1 with the 55-200 zoom. A killer combination.
I have just made a large print of this for framing, the colour and tone work well to create a fine moody landscape. So something that was forgotten now sits proudly on the gallery wall.
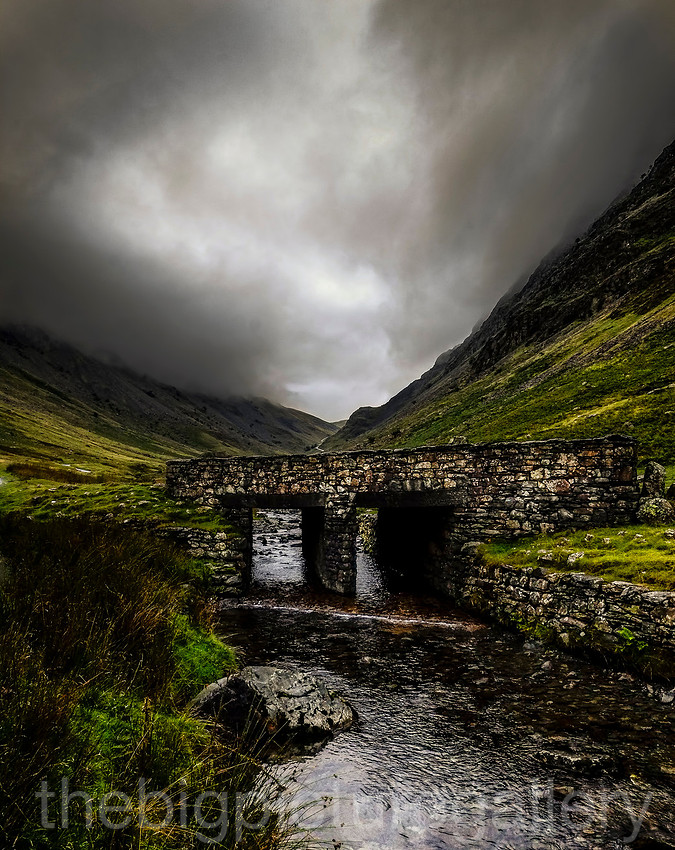
Image taken with Fuji X pro 1 14mm lens
]]>Monsal Dale is a spectacular place to visit. The River Wye cuts through the limestone valley below you as you look at its beauty from above. Clearly visible is the great brick Headstone Viaduct which carried the Midland railway over the river. When it was built it enraged quite a few folk and even leading John Ruskin to write
'There was a rocky valley between Buxton and Bakewell, once upon a time, divine as the Vale of Tempe... You Enterprised a Railroad through the valley - you blasted its rocks away, heaped thousands of tons of shale into its lovely stream. The valley is gone, and the Gods with it; and now, every fool in Buxton can be in Bakewell in half an hour, and every fool in Bakewell at Buxton; which you think a lucrative process of exchange – you Fools everywhere'.
I find it rather elegant and another fine piece of civil engineering
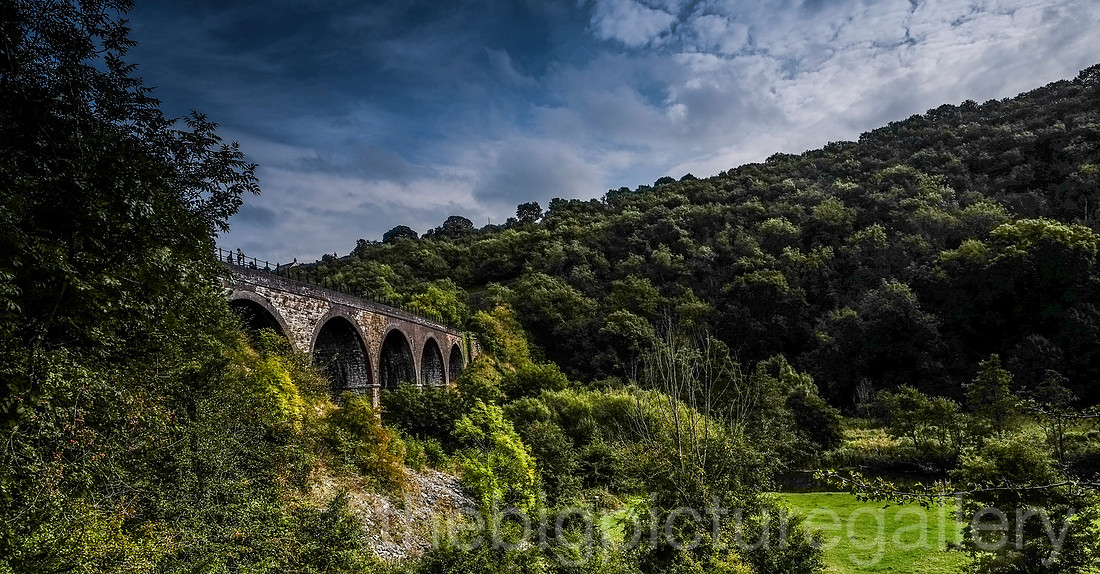 So the trip down to the river below, is quite steep but not arduous. I was headed down the valley to the weir, where the river tumbles about 20 feet making a spectacular picture.
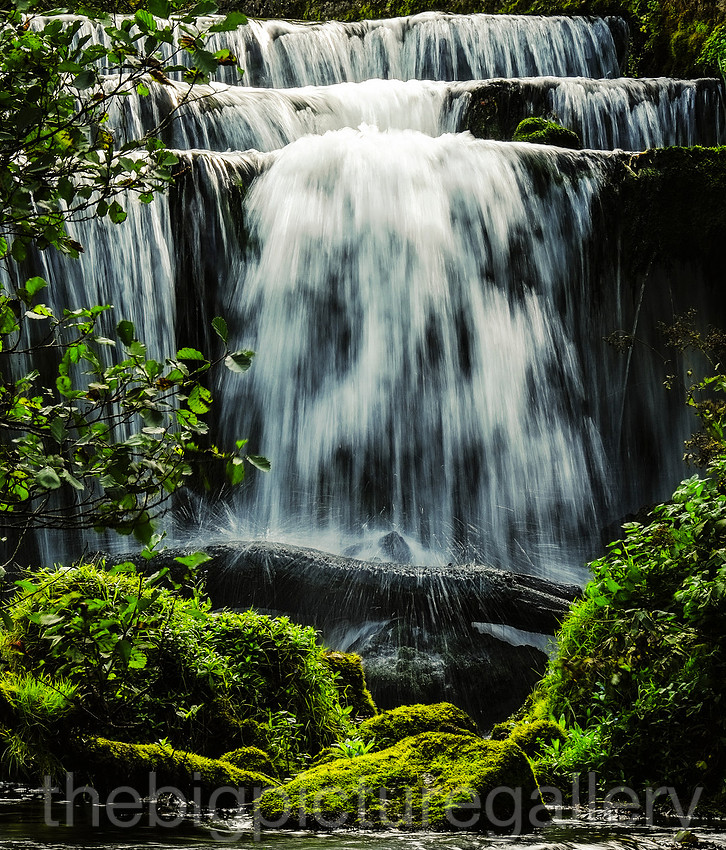
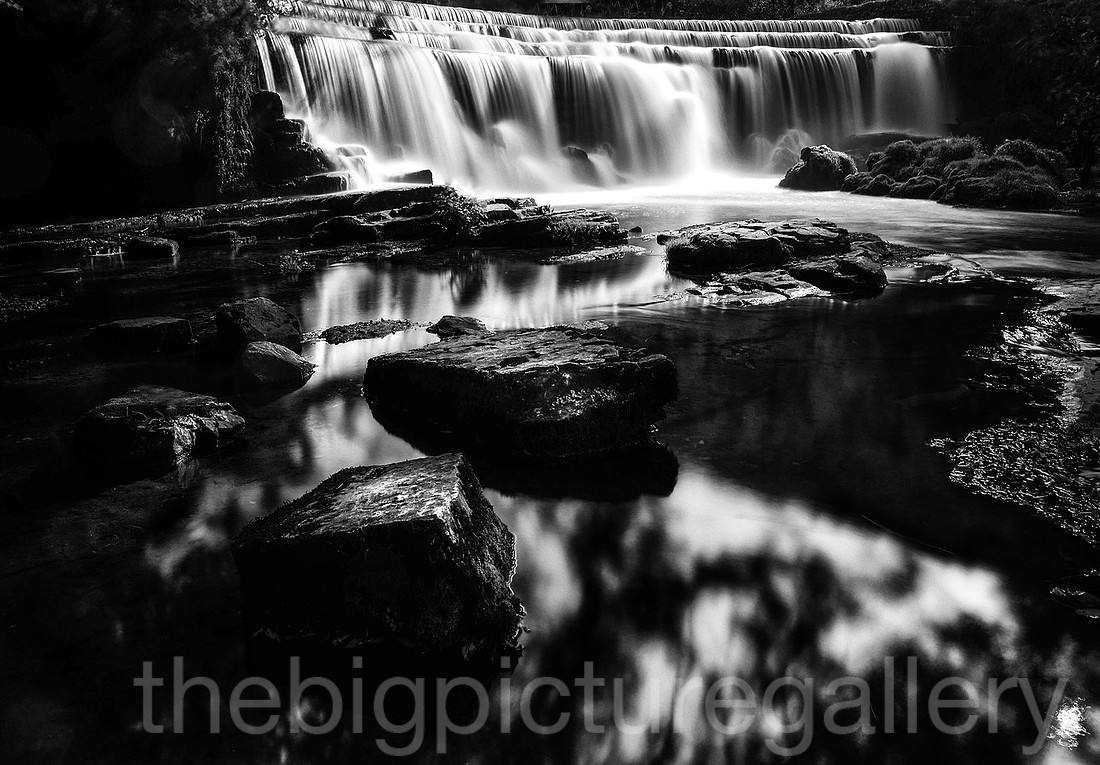
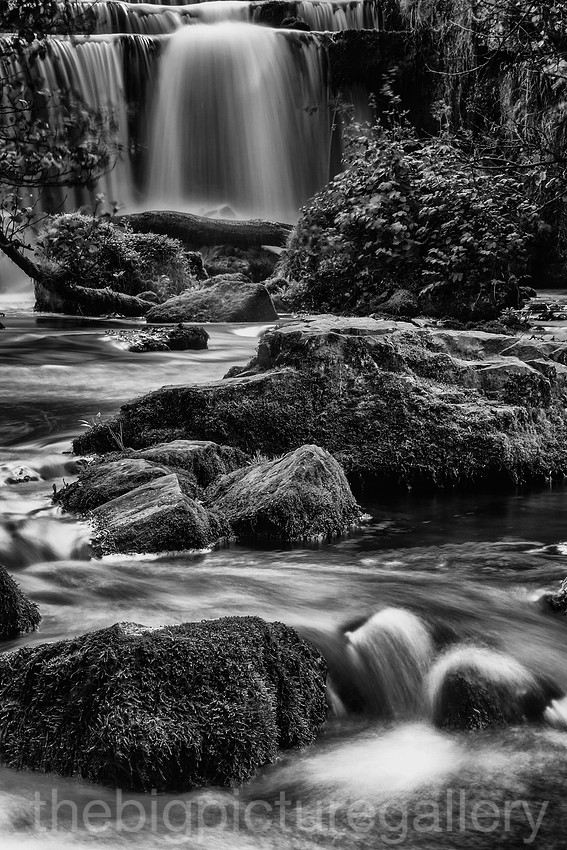
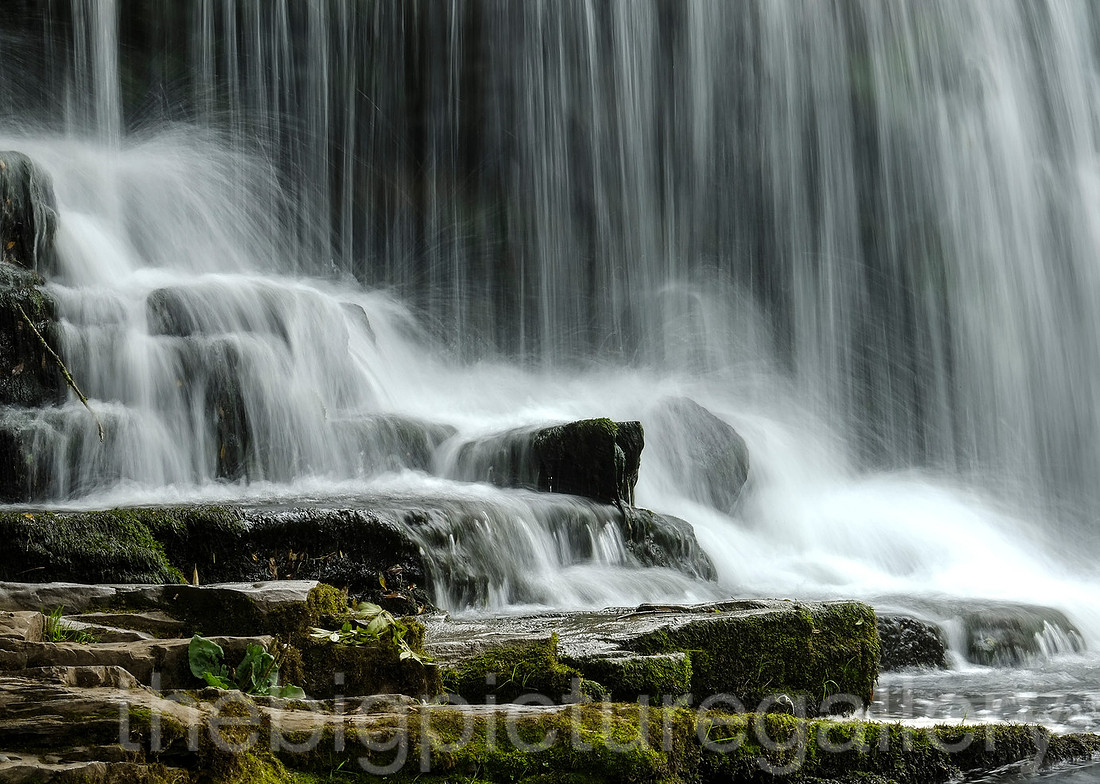
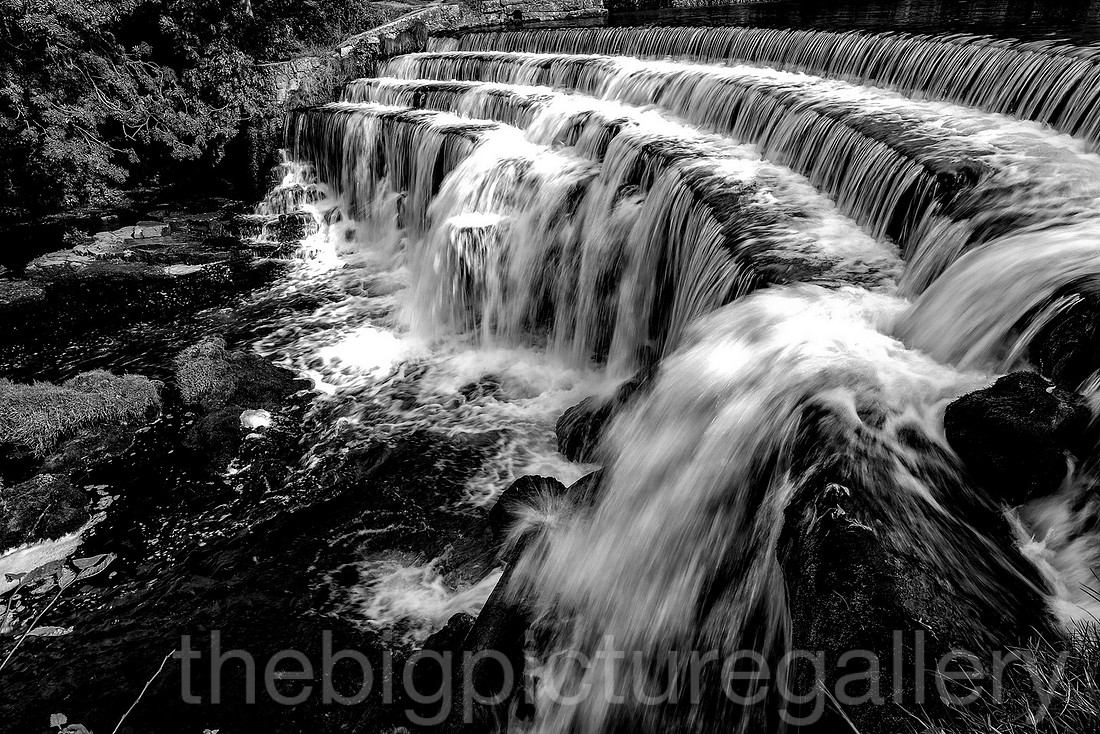
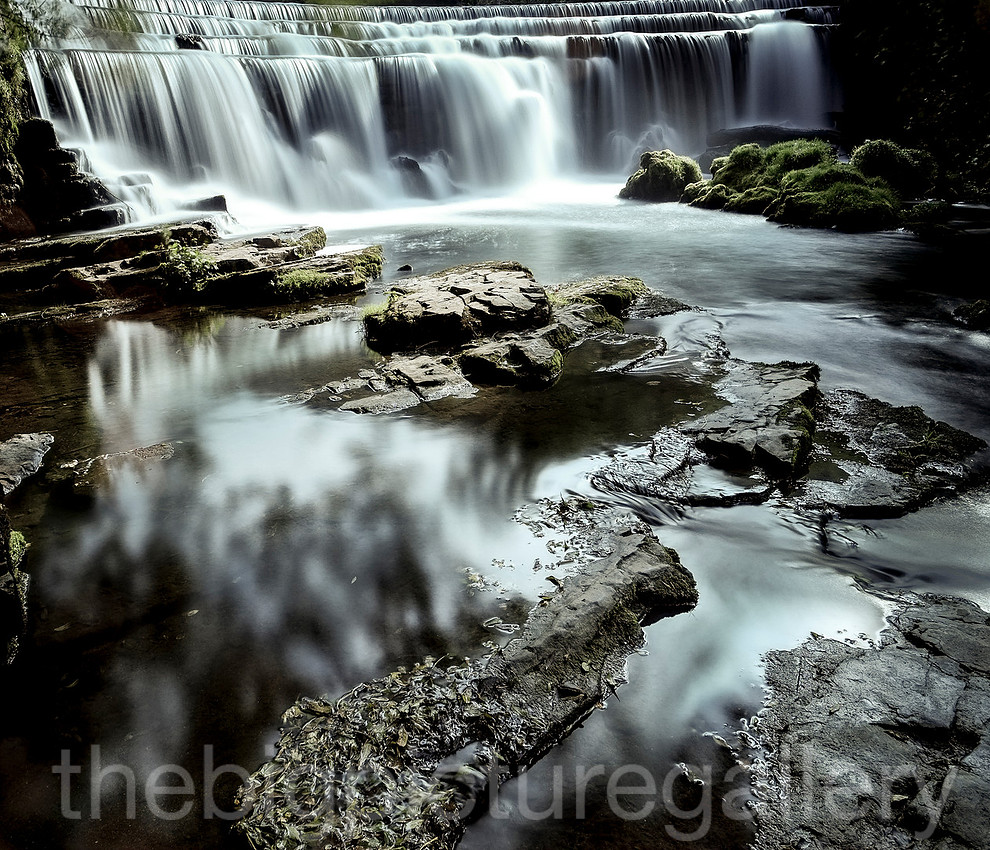
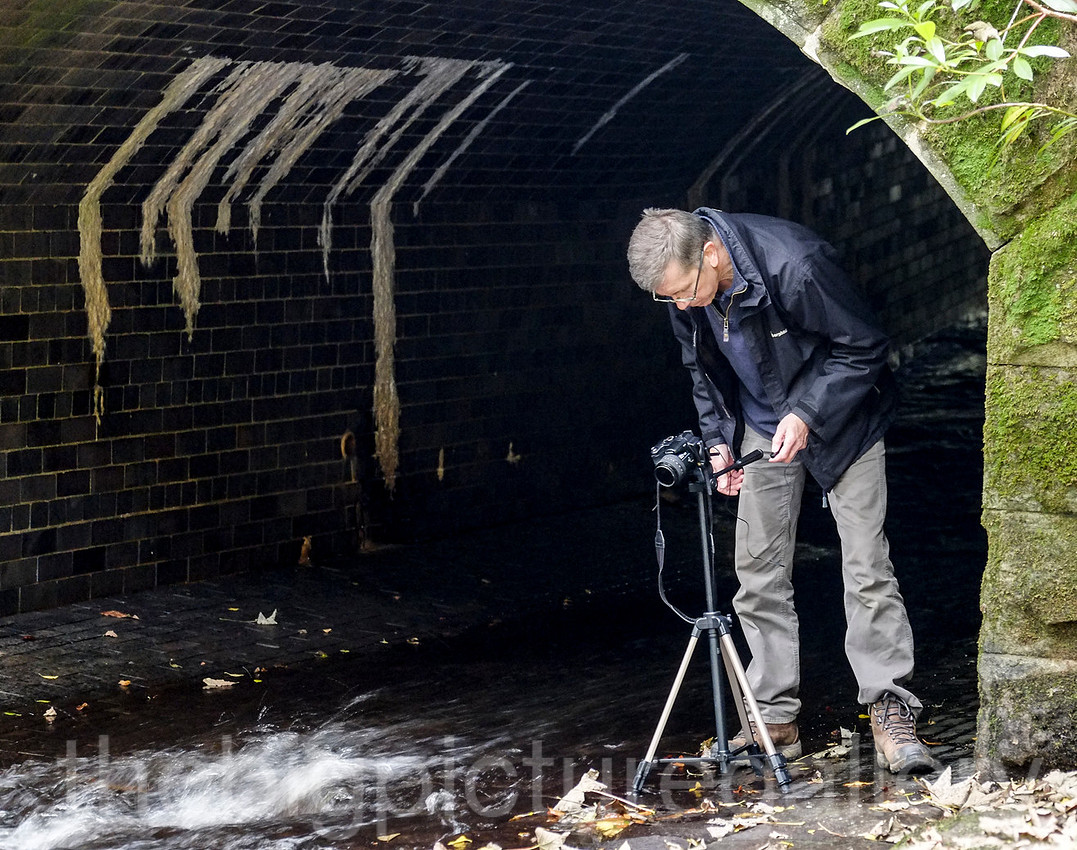
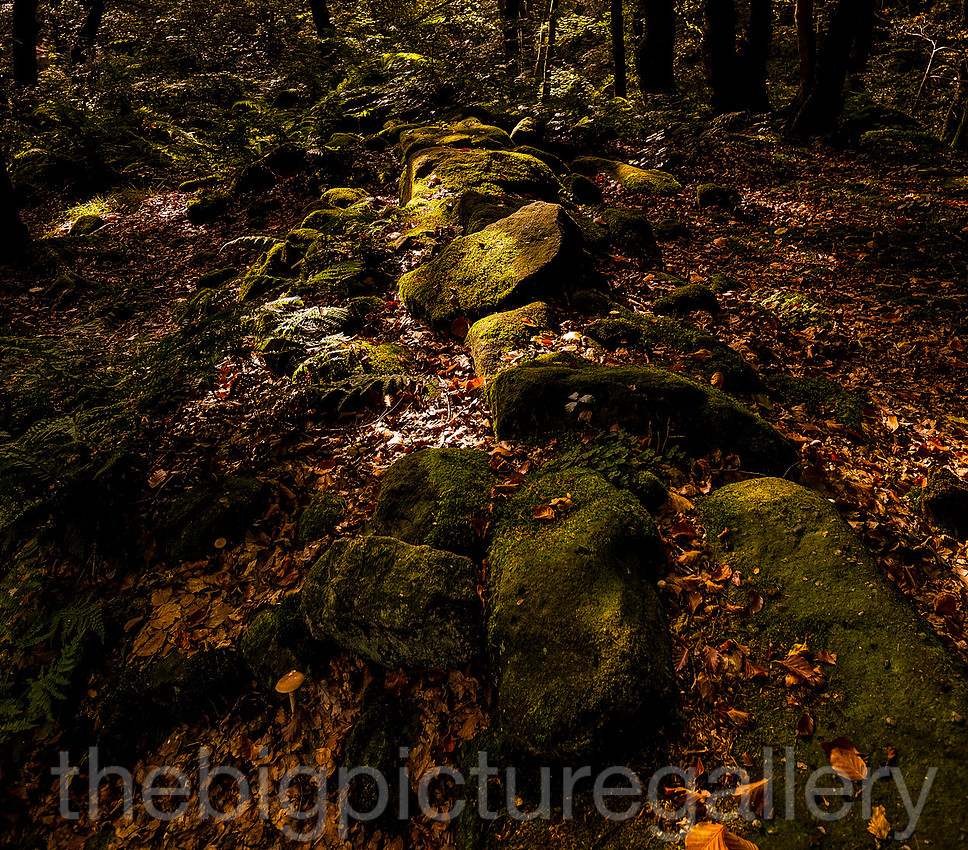
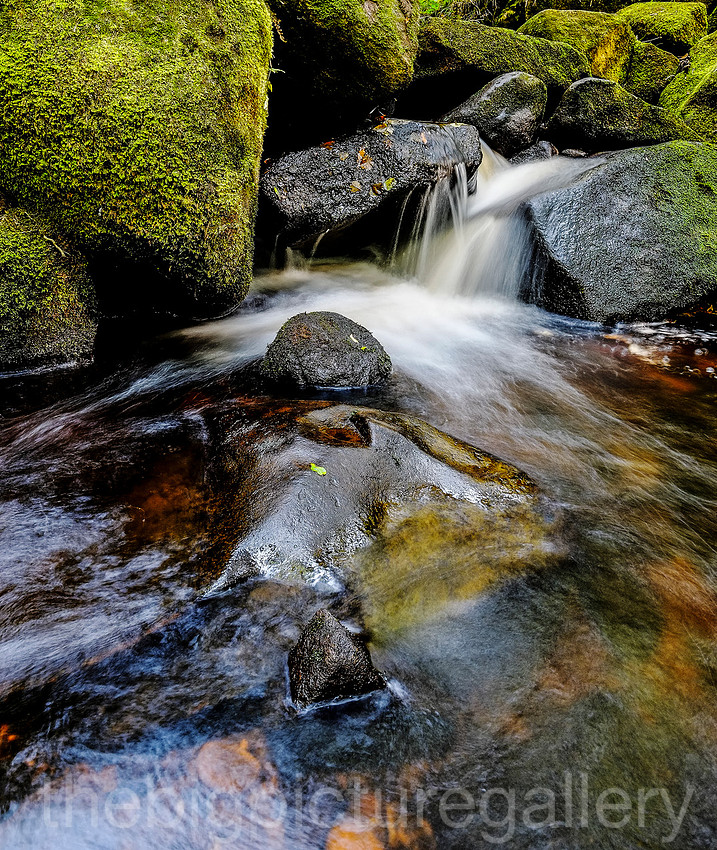
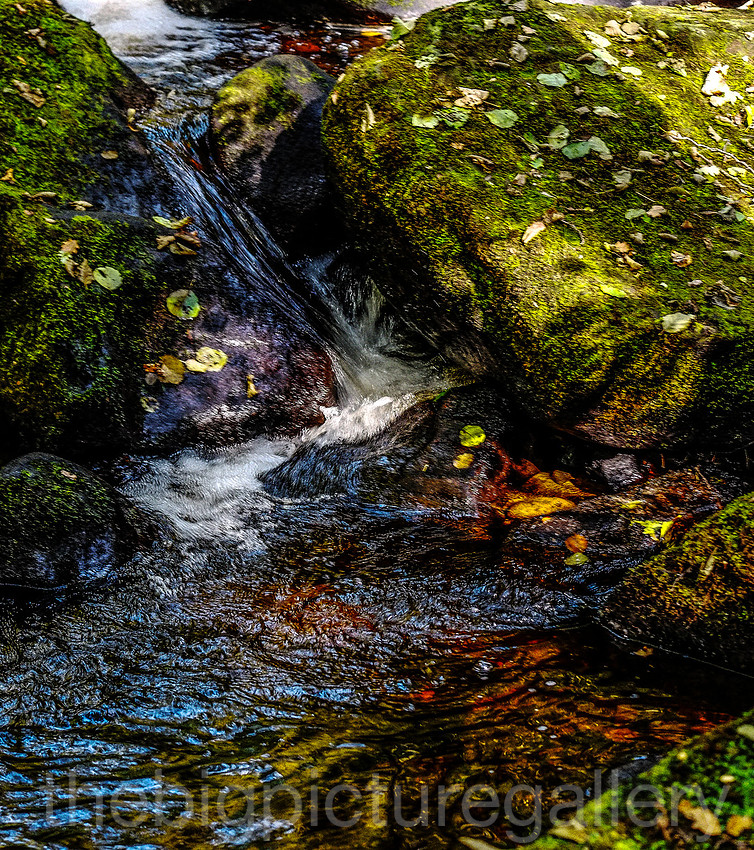
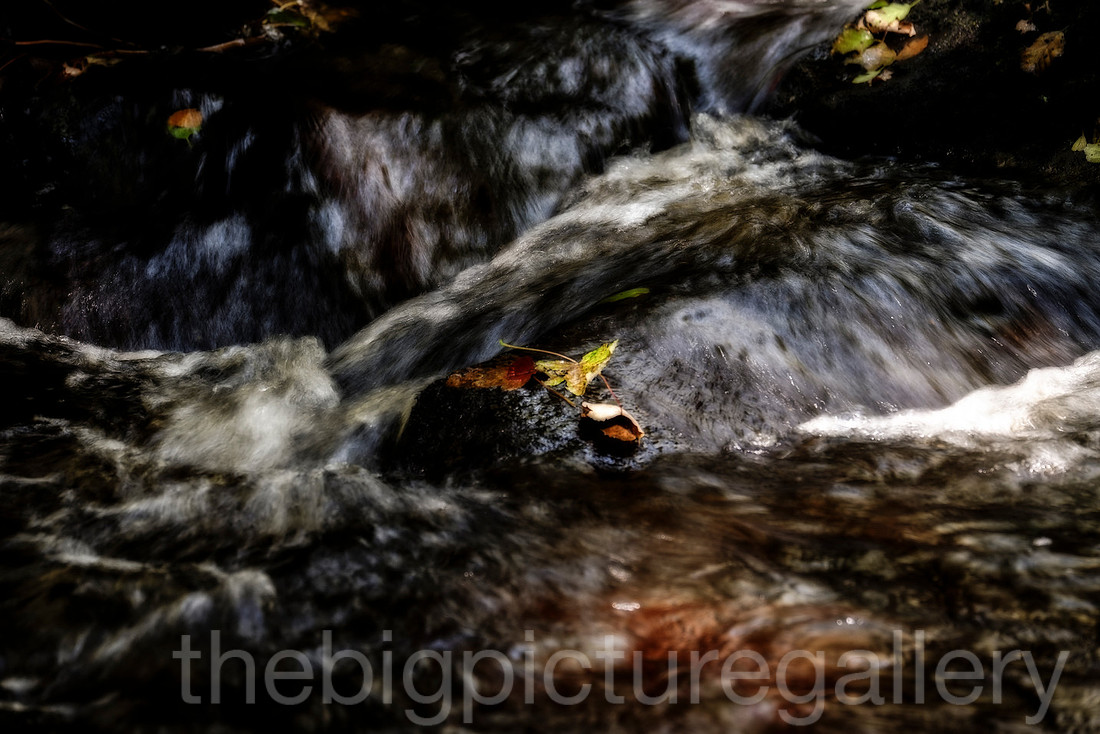
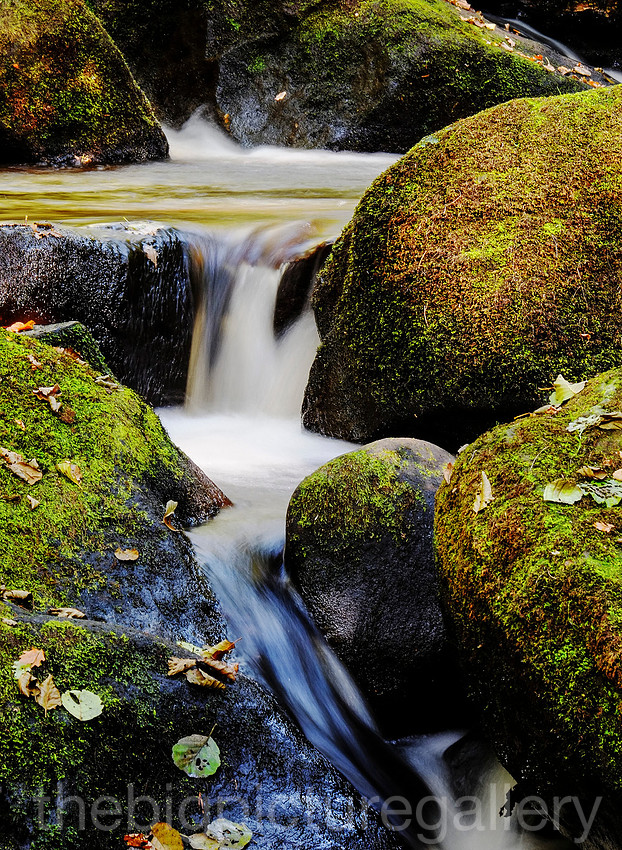
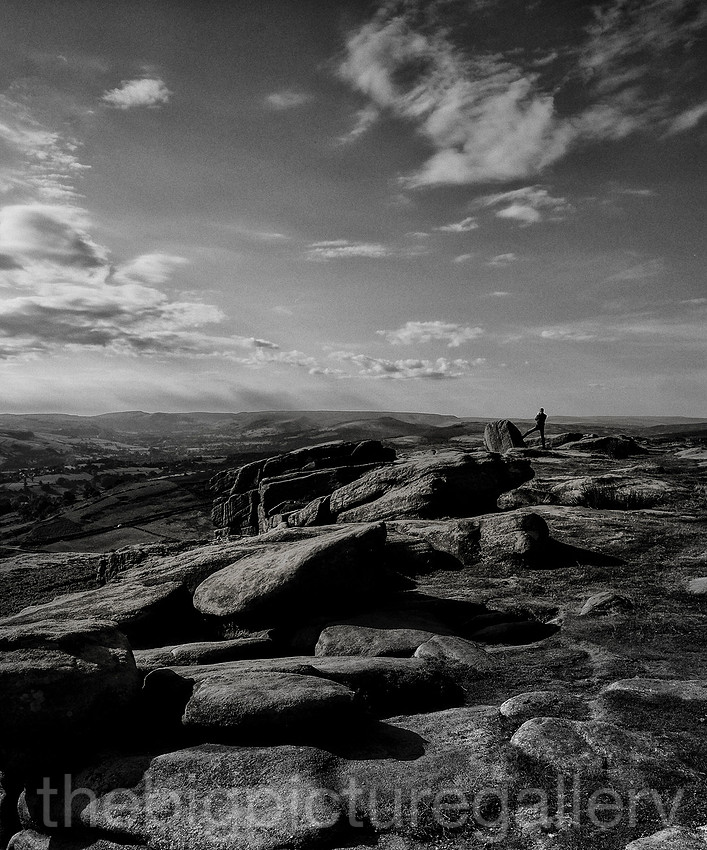
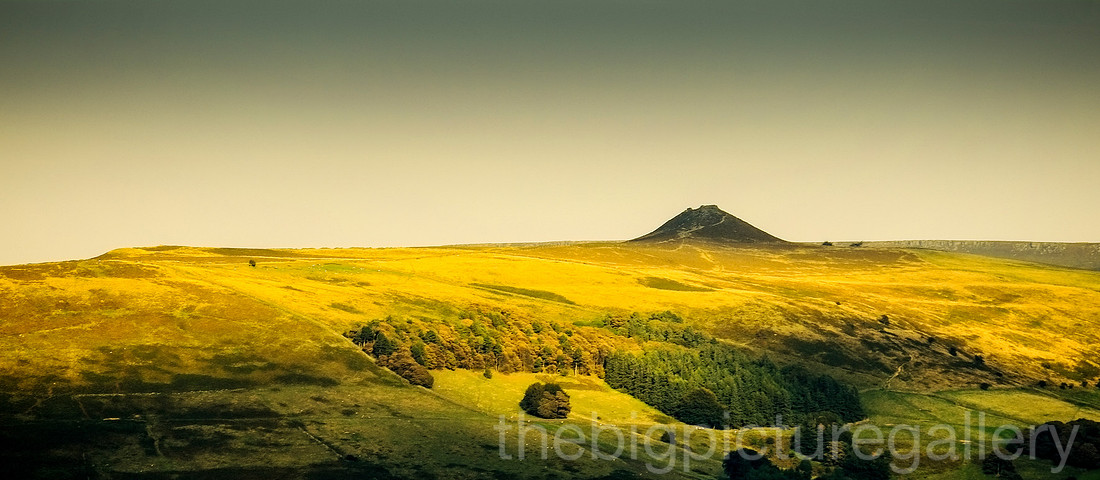
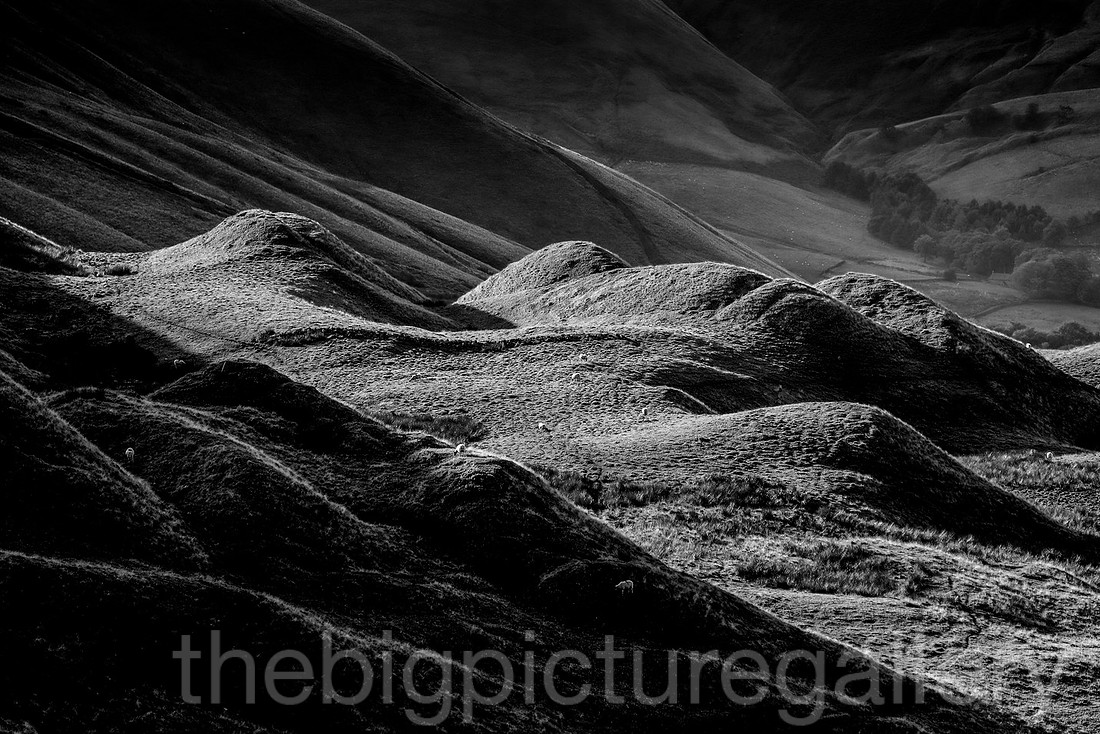
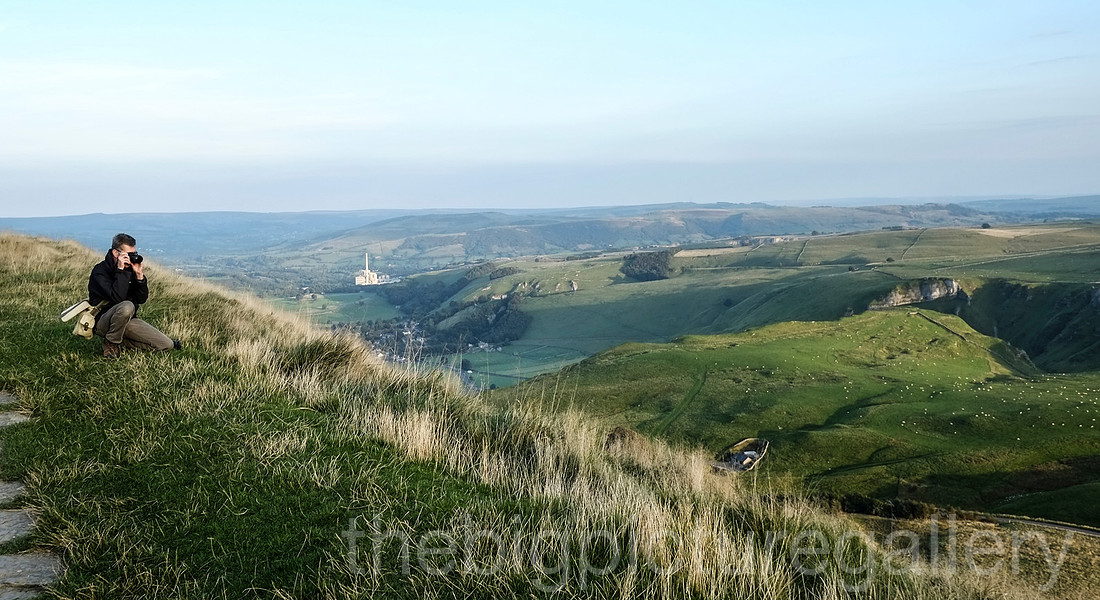
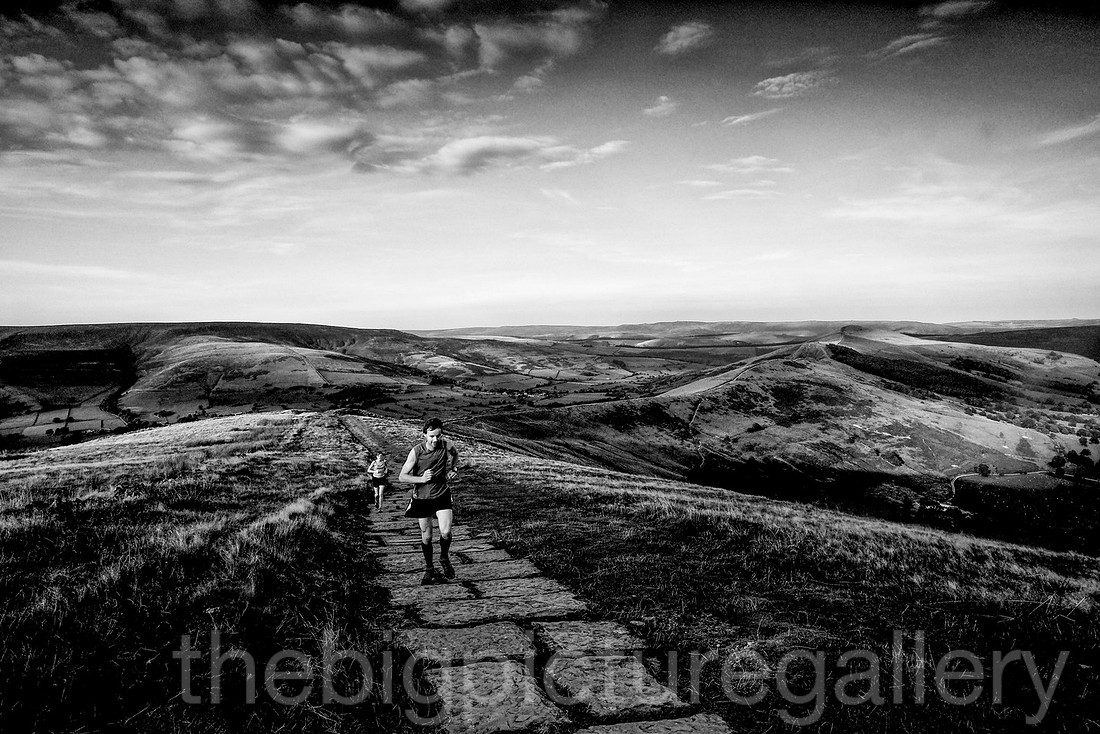
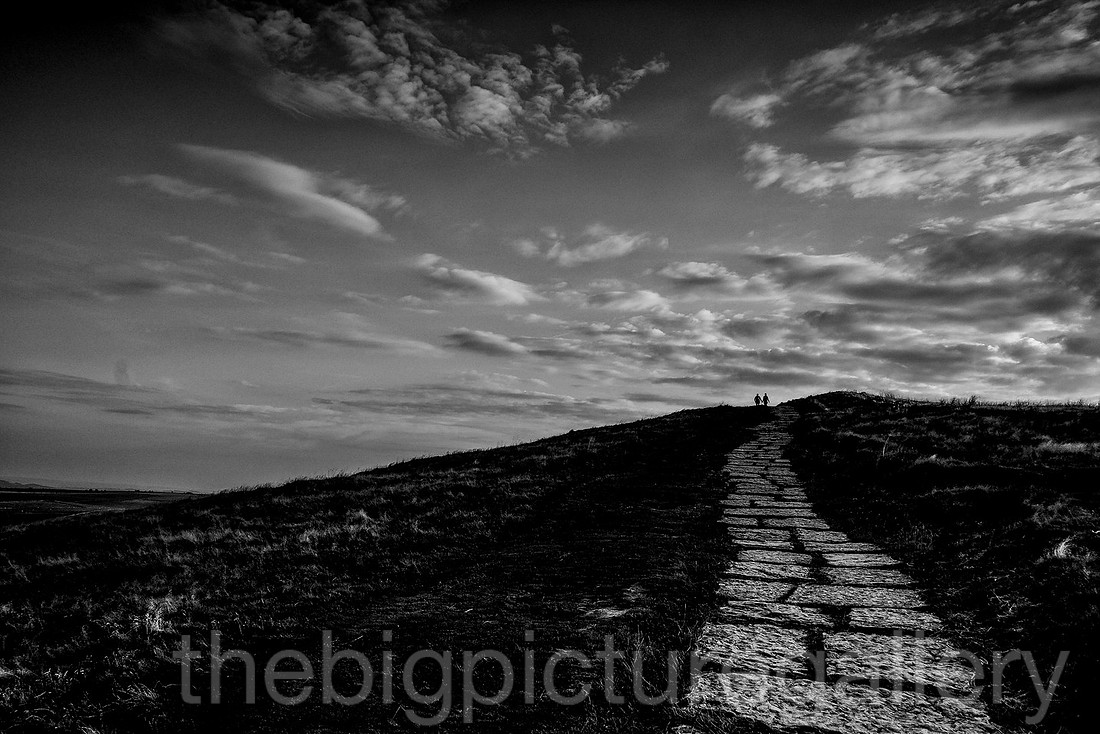
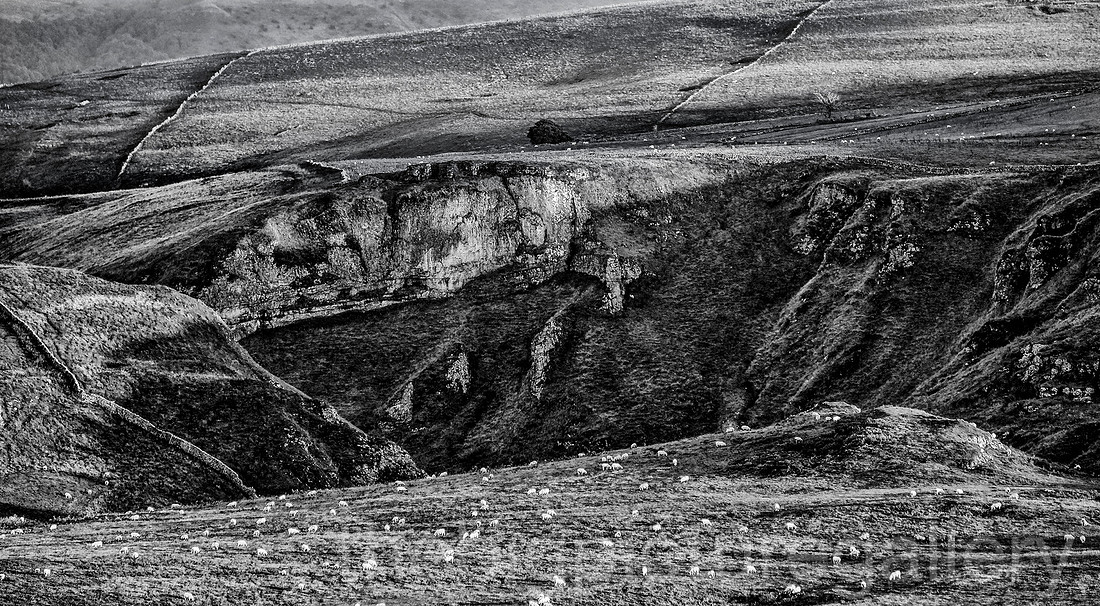
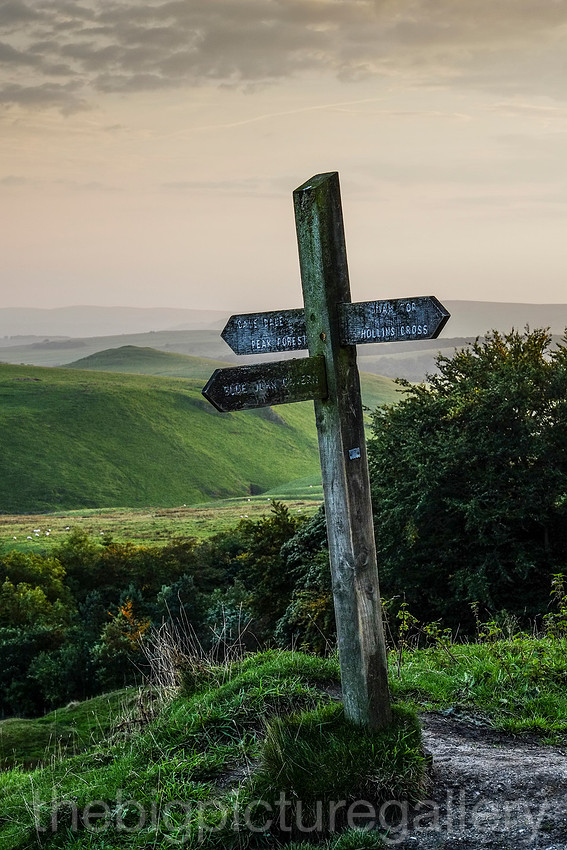
However the morning just got worse, with low cloud and drizzle. Revert to plan b, so did some long exposures of the River Dove, actually the weather for this was perfect, nothing worse when doing long exposure shots than the sun shining and creating specular highlights. My exposures were showing 4 mins at times, which is quite a long time considering your balancing precariously on bits of rock in the middle of a fast flowing Derbyshire river. All images taken with the X pro 1 14mm, 18mm, and the 55-200 zoom. Tripod mounted with attached 10 stop filter. Its great for shooting moving water.
]]>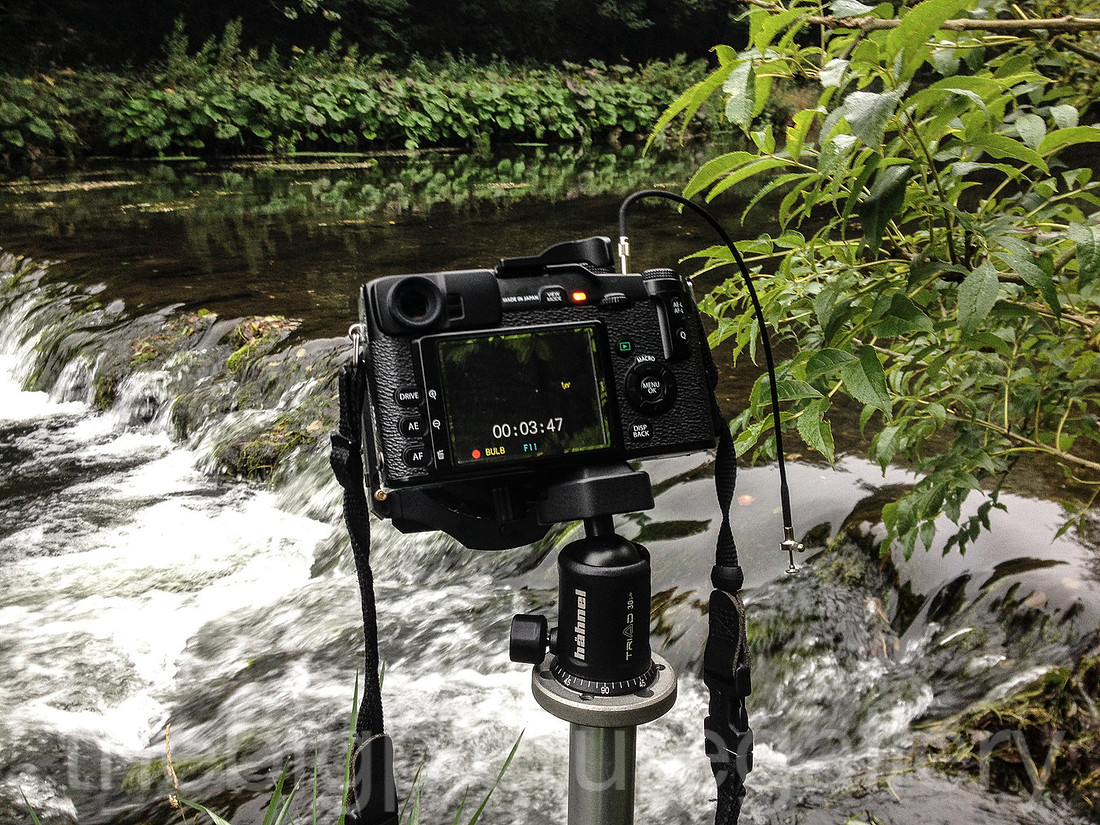
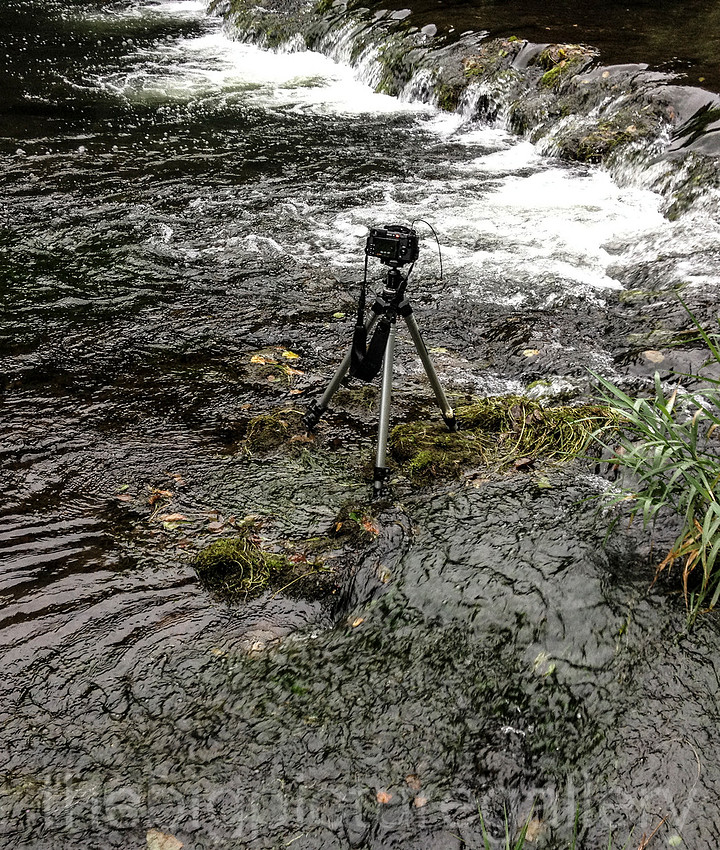
Such a morning to be out, rain had fallen overnight and the fields were a little soggy. Boots caked in mud, as I wandered over looking for the best angles and light. All the images taken with the Fuji X pro 1, with the 18,14 and the big zoom, combined with a couple of nd grads to calm the bright sky down. I love making monochrome images, they remind me of a time pre digital. Working in a darkroom with strange chemicals and seeing the images appear on the paper for the first time. Anyone new to photography should do this, you learn so much, and its a great experience. Some images from the fields around Marston Montgomery, Derbyshire.
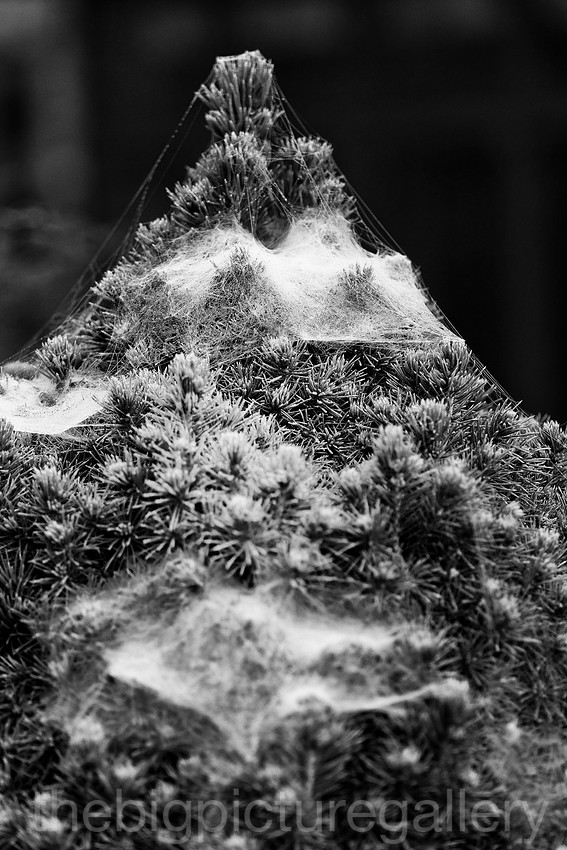 Looks like a snow capped mountain, the building of these smaller webs are a joy to look at. Fuji X pro 1 55-200mm
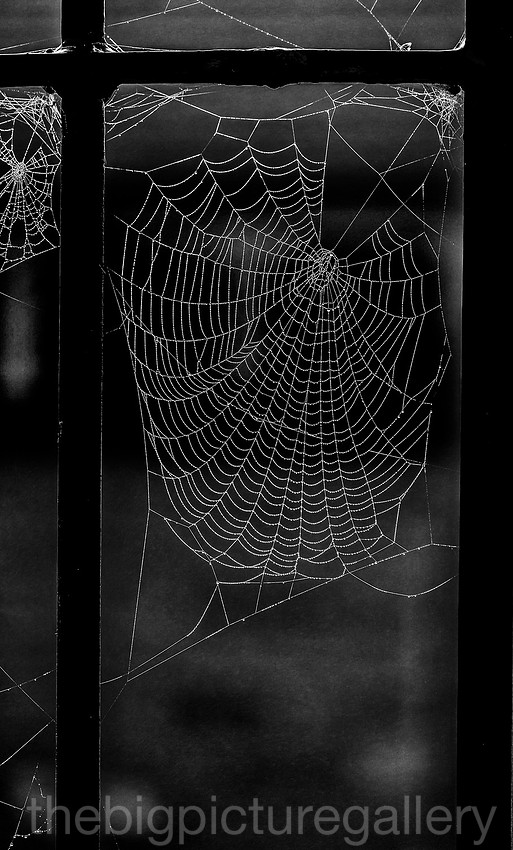
Iron gate makes for a perfect frame for the web. Fuji Xpro 1 55-200 mm
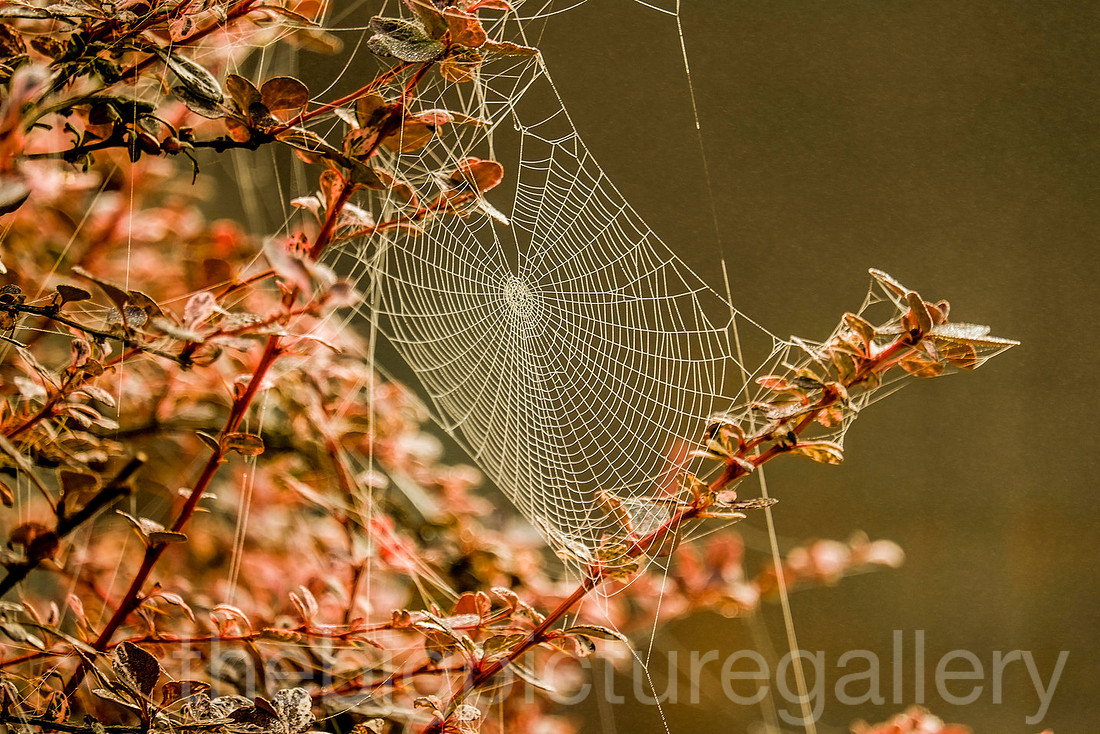 I love the colours in this shot Fuji Xpro1 55-200
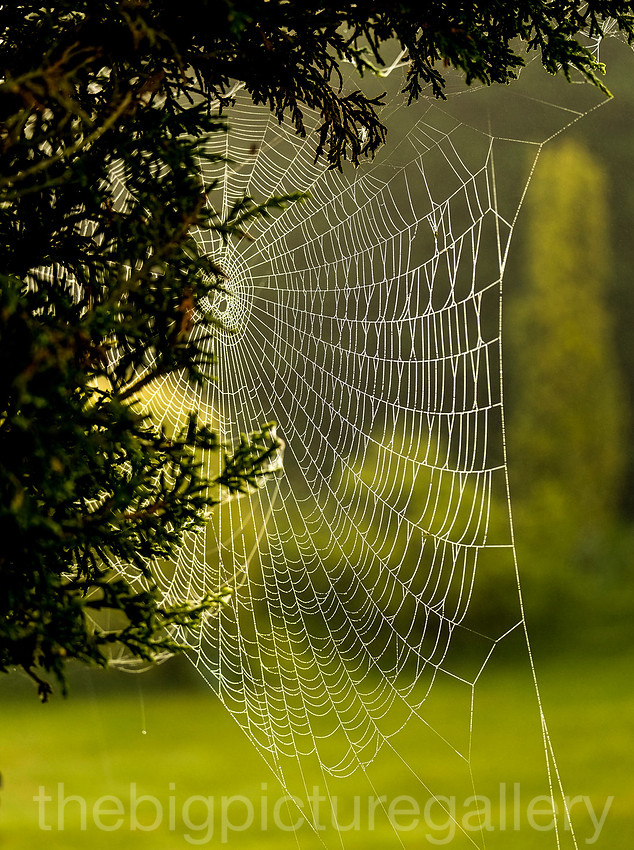 Pleasing background bokah from the 55-200 just have to love this lens
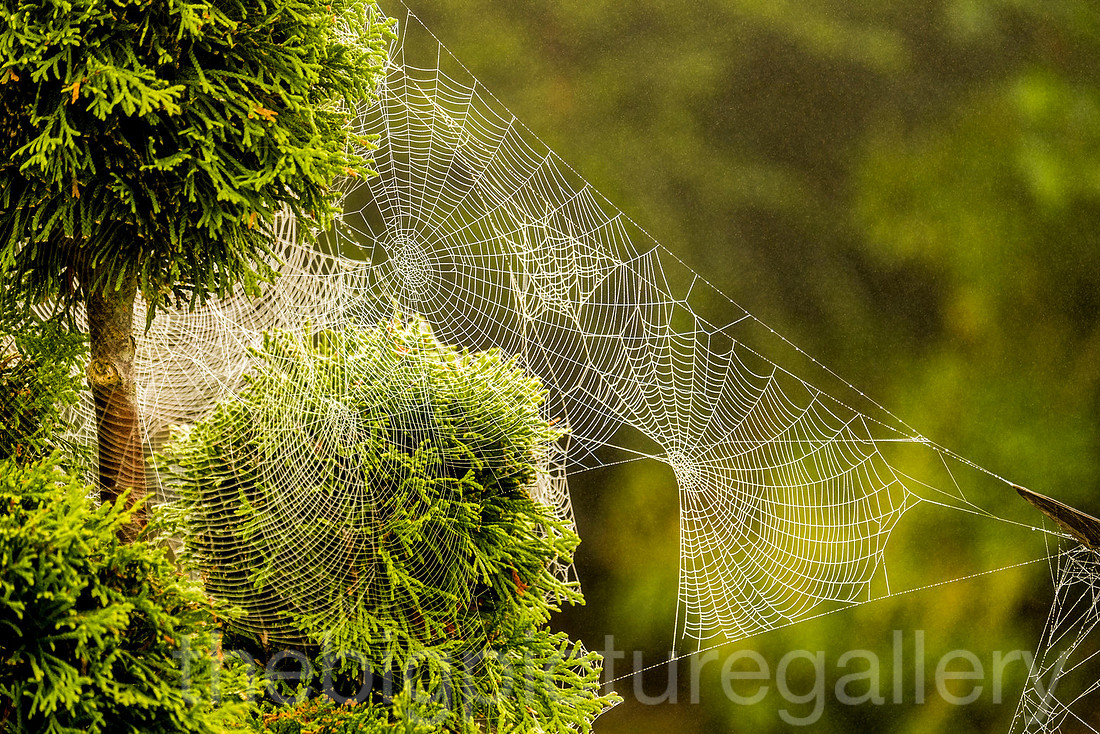 Talk about overcrowding in spider land. Colours are lovely and muted. Fuji Xpro1 55-200mm
A view down the valley fuji x pro 55-200mm
A stroll alongside the River Dove fuji x pro 1 55-200mm
The famous stepping stones xuji x pro1 14mm
The river Dove overlooked by Thorpe Cloud fuji x pro1 14mm
Walkers ascending Thorpe Cloud fuji x pro1 55-200mm
Sheep grazing on Thorpe Cloud fuji x pro1 55-200mm
unusual cloud structure over Thorpe Cloud fuji x pro 1 18mm
Old limestone wall on the path to Thorpe Pastures fuji x pro1 18mm
Barn at Thorpe Cloud fuji x pro1 18mm
Intersted in Landscape photography days in the Peak District email Nick for more information
]]>
Diging for treasure Fuji X pro 1 55-200 mm
Feeling unloved, wooden beach hut Fuji Xpro 1 55-200 mm
Incoming tide West Wittering Fuji Xpro1 14mm
Marker Pole West Wittering Fuji Xpro1 14mm
Silver sea West Wittering Fuji Xpro1 14mm
Abandoned Fuji Xpro1 55-200 mm
Beach Huts Fuji Xpro1 14mm
Dulux Dog with pink hair bob, Fuji Xpro1 14mm
Beach Huts West Wittering Fuji Xpro1 14mm
Beach grasses West Wittering Fuji Xpro1 14mm
]]>
So off with th X pro 1 2 lenses the 14mm and the 55-200, ideal combinations for Landscape work. Although dodging fierce showers and protecting the gear took some doing, the Fuji just works so well with landscapes. The colour rendition and the detail it resolves just leaves me gobsmacked. All the years I have been shooting images, never has a camera given me such satisfaction in its ability to deliver the files I want.
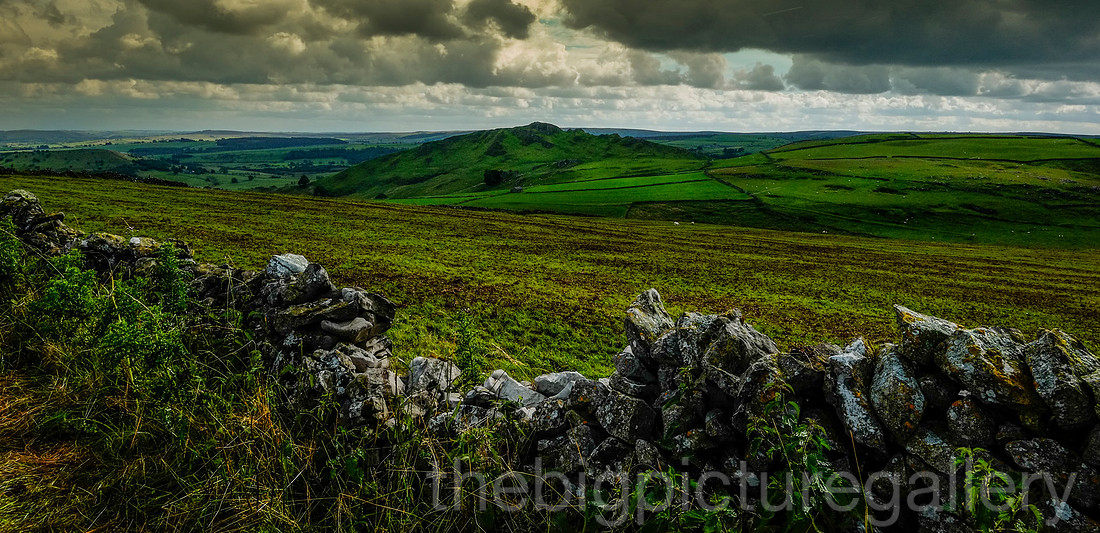 Chrome Hill in the middle distance, Fuji Xpro1 14mm Astia setting.
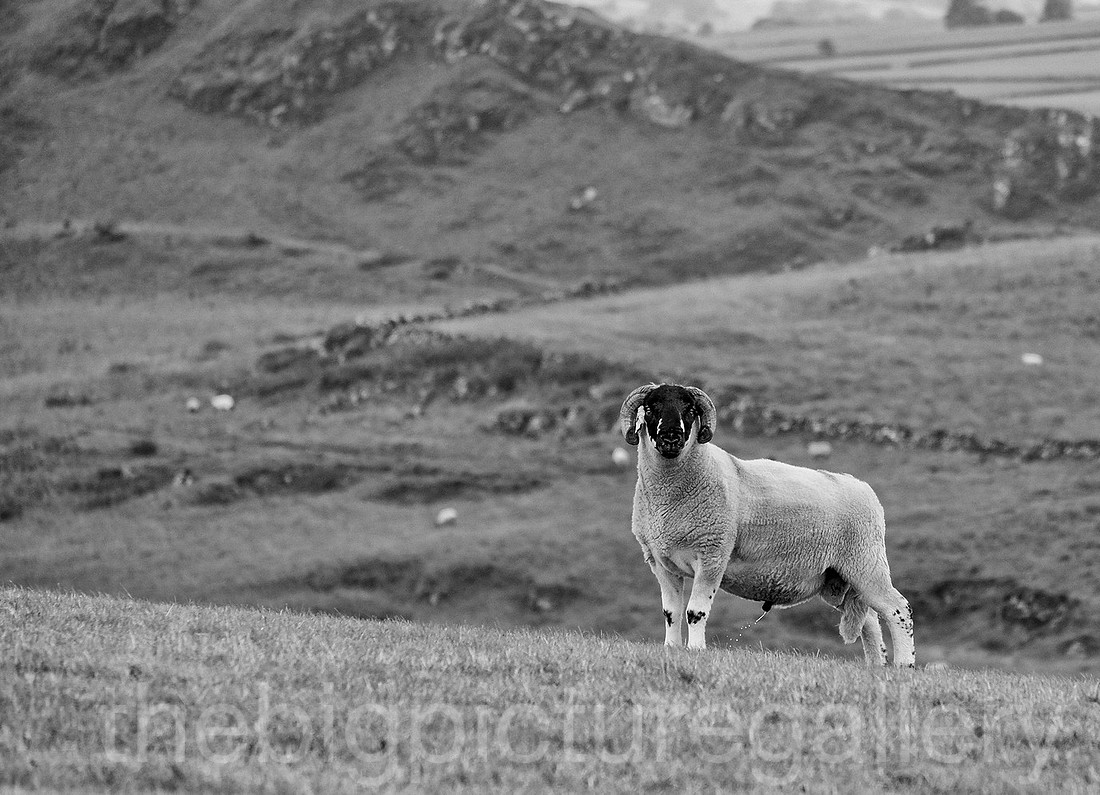 A very stocky Tup guarding his territory, Fuji X pro 1 55-200 converted monochrome silverfx.
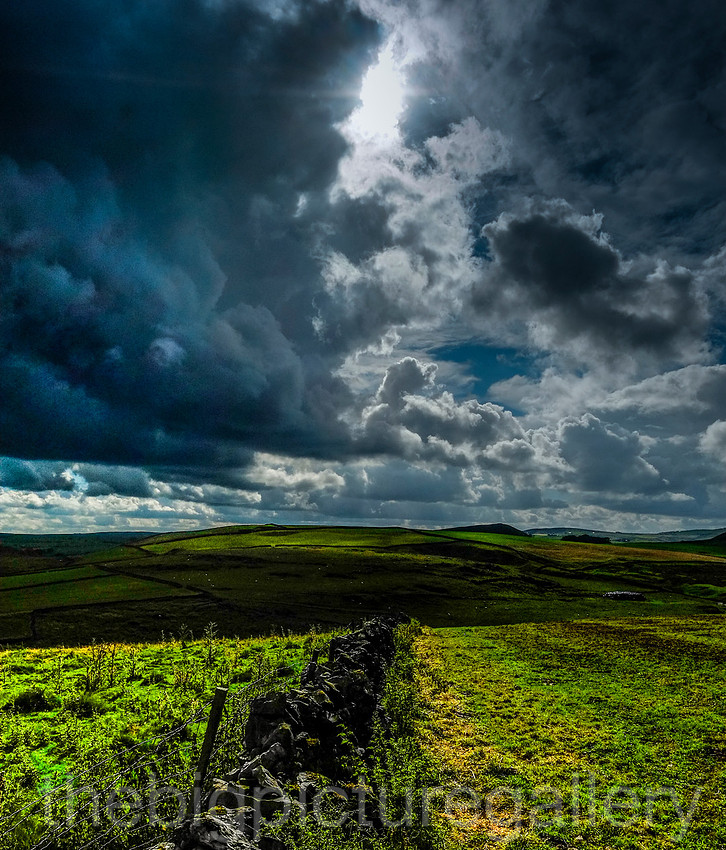 Derbyshire to Staffordshire, the views are amazing, as was the weather Fuji Xpro 14mm Astia film setting
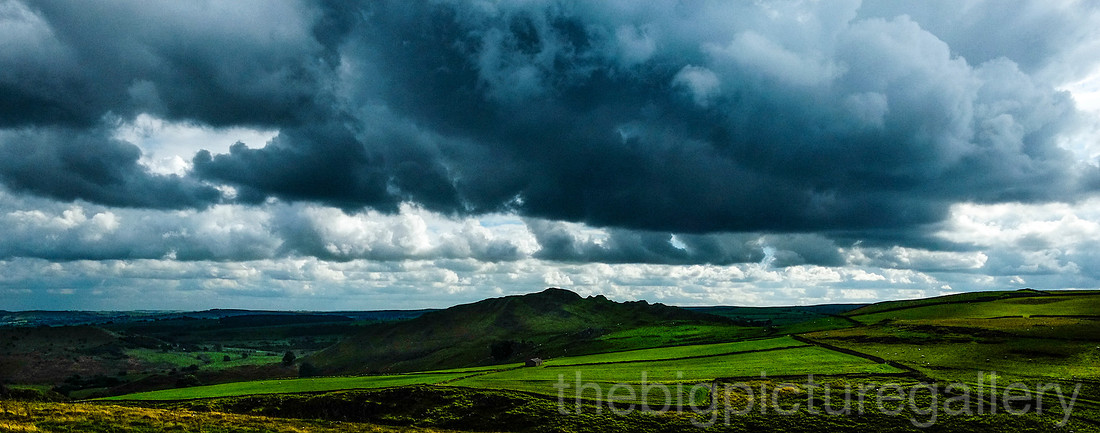 Chrome Hill under a threatening sky, Fuji X pro 1 14mm Astia film setting
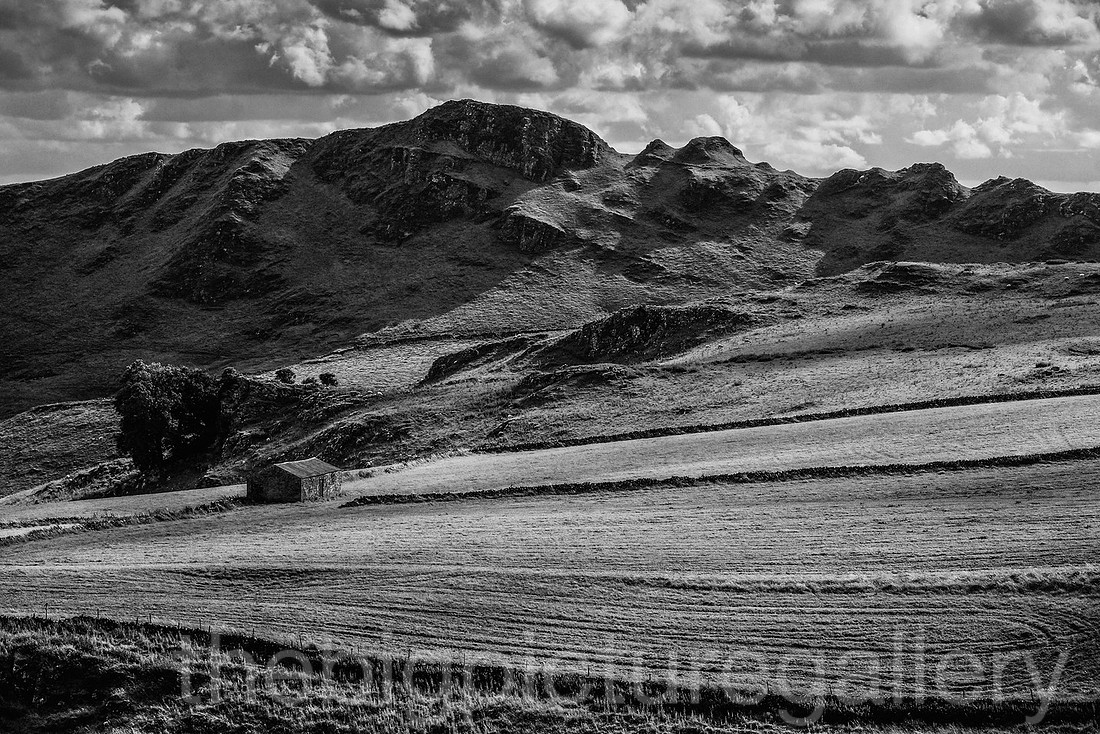 The rugged beauty of Chrome Hill and its spiny ridgeline, Fuji Xpro 1 14mm converted monochrome silver fx
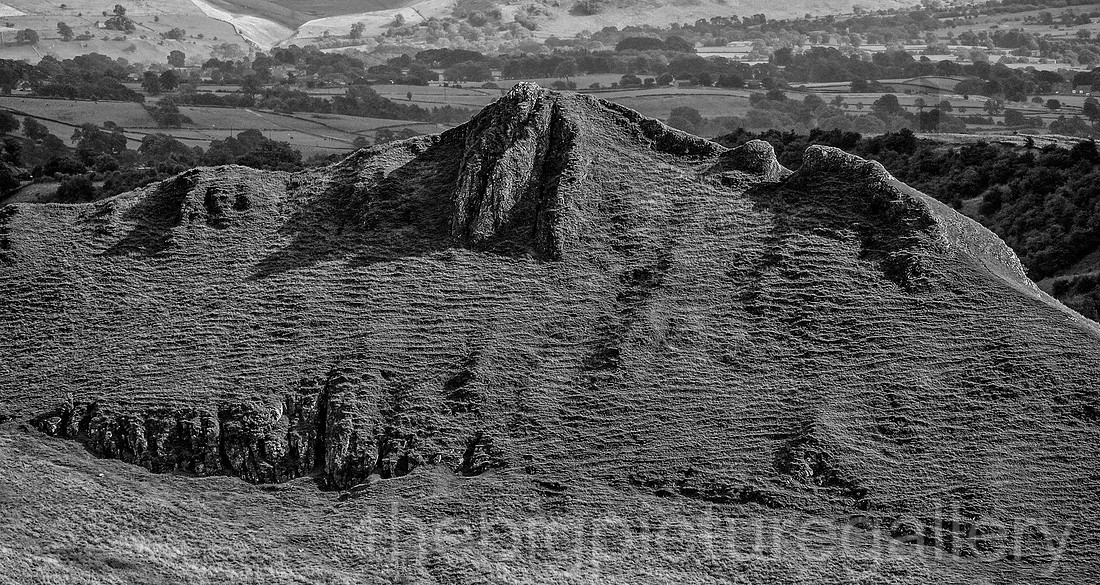 Parkhouse Hill with its steep ridgeline not for the fainthearted, Fuji Xpro1 14mm monochrome converted with silver fx
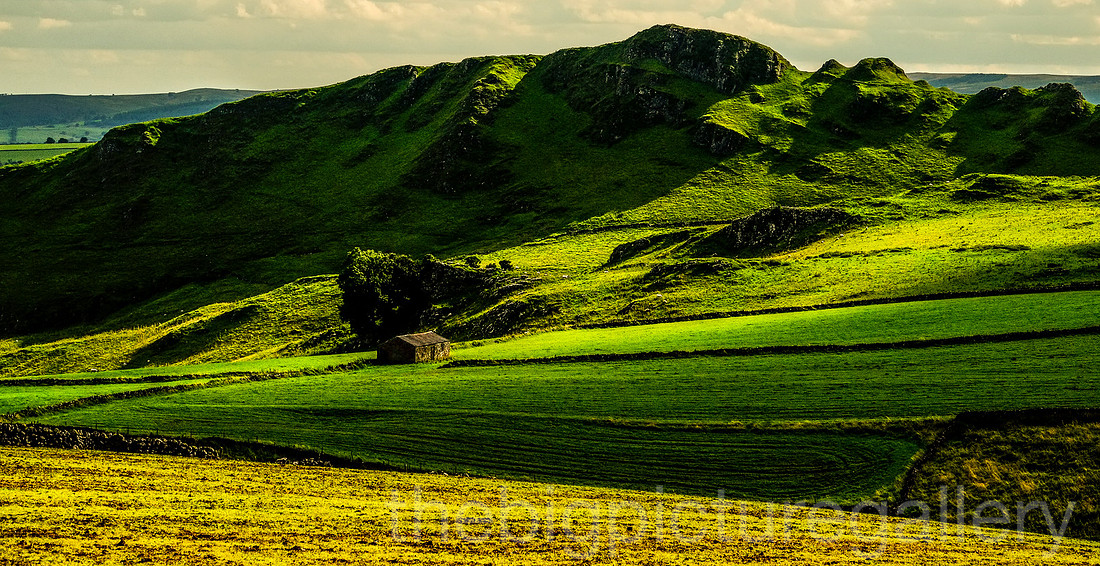 As if lit by laser, sharp sunlight shows off the contours of Chrome Hill Fuji Xpro1 14mm
 Telephoto compression of the hills of upper Dovedale. Fuji Xpro 1 55-200 mm monochrome converted with silver fx
 The road to nowhere Fuji Xpro1 55-200mm monochrome converted with silver fx
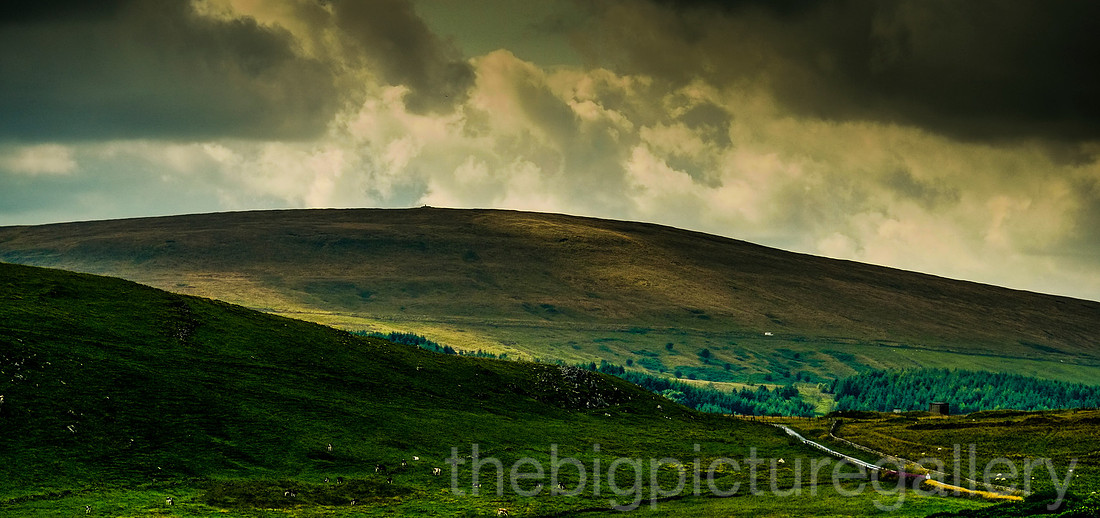 Derbyshire moorland Fuji Xpro1 55-200mm Astia film setting
Hope you enjoyed the images
]]>
So first thoughts on the firmware improvements, lenses seem to focus a tiny bit quicker the 14mm locks itself onto any point you choose without hesitation. So I shot all these frames in MF wchich activates the focus peaking. I don't have any issues with the chocie of focus peaking colour, even shooting into bright sunlight I could still see the highlighted details quite clearly. One area I have always had trouble with focus is sky as there is usually no contrast point handy. Nailed every time with the new update, clearly see the edges highlighted in the high clouds.
Overall I am deeply impressed by Fuji commitment to improving this remarkable little camera. Although I have heard v3 is being updated as the video function on the camera has a problem since the introduction of the new firmware. I don't shoot video so no problem for me. Anyway some images from the other night.
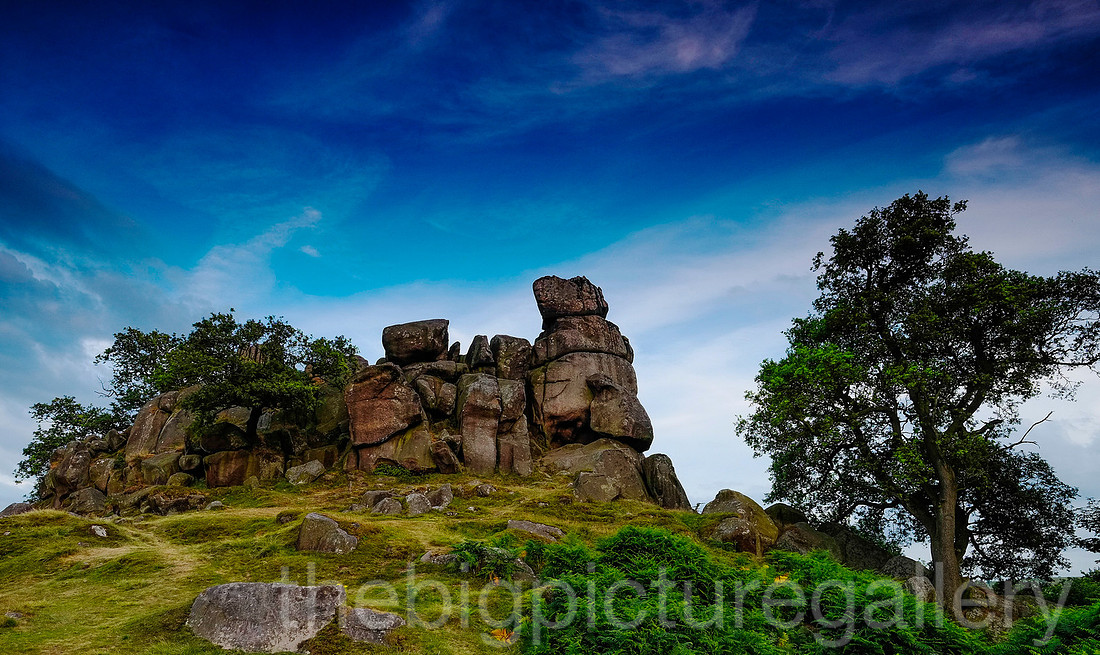 Fuji 14mm with nd grad
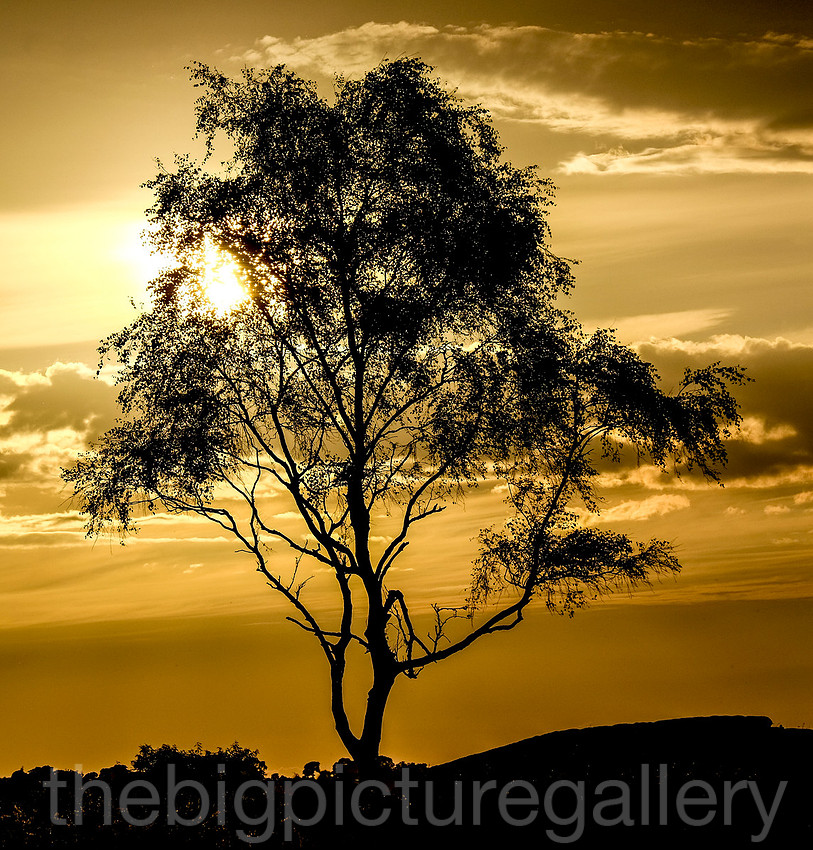 Fuji 55-200 zoom
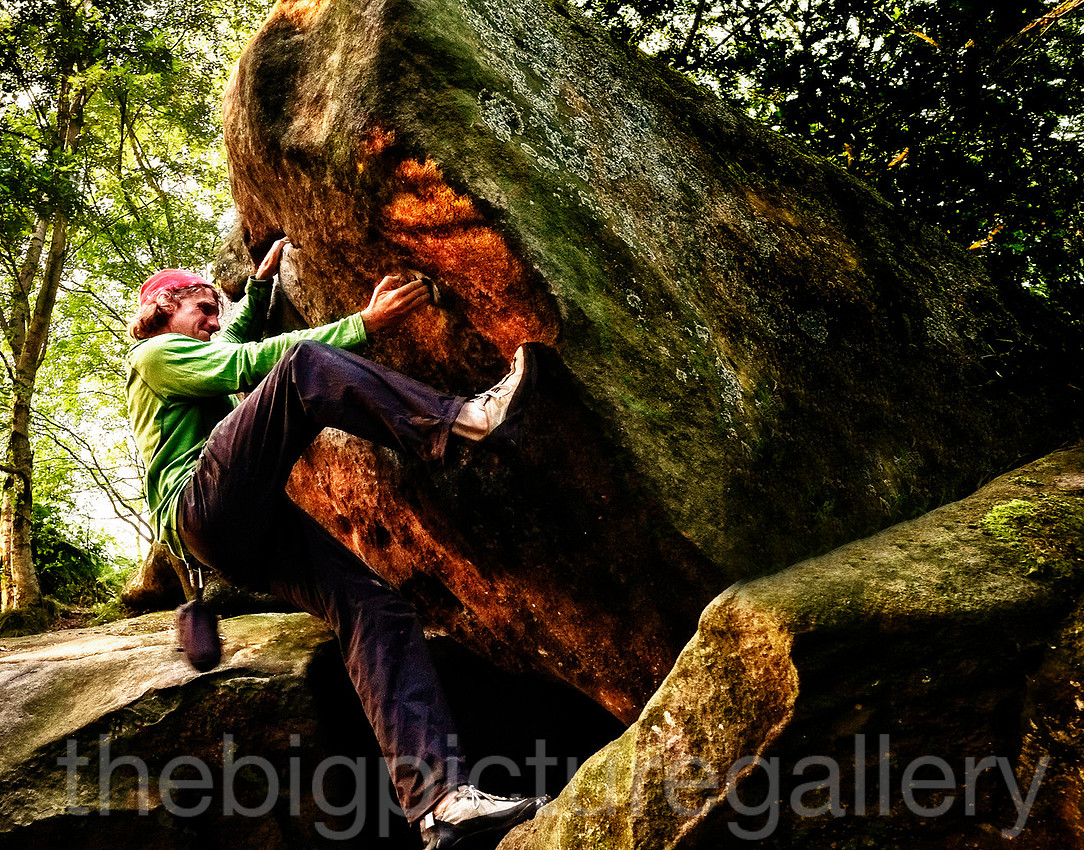 Fuji 14mm
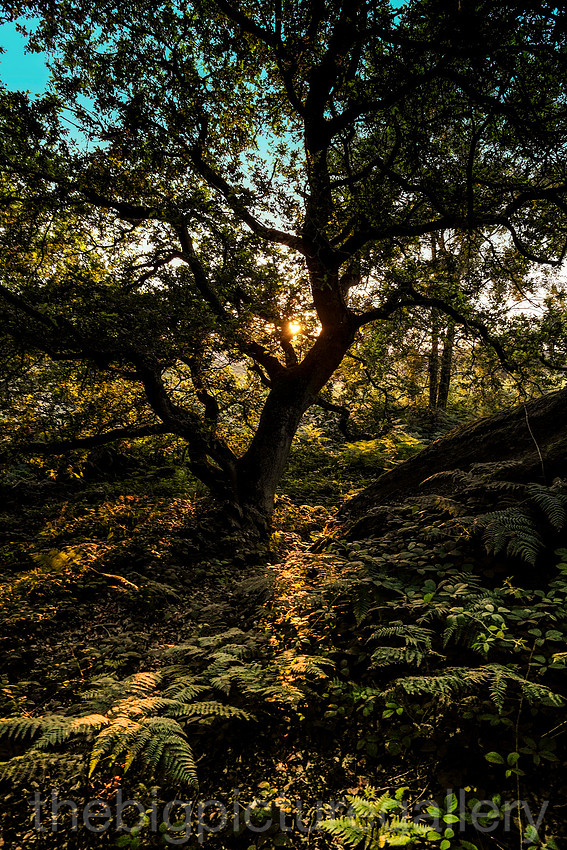 Fuji 14mm
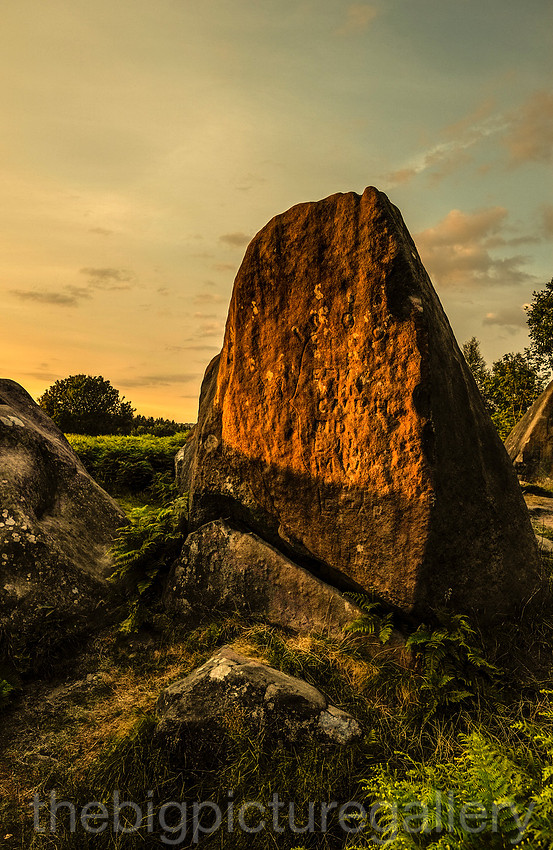 Fuji 14mm light nd grad
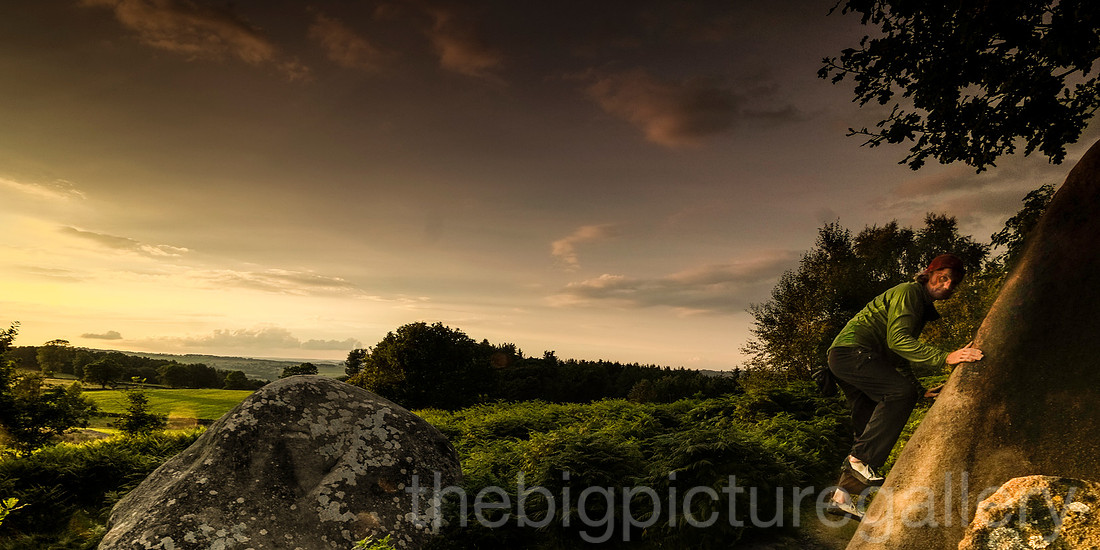 Fuji 14mm nd grad
 Fuji 55-200 handheld
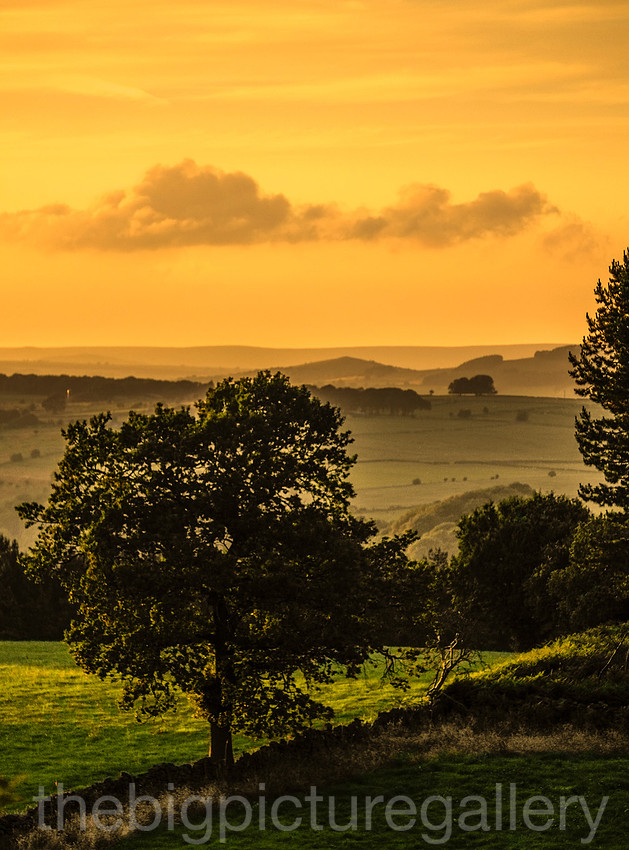 Fuji 55-200 handheld
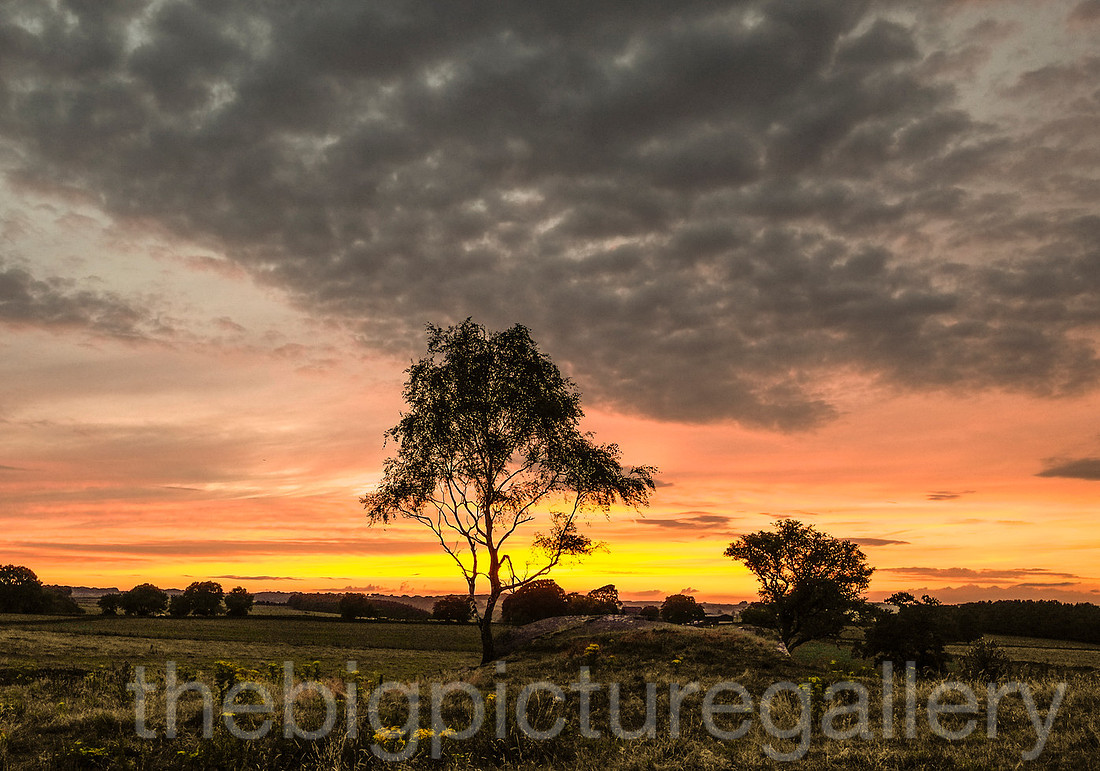 Fuji 14 mm
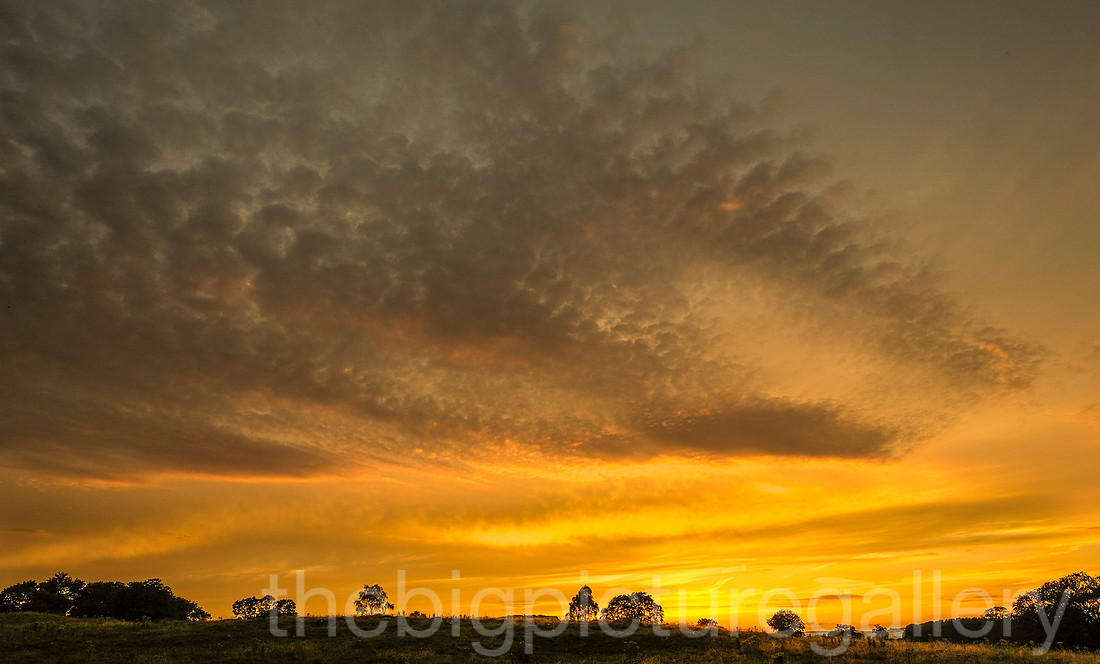 Fuji 14 mm
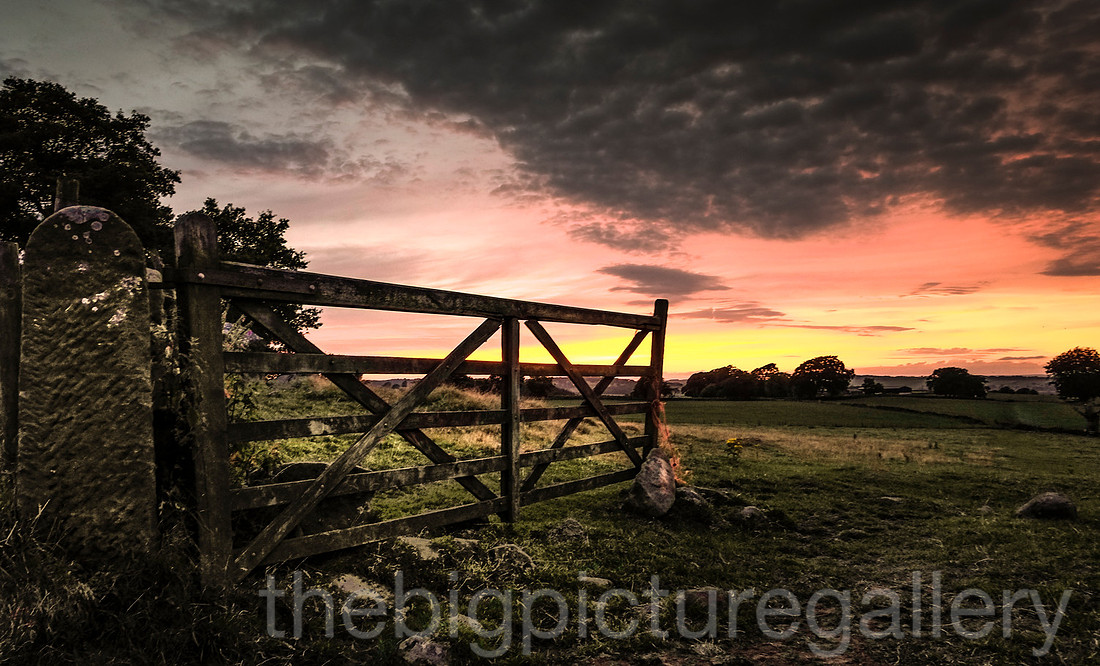
]]>
So on the drive back spotted a distant hilside field, that was a sea of red poppies, must be worth a look. It was windy on the hill, so I tried to shoot one or two frames with a slow shutter and get an impresionist view of these lovely plants. Images were shot using the Fuji X pro 1 with the 14mm and 55-200 zoom. I have read one or two opinions on the sharpness of the 55-200, I'm doubtful that these are from people who own one, but let me say this is one of the sharpest lenses I have owned...period. These are all sooc jpegs, that needed little editing, other than cropping.
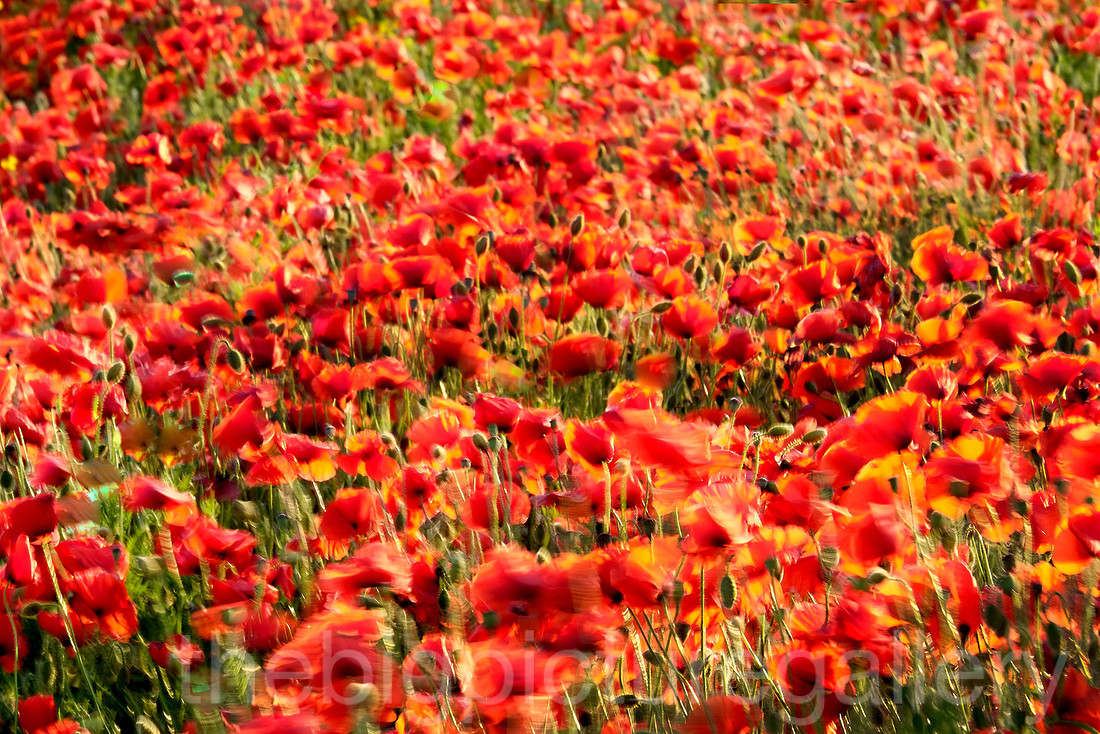
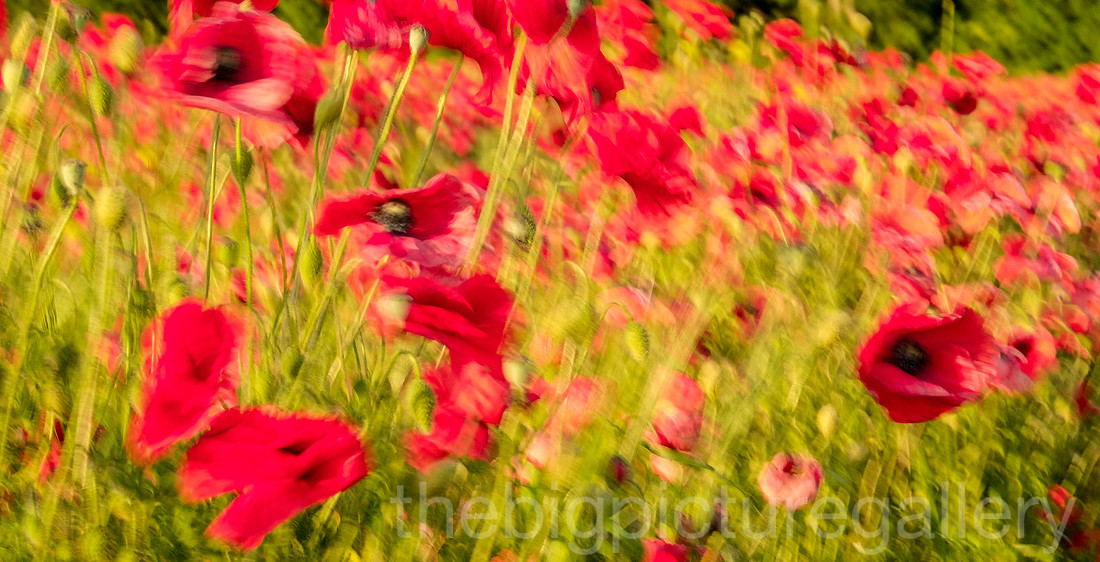
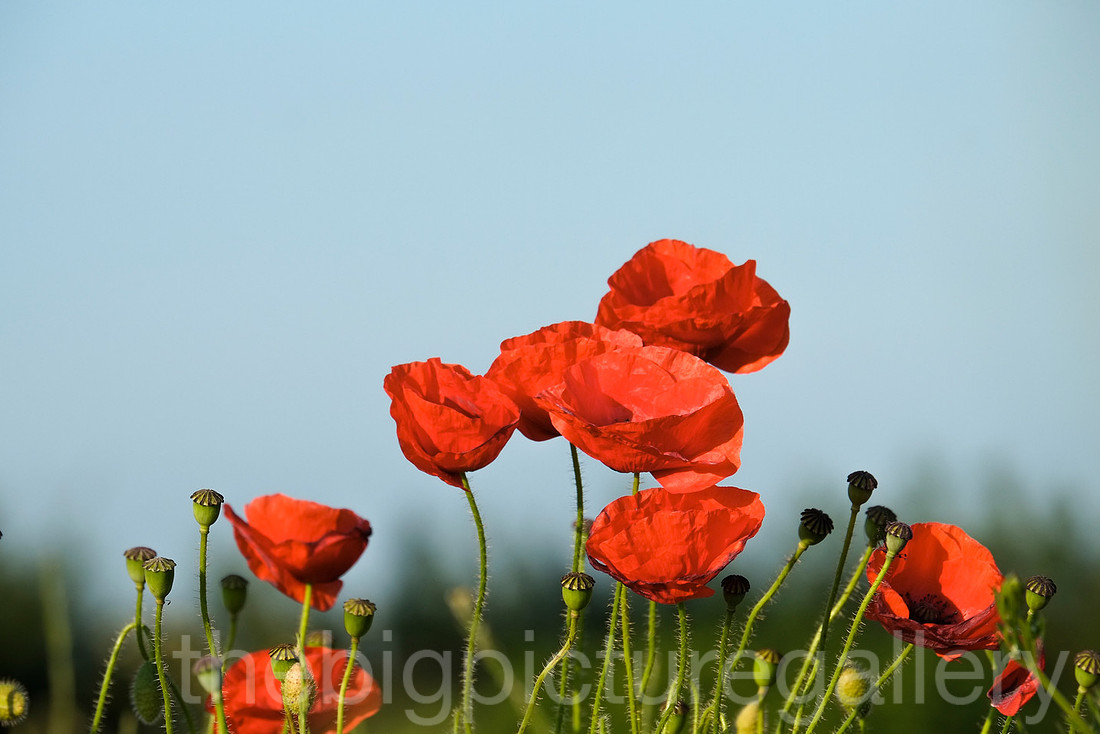
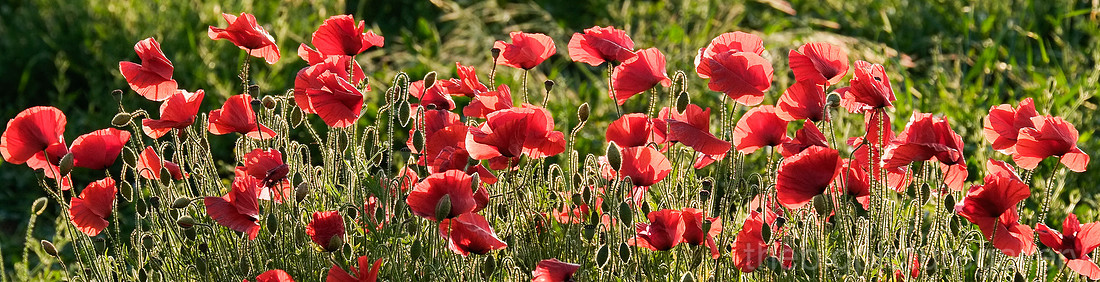
I usually see the grumbles about autofocus speed to be the main gripe, and one that leads folk to stay with the DSLR. However if you persevere and learn how to use the camera, learn how to overcome its focus issues, you will be so pleased with the image results. Once focus is found its totally bang on. I have always loved Fuji for their approach to applying their knowledge gained in film development, and applying this to their digital camera systems. The jpegs are faultless, I looked at raw files and found no real gains to be had by using raw mode, this applies only to my thinking and I am not wishing to create a raw/jpeg debate. It suits my workflow.
I remain totally in love with the system, but sometimes get quite infuriated at Fuji seemingly lack of understanding when it comes to camera ergonomics. Why produce a lovely little handgrip, that leaves you no access to the battery/card chamber, go figure!! Generally speaking the niggles I have with this little beauty are forgiven when I see the results from the Xtrans sensor printed as a 40x30 print.
Lenses that have so far been introduced on the Fuji roadmap, have been fantastic, the 14mm is an absolute gem of a lens. The 55-200 is fast becoming my favourite although slow focus maybe an issue with street shooters, once focus is found its bang on the money. I have shot 2 weddings with the new lenses as well as the 35mm 1.4 and have not found the little X pro 1 wanting. It causes quite a stir when guests see you toting this around.
My carry round kit also includes the tiny little Fuji Ef20 flash gun, which being quite small complements the X pro 1 so well. For a little flash it produces some stunning results and for £79 is quite a steal. The flash has bounce too, and if you whack the iso up enough you can get very well lit pictures using the bounce. All my groups at sundays wedding were lit using this little guy. Just remember though it only takes 2 aa's so runs out of juice quite quickly. I used some nimh 2800s and they lasted pretty well.
An image taken on a bright sunny day with the Fuji EF20, these yellow poppies were shot a 1/250 @f16 Iso 200, the 35mm is pin sharp.
The 55-200mm continues to impressbackground rendering is so smooth.
Dandelion head shot at 200mm 1/250@ F7.1 Iso 200
White Gerbera 200mm 1/[email protected] Iso 200 backlit by a sinking sun. Just the right amount of depth of field
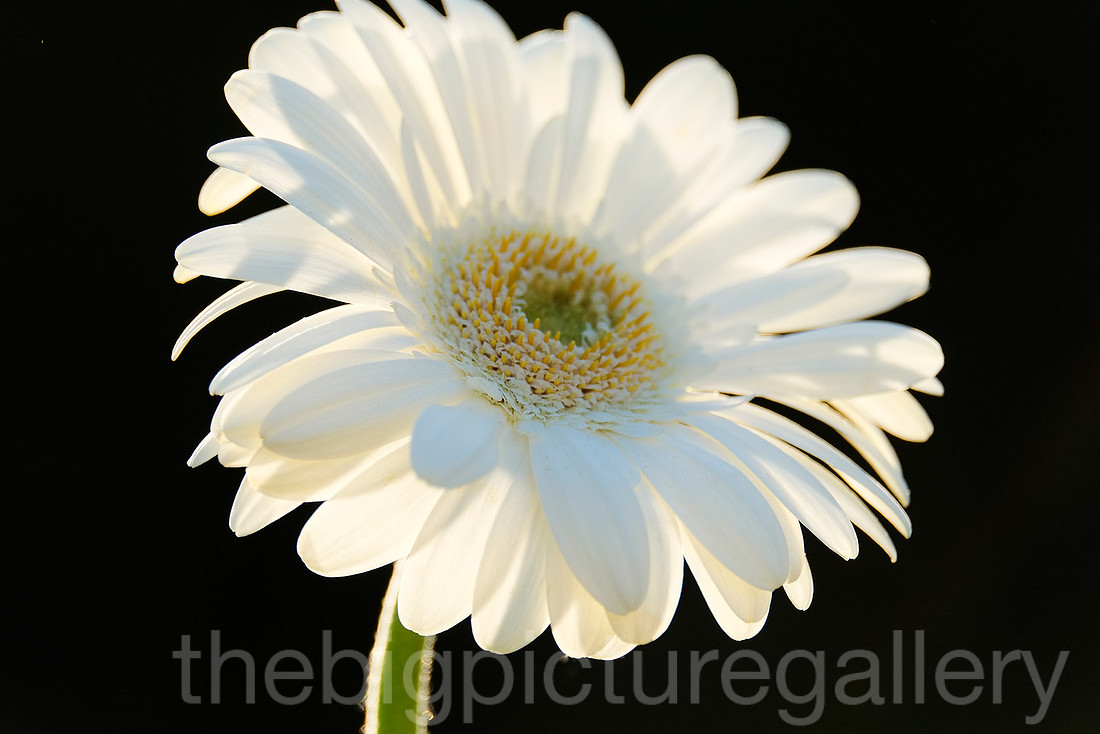
A recent outing to the Yorkshire Dales yielded some lovley images courtesy of the 14mm and 55-200 mm lenses
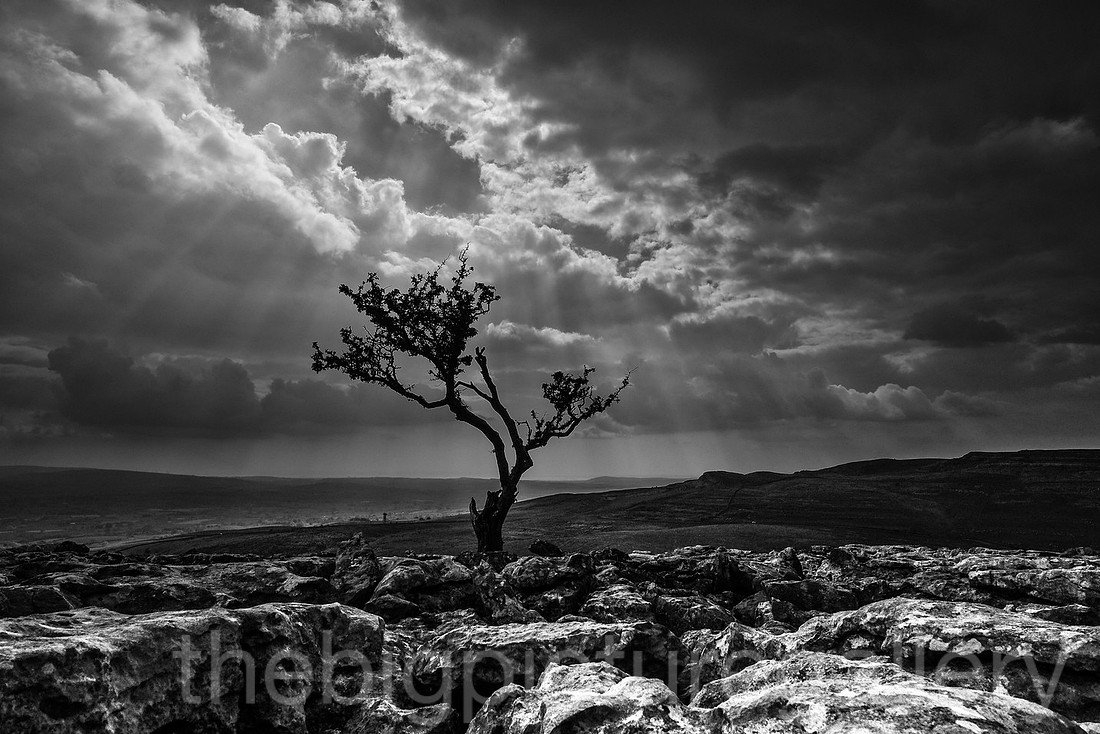 The limestone grykes at Twistleton Scar highlighted by Crepuscular rays. 14mm 1/1600th@f11 iso 400
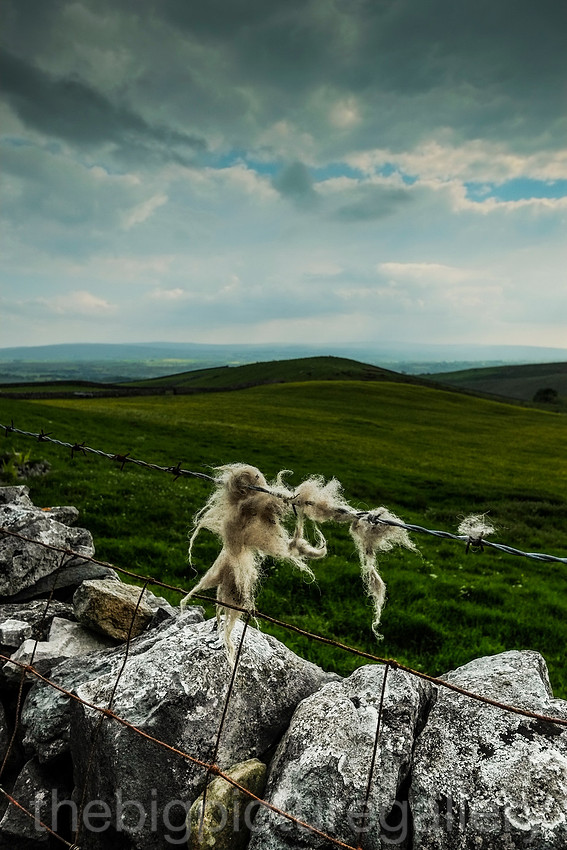 Sheepswool caught in barbed wire 14mm 1/[email protected] iso400
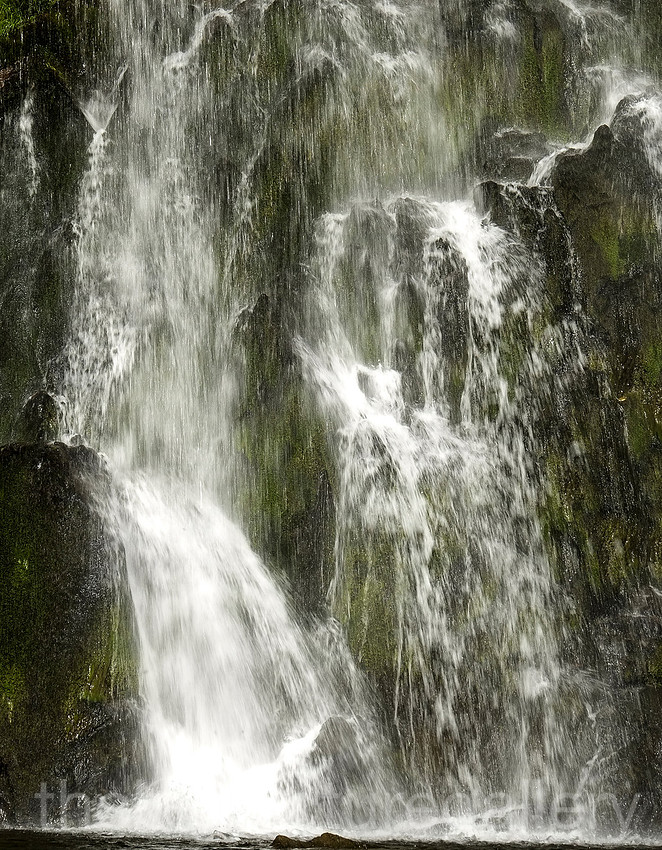 Thornton Force Ingleton 55-200 mm 1/60th@f13 iso 100 handheld
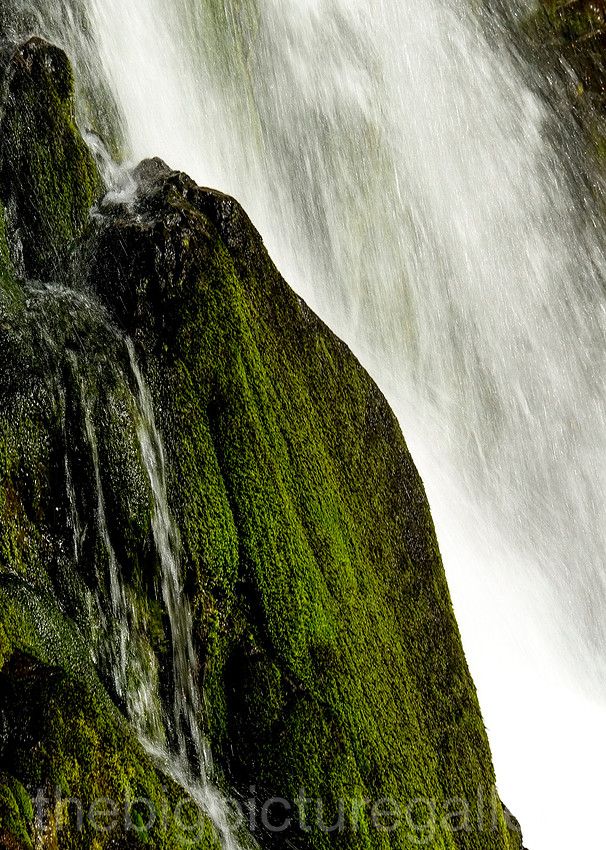 Thornton Force Ingleton 55-200 1/60th@f13 iso 100 handheld
I will leave you with some recent pictures taken in the White peak part of Derbyshire, along the road to the village of Earl Sterndale
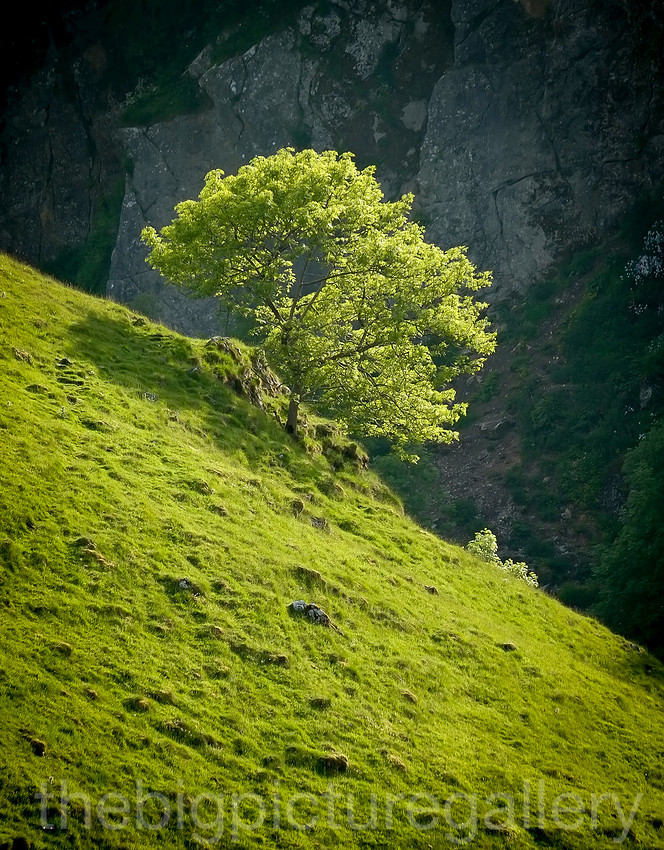 A tree clings to the side of Wheeldon Hill 55-200 1/[email protected] iso200
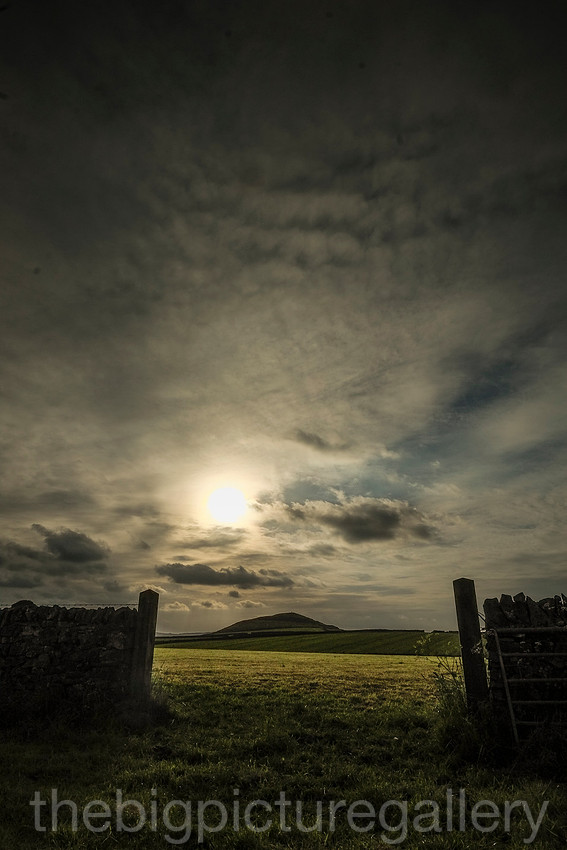 Late evening light over Wheeldon Hill 14mm 1/680@f22 iso 200
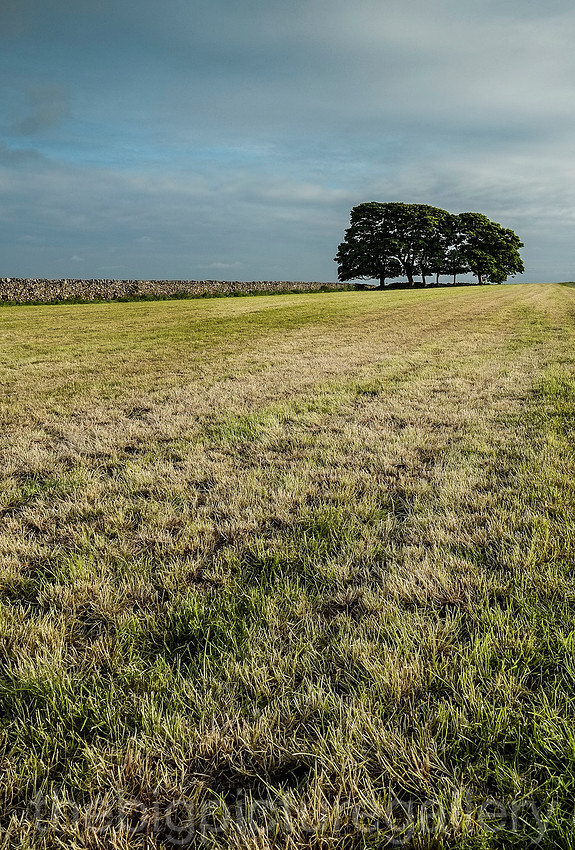
Chesnut Trees at the end of a meadow. 1/220th@f11 iso 200
]]>
The image stabilization works very well, however I think it will suck the hell out of the battery. Zoom ring is a trifle stiff but the aperture ring is a delight positive clicks. Not impressed by not having the aperture markings on the lens, this is a faux pas to me, you read the aperture in the viewfinder. I like to use it by setting it beforehand without having to raise the camera to my eye. The OVF is a waste of time so it's EVF only with this baby attached. The light this evening is fabulous so I'm off to give it a workout.
Well after spending a couple of hours out in the lanes. I am more than impressed by the image quality,and all round handling of the X pro 55-200 combo. Some of my shots tonight were direct into the setting sun testing out its flare handling, very very good, one of the flaws in my Nikon 70-200 was side flare, the Fuji lens showed none of those issues at all. That said the lens does struggle with focus, sometimes on seemingly easy to focus subjects. Macro focus is good I've never had a 300 mm focus so close. Overall I would score the lens 9/10.
My lens roadmap is complete, the Nikons are being retired. Next up another body i think an XE 1, and leave the 55-200 on that.
An update:
I shot a wedding yesterday, over the course of several hours, using mostly the 55-200mm and the 14mm, both lenses produced excellent images.Battery life remained the same so the OIS zoom does not seem to use vast amount of power. Some images from the test shoot the other night, if you have any questions please leave a comment.
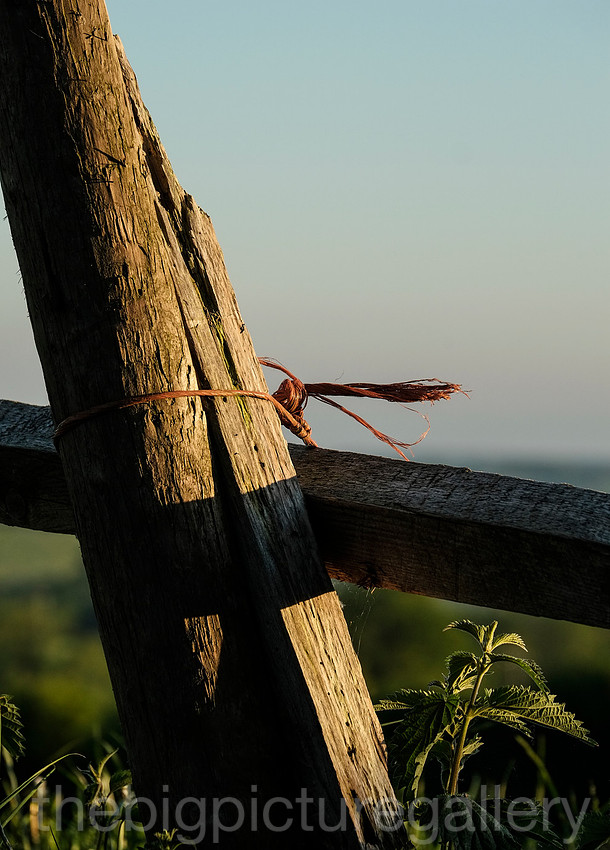
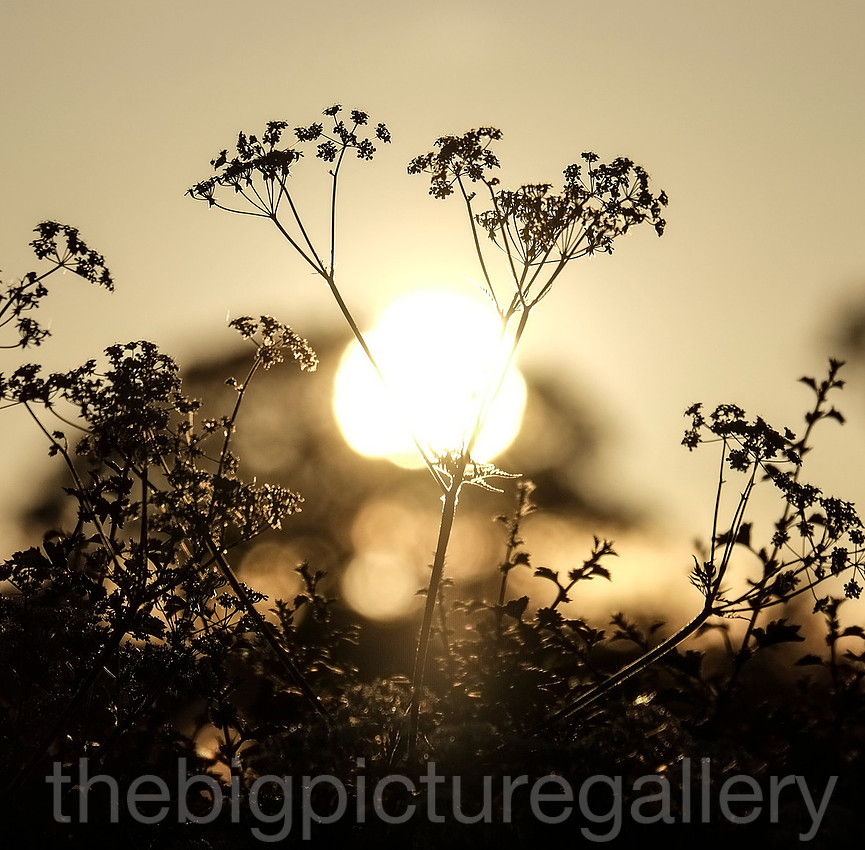
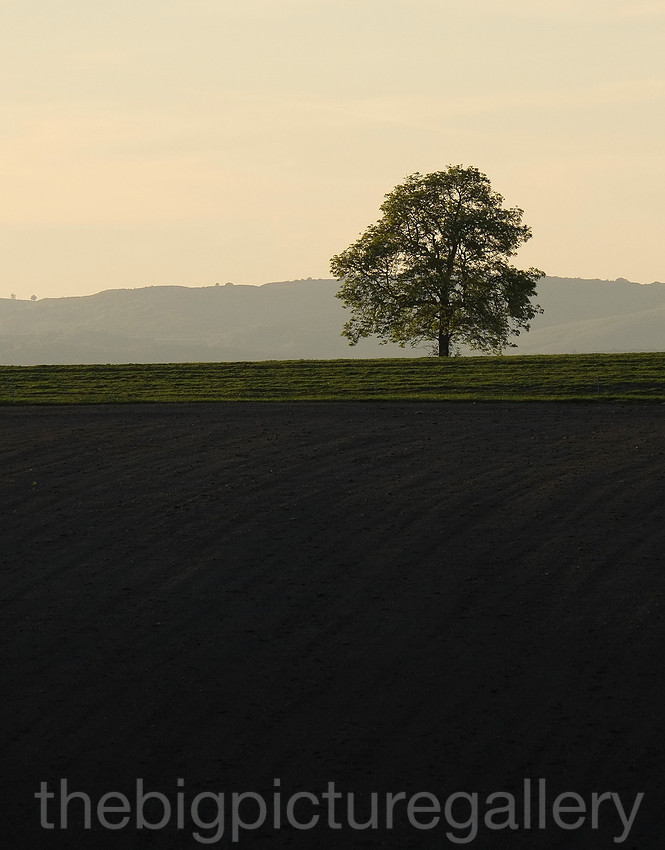
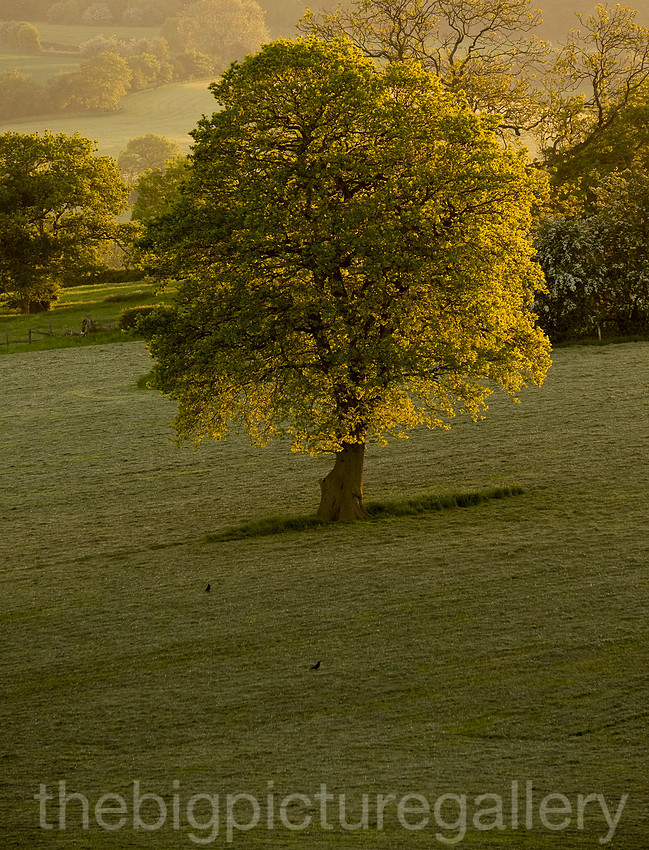
]]>
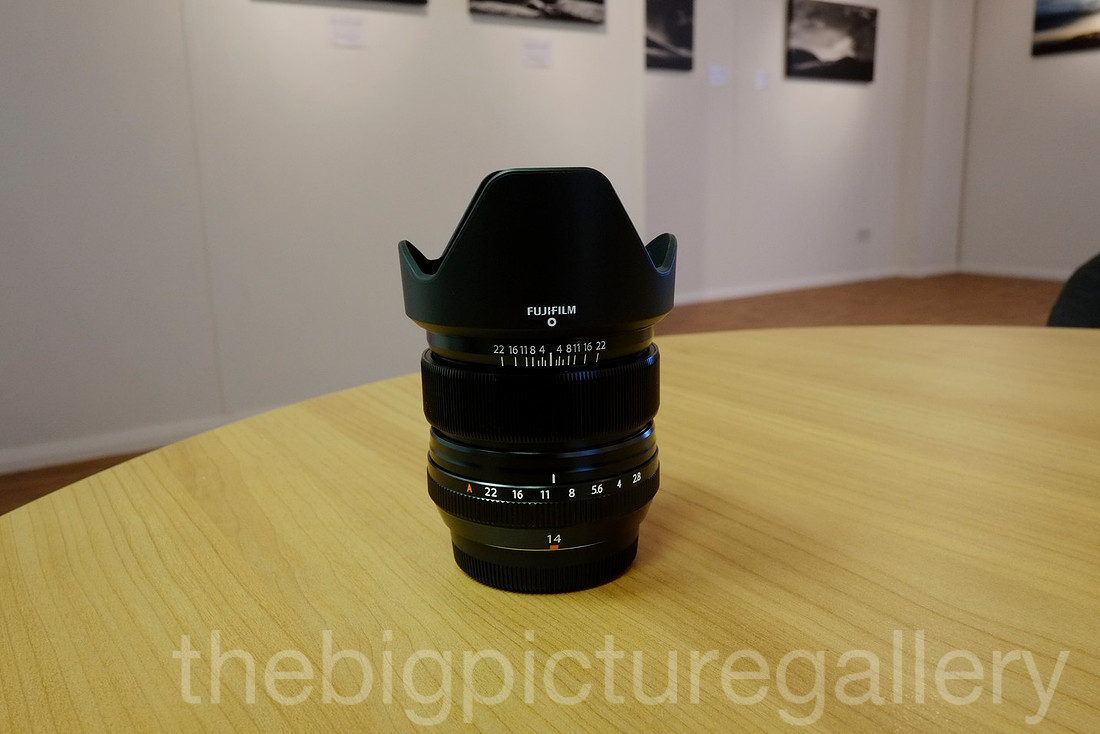 The build quality as usual is first class, nice weight, all metal contstruction, feels nicely balanced when attached to the camera. The aperture ring has full and half click stops. First gripe, the aperture ring is way too loose, and can easily be caught whilst shooting. The manual focus ring is nice and has a great feel. A bonus with the ring is that it switches from Af to Manual focus by pushing the ring forward or pulling it back. Overall the quality feel of the lens, the distance markings and the depth of field scale, reveal a superb attention to detail by Fuji.
So whats it like to use in the field, one word FANTASTIC. It's pin sharp, with a great depth of field, shooting either in af or manual mode is easy, set it up for zone focus, or hyperfocal and it gives you the depth of field to make quick street shooting a breeze. A minor nitpick is the lens hood, just a little bit too big and shows up a little too much in the viewfinder, when shooting with the OVF. However minor niggles aside, it is a great lens, delivers punchy sharp images with great IQ. All I need now is the big zoom and I will be totally setup. Some images taken with the 14mm and the Fuji Xpro 1.
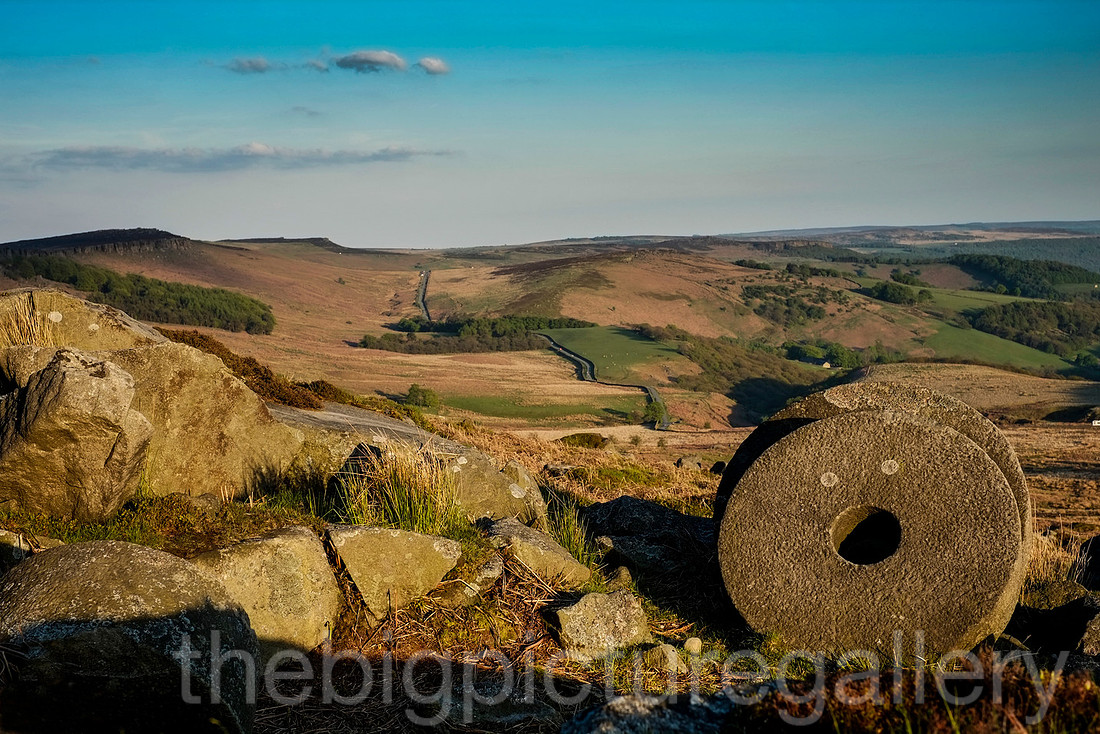
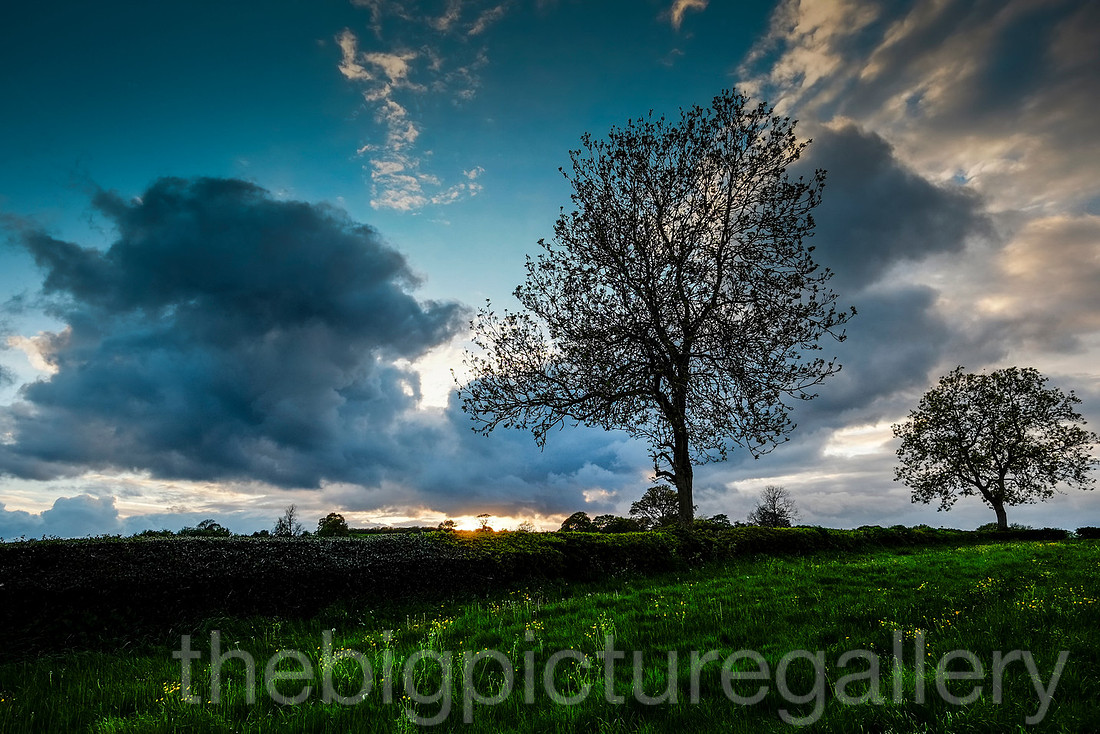
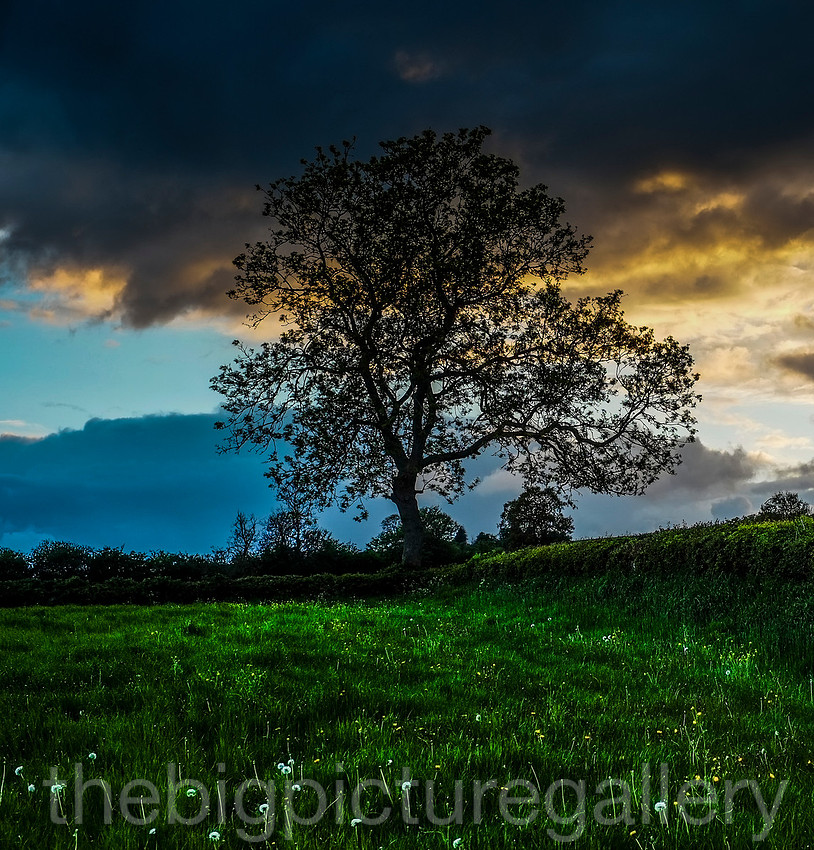
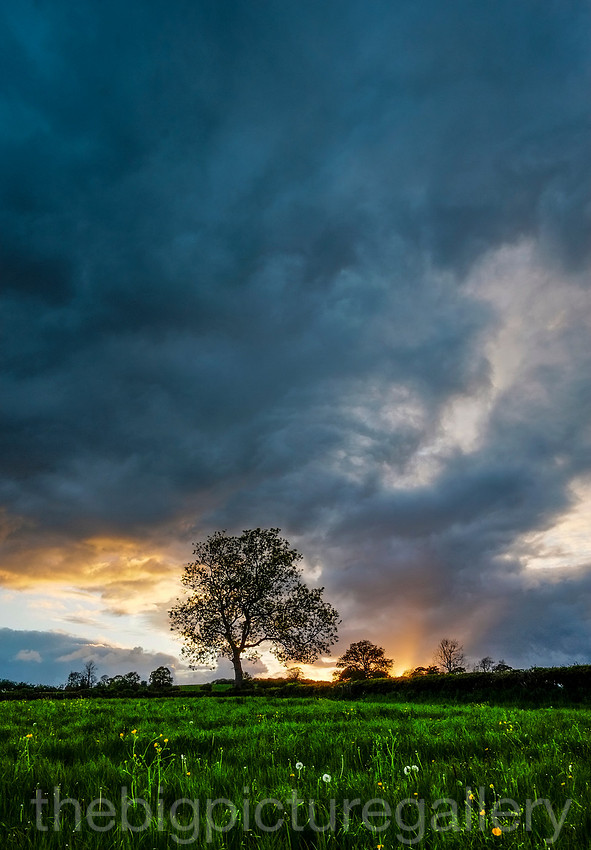
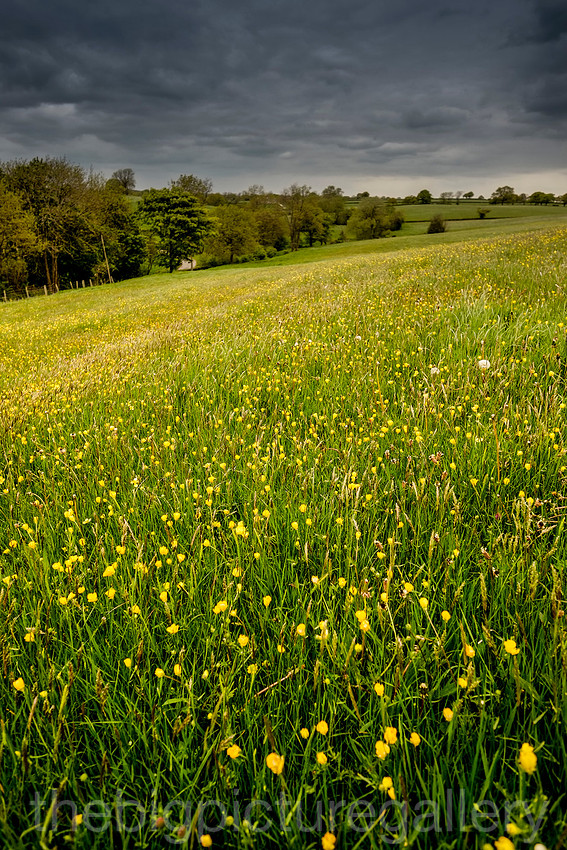
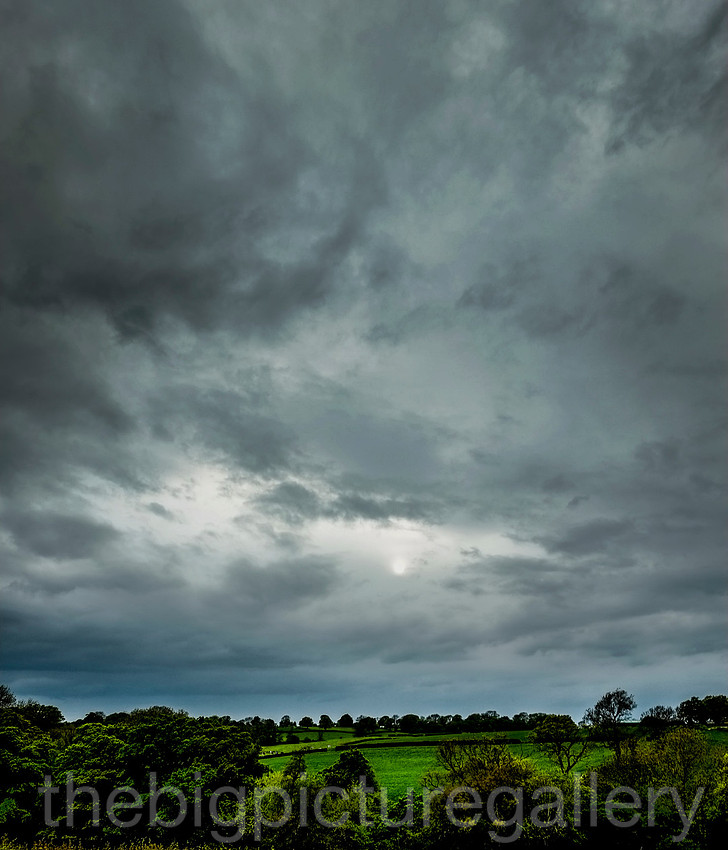
I have printed this as a 30 x 20 and the quality of the file from the xp1 is fantastic, the subtle rendering of the midtones above the bridge in the middle of the image is fantastic and shows every little nuance. God the Fuji X pro is a delightful machine.
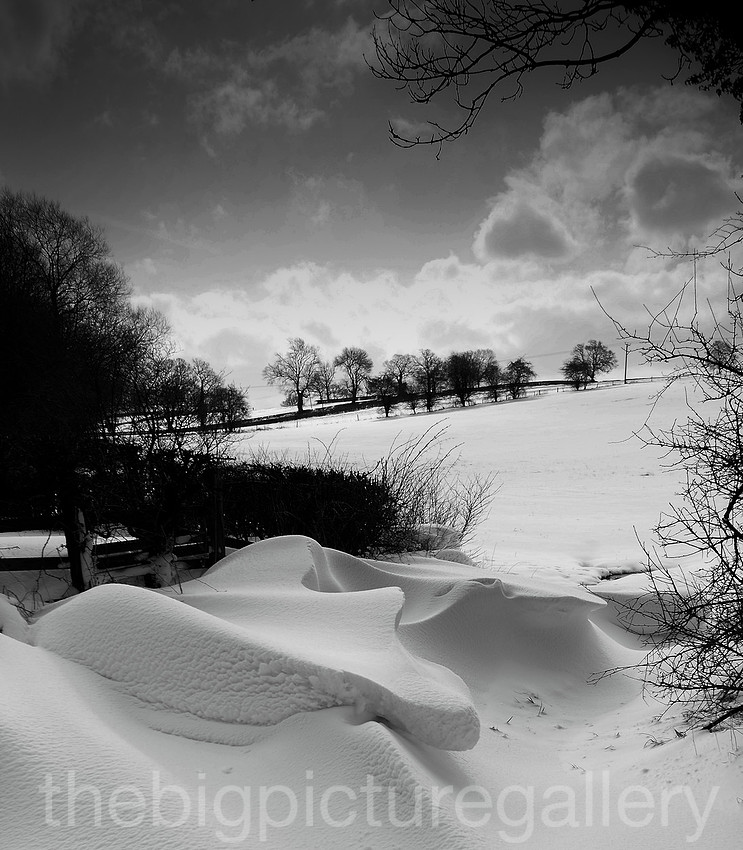
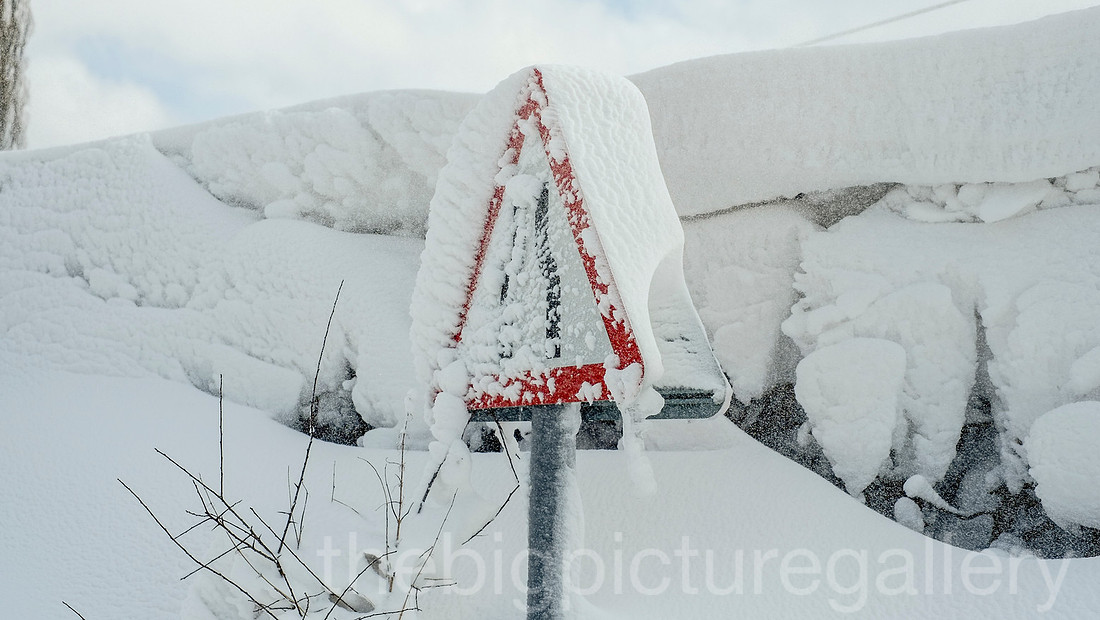
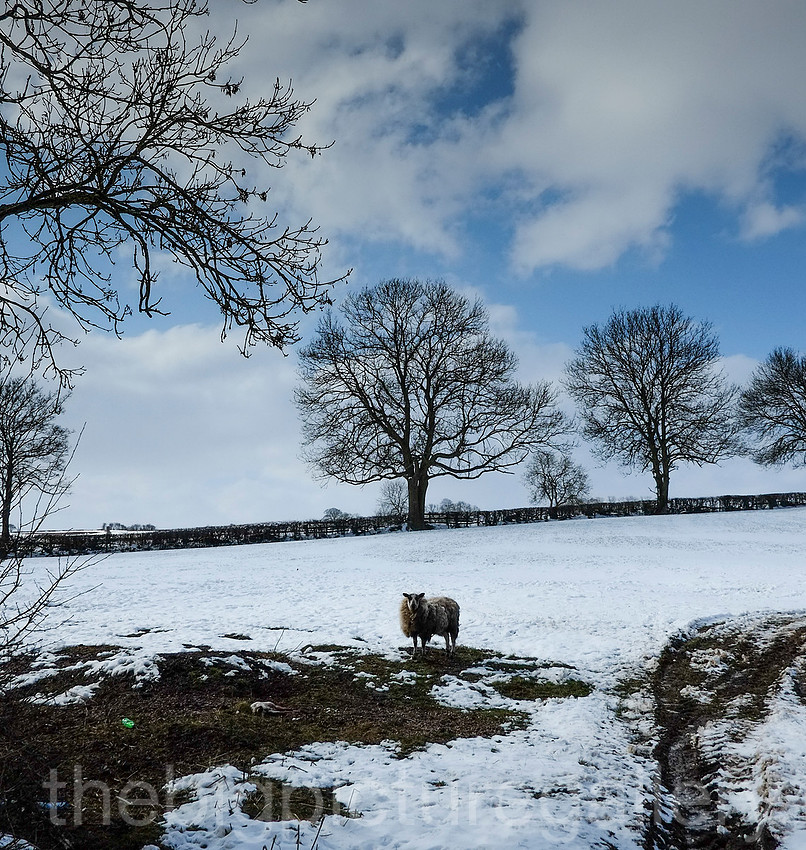
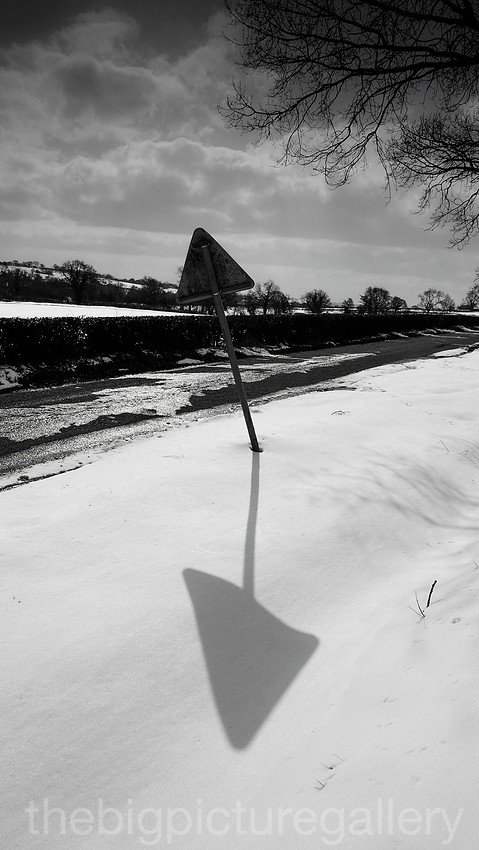
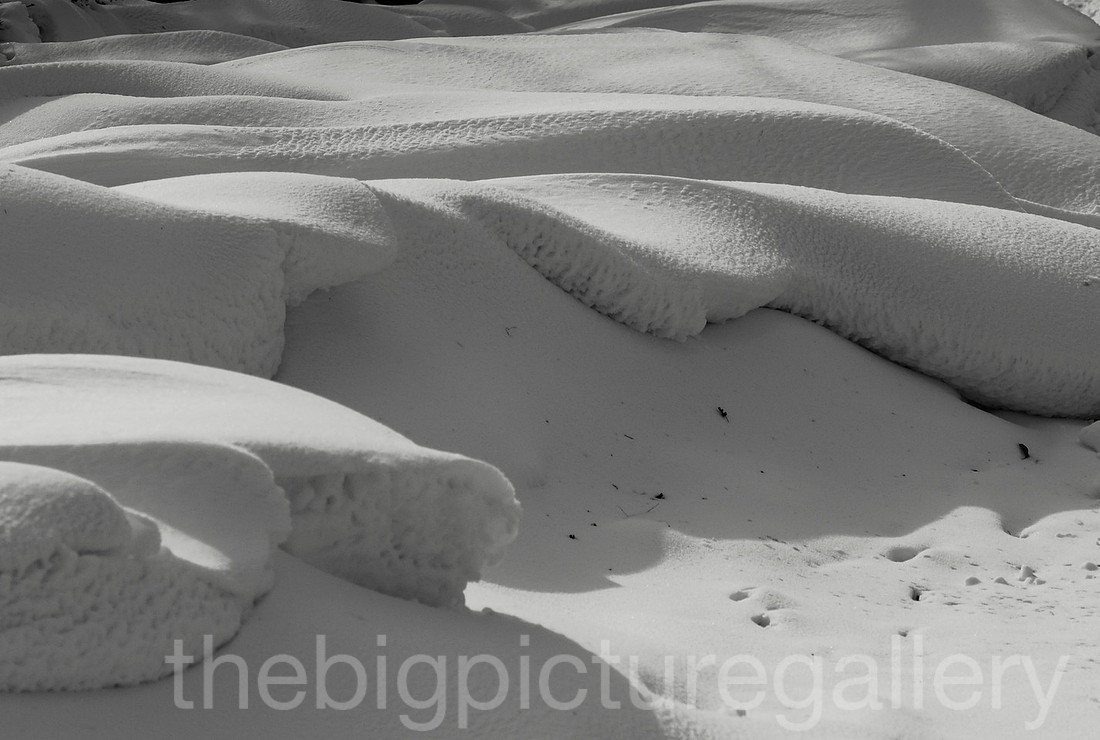
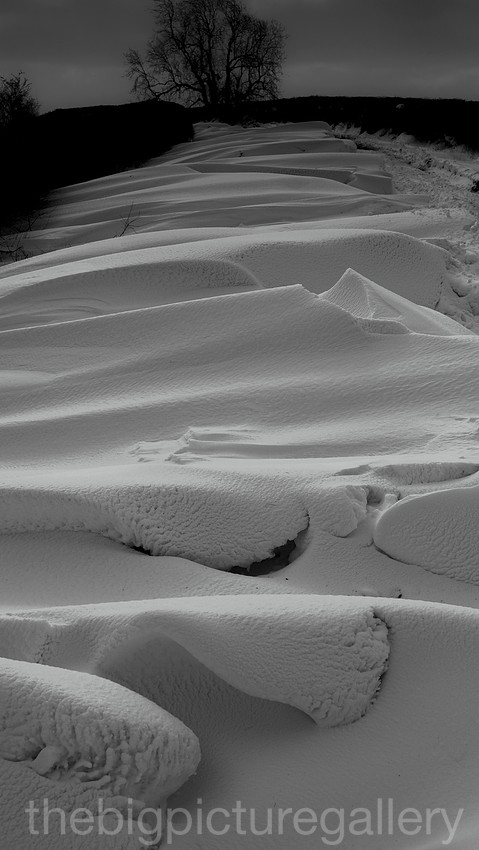
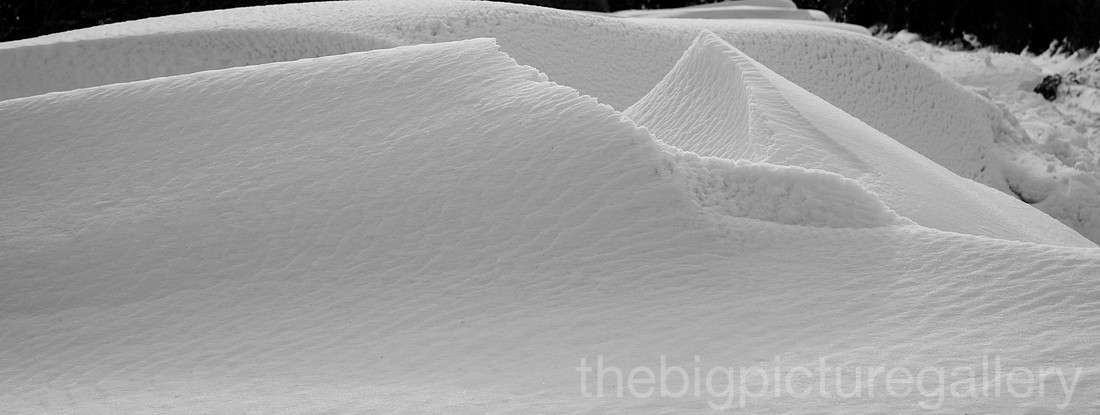
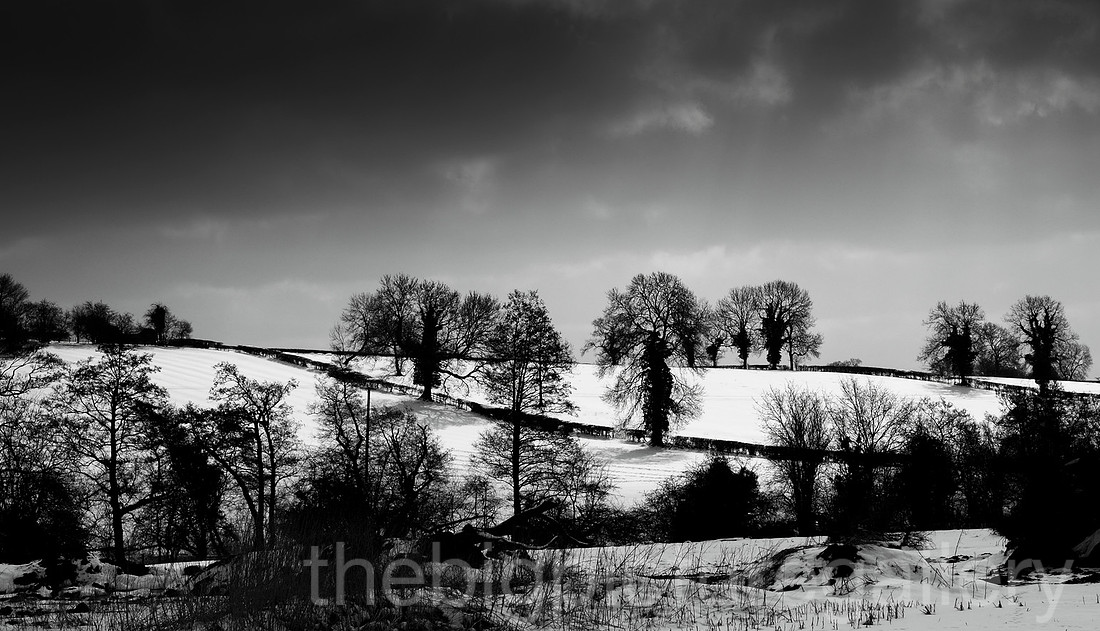
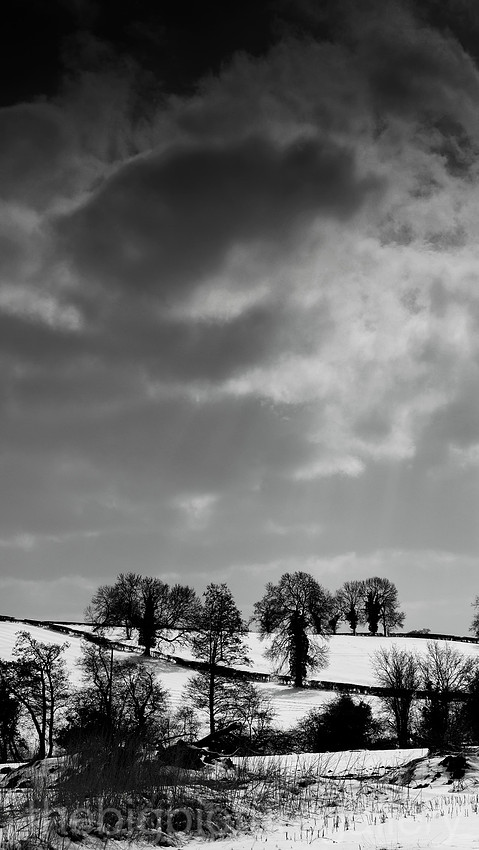
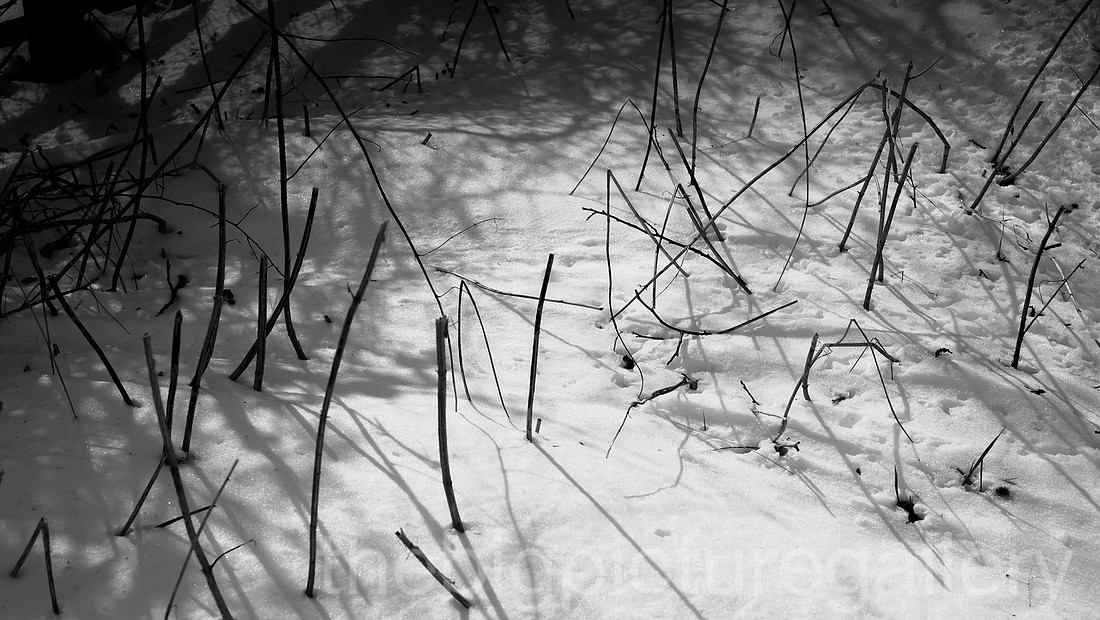
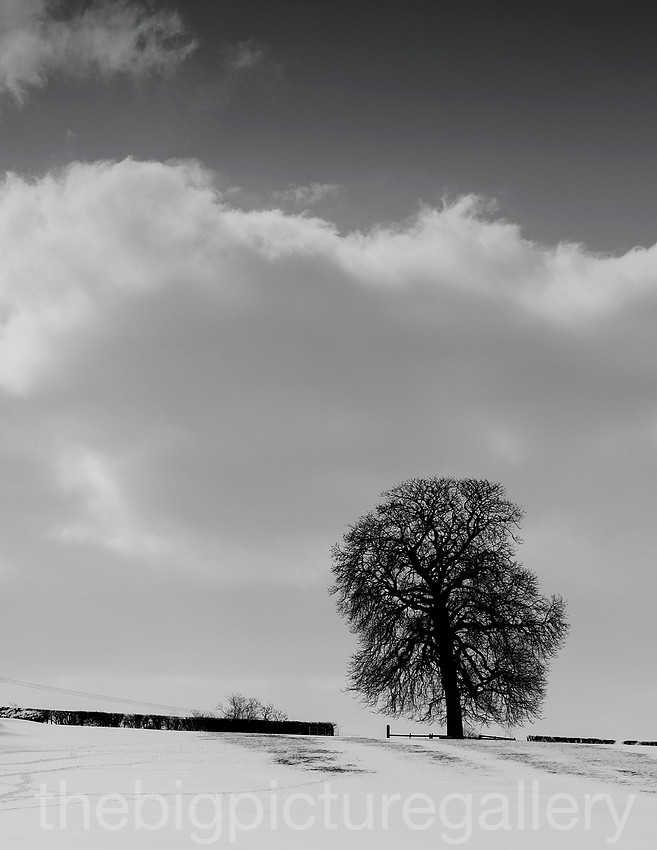
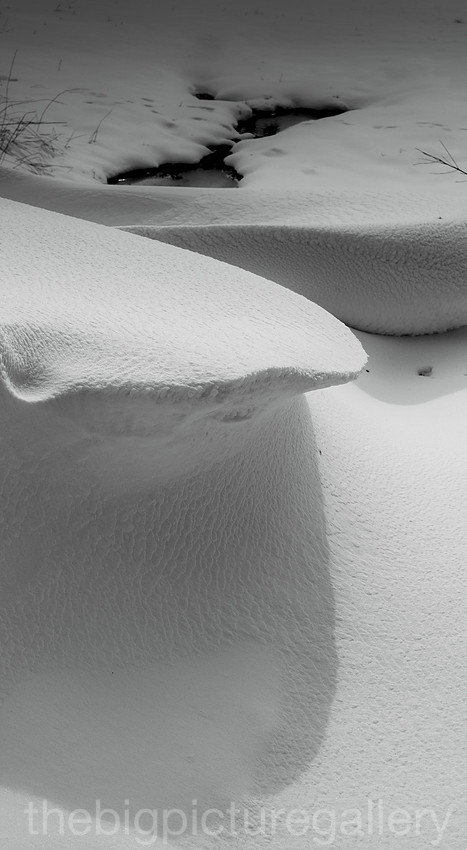
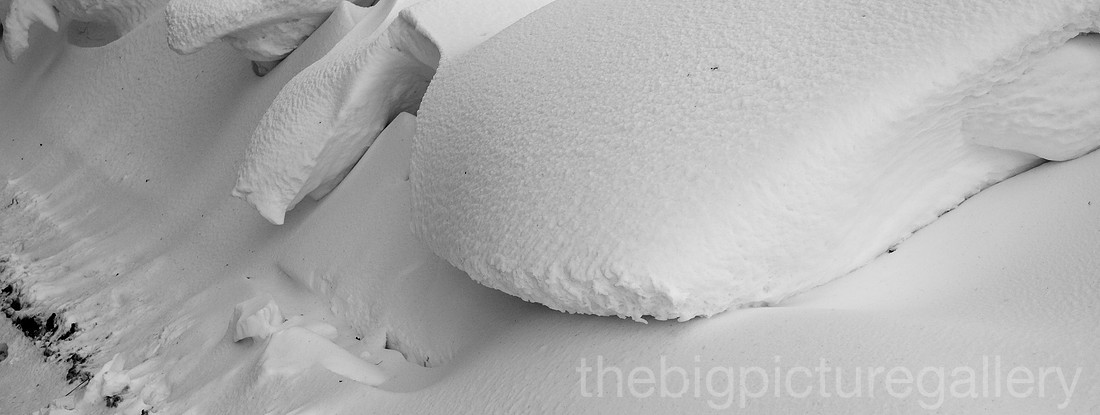
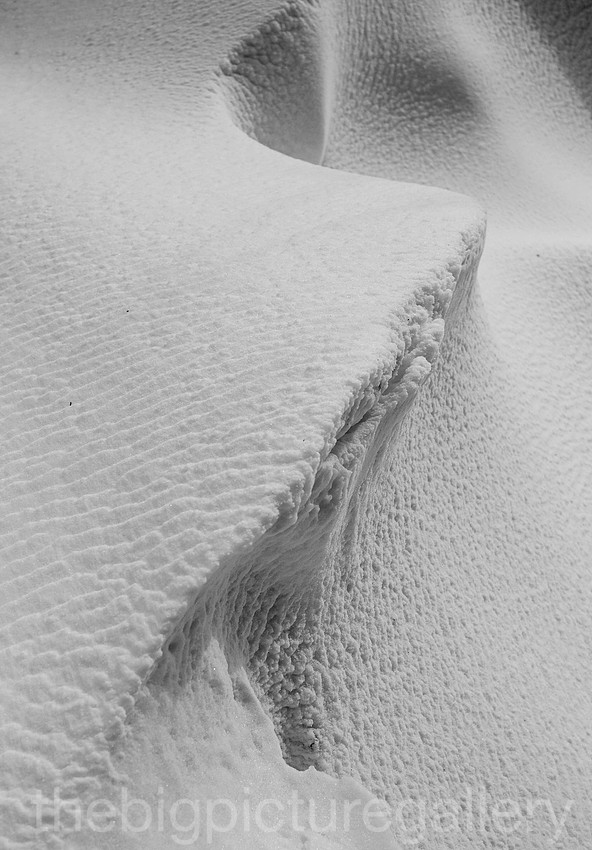
I got a mail from a friend asking if I wanted to go and explore some climable ice routes in the Peak District, Crowden Clough and the Kinder downfall. The snow had been falling for several days on the tops, and the daily temps over the previous few days had been as low as -10. With that in mind I thought we would get some great pictures. The X pro 1 would be ideal as a travelling partner due to it being so light. I took the 18 and 35 mm lenses, and 3 extra batteries just in case.
The weather was glorious as we advanced up Crowden Clough, and did a nice little ice route up the waterfall. The scenery was majestic,with a real Alpine feel to the day. Negotiating our way across to the downfall we encountered heavy drifted snow, and a biting wind, which left the face stinging. The Fuji performed without fuss, even though it had been covered in snow, as I went head first into a snow packed gully. A quick brush down and the camera was fine. As we travelled across to the downfall the weather changed, and we were soon in the middle of a white out. The wind was now Arctic and it became quite a challenge getting through the deep snow, often 3 to 4 feet in places. Once we had reached the downfall it became apparent that the hellish conditions were not to be trifled with, and we decided to head back down before it got dark. As it was we were coming down Jacobs ladder in the gloom with head torches. The weather changes so quickly you can easily be caught out.
On the plus side, the X pro caught the changing conditions very well, all images were shot in jpeg mainly using the 18mm, I need to get something wider though and itching to get something around the 12mm mark. The camera was covered in snow several times, due to it being around my neck as I plunged into fairly deep snow gullies. I had taken a couple of really good microfibre cloths with me, a quick wipedown and a focus check was all that was needed. The temperature when the weather changed was around -10 with a severe windchill. I only changed the battery once, and took nearly 200 images. So it performed pretty well, all things considered.
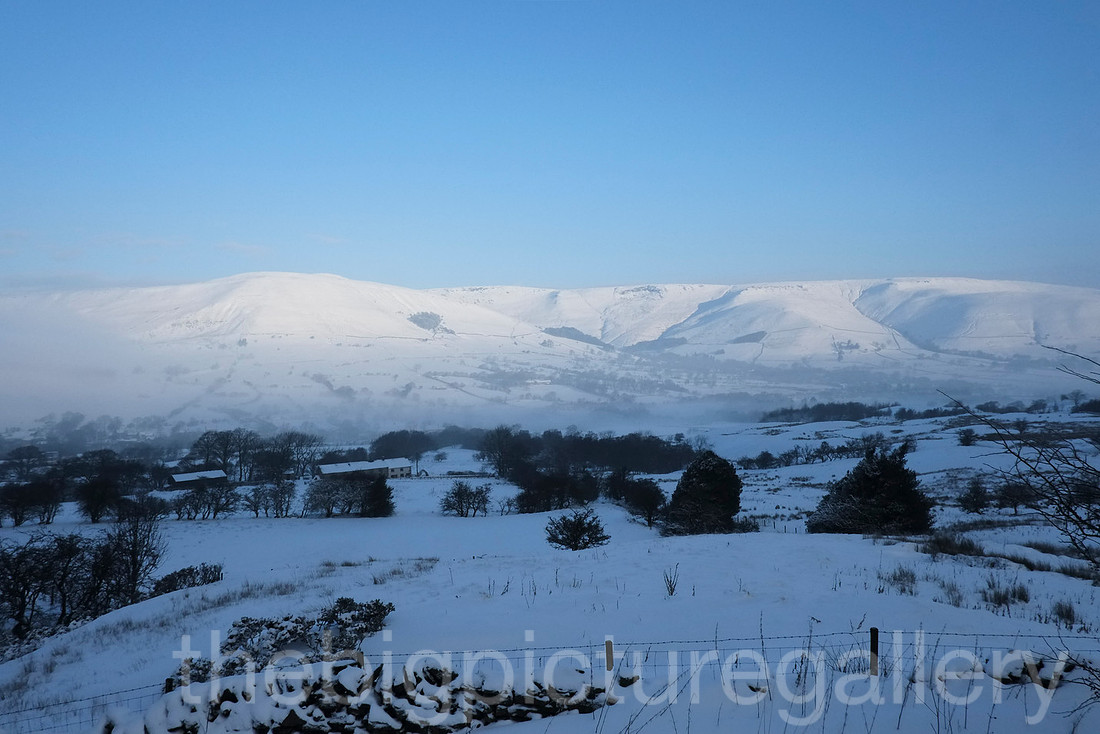 A view of Edale from Mam Tor
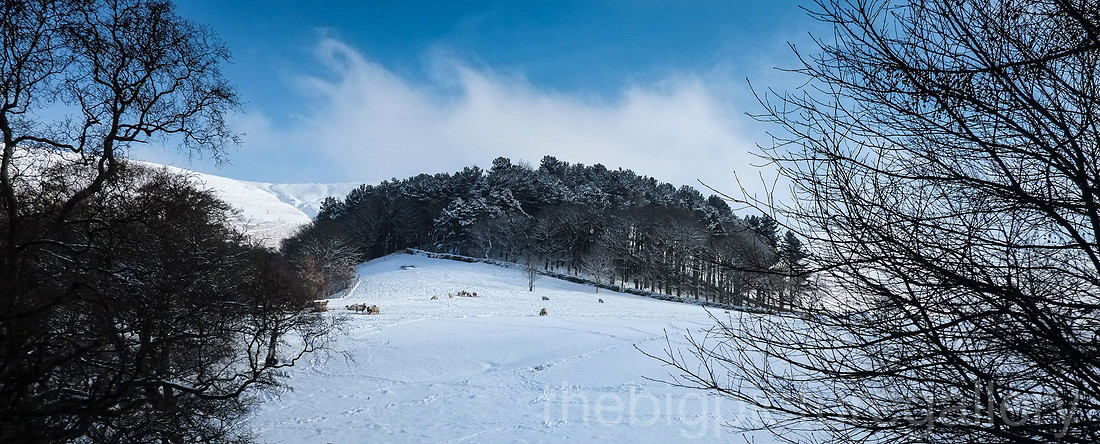 Starting up Crowden Clough from Barber Booth
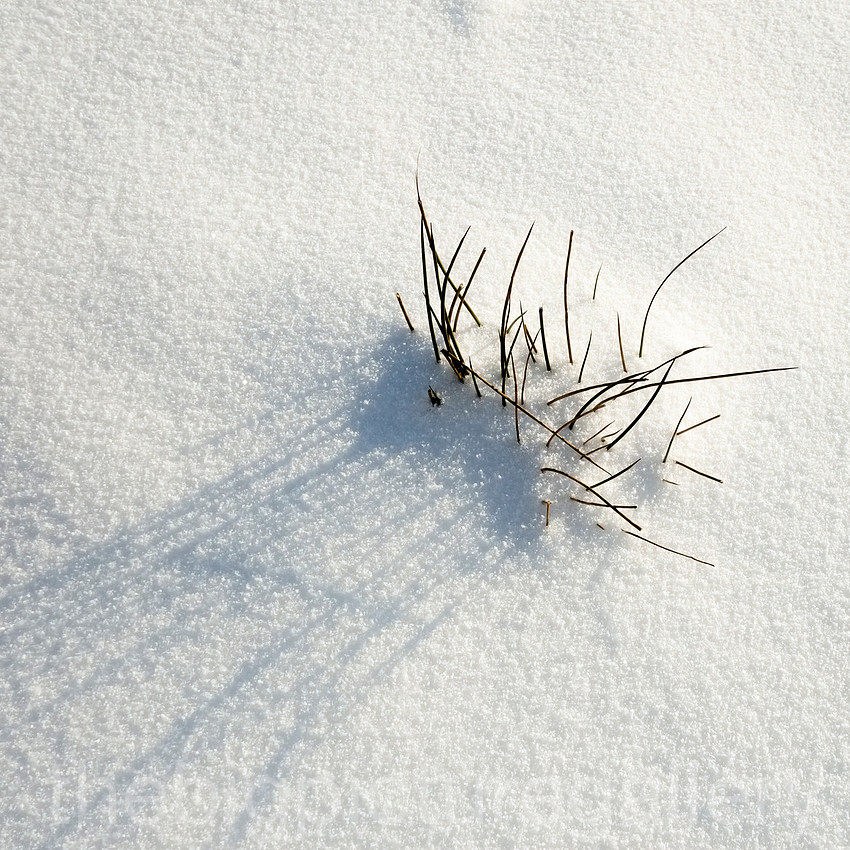 Delicate tones and grains of snow
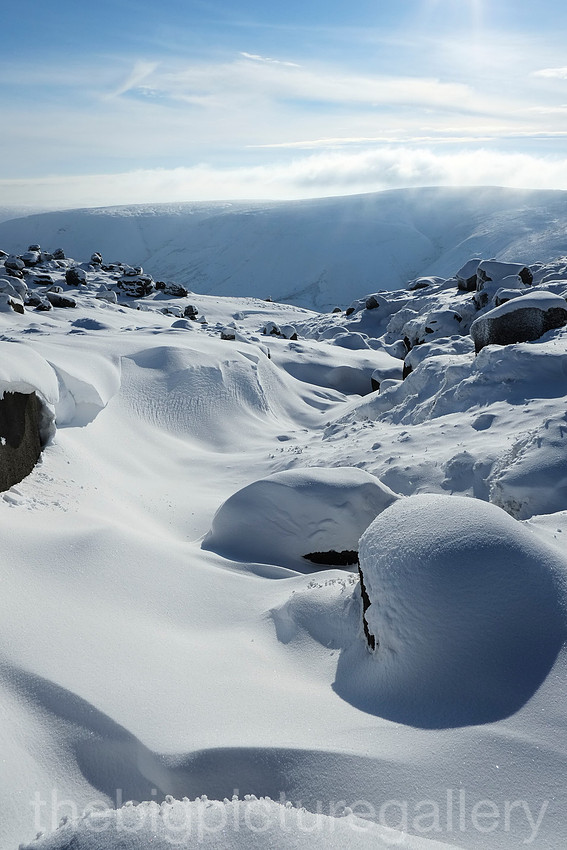 Looking toward Rushup Edge
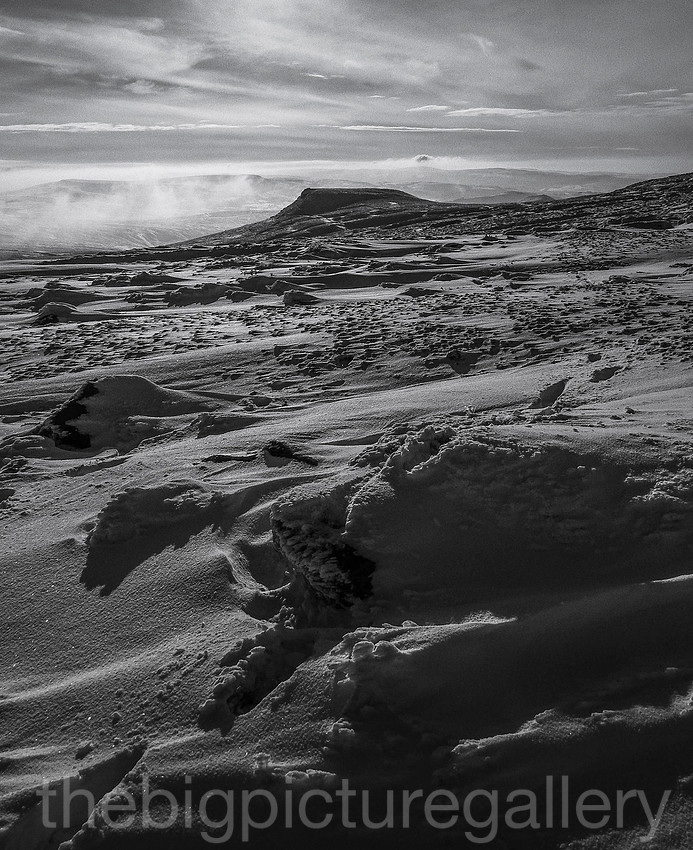 Deep snow near Edale cross
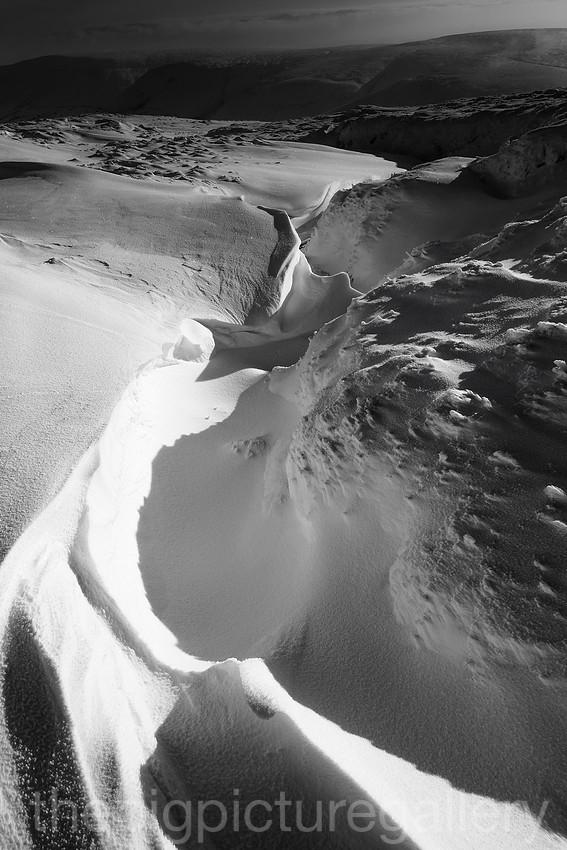 Wind carved snow
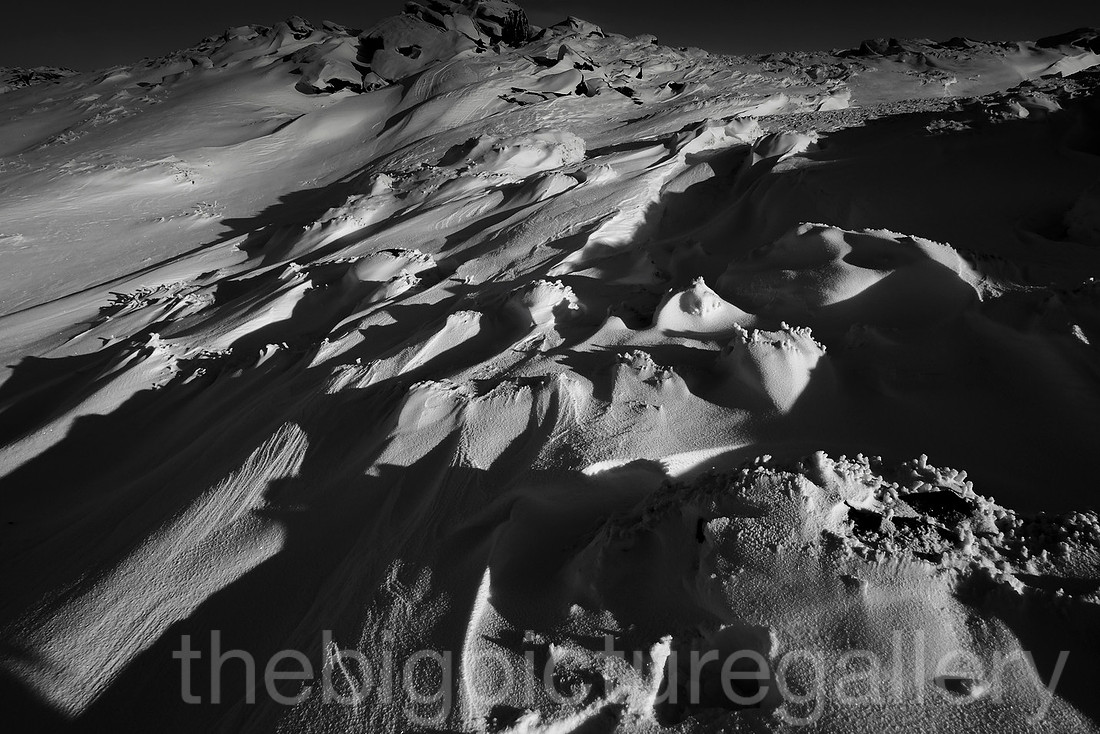 Patterns created by wind on deep snow
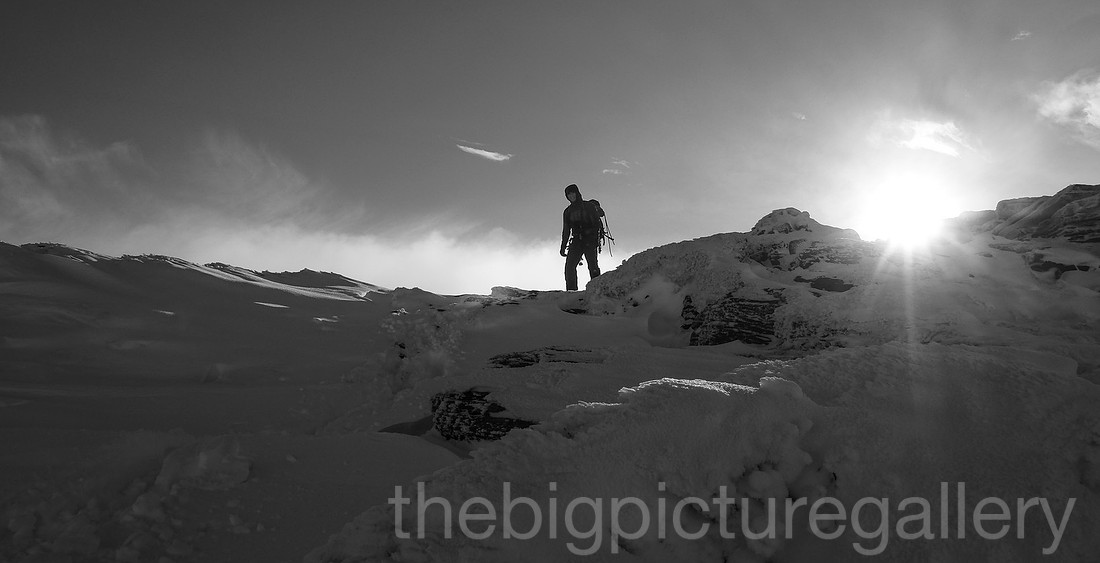 The path to Kinder Downfall
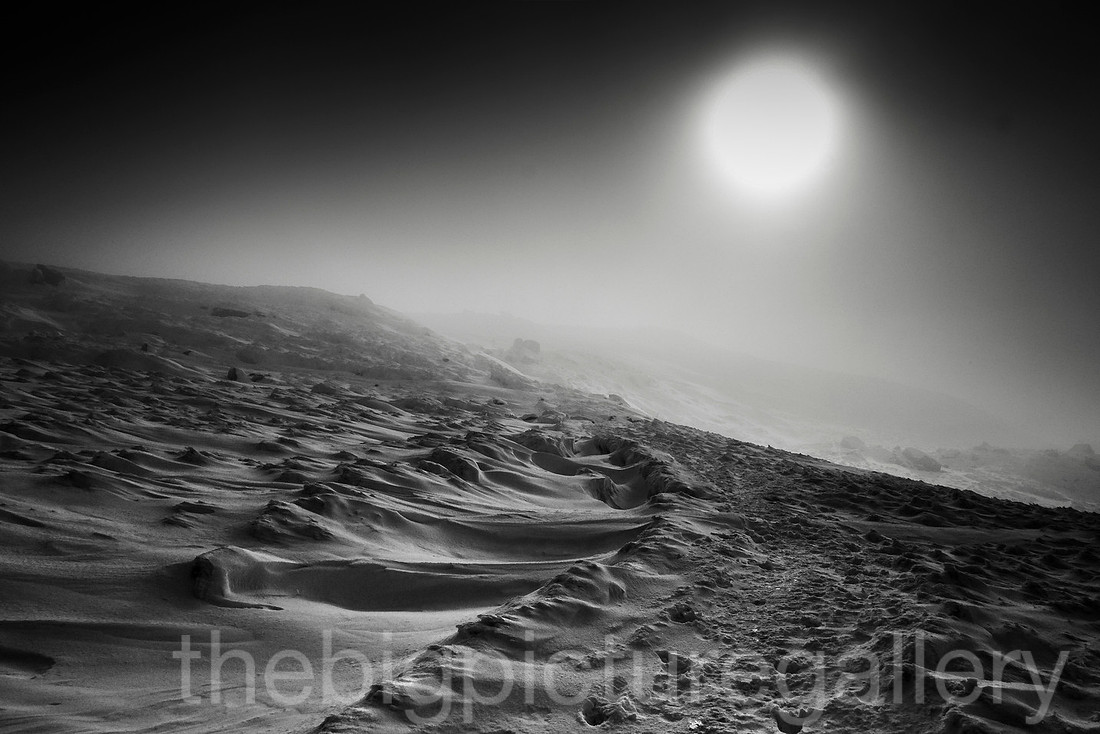 Arctic conditions on top of Kinder Low
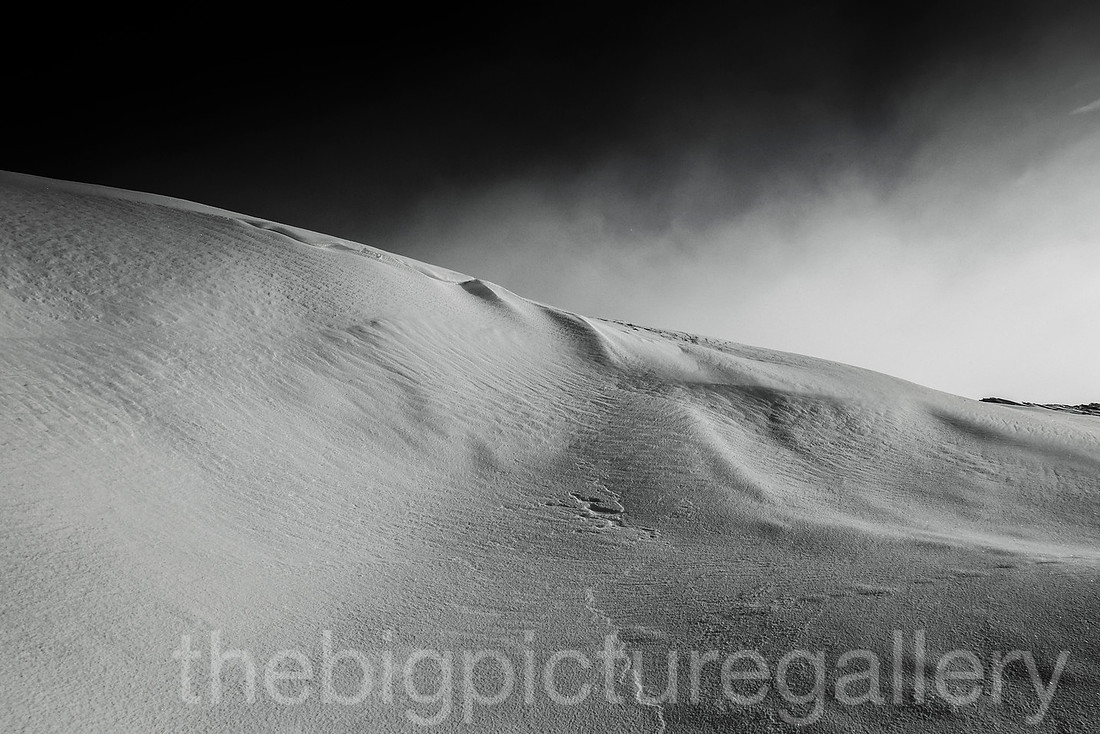 Snow ridge on Kinder
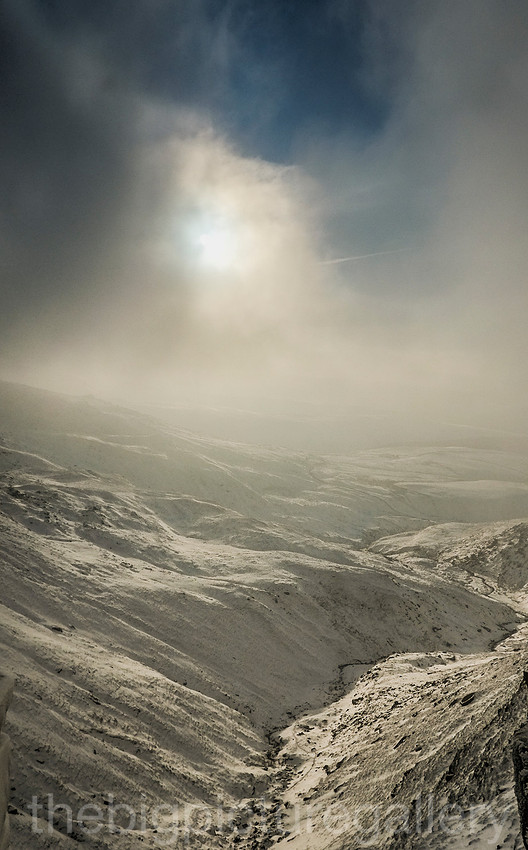
View from Kinder Downfall toward Hayfield
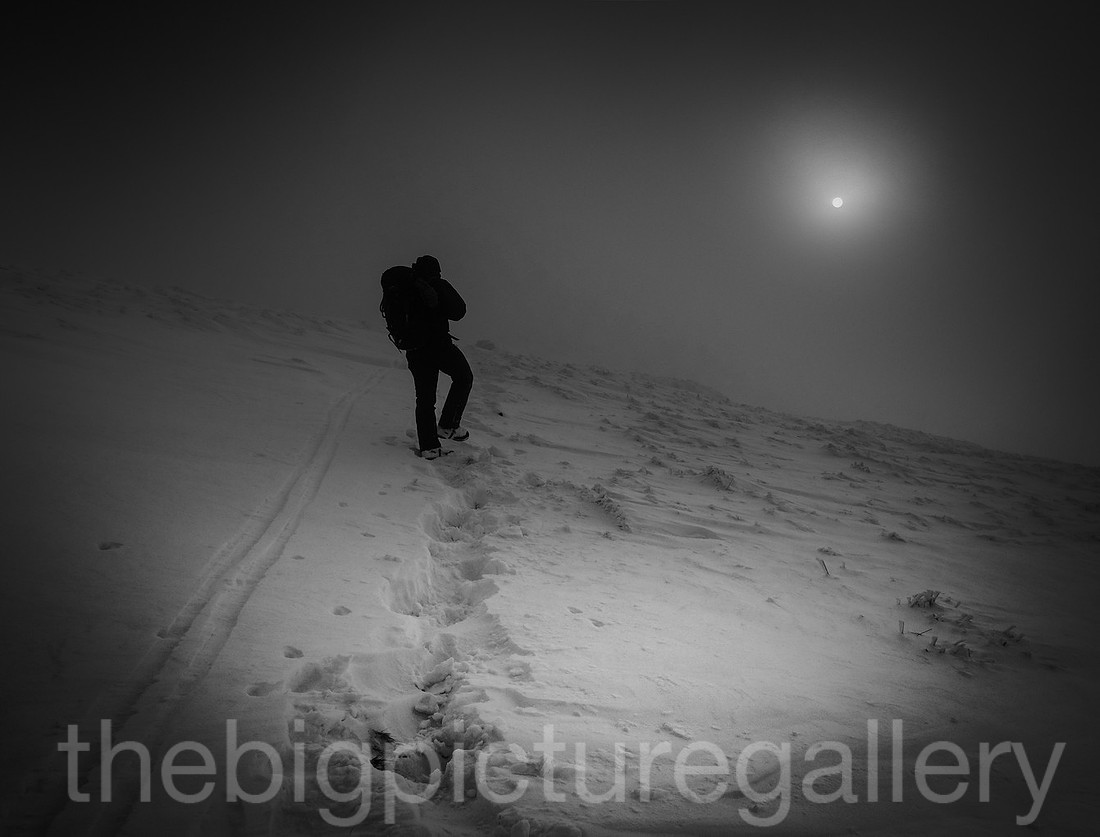
Time to get off the hill
]]>More of the winners awarded here
]]>
 ]]>
Once again the Fuji X pro was the camera of choice, the Nikons are getting distinctly upset by me constantly choosing this young upstart over them. It offers so much in terms of portability without looking like the obvious photographer. I also shot some images in 1-1 format, reminding me of the good old 6cm by 6cm days. I quite like the format it certainly forces you to think more. I used the astia film settings as I thought this matched the ovedrcast feel to the day, I wasn't after shouty out colours, I wanted something a little more subtle. Funny though as most of the shoot went in monochrome.
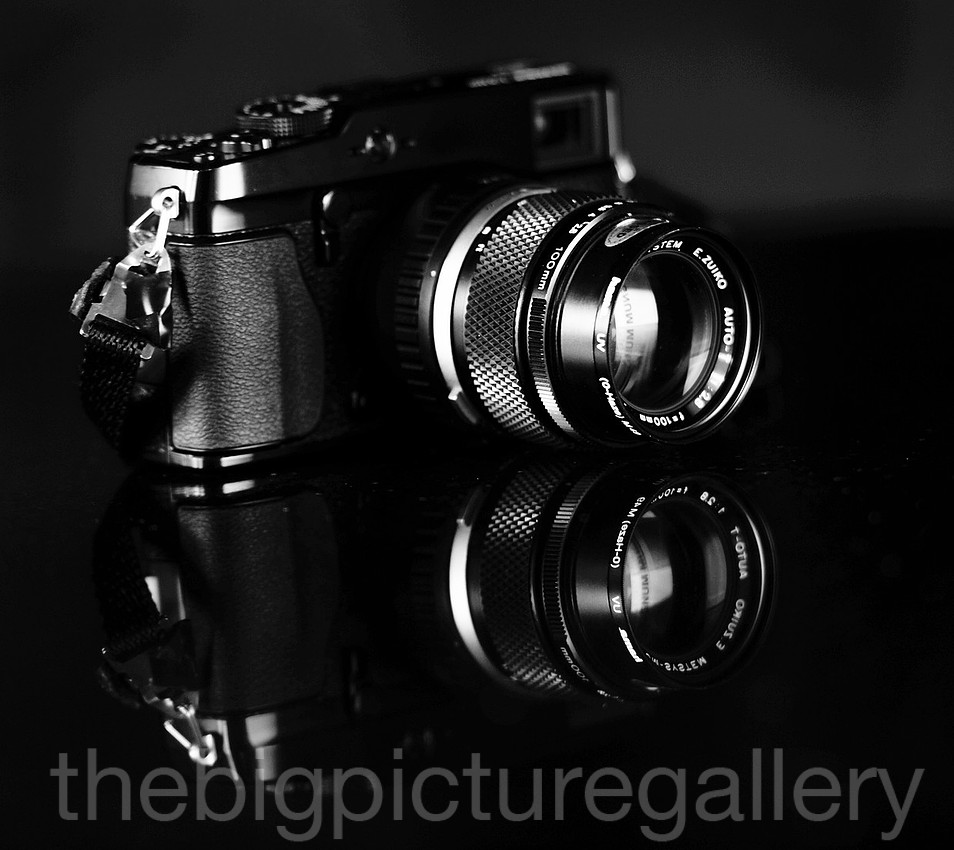
When I replaced the X100 with the X pro 1, I began to explore the possibilities of using legacy glass, being able to use pretty much any lens from any system is such a bonus with the Fuji X series. As I didn't own a 60 mm I wanted something with a little more throw, a lightweight telephoto and believe me you have hundreds to choose from. Therein lies the difficulty which one do you choose. My choice was based around image quality, a nice wide aperture, and finally portability.
I settled on the Zuiko, as it ticked all the boxes for me, Image quality is great, punchy colour with good contrast and its sharp. The bonus is that its tiny a little over 2 inches tall. It balances well in the hand, and adds very little weight. The great thing about the old zuiko lenses is that the aperture ring is toward the front of the lens, making aperture adjustments is easy. Since the latest firmware additions, manual focus is achieved quite quickly and feels much more positive, using the evf and a magnify setting of 3x allows pretty accurate focus. Although you need to allow for evf wobble.
 Nice and sharp with a nicely rendered background bokeh is very pleasant on this lens.
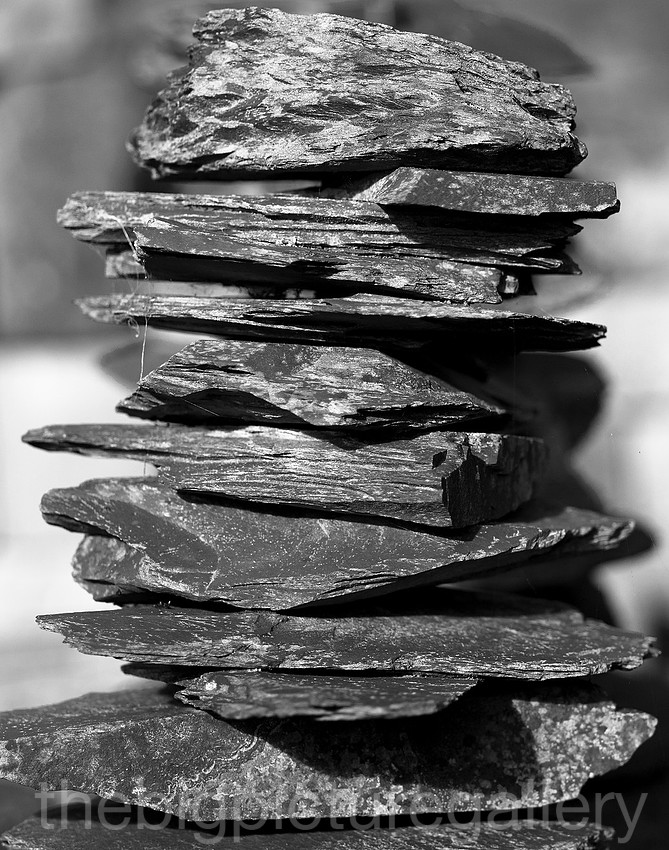
 Colour is very natural, with no obvious colour casts, contrast is excellent, and cannot find any evidence of colour fringing. I need to get a nice lens hood for it though.
Overall the lens is a decent performer, and for around £120 for the lens and adapter, gives great bang for the buck. Al I need do now is to save my pennies, for either the 14mm or the Voigtlander 12mm. All the images apart from the lens on camera shots, were shot in raw and converted using the new capture One software, more on this later.
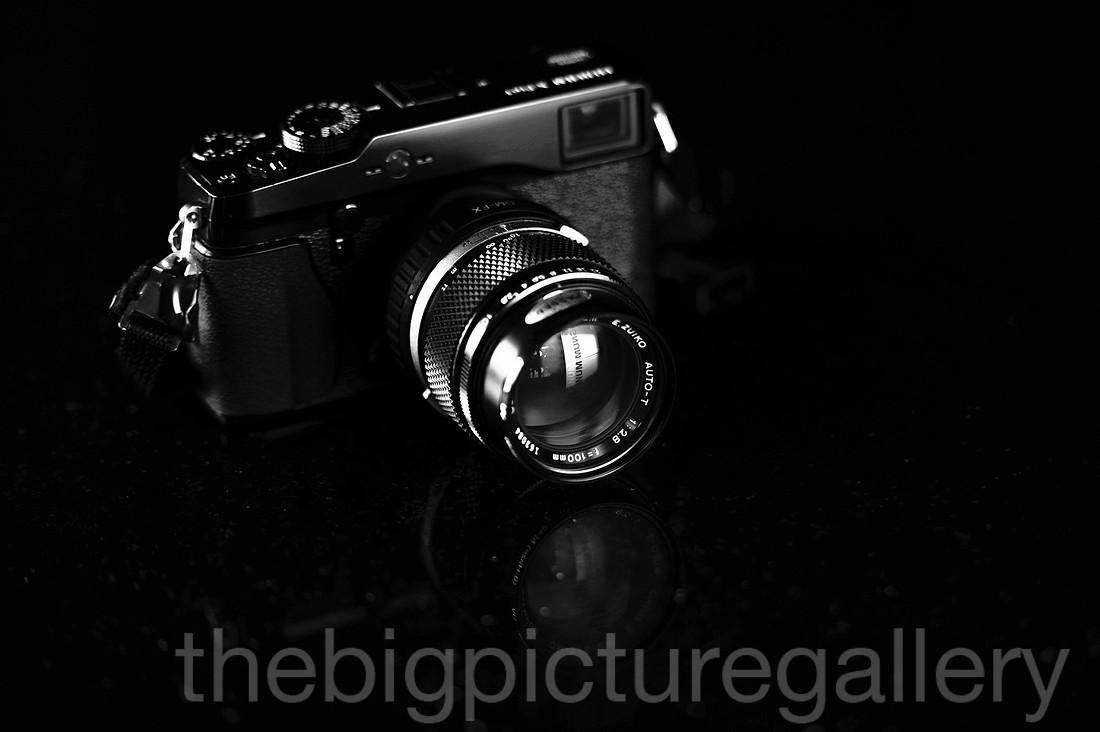
]]>
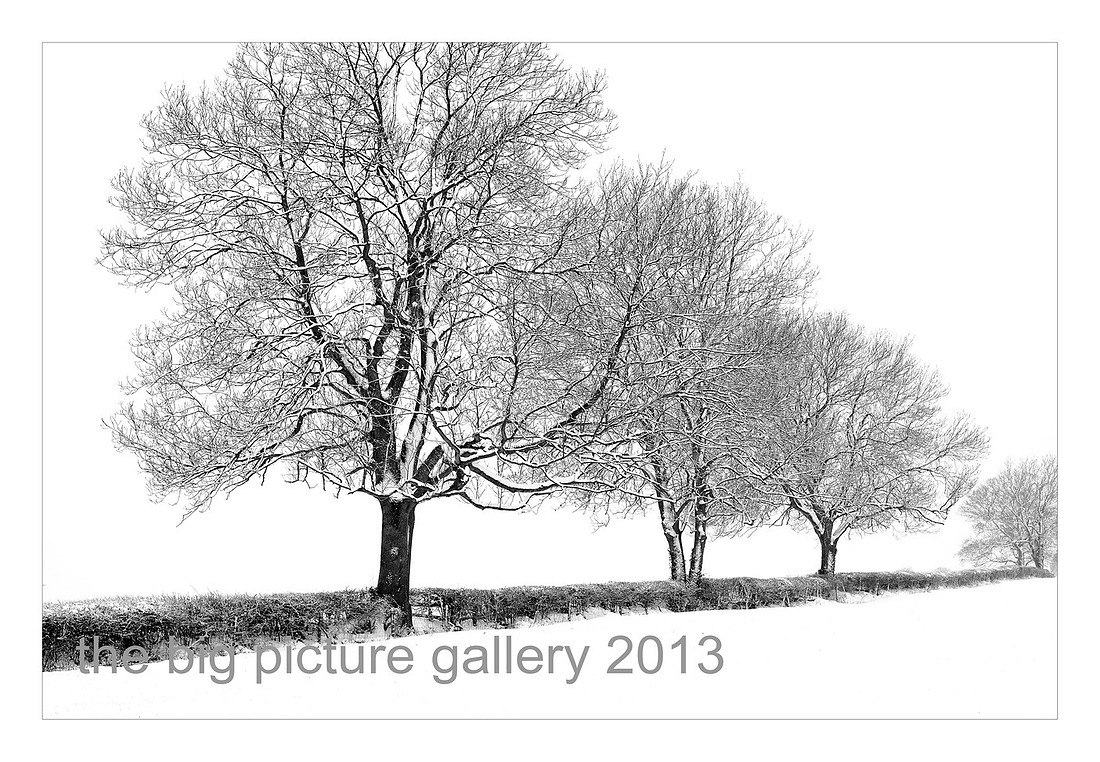
 ]]>
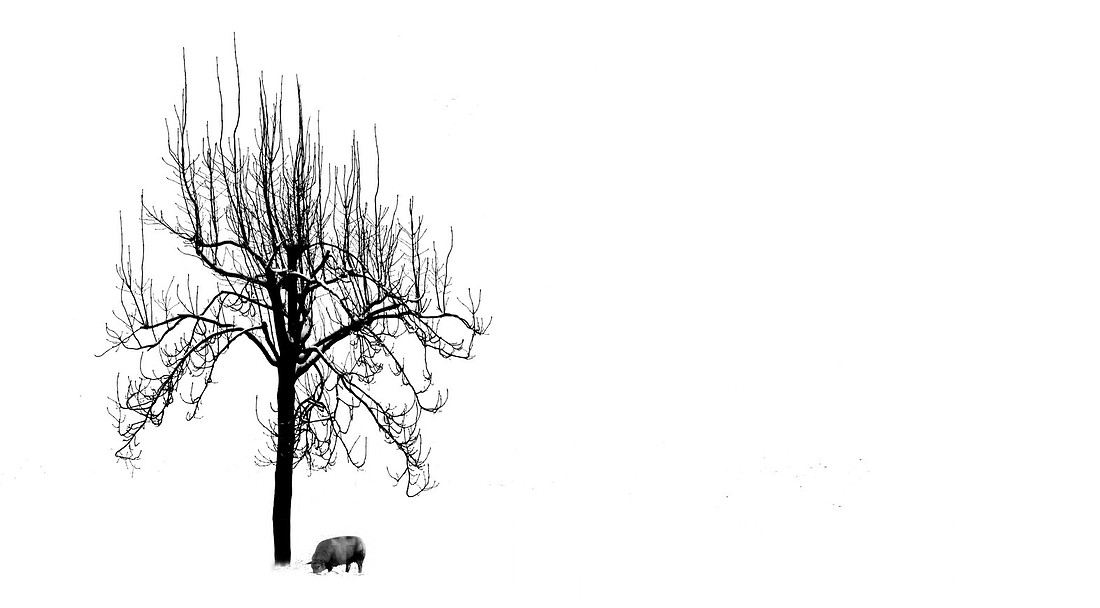
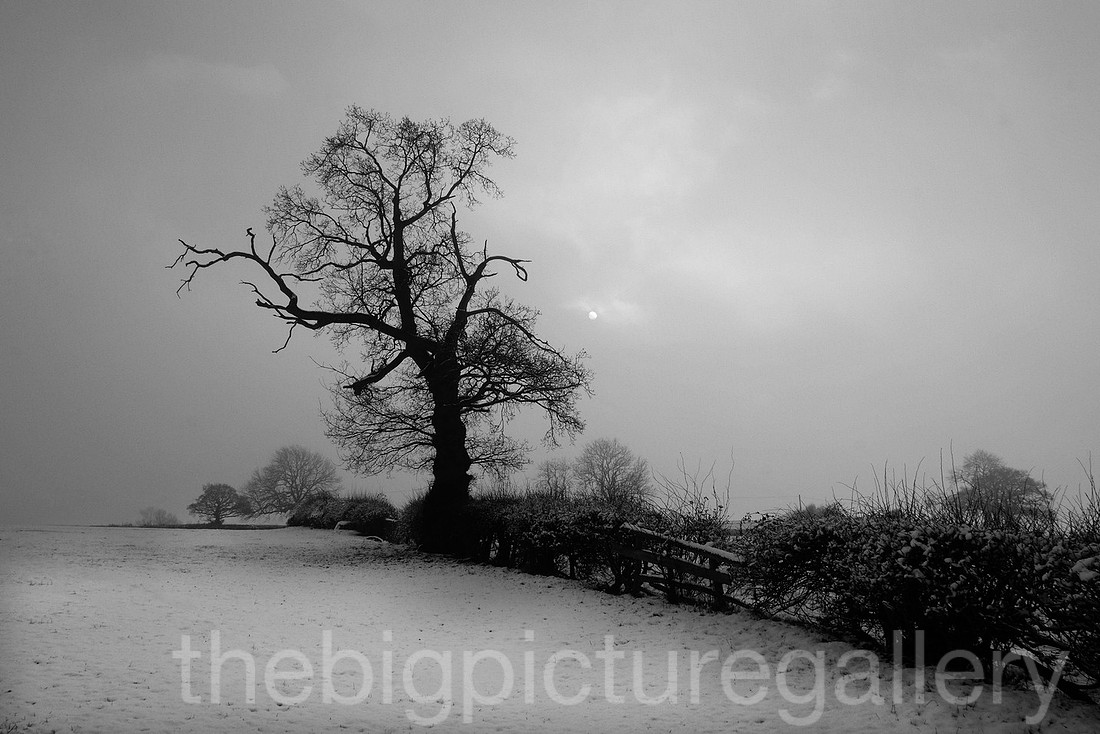
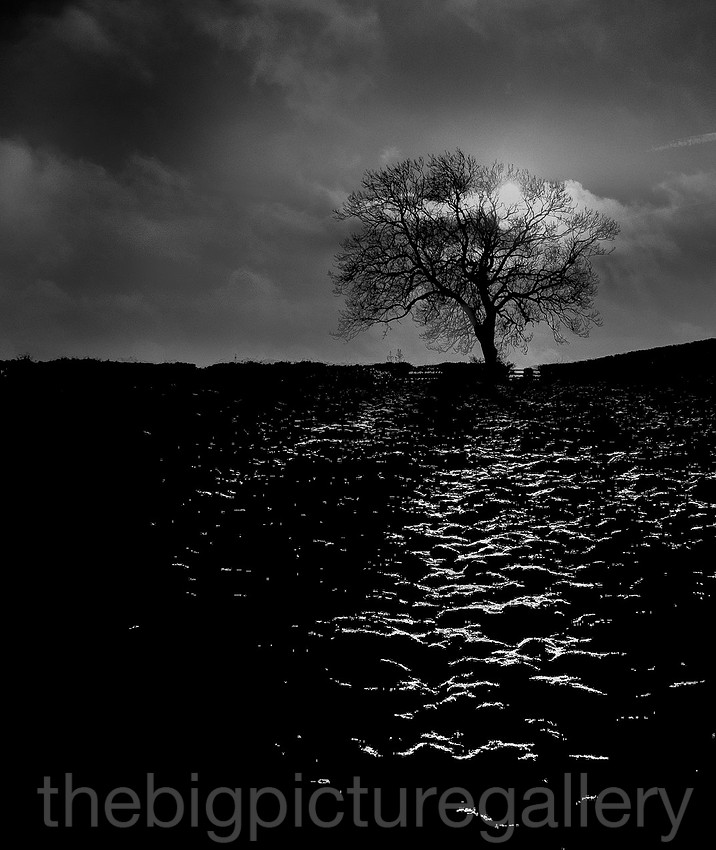
]]>
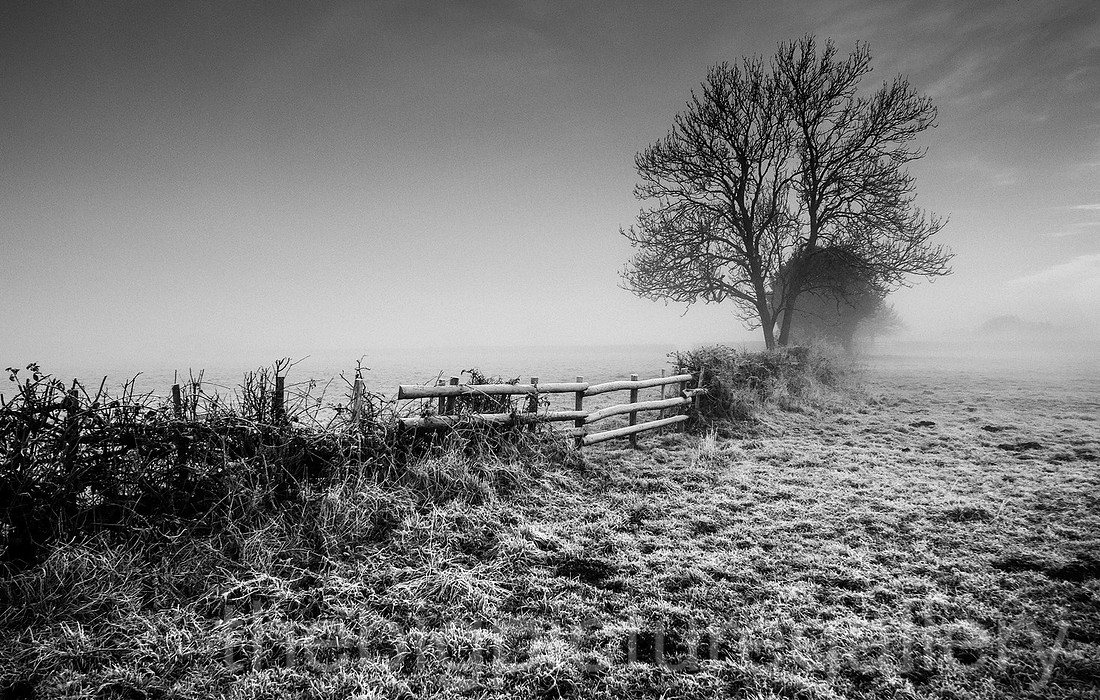
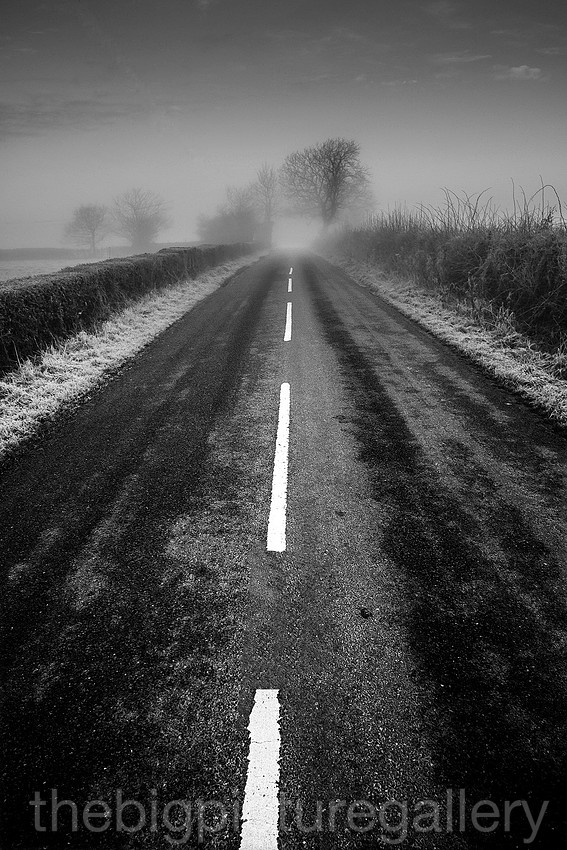
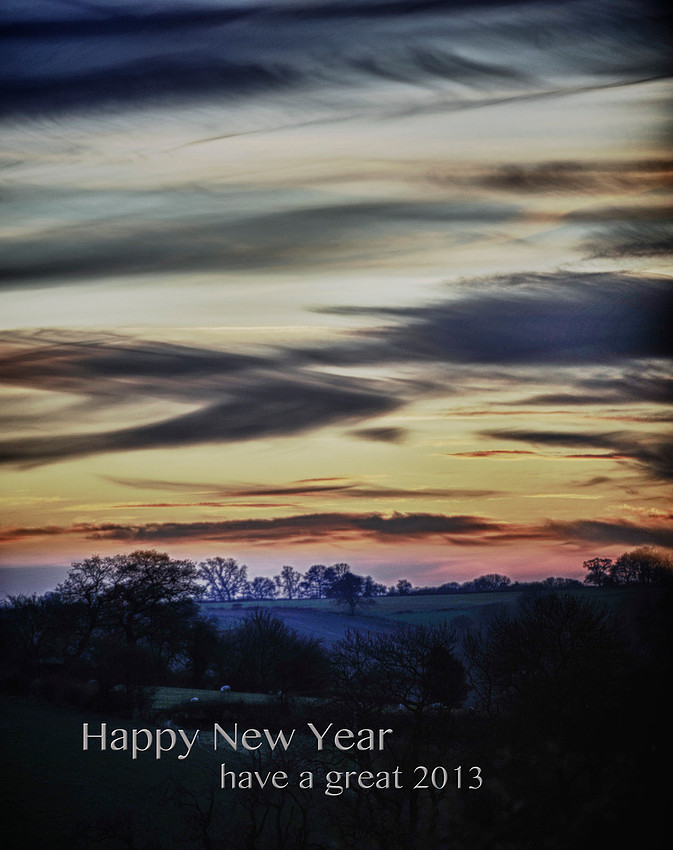
To quote from one of the masters
”There is a creative fraction of a second when you are taking a picture. Your eye must see a composition or an expression that life itself offers you, and you must know with intuition when to click the camera. That is the moment the photographer is creative. Oop! The Moment! Once you miss it, it is gone forever.”- Henri Cartier-Bresson
Those words could not have been more true, I’ve forgotten the number of times that I have seen an image and not had my camera with me.
This shot of 2 young kids, was taken in Brighton, totally oblivious to the camera they were content with seeing the world outside, whilst enjoying their lollipops. It was the concentration on their faces which I loved.
3 people enjoying the Autumn sunshine on the south bank of the Thames. I loved the relaxed nature of the group juxtaposed against the manicured lawn, and the formal, but entertaining water sculpture.
Pigeons in Trafalgar square on a moody afternoon reminded me of the squadrons of bombers that flew over the London during WW2 air raids.
]]>
Surprisingly the road up Winnats pass and over Mam Tor was very clear and little ice to speak of. The views from the Mam were simply breath taking; the late afternoon winter sun highlighted perfectly the landscape. Hope you enjoy the pictures.
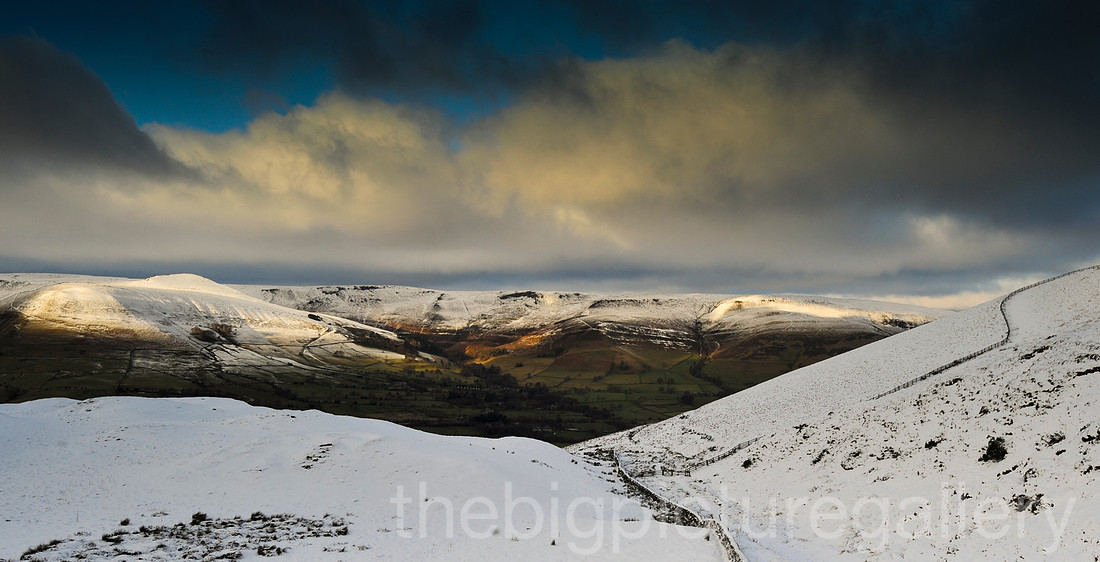
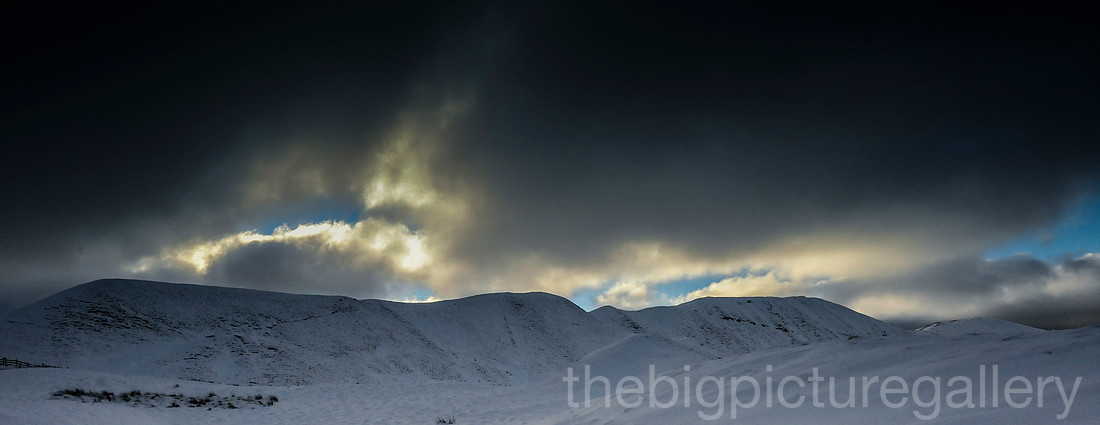
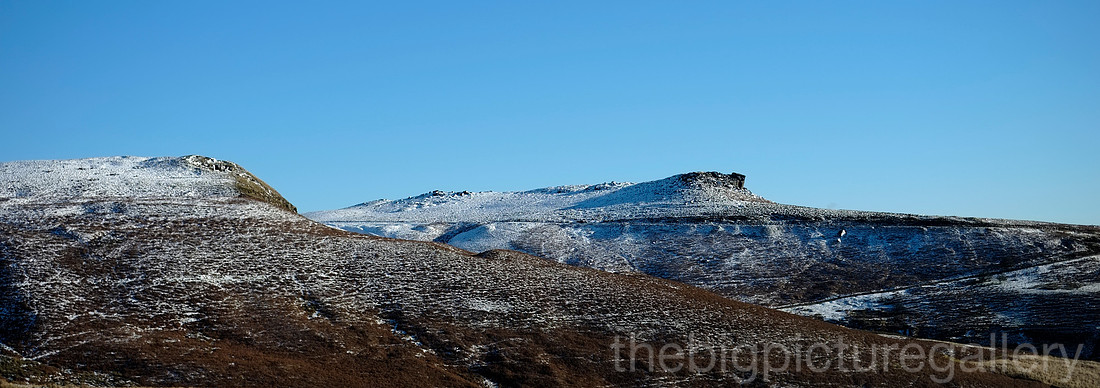
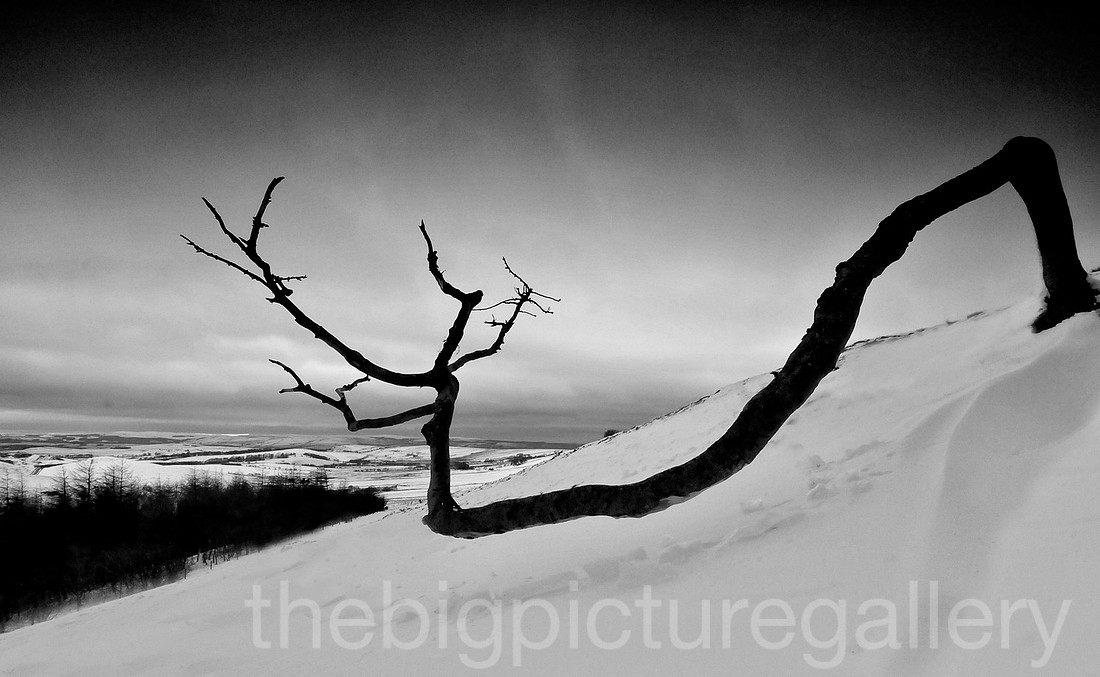
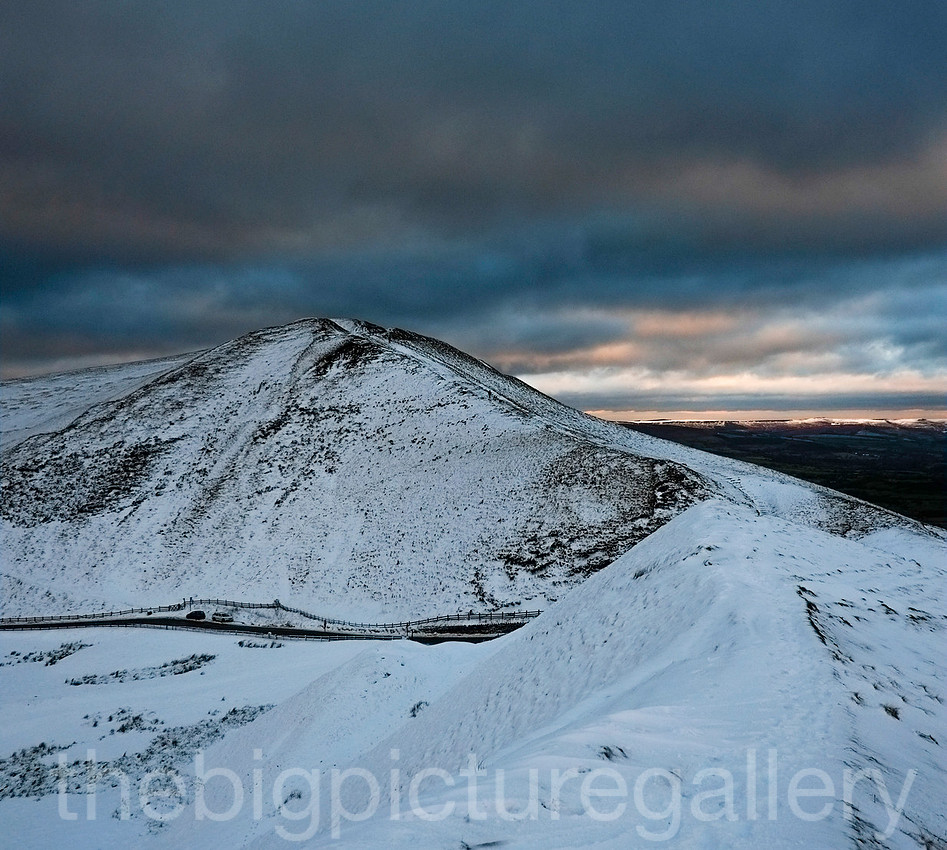
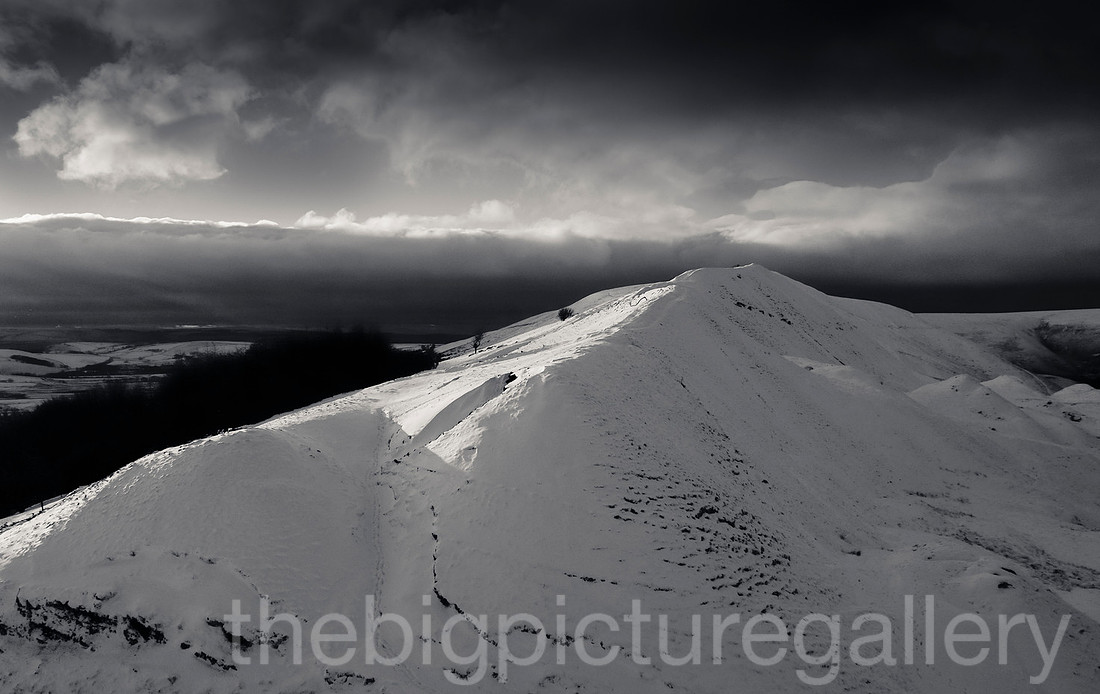
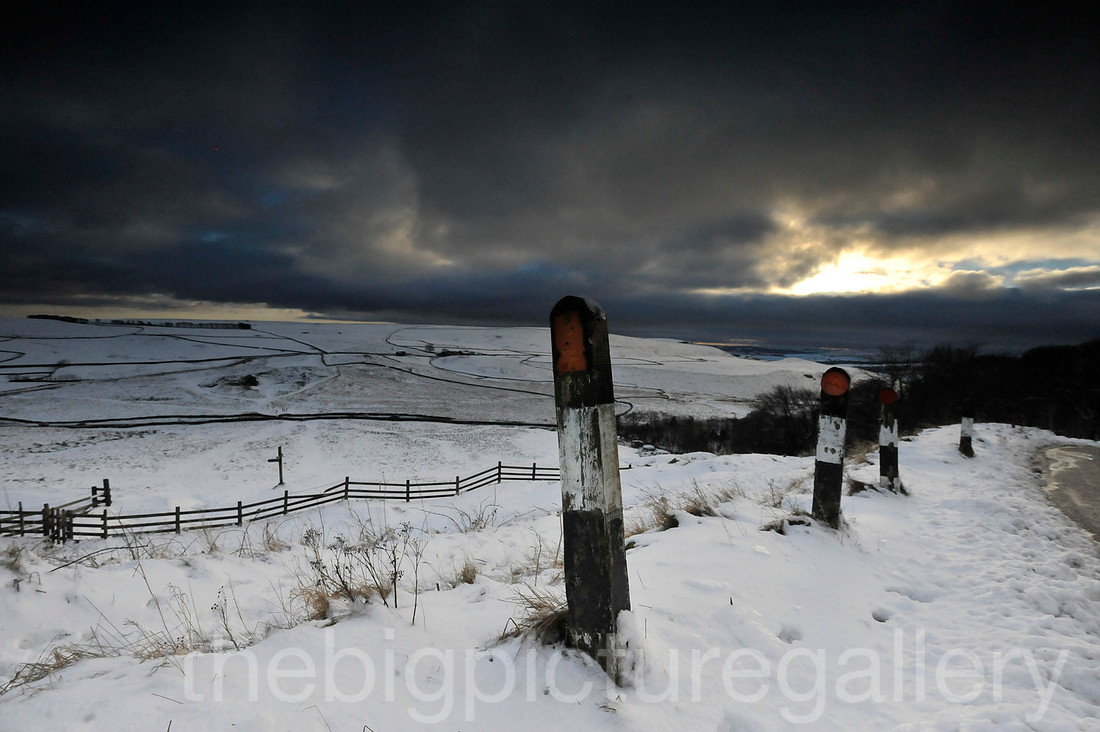
The area is ideally for a visit, it's nowhere near as busy as Castleton, Edale, or Ladybower. The landscape offers fantastic panoramic views over Staffordshire, Cheshire and South Debyshire. Take a trip out and discover the quieter beauty of Alsop on the dale or Middleton by Yougrave and avoid the busy crowds.